
How To Make Healthier Pop-Ice Popsicles With a Vacuum Sealer

Do you remember Pop-Ice? Or Otter Pops? Growing up, these plastic tube popsicles were synonymous with summer. They were practically everywhere, cheap and filled with extreme sugar content. Just the mere thought of them conjures thoughts of cracking their icy form and making them slushy enough to eat. Well, now you can make your own tubes of icy goodness, and since they are homemade, you can skip the extra sugar (if you want!) and make them out of juice or even iced tea. All you need is a vacuum sealer!

How To Make Healthier Pop-Ice Popsicles With a Vacuum Sealer
Nutritional Info
Ingredients
- Juice or popsicle recipe of your choice
Food coloring (optional)
Equipment
- Vacuum sealer
- Freezer
- Straws
Plastic vacuum seal bags
Scissors
Straws
Instructions
Prepare Juice or Popsicle Recipe: You can use anything you want to fill these tubes. It's really up to you how much effort you'd like to put into them. Clearer liquids such as apple or pineapple juice can be easily tinted (though coloring is optional). Yogurt mixtures or recipes with a little adult flavoring work well also!
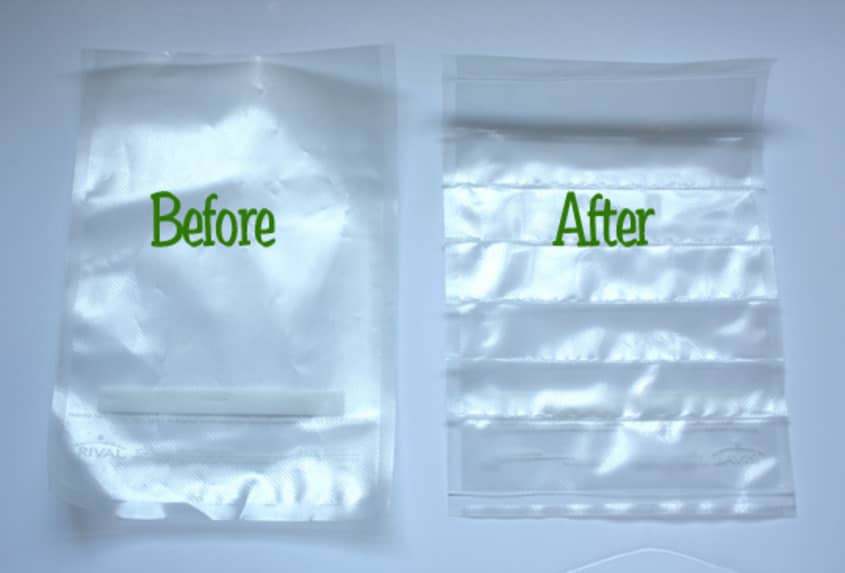
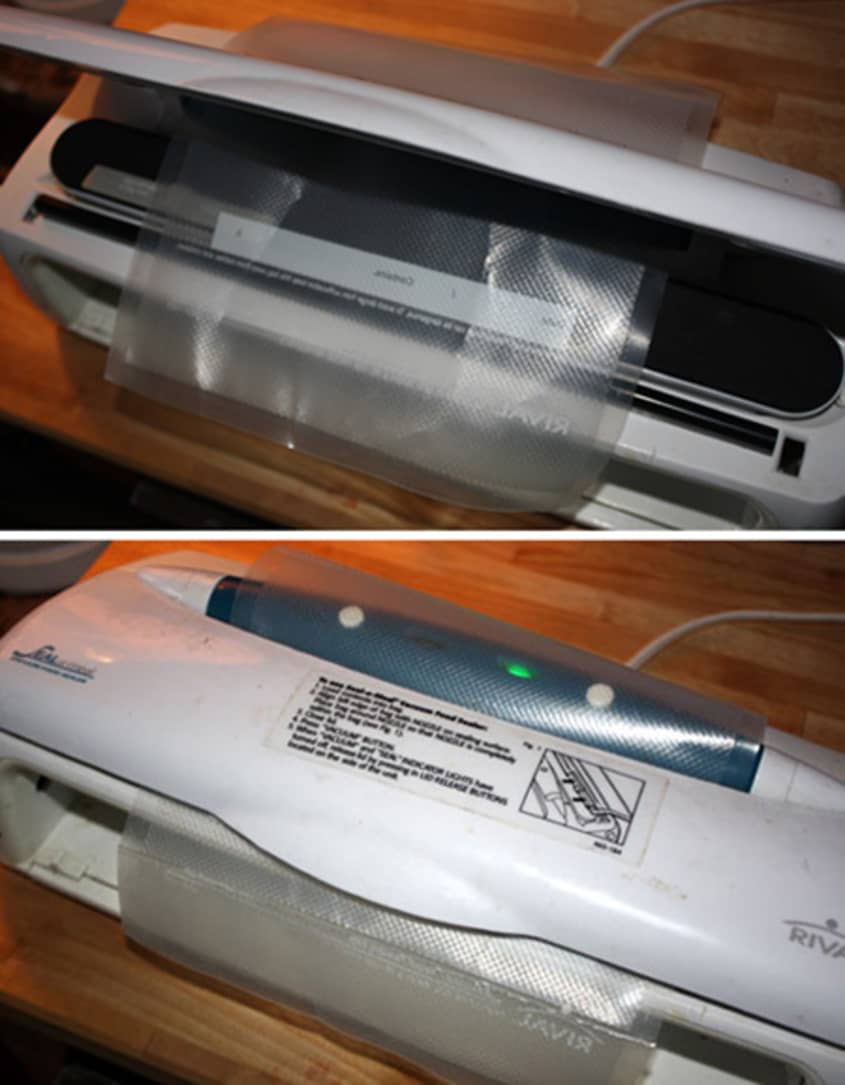
Create Separate Sealed Sections in Each Bag: The key is to run the bag under the vacuum sealer lid from the back and pull it forward as you make seals (roughly 1 1/2-inch apart). Check out the photo above for a visual explanation of this.
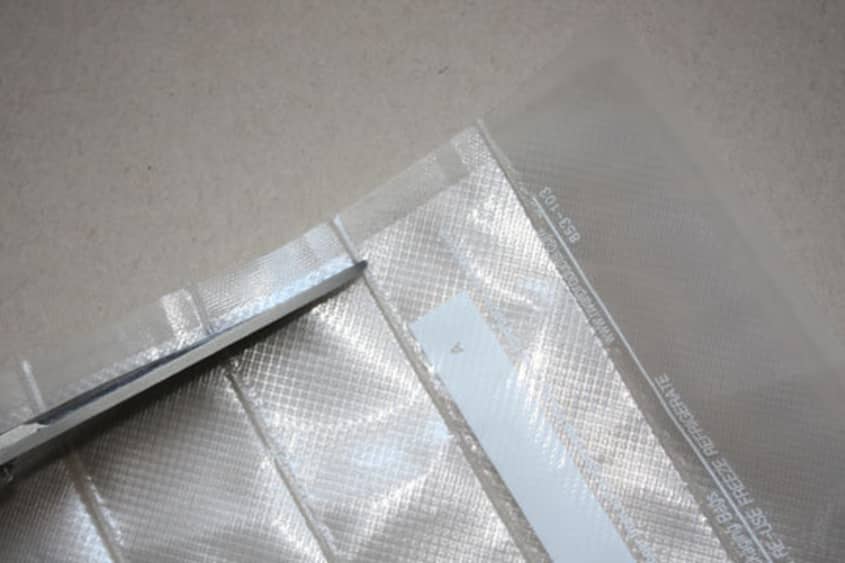
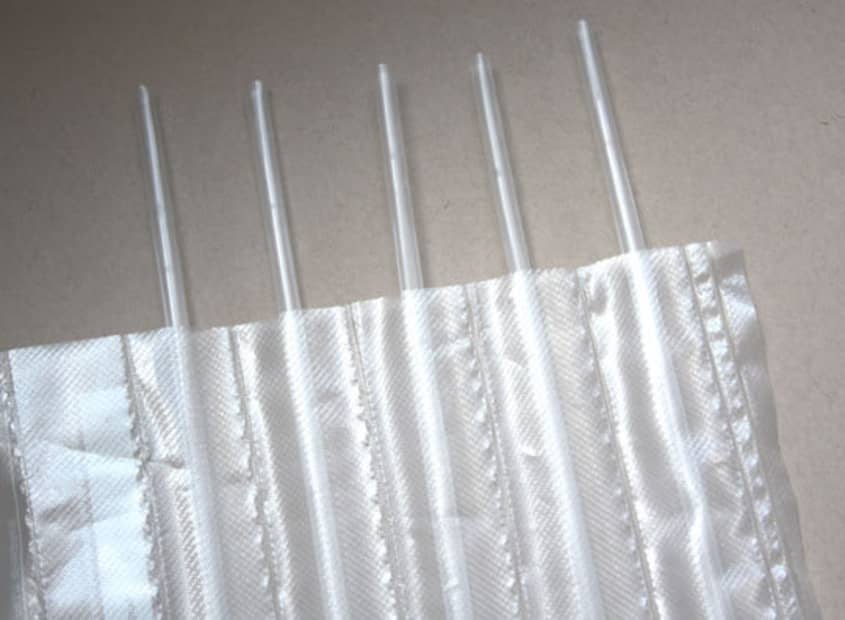
Cut Off Top of Bag: To fill the tubes, you'll need to remove the side of the bag. Cut as close to the seam as possible, leaving the most room in each tube to hold liquid.
Add Straws: The purpose of the straws is to hold each pouch open, allowing them to take liquid without closing up during the process. Slide one straw down each hole.
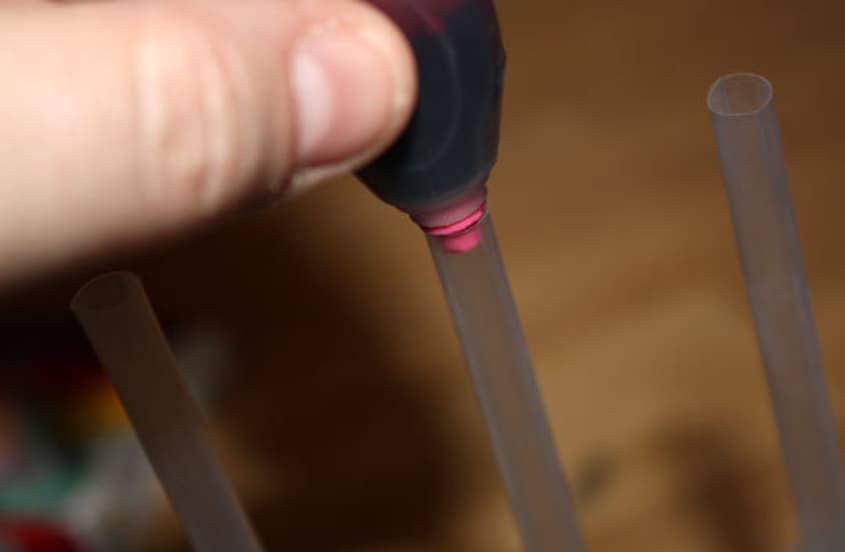
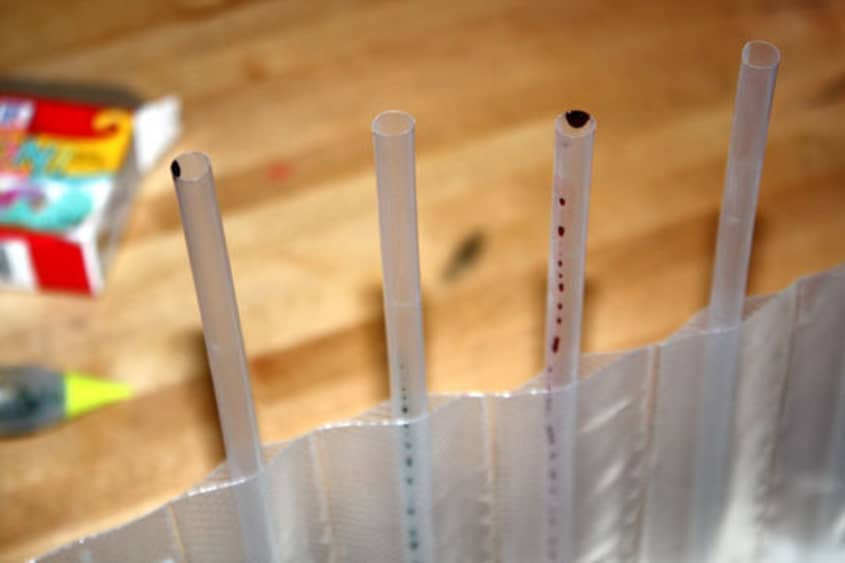
Add Food Coloring (Optional): Food coloring is of course optional, but they give the pops a certain nostalgic look that turn us all into giggling children (even if the ingredients inside don't match the look). We put one drop of food coloring down the inside of each straw. It slide right down, though if stays stuck at the top of the straw, simply blow down the straw and it will slide right down.
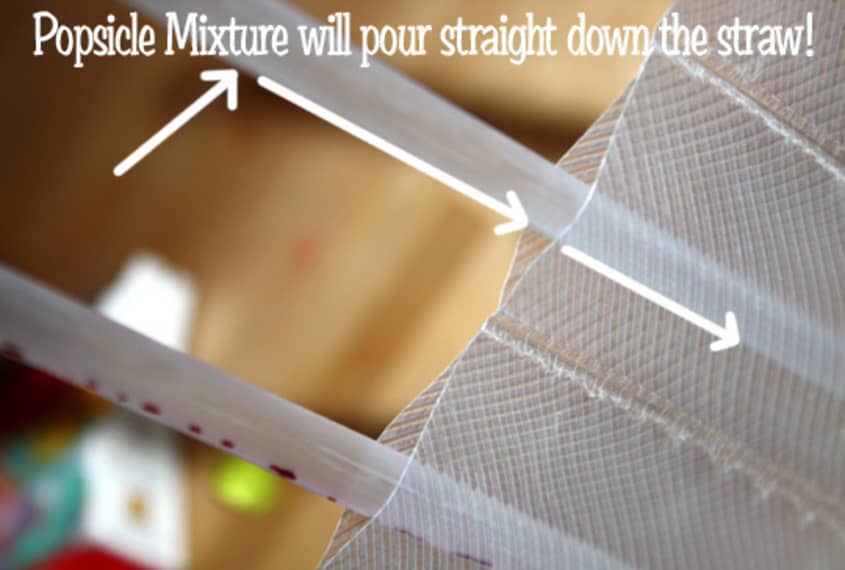
Fill With Mixture: This part requires two hands (if not three). Use a pitcher with a pour spout and pour liquid down the outside of the straw. It will act like a guide and funnel all the liquid to the bottom. Your mixture will pour right down the outside of each straw and fill the tube. Don't worry about spilling; as long as your pour stream hits the straw, each pocket will fill nicely... trust us! If you're extra worried or have a thicker mixture, try using a turkey baster to suck up your liquid and then dispense. Fill them 3/4 of the way full. As you become a little more familiar with the final sealing process you can fill them slightly fuller.
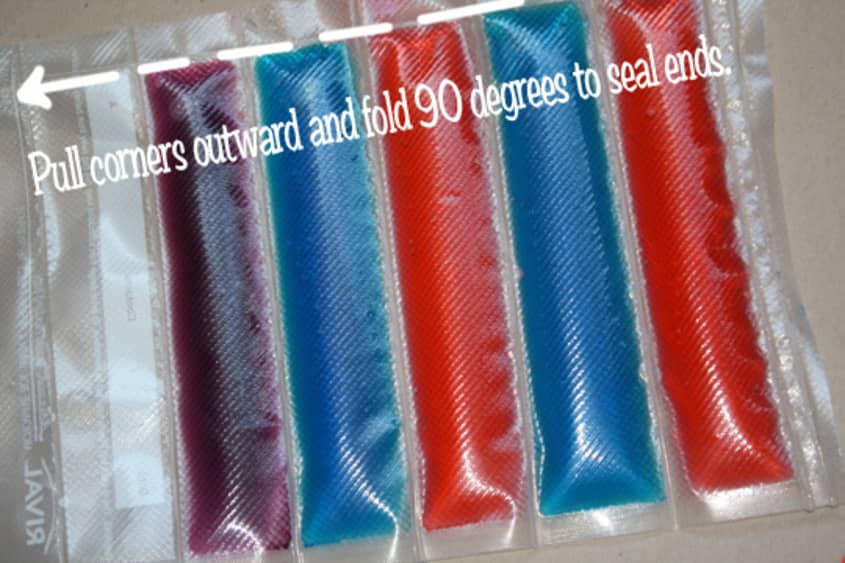
Re-Seal the Top: The trick to sealing without squirting popsicle mixture all over your vacuum sealer is to pull the corners of your string of popsicle tubes and bending the top over 90 degrees. By pulling the corers taut, it will push the mixture back down inside without you having to worry about keeping it inside. If your pops are too full, there could be an issue, so give it a test "pull and fold" over the sink your first time to ensure you've got the hang of it.
Keep pulling tight and place on the heat bar on your vacuum sealer. Keeping the bag pulled tight, close the lid with a few stray fingers and hit seal. It sounds complicated, but it's rather easy once you've done it once or twice (if you're nervous, do a test run with water first and then re-cut and fill).Cut Sealed Sections Apart: If there is any time to pay attention to this process it's now. Sliding a scissor up the melted divider, cut each popsicle apart. Squeeze each one gently to make sure your seal is still holding. Some might not make it (though out of 100 pops, we only had 2 that bit the dust), but that's ok.
Freeze: Pops can be frozen before cutting, but we've found it to be more difficult to do. If this works easier for you, then by all means, go ahead. We freeze them individually, though placing a bag or box inside your freezer to hold them flat is nice, if you have room (though it doesn't matter one bit).
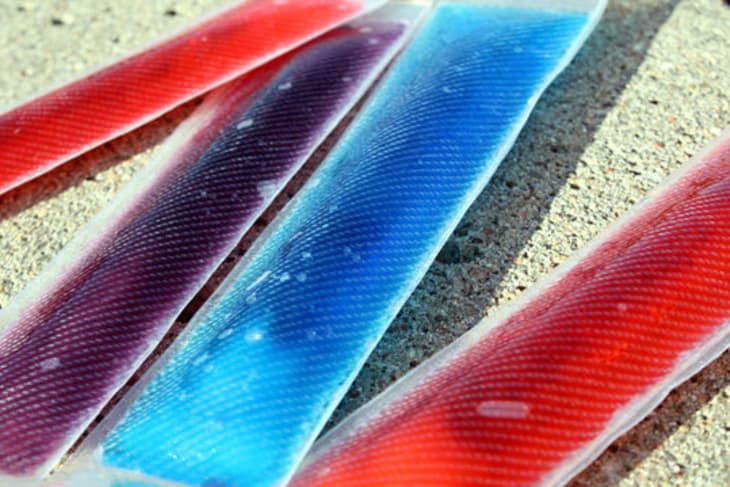
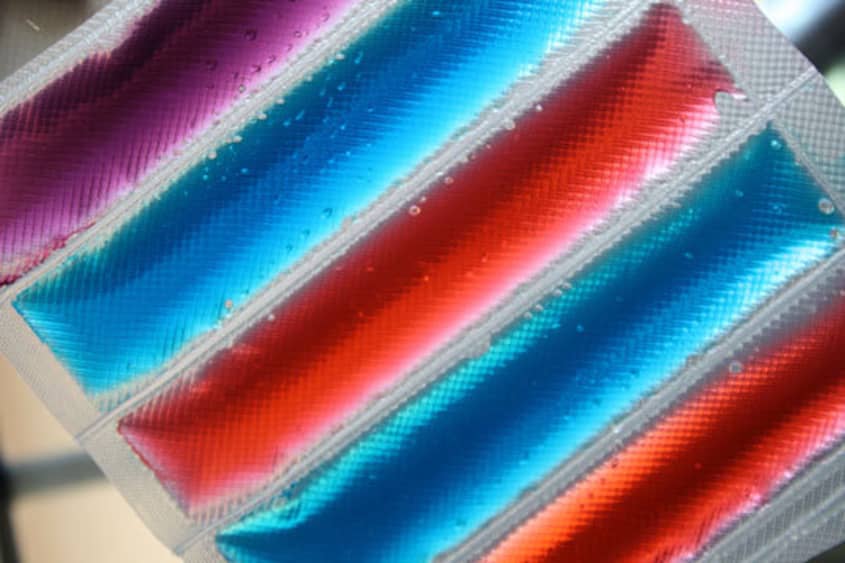
Enjoy: Slice the end of each pop off and slide up out of the tube, just like you did when you were a kid. This is a great way to serve a finishing touch at a party without the hassle of scooping up ice cream on site or dealing with cakes that might get too warm to hold their icing outdoors. Not many will be able to say no and you'll be asked to make them time and time again!
Recipe Notes
• We promise this project is an easy one, although it looks complicated. We made a batch of popsicles from start to finish in just under 5 minutes. It can require two people, so it's always something that's best done with the help of a friend or family member (though if push comes to shove you can do it on your own!).
• The popsicle wrappers can be reused and resealed, so make sure to only slice open the very end when opening to consume. The next time you refill them it will be extra easy since you don't be handling an entire sheet and will be doing individual pops instead.
(Images: Sarah Rae Trover)
(Images: Sarah Rae Trover)