
How To Make DIY Instant Noodle Cups

I think I can skip the sales pitch here and get right down to brass tacks, yes? I love noodle cups. You love noodle cups (you know you do). But none of us really loves the weird artificial ingredients or the flavorless nubs of dehydrated vegetables that come along for the ride.
Let’s fix this situation. Rather than give up our torrid noodle-cup affair (as if!), the obvious solution is to make our own DIY cups — and you’ll be surprised at how easy that really is.
Do-It-Yourself Noodle Cups
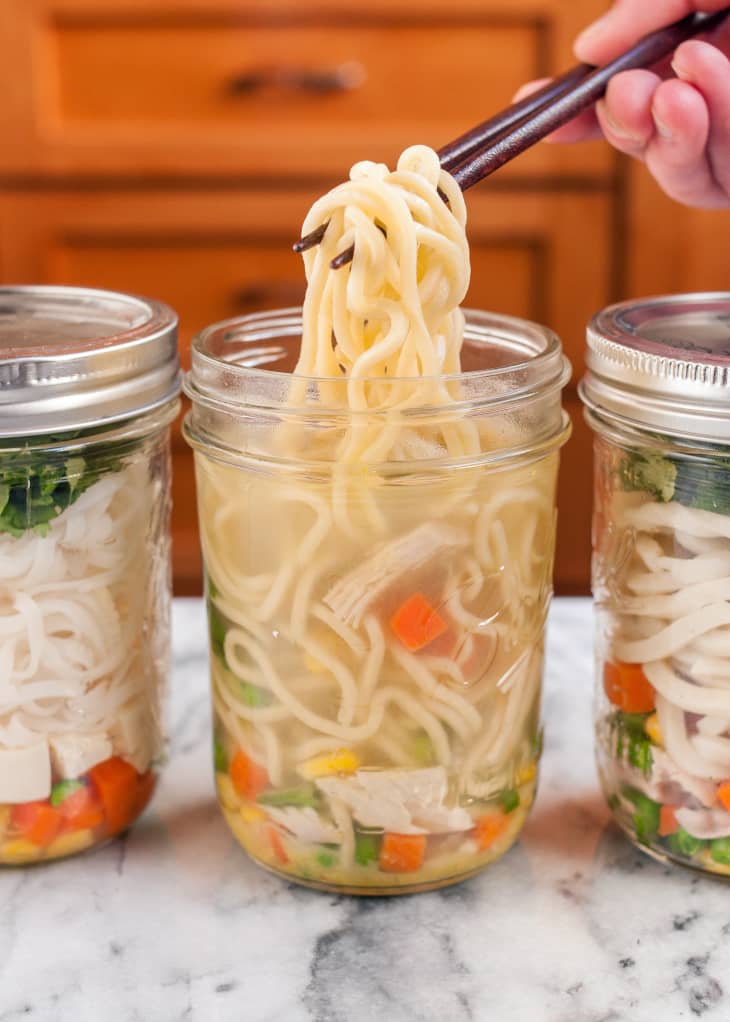
The idea with noodle cups, or pot noodles as the Brits call these, is to pack all your favorite noodle soup components into a jar or other heatproof vessel, but nix the broth. When you’re ready to eat, pour hot water over the top, let things warm up for a few minutes, and lunch is served.

You can pack these jars days ahead and stash them in the fridge. Since the noodles aren’t immersed in liquid, they stay chewy and fresh instead of getting soft and waterlogged. Same for the rest of the ingredients, which we’ll talk about in a second. Once you add water, that’s when everything gets mixed together and becomes a true soup.

The “Cup” for Your Cup of Noodle
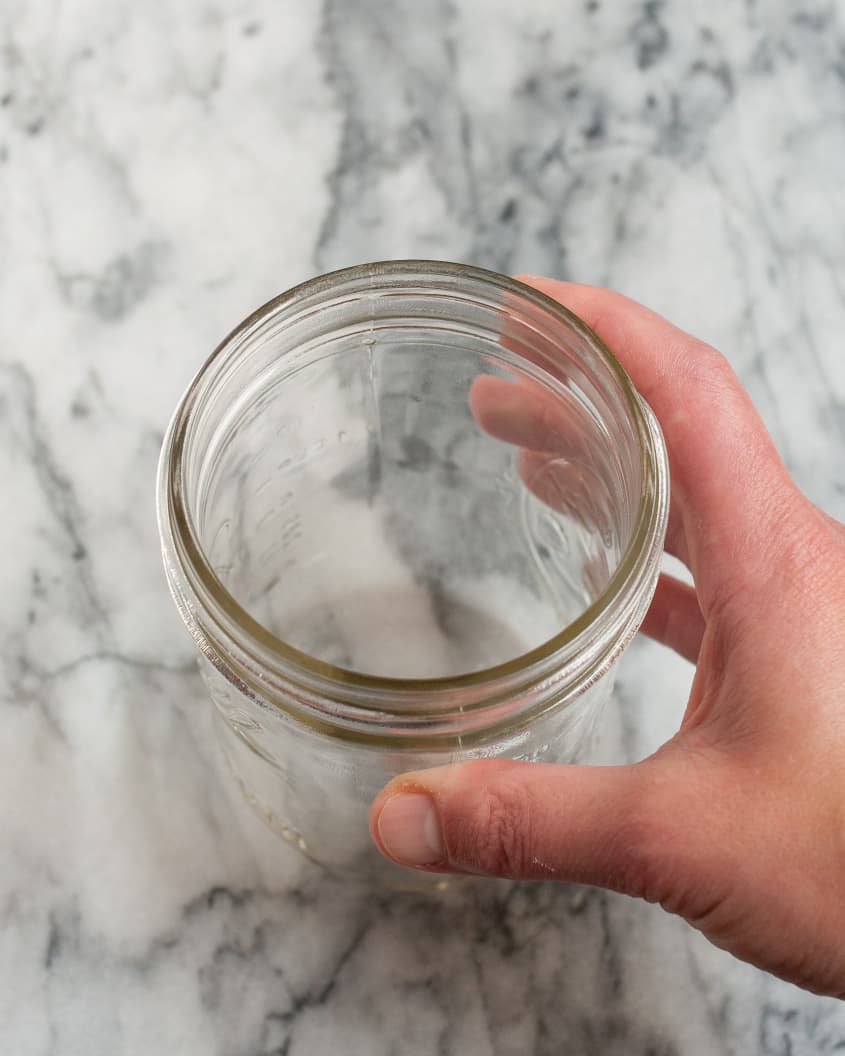
You can really use any container with a lid to hold your soup ingredients. Since nothing gets microwaved and the liquid isn’t added until just before eating, you don’t even have to worry about the container being microwave-safe or leak-proof. As long as it holds a serving of food, you’re good.
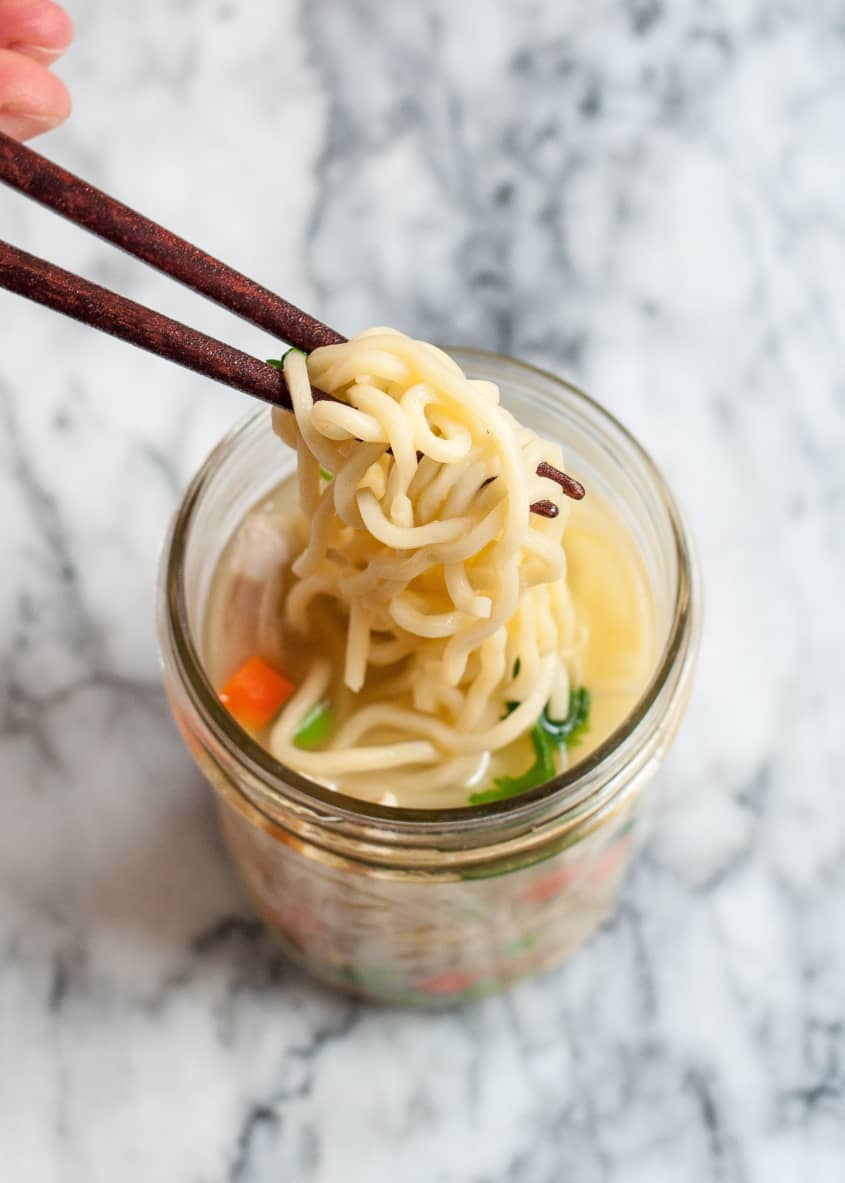
Personally, I like using pint-sized wide-mouth canning jars. These hold a good amount of food and still allow enough headroom to swirl everything around when mixing the soup together, plus they’re easy to throw into the dishwasher and clean.
You can eat straight from the jar, but if you’re in the mood for a more civilized approach, grab a bowl and pour your warmed soup inside.
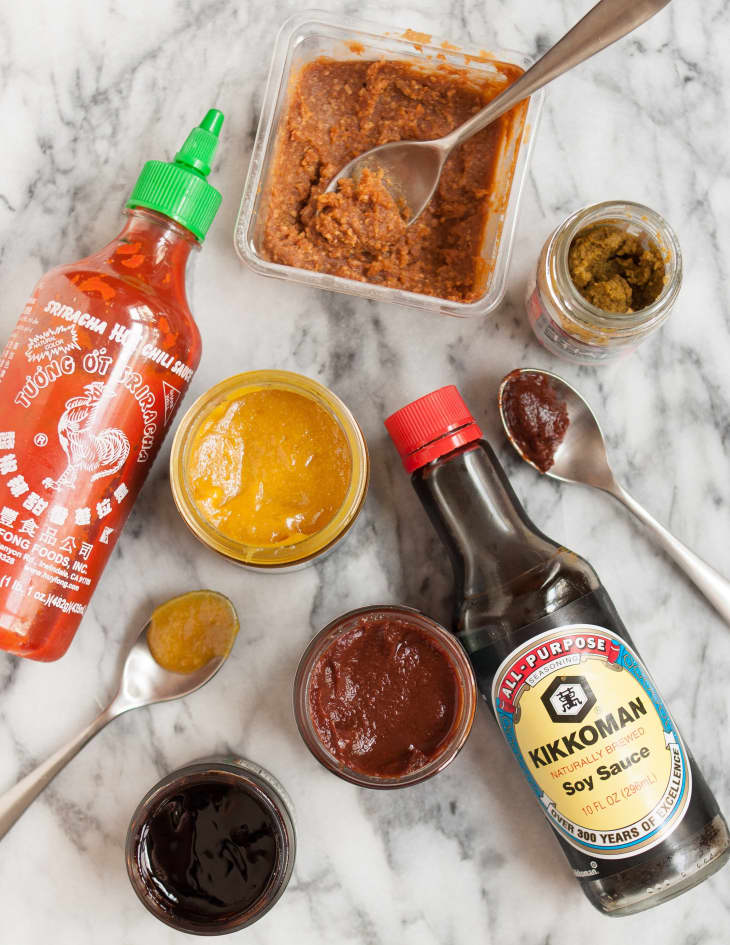
The Flavor Base for Your Soup
Now, these homemade noodle cups would just be a jar of noodles and veggies hanging out in hot water if it weren’t for one crucial ingredient: soup stock paste. You might know this as “Better Than Bouillon,” although you can find it being sold by many companies, all with varying degrees of preservatives (or lack thereof), sodium (or lack thereof), organic ingredients, “real” ingredients, and so on. Since half the reason we’re making these noodle cups is to avoid ingredients we don’t want, read the labels carefully before you buy. (My favorite brand is made by Penzeys.)
This paste is what dissolves in the water and transforms it into a savory broth. Nifty!
You needn’t stop at bouillon, however — or even use it at all. Miso paste, curry paste, and anything similar will work here. And don’t forget to round out your soup with a few extras. A squeeze of Sriracha, a dash of soy sauce, some coconut milk, or a spoonful of chili-garlic sauce will all take your noodle cup up a few notches and make your lunch all the more satisfying.
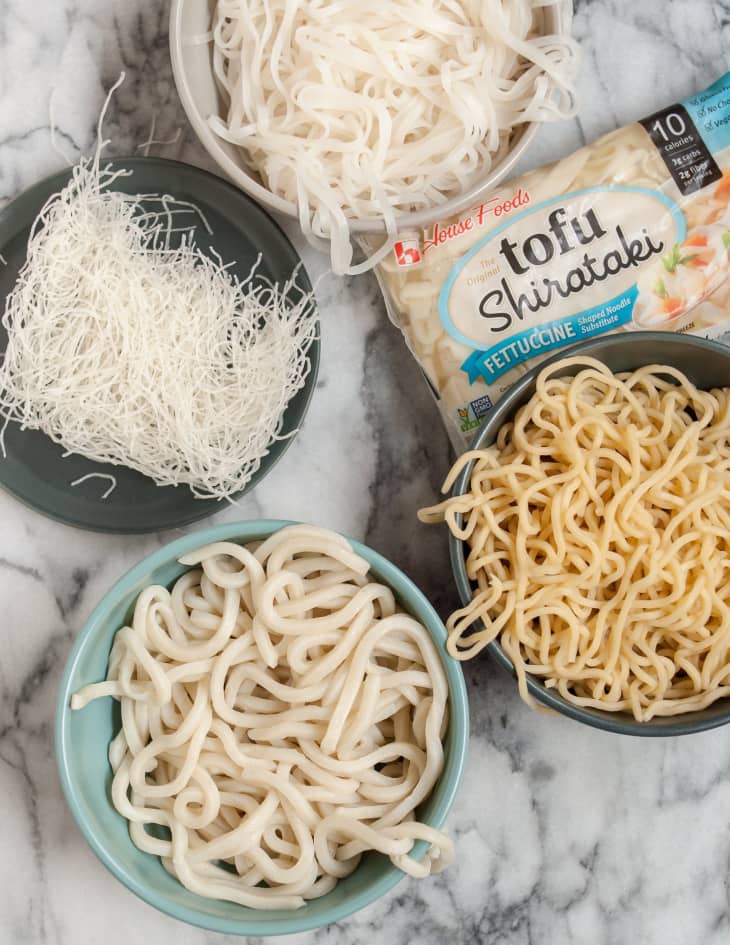
The Noodles for Your Soup
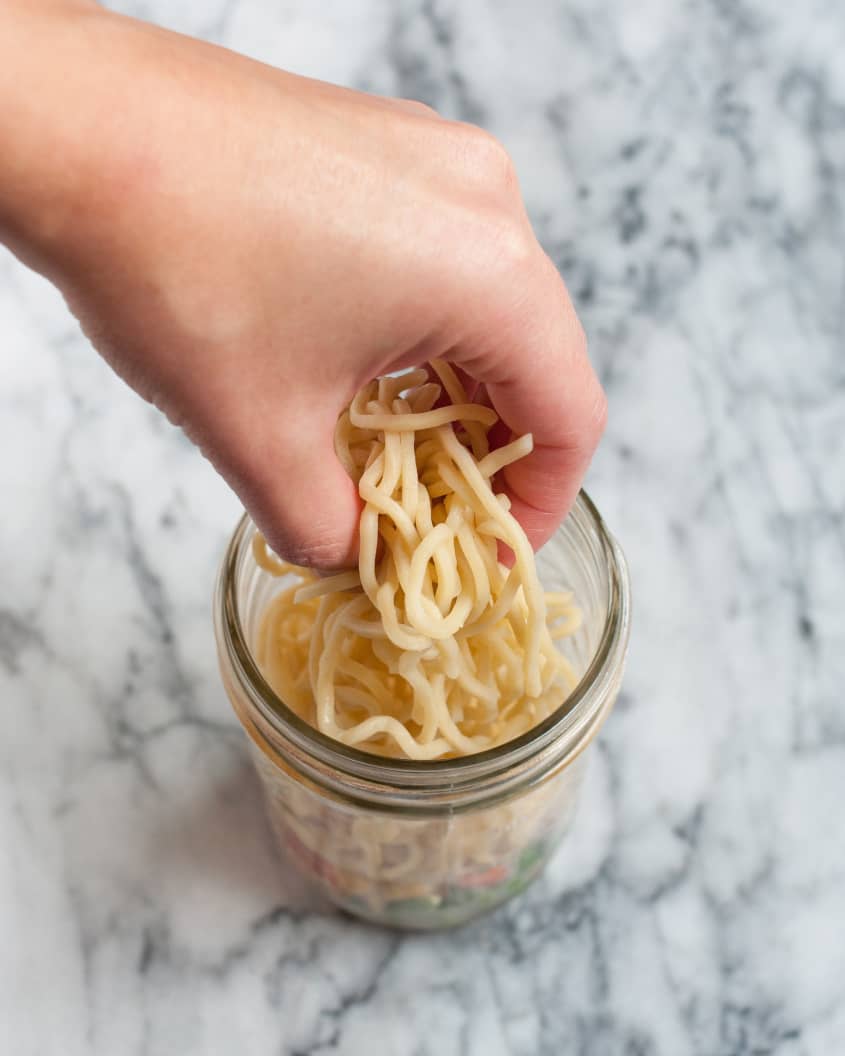
This may come as a surprise, but you can use whatever noodles you like. Spaghetti from last night’s dinner, rice noodles, udon noodles, soba noodles — heck, even ramen noodles stolen from their packet.
Maifun noodles, vermicelli noodles, and your pilfered ramen noodles are all truly “instant,” and can be packed into noodle cups un-cooked. For other noodles that require some cooking, go ahead and cook them beforehand; the hot water you add to the cup won’t be hot enough to really cook them after the fact.

Filling Out Your Soup
I totally respect a noodle cup that consists entirely of noodles, but if you’d like a little more substance to get you through the afternoon, be sure to pack some extra stuff in there. For lack of a better, more appetizing term, I call these “fillers.”
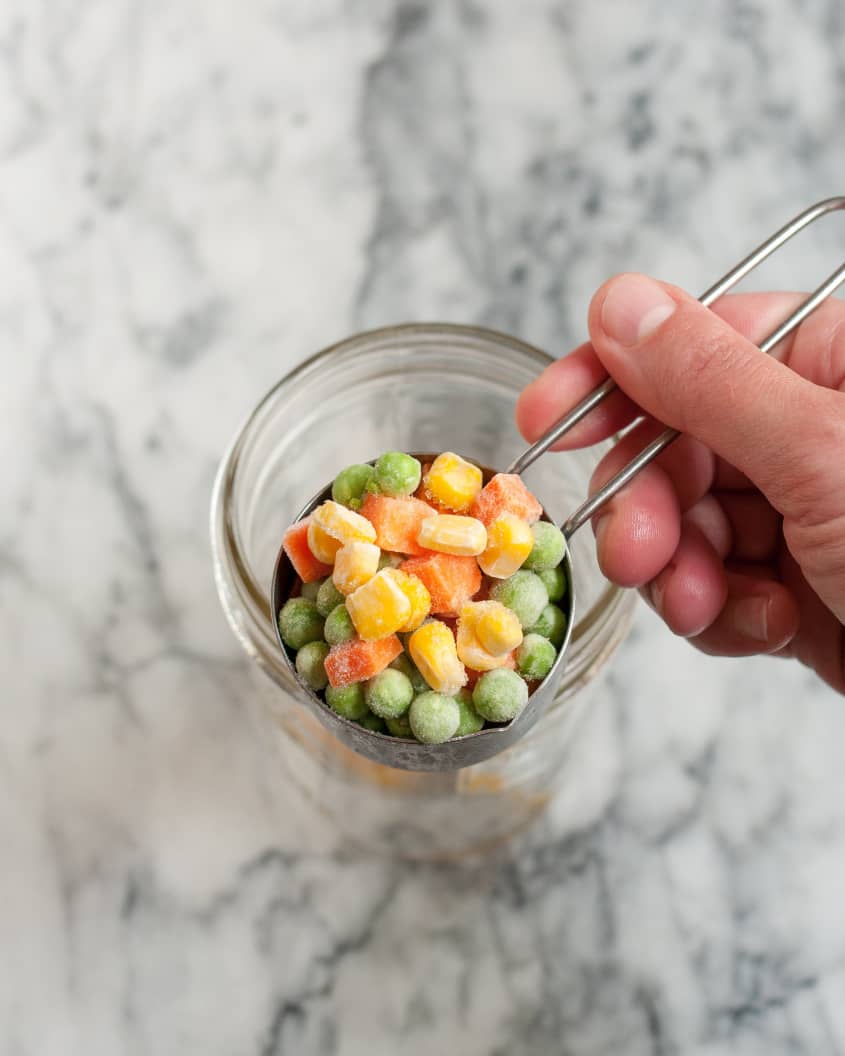
For vegetables, I like to use frozen corn, frozen peas, and frozen carrots. They thaw by the time you mix your soup and they’re easy and cheap. You can also add dried or thinly sliced mushrooms, or any leftover cooked vegetables from your dinner.
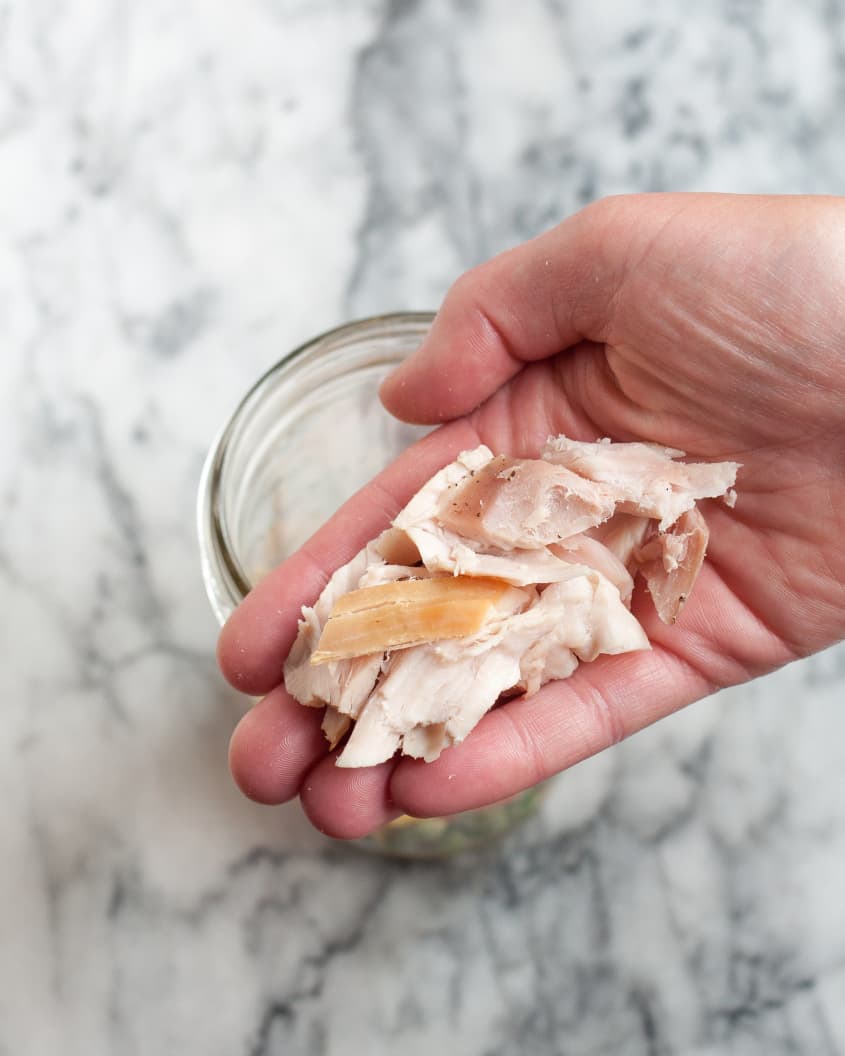
For protein, use whatever you have around. These noodle cups are a great place to use up the last bits of chicken, pork, or steak that you might have around — or cook an extra chicken breast when you make dinner so you have enough for your noodle cups. Tiny cubes of diced tofu make an excellent vegetarian noodle cup. You can even pack yourself a soft-boiled egg for a truly authentic bowl of ramen.
Remember that the hot water you add will not actually cook any of these ingredients, so make sure that anything that needs to be cooked (like chicken) gets cooked before it goes into the jar. Hard vegetables, like fresh carrots, broccoli, and beans, are also best if cooked ahead of time.

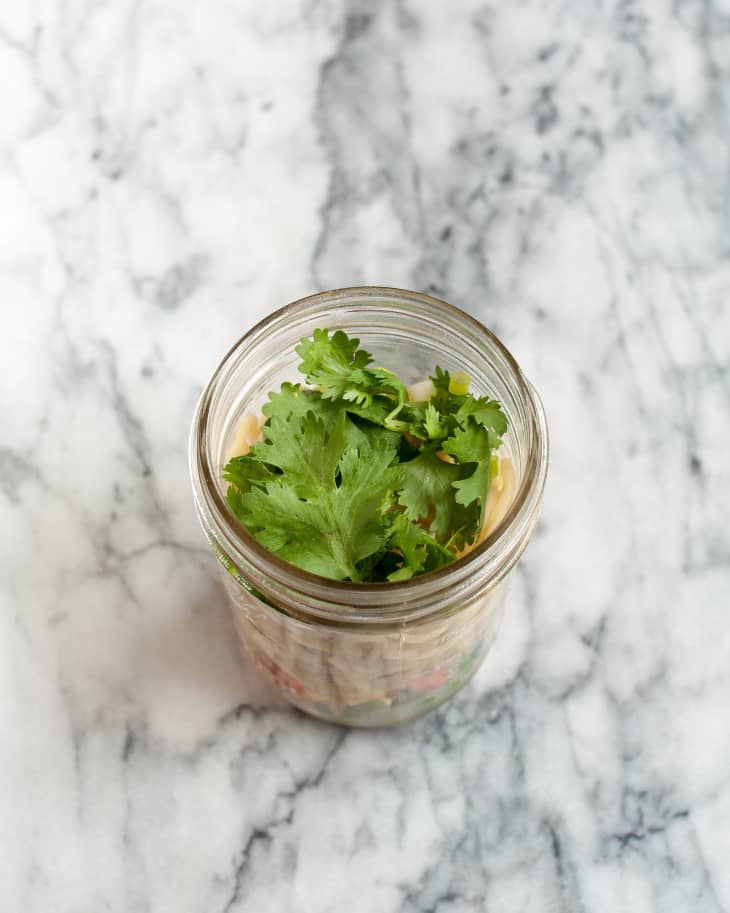
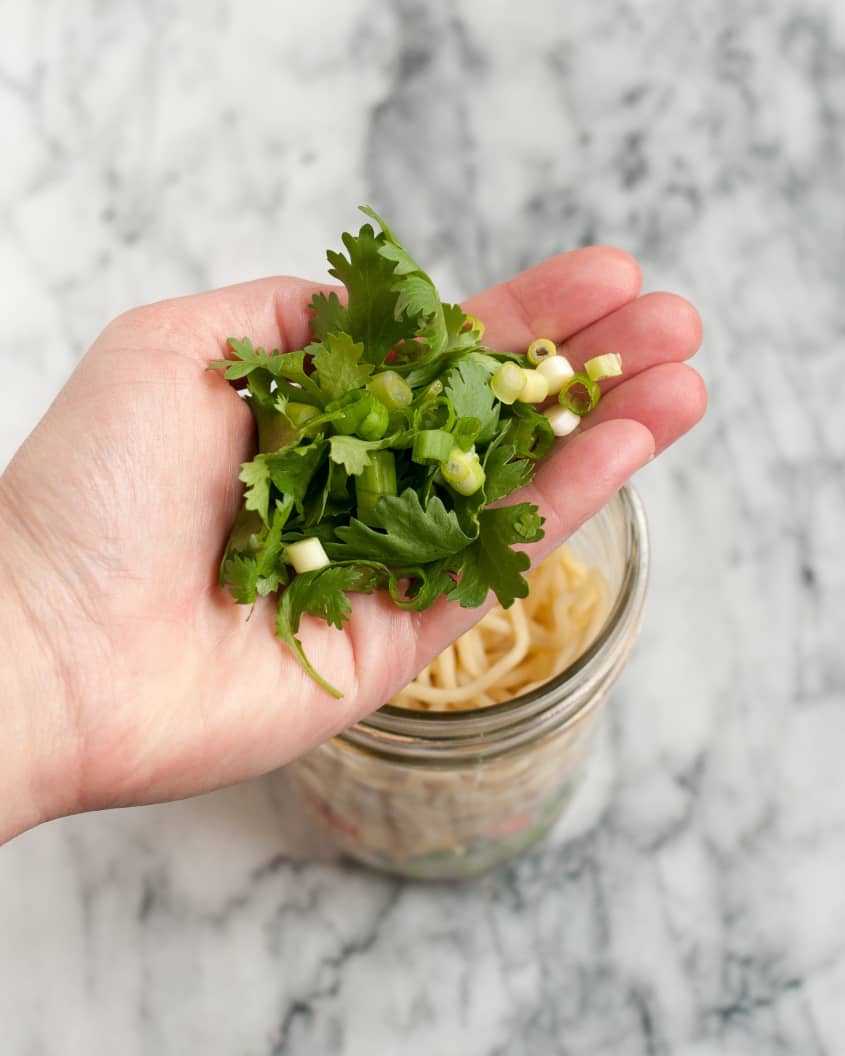
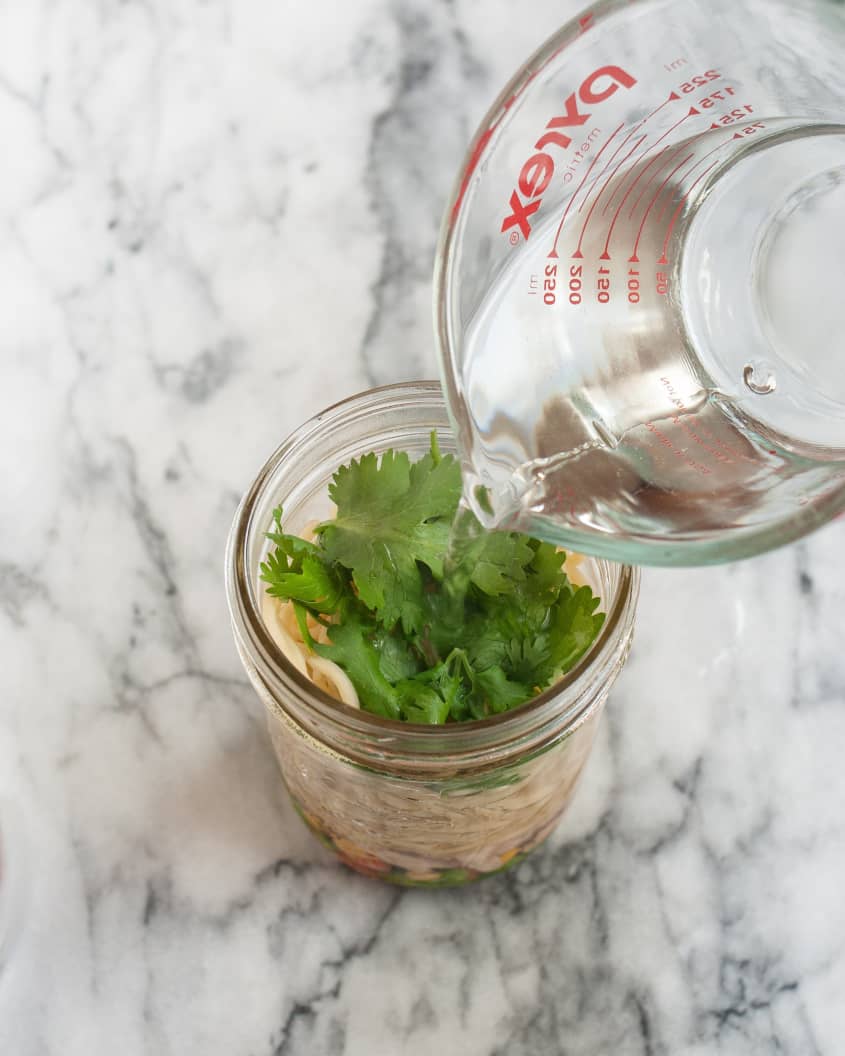
Fresh Ingredients to Top Things Off
Last but not least, throw a few truly fresh ingredients into your cup. These are things that don’t require cooking, but add a lot of flavor. I always like a big handful of cilantro and some sliced spring onions or bean sprouts. You could also shred some spinach or other hearty green.
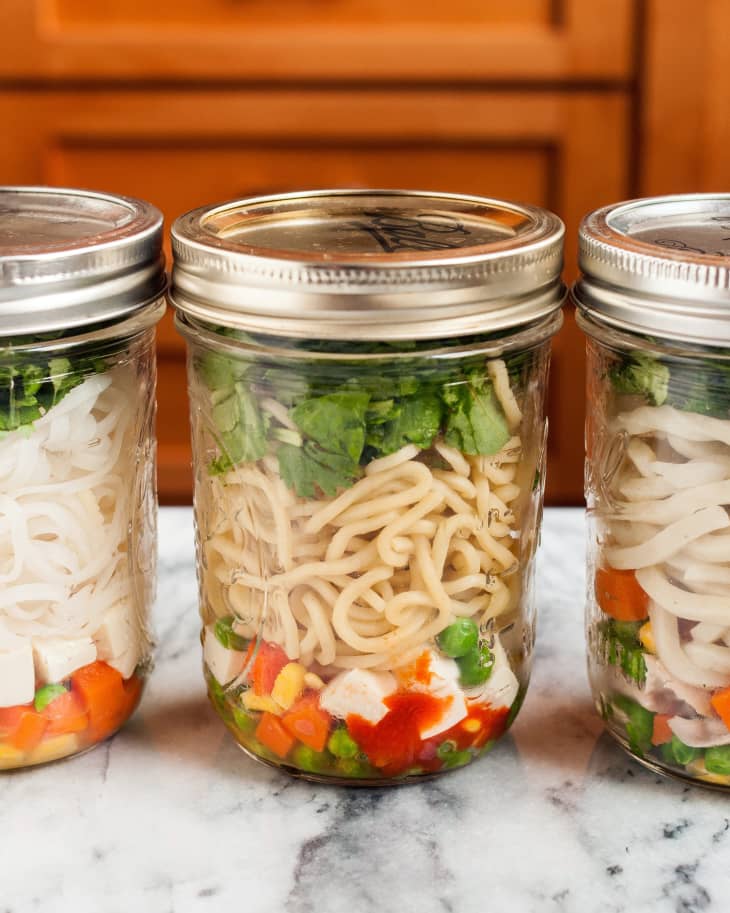
Packing Your Noodle Cup
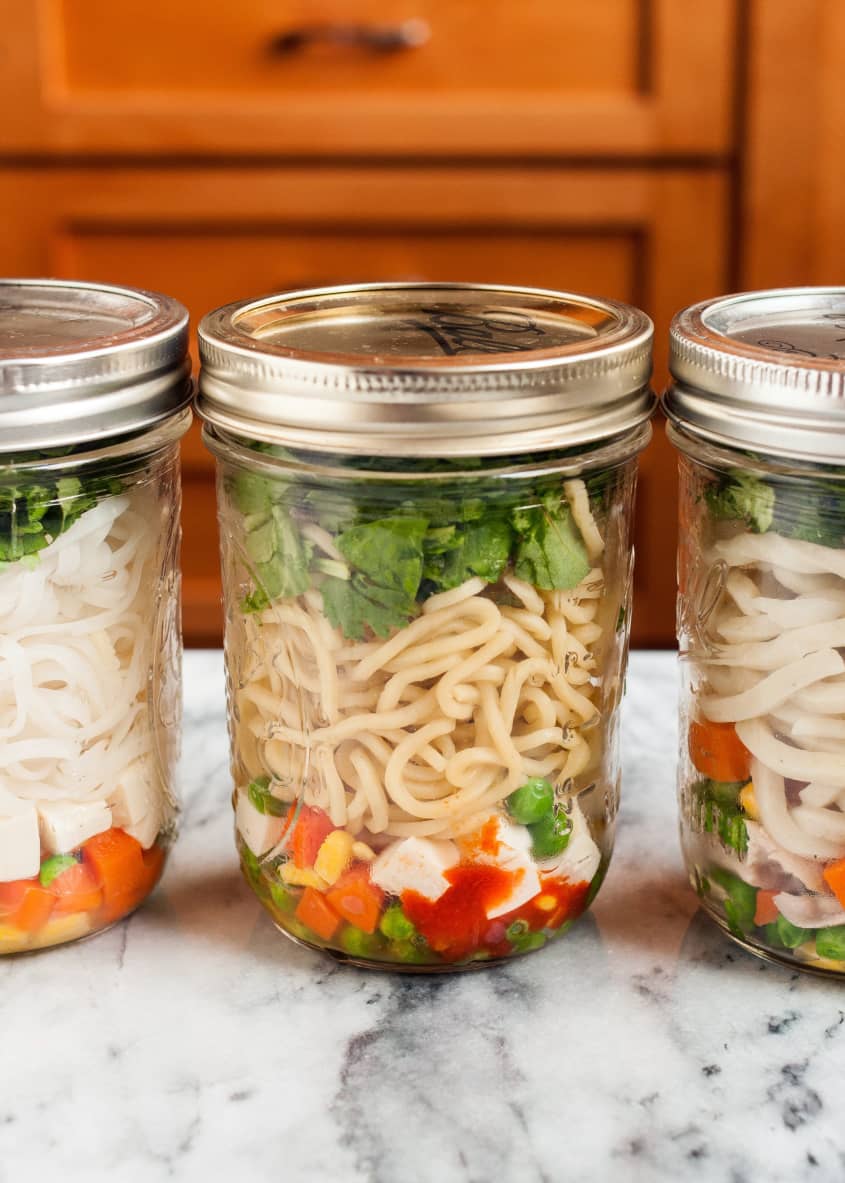
When packing up your soup components, add everything in layers — not only does this keep dry and wet ingredients separate until you’re ready to mix, but it looks pretty and makes an easier assembly line.
I usually put the flavor base and flavor extras on the very bottom where they’ll stay separate. If you’re just using a paste like bouillon, it doesn’t really matter if it gets mixed with other components, but soy sauce, coconut milk, or other liquids can start to make the noodles soggy if they get mixed.
On top of the flavor base, I add the filler ingredients, and then the noodles. Fresh ingredients go on top where they won’t get crushed. You can also pack the fresh ingredients in a separate baggy, which you can pull out before you add the water. This is helpful for things like slices of limes or eggs that you don’t necessarily want mixed into the soup.
Packed like this and with a tight lid, these noodle cups will stay fresh and ready in your fridge for about a week.
Gluten-Free, Vegan, Paleo: As You Like It!
These noodle cups are an incredible boon for anyone with special food needs or if you follow a particular diet. There are noodles that fit just about any diet (even a weight-loss diet), and the other components are easy to adapt to suit your particular needs.
Noodle Cups for Lunch!
I spent an extra-long time explaining all the components for these cups only because the actual assembly is so fast and easy. Once you’ve decided on your components, all you need to do is line up the jars and fill them up. Don’t forget to cook any noodles that require cooking before you start — other than that, it’s a cinch.
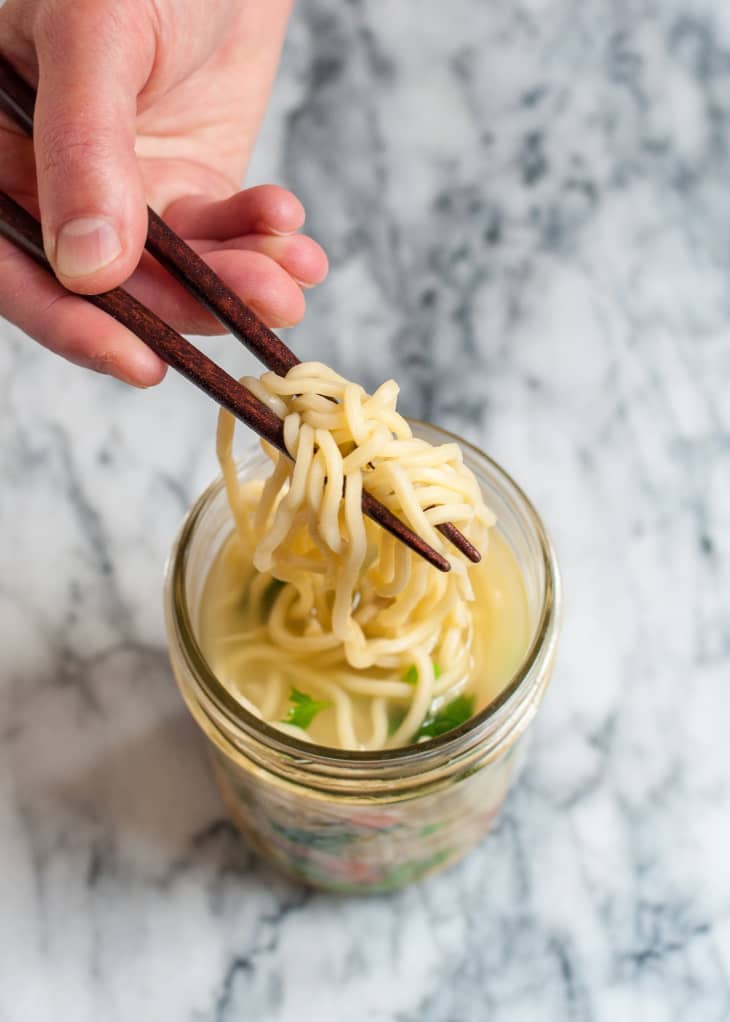
When you’re ready to eat your noodles, just add enough boiling water (or at least, very hot water) to cover, put the lid back on, and let the cups stand for a few minutes so everything gets warmed. I’ll leave it to you to source your own hot water — using a tea kettle, water microwaved in your coffee cup in the office microwave, or the hot water tap on the coffee machine are a few options. When you stir the noodles, be sure to get all the way down to the bottom with your fork or chopsticks so you mix all the flavoring base into the soup.
Before I release you to your own devices, a few shout-outs. It would never have occurred to me to try making my own noodle cups if it weren’t for Hugh Fearnley-Whittingstall, who included a recipe for pot noodles in his book River Cottage Veg. J. Kenji Lopez-Alt also did a great service to Cup O Noodle lovers everywhere with his thorough explanation of Make Your Own Just-Add-Hot-Water Instant Noodles on Serious Eats — also inspired by Hugh F-W’s earlier work. Thanks, guys!


How To Make Instant Noodle Cups
Nutritional Info
Ingredients
Ingredients for each noodle cup
- 1 to 3 teaspoons
flavor base — soup stock paste (like Better Than Bouillon), miso paste, curry paste
- 1 to 3 teaspoons
flavoring extras, optional — chili-garlic sauce, soy sauce or tamari, coconut milk, sesame oil, Sriracha or other hot sauce
- 1/4 to 1/2 cup
filler ingredients — frozen corn, frozen carrots, frozen peas, diced tofu, leftover cooked meat, dried or thinly sliced mushrooms, thinly sliced spinach or other hearty greens, kimchi, soft-boiled or hard-boiled egg
- 3/4 to 1 cup
noodles — cooked udon, cooked yakisoba or ramen, cooked soba noodles, cooked spaghetti or fettuccine, cooked rice noodles, cooked shirataki noodles, dry vermicelli or maifun noodles
- 1/4 to 1/2 cup
fresh ingredients — fresh herbs, sliced green onions, bean sprouts, sliced lime or lemon
Equipment
Pint-sized widemouth glass jars with lids, or other heatproof containers
Measuring cups and spoons
Chopsticks or a fork, for eating
Instructions
Instructions for Assembling the Noodle Cups
Place flavor base and flavor extras in the bottom of the cup: If it's a paste, like soup stock or miso paste, spread it around a little so it dissolves more easily once you add the hot water. Also add any flavoring extras.
Top with filler ingredients: Scatter your filler ingredients over the top of the paste. It's OK if they get mixed in with the flavor base and extras.
Add the noodles: Pack the noodles down so they're fairly compact. It's fine if they stick together — they will un-stick once you add the water.
Finish with the fresh ingredients: If you'd like to keep these from getting mixed into the hot soup, pack these into a baggie that can be removed just before you add the water.
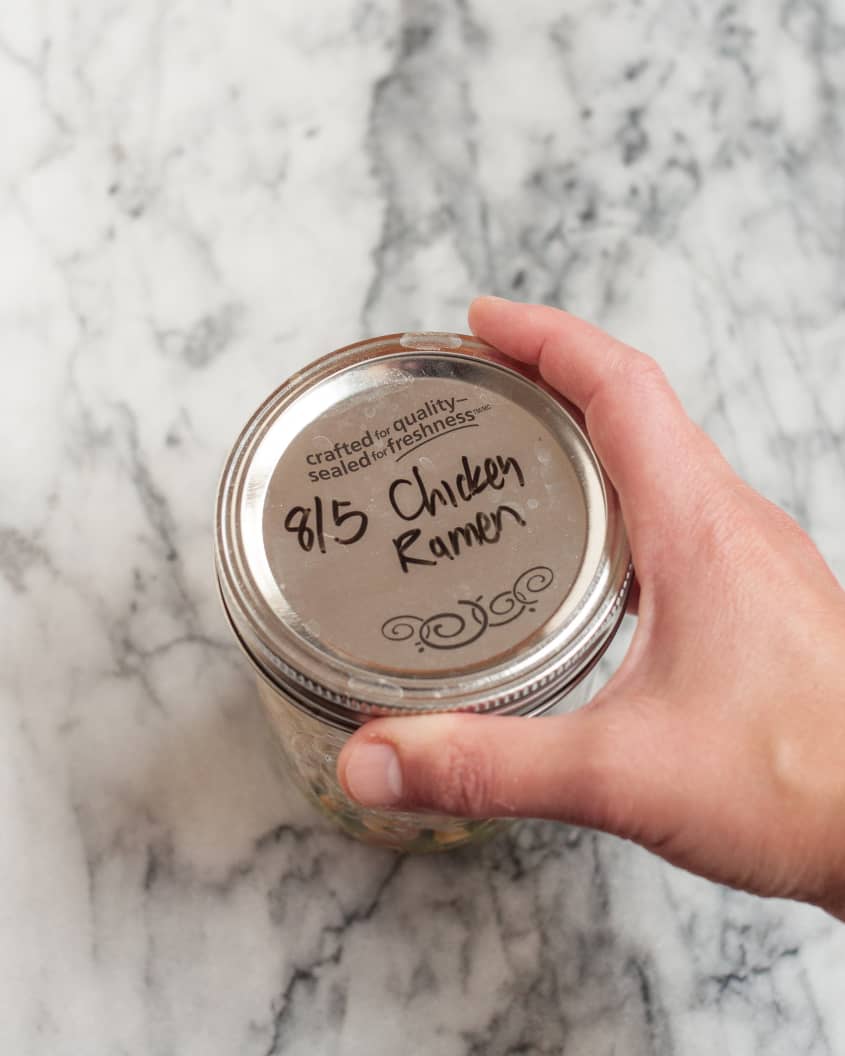
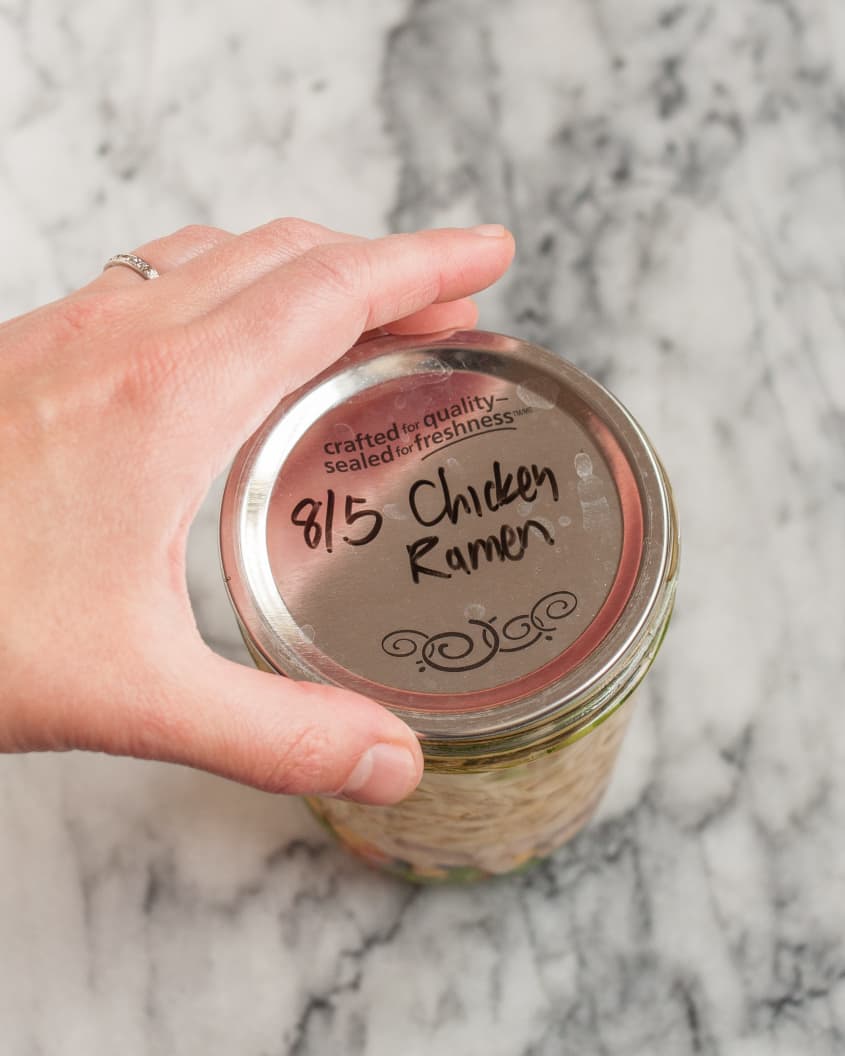
Seal and refrigerate: Place the lid on the container and refrigerate for up to a week. Use a dry-erase marker or masking tape label to write the contents of each jar so you can easily grab whichever combo of ingredients you want that day. (It's best to keep the jars refrigerated until you're ready to eat, but it's OK to stash them in your bag for up to two hours.)
Instructions for Cooking the Noodle Cups
Top with hot water: When you're ready to eat, unscrew the lid and pour enough boiling water over the top of the noodles to cover.
Cover and steep: Place the lid back over the container. Let the soup steep for 2 to 3 minutes. The ingredients should be warmed through, but the soup is still nicely hot.
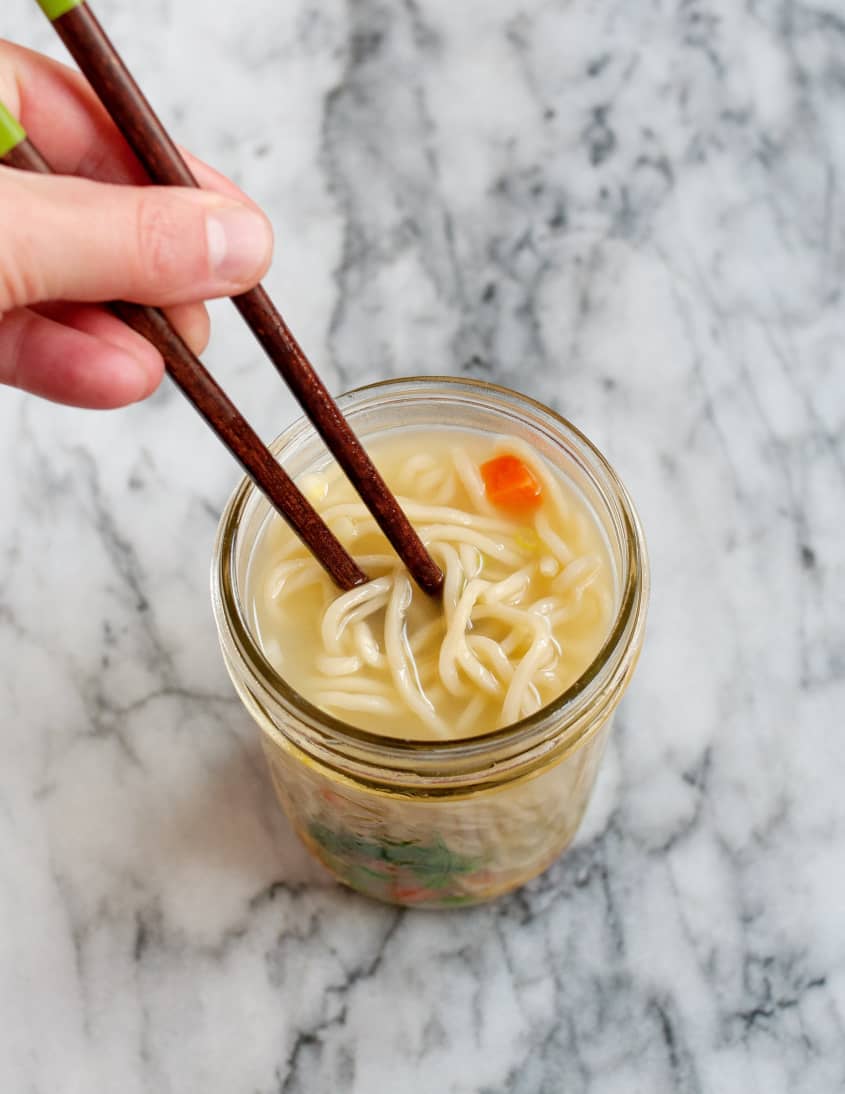
Stir thoroughly: Reach your chopsticks or fork deep into the cup and stir everything around thoroughly to mix the flavor base into the water and mix the filler ingredients into the noodles. (Alternatively, you can pour the soup out into a bowl and mix everything there.)
Eat right away! If you kept your fresh ingredients separate in a bag, scatter them over the top of the soup before eating.