
How to Make Clarified Butter and Ghee on the Stovetop

Learn how to make clarified butter or ghee on the stovetop with just butter and a few kitchen tools.

Aside from making your kitchen smell like a buttery wonderland, clarifying butter removes the solid particles suspended in the butterfat. Ghee takes it a bit further by simmering out more of the water. The resulting liquid gold is useful for all kinds of kitchen projects, from curries and stir-fries to pastries and hollandaise sauce. Yum.
Why Clarify Butter?
Let’s talk a little more about why you might want to make clarified butter and ghee, besides the fact that your recipe calls for it. Clarified butter has a higher smoke point than regular butter, making it useful for high heat cooking (like stir-fries) and long cooking (like curries). When used in baking, this pure butterfat also helps baked goods brown more evenly. When used in butter-based sauces like hollandaise, clarified butter makes a more stable emulsion.
Clarified butter, and especially ghee, also have a sweeter taste and creamier mouthfeel. You’re not going quite so far as making brown butter here, but you will start to get some of the same aromas and flavors.
These cooked butters have a longer shelf life than regular butter and stores well at room temperature, even in higher heat climates. You can store it in the fridge for about three months or freeze it for up to six months.
Read more: What Is Ghee?

Whats the Difference Between Clarified Butter and Ghee?
The goal of clarifying butter is to remove the five percent or so of the butter that is not fat but is water and milk proteins. Ghee takes this one step further by allowing the milk solids to brown (and likely further driving out any water left in clarifying) adding both color and flavor to the finished ghee. Browned butter, while seemingly similar to these two, isn’t quite the same — browned butters only goal is toasted milk solids for flavor so it can be done quickly over moderate heat and can be left strained or unstained. Worth noting: browned butter isn’t ideal for high-heat cooking as clarified butter and ghee are.
Learn How To Brown Butter here

Clarified Butter and Ghee
Learn how to make clarified butter or ghee on the stovetop with just butter and a few kitchen tools.
Nutritional Info
Ingredients
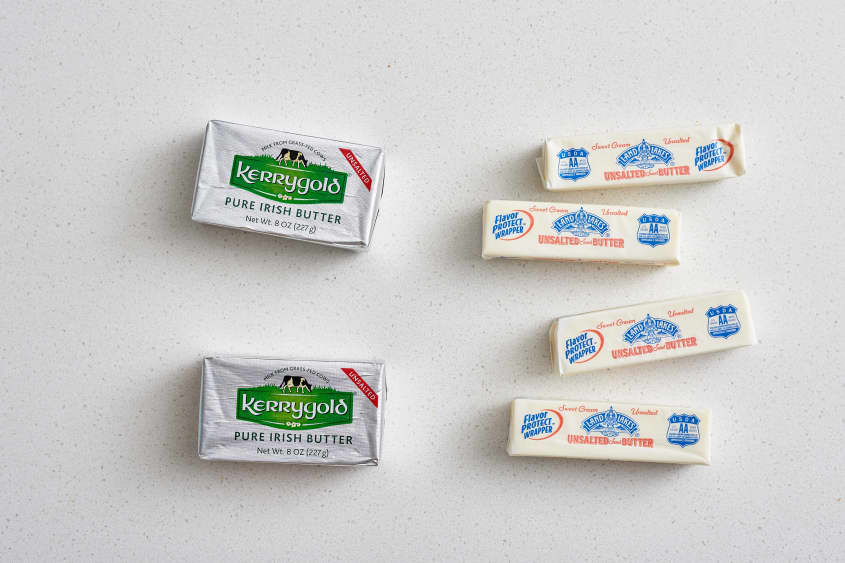
At least 1/2 pound (2 sticks) of butter or as much as you'll use within a few months
Equipment
Small saucepan
Spoon or ladle for skimming foam
Heat-proof bowl
Strainer
Cheesecloth or coffee filter
Jar for storage
Instructions
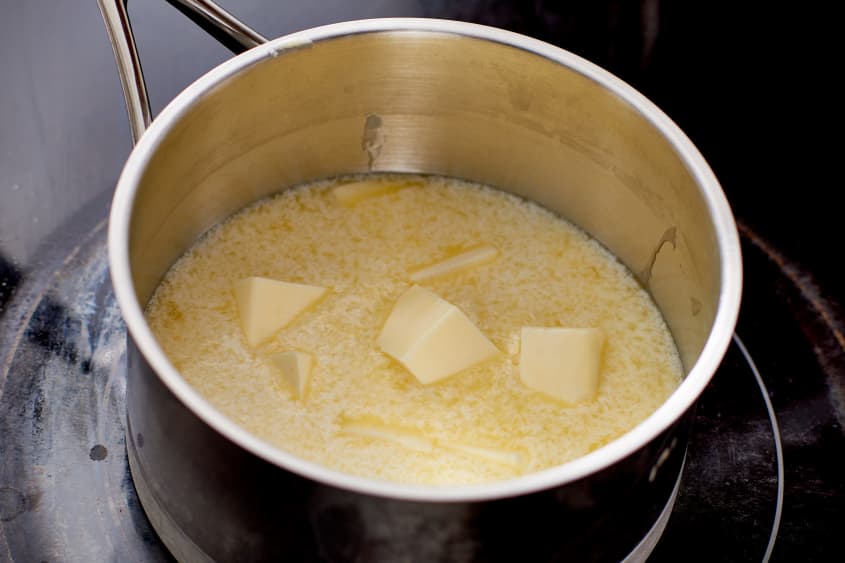
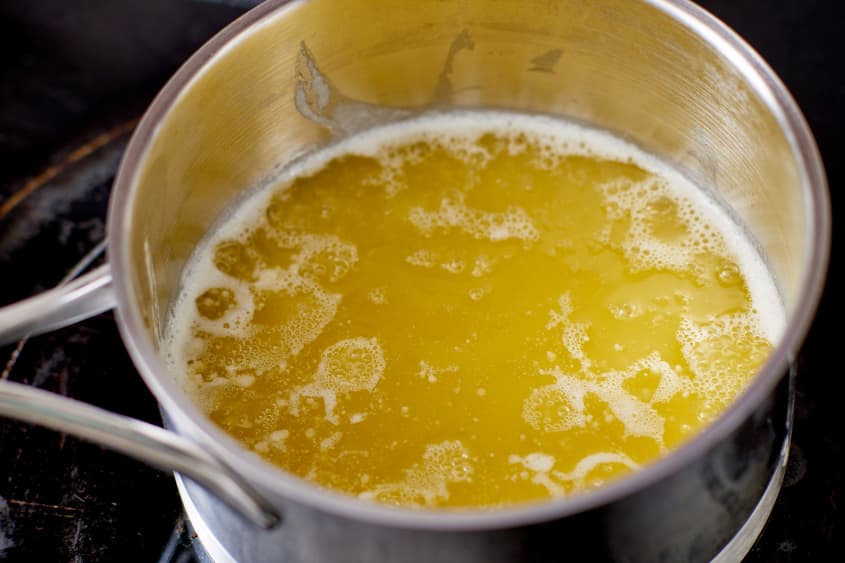
Melt the butter. Melt the butter in the saucepan over medium-low heat. Once all the butter has melted, you want the butter at a very low and gentle simmer. Adjust the heat as needed.
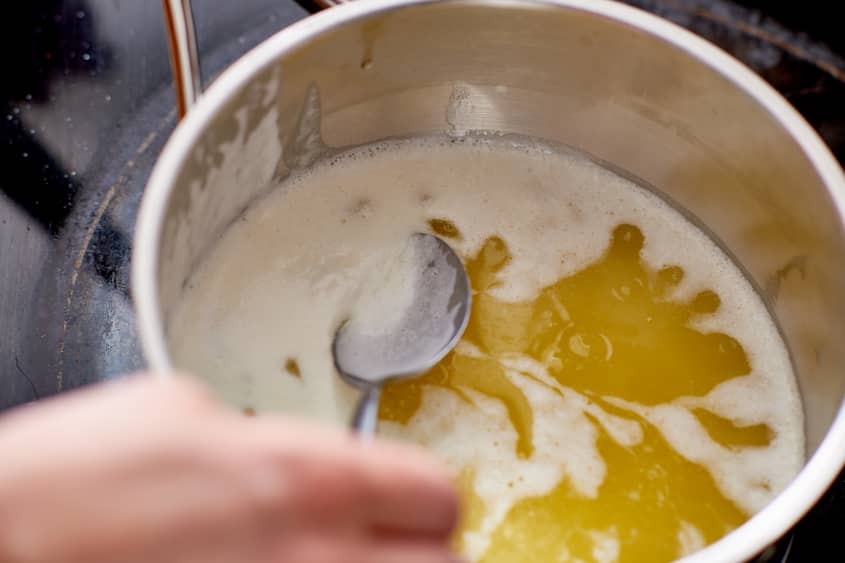
Skim the foam. Continue simmering the butter over low heat. Skim the foam as it rises to the surface. Solid particles will also start dropping to the bottom of the pan; these can be strained out later. Don't worry about skimming every last bit of foam; the remaining foam can be strained out later.
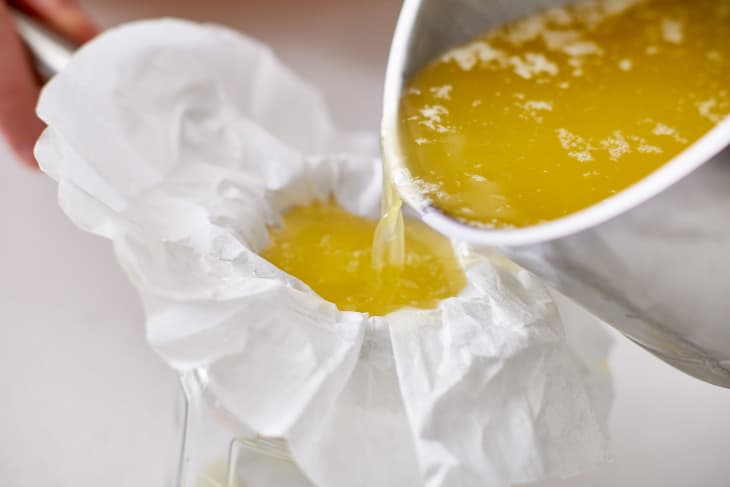
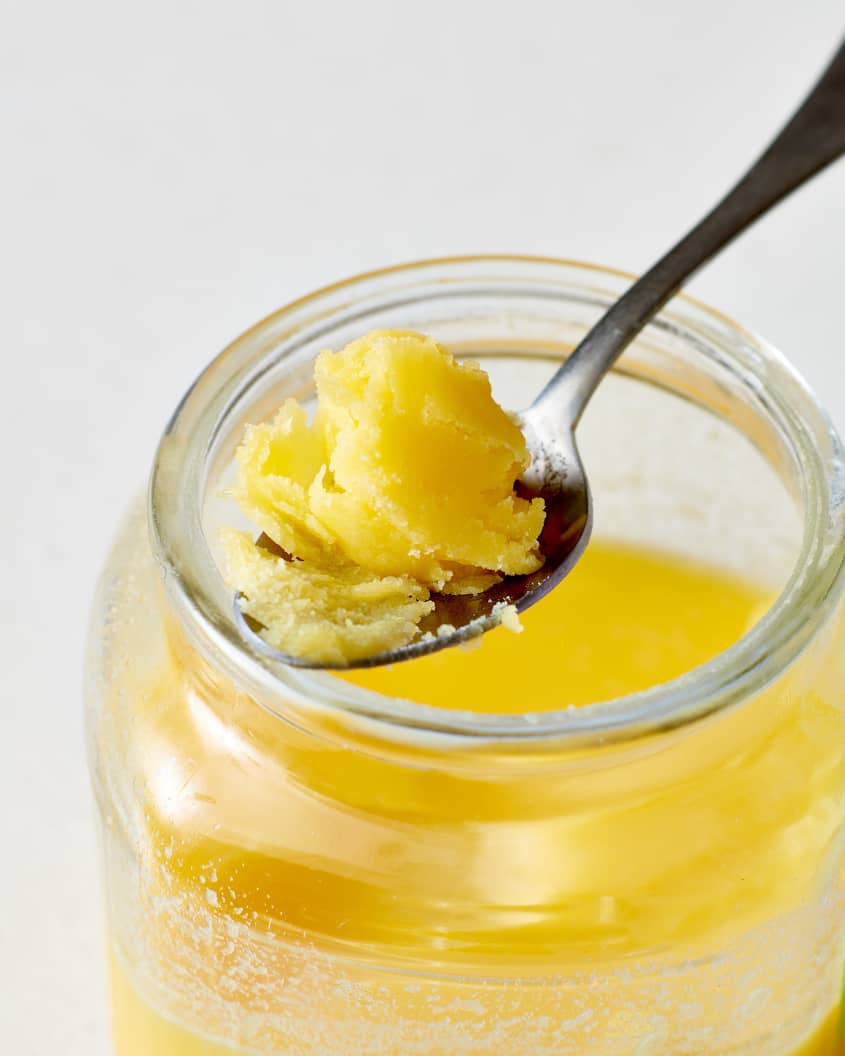
Strain and store. Place the strainer over the heat-proof bowl and line it with the cheesecloth or filter. When no more foam forms on the surface, remove the butter from heat and pour it through the strainer, leaving the solids in the bottom of the pan. Once the butter has cooled a bit, pour it into a jar and store in the fridge for up to three months or freeze for up to six months.
To make ghee. Instead of straining the clarified butter right away, continue simmering it over very low heat until the butter changes color from light yellow to deep gold, turns clear, and the remaining foam clumps together and falls to the bottom. Keep a close eye on things so that the butter doesn't start to burn. Some lighter foamy bubbles may form after the solid white foam falls - that's ok! Strain and store as with clarified butter. If desired, add a few fenugreek seeds to the ghee.
Recipe Notes
• That foam skimmed off the top is actually pretty tasty! Use it on popcorn, toss it with steamed vegetables, or stir it into soups.
• If you don't feel like going to the trouble of skimming the foam or are clarifying a large amount of butter, just wait for the foam to drop to the bottom of the pan. Remove from heat immediately and strain as normal.