
A Beginner’s Guide to Challah Bread
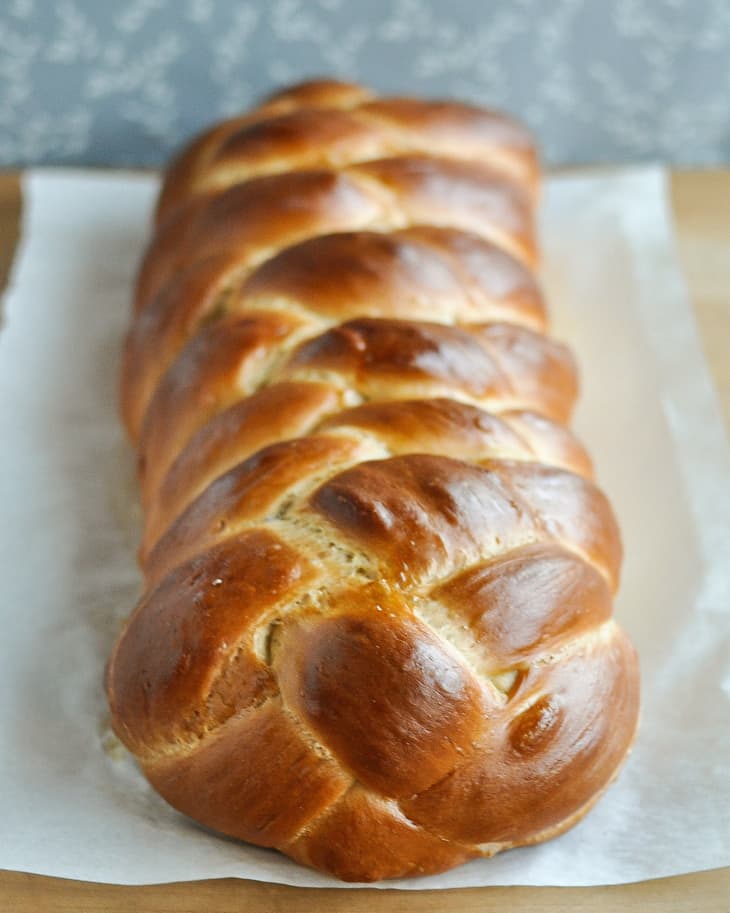
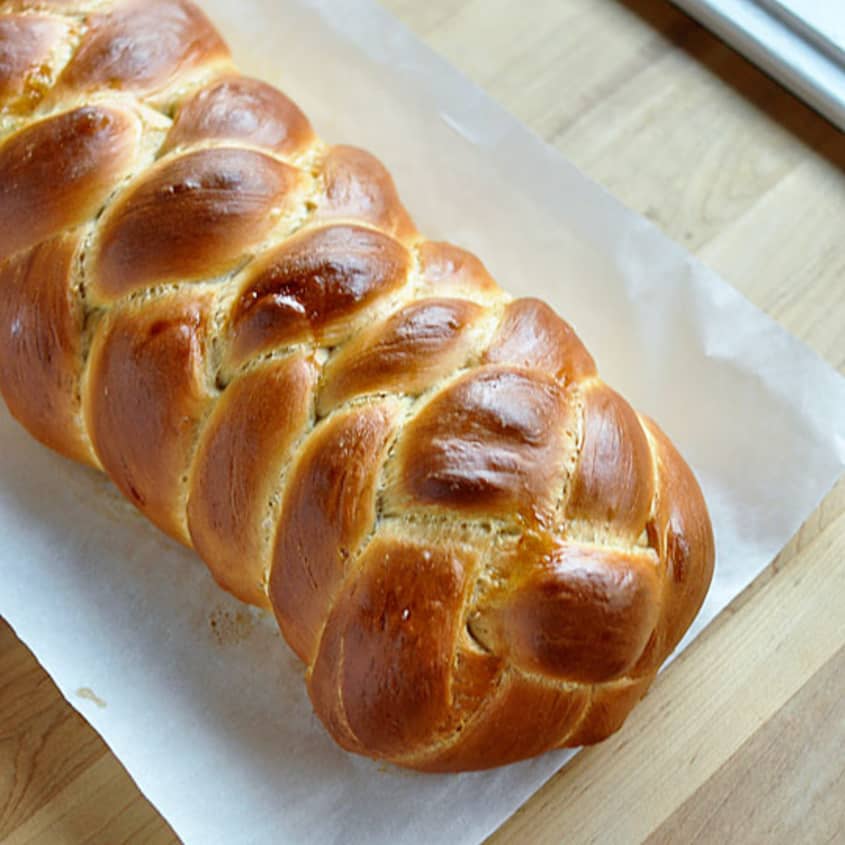
Challah is a bread that is as much a pleasure to look at as it is to eat.
Makes1 loaf
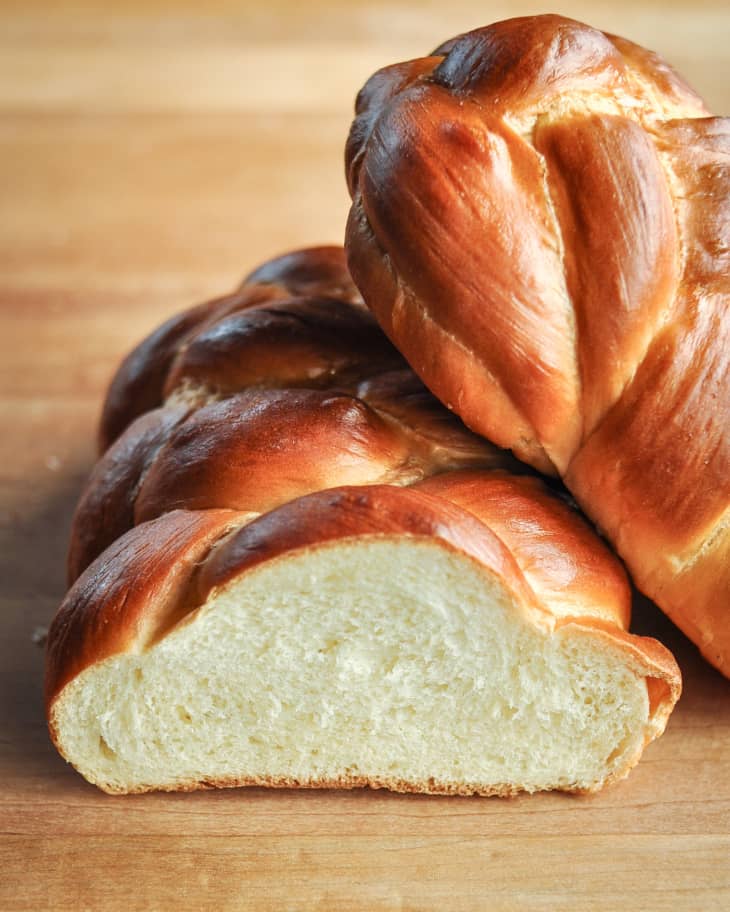
Here is a bread that is as much a pleasure to look at as it is to eat. Check out that braiding! And the way it practically glows on the table! Slice yourself a piece and cherish the pillow-soft interior, simultaneously rich and slightly sweet. Challah is a bread that should be in everyone’s repertoire. For celebrating everything from a Hanukkah dinner to Sunday supper, challah is the just the bread for the job.
What To Know About Challah Bread
- Challah bread plays an important role on certain Jewish holidays.
- Making the bread is easy; it doesn’t require any fussy techniques.
- The dough is enriched with eggs and neutral-flavored oil.
- Three-, four-, or five-stranded braids can be made.
- Leftover challah can be used in making bread puddings and sandwiches.
Challah = Enriched Yeast Dough
At its root, challah is a very straightforward bread to make. The dough is enriched with eggs and oil, while a few tablespoons of sugar add some sweetness. It doesn’t require any fussy techniques and can be made from start to finish in the space of an afternoon.
Braiding Challah
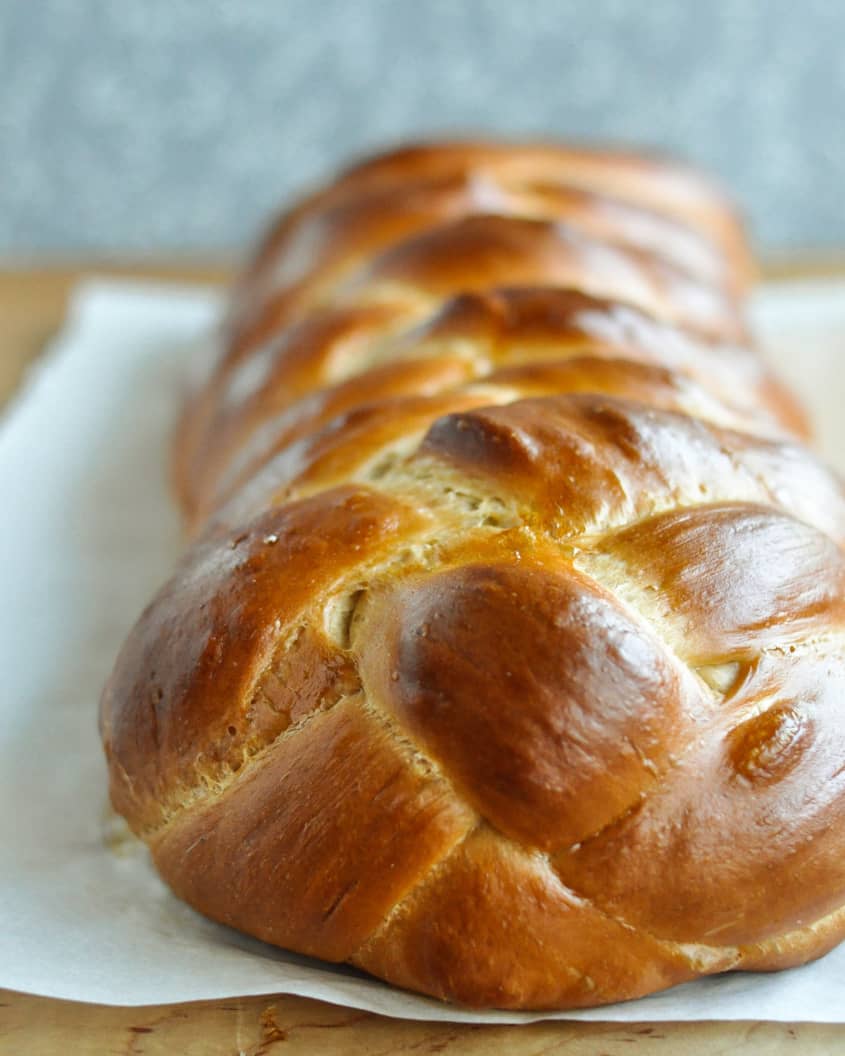
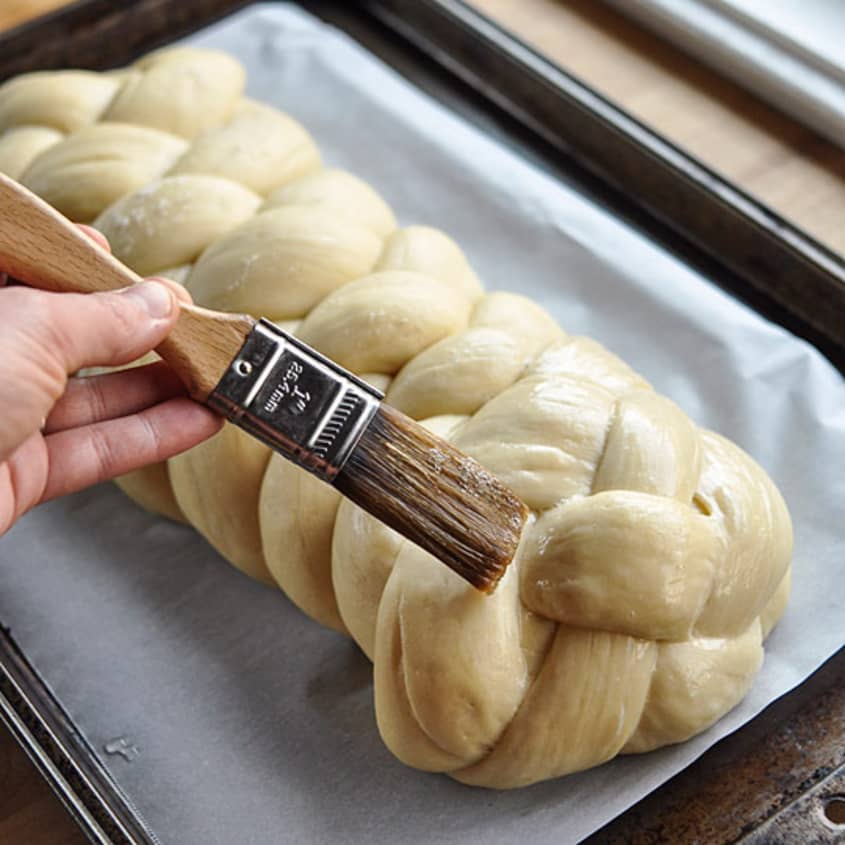
The real magic comes in braiding the loaf. Even a simple three-stranded braid is impressive, though a four- or six-stranded braid (as shown below) will bring the house down. For major celebrations, like the Jewish high holidays, you can also coil the long braided loaf into a circle. A simple brushing of egg white is all you need to make that loaf shiny and magnificent.
What to Do with Leftover Challah
We all know that leftover challah should go directly into a frying pan to make challah French toast. I also love it in bread puddings and even for sandwiches — it might sound a little strange, but challah piled high with thin-cut roast beef is pure heaven.
For celebrations big and small, there is nothing better.
Challah Bread Recipe
Challah is a bread that is as much a pleasure to look at as it is to eat.
Makes 1 loaf
Nutritional Info
Ingredients
- 1 cup
lukewarm water
- 2 teaspoons
active dry or instant yeast
- 4 to 4 1/2 cups
all-purpose flour
- 1/4 cup
granulated sugar
- 2 teaspoons
salt
- 2
large eggs
- 1
large egg yolk (reserve the white for the egg wash)
- 1/4 cup
neutral-flavored vegetable oil, such as canola
Equipment
Stand mixer (optional)
Large mixing bowl
Bench scraper or sharp knife
Baking sheet
Parchment paper
Instructions
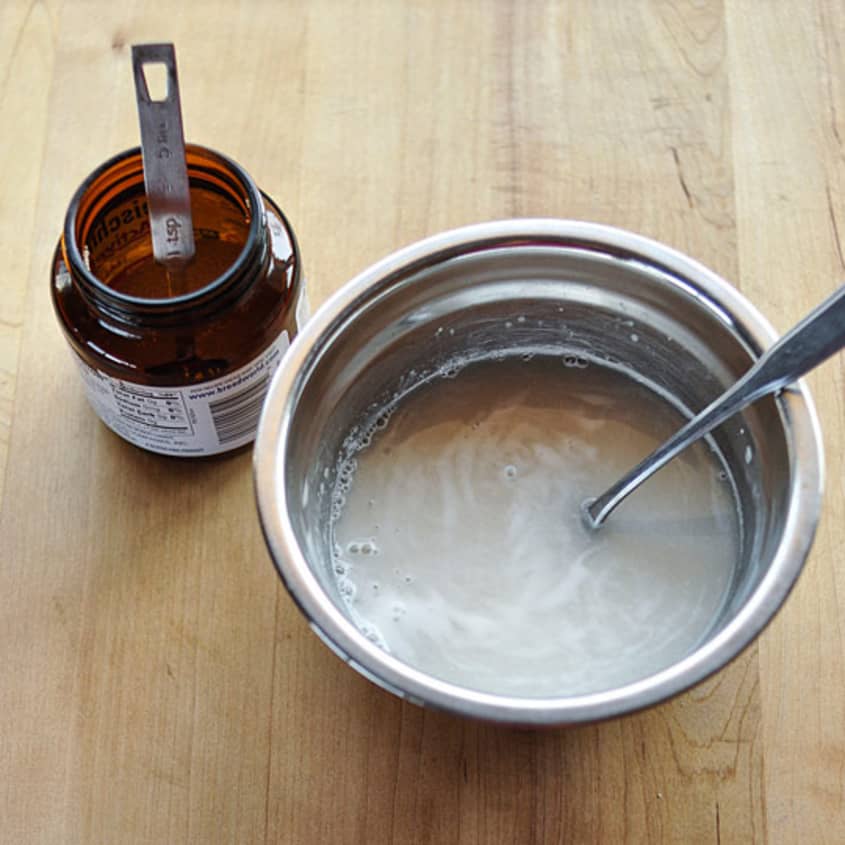
Dissolve the yeast. Place the water in a small bowl, sprinkle with the yeast and a healthy pinch of sugar, and stir to combine. Let stand until you see a thin frothy layer across the top, 5 to 10 minutes. This means that the yeast is active and ready to use. (If you do not see this or if your yeast won't dissolve, it has likely expired and you'll need to purchase new yeast.)
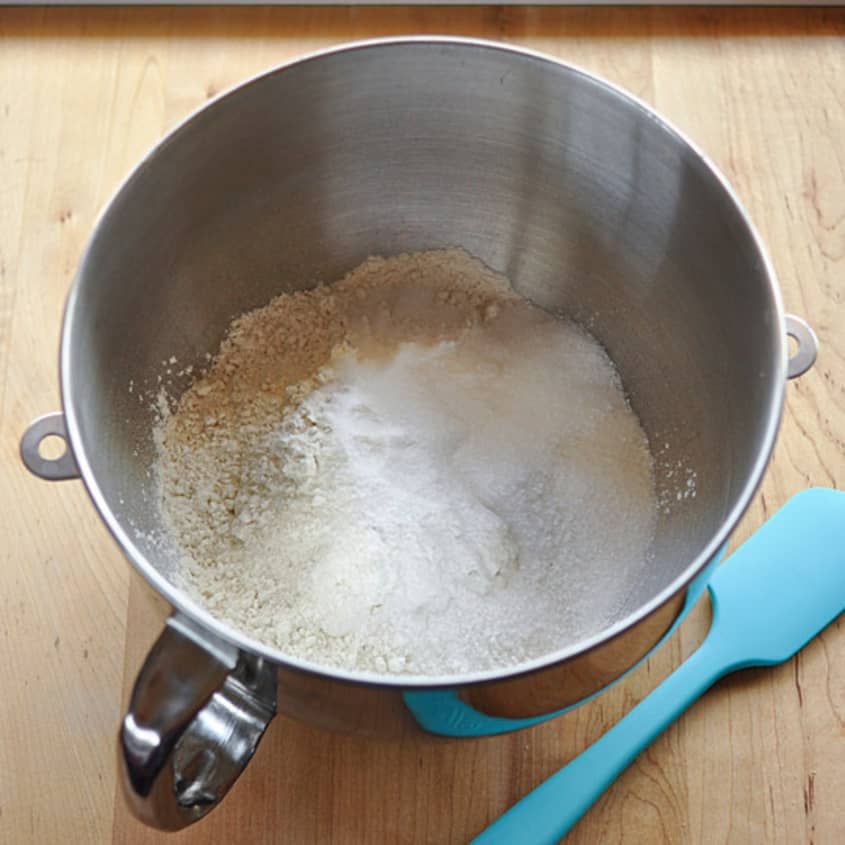
Mix the dry ingredients. Place 4 cups of the flour, sugar, and salt in the bowl of a stand mixer and whisk to combine. (Alternatively, use a large bowl and knead by hand.)
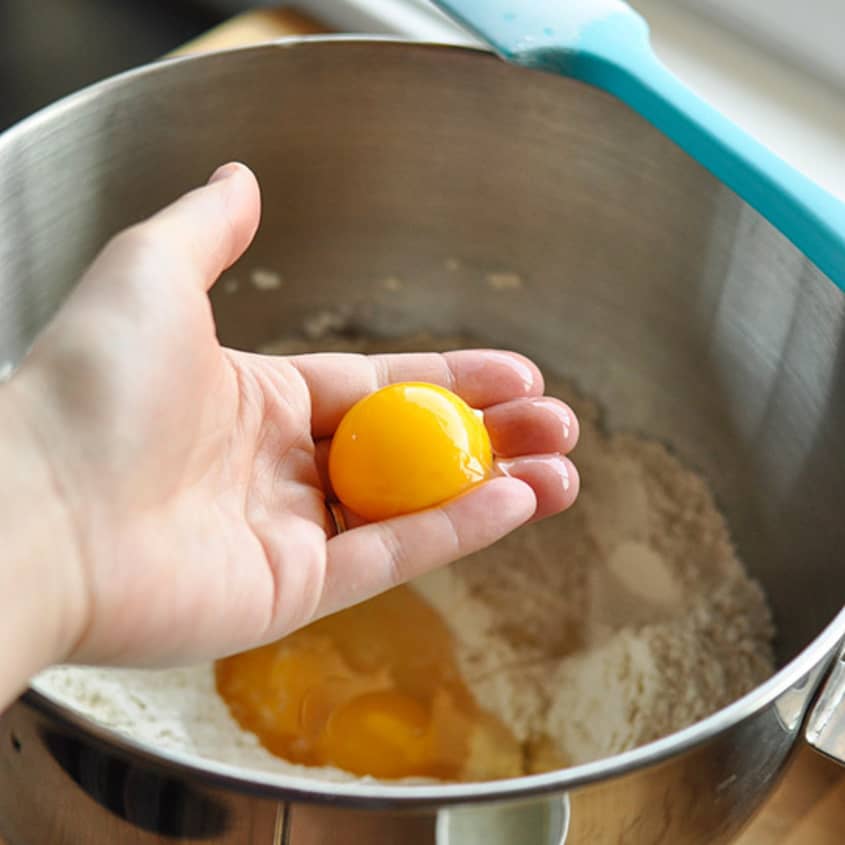
Add the eggs, yolk, and oil. Make a well in the center of the flour and add the eggs, egg yolk, and oil. Whisk to form a slurry, pulling in a little flour from the sides of the bowl.
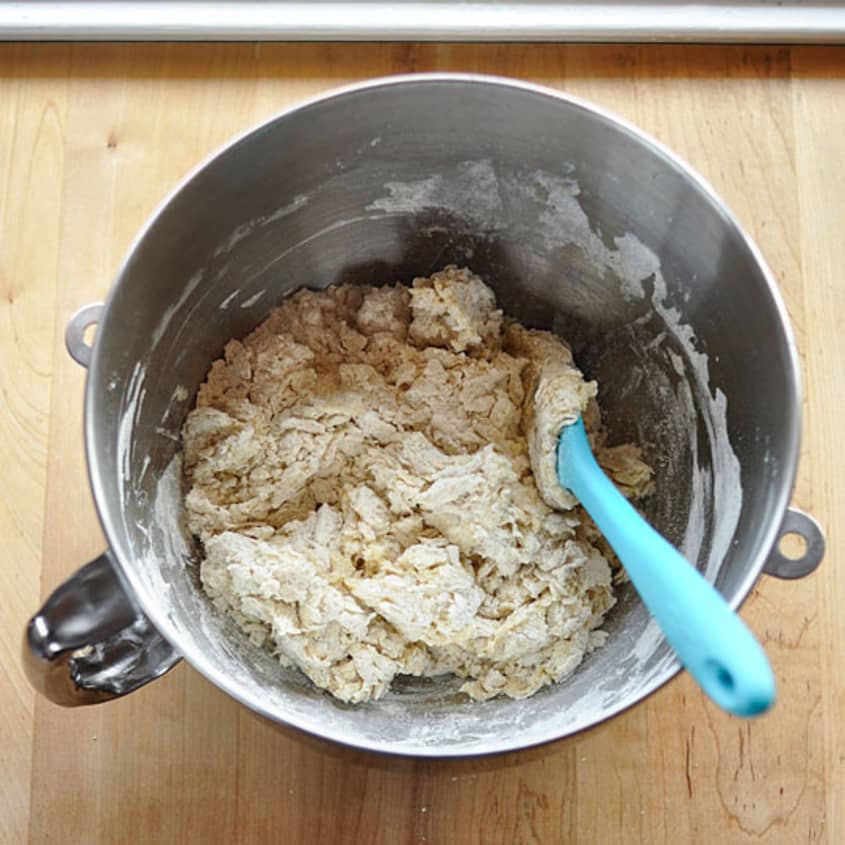
Mix to form a shaggy dough. Pour the yeast mixture over the egg slurry. Mix the yeast, eggs, and flour with a wooden spoon or rubber spatula until a shaggy dough that is difficult to mix forms.
Knead the dough for 6 to 8 minutes. Fit the mixer with the hook attachment and knead on low speed for 6 to 8 minutes. (Alternatively, turn out the dough onto a floured work surface and knead by hand for about 10 minutes.) If the dough seems very sticky, add flour a teaspoon at a time until it feels tacky, but no longer like bubblegum. The dough has finished kneading when it is soft, smooth, and holds a ball-shape.
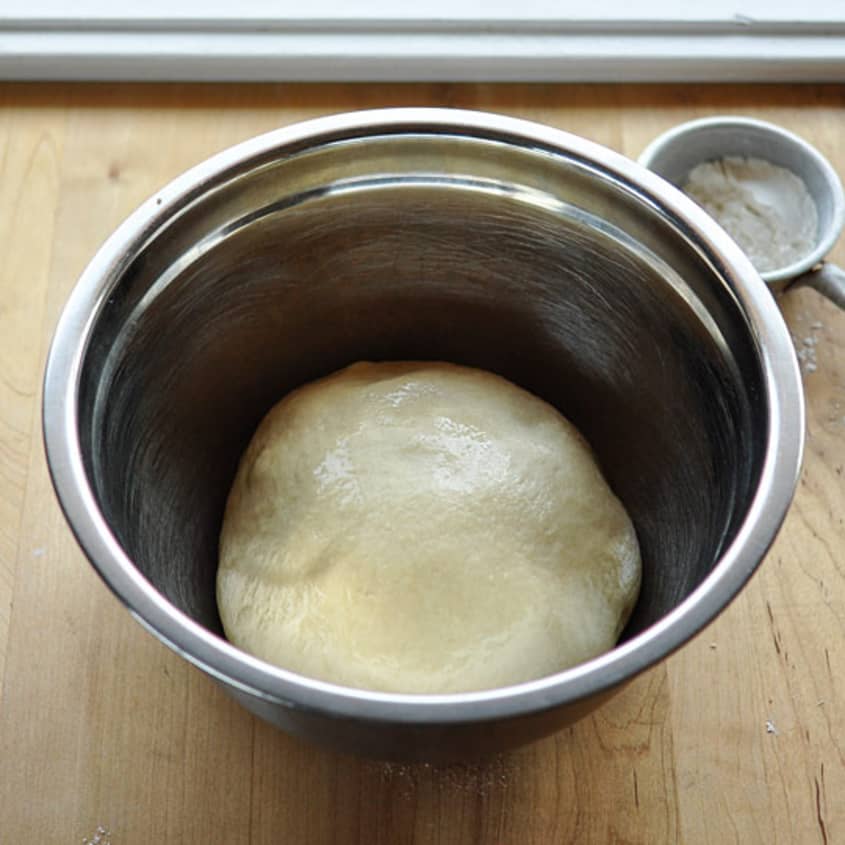
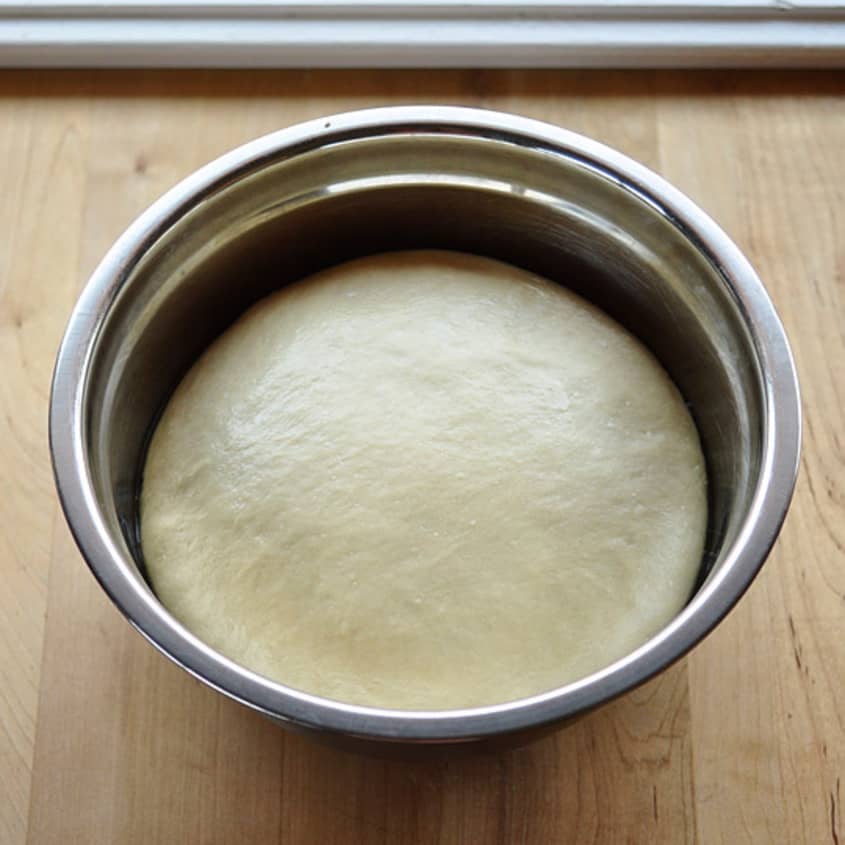
Let the dough rise until doubled. Place the dough in an oiled bowl, cover with plastic wrap, and place somewhere warm. Let the dough rise until doubled in bulk, 1 1/2 to 2 hours.
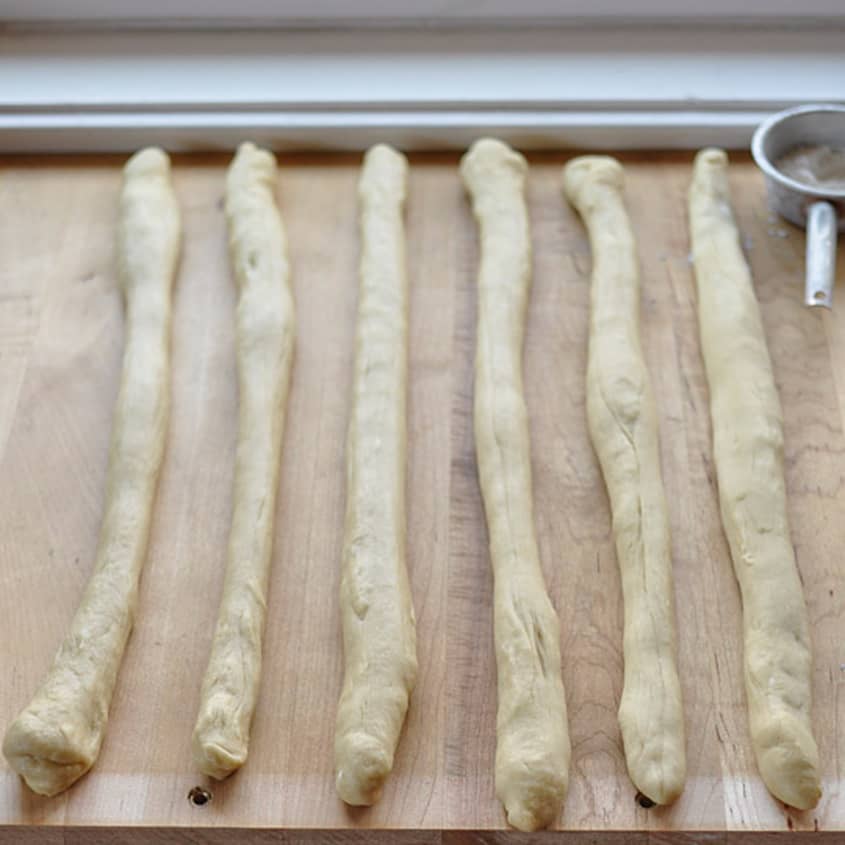
Divide the dough and roll into ropes. Divide the dough into 3 or 6 equal pieces, depending on the type of braid you'd like to do. Roll each piece of dough into a long rope about 16 inches long. If the ropes shrink as you try to roll them, let them rest for 5 minutes to relax the gluten and then try again.
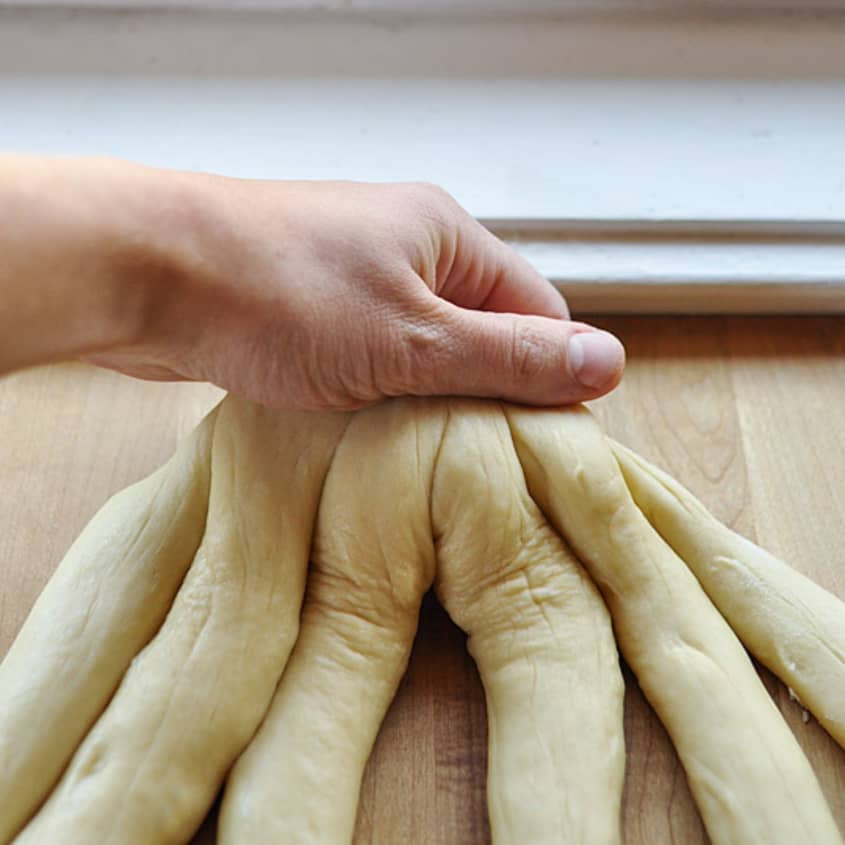
Braid the dough. Gather the ropes and squeeze them together at the very top. If making a 3-stranded challah, braid the ropes together like braiding hair or yarn and squeeze the other ends together when complete. If making a 6-stranded challah, the directions are below.
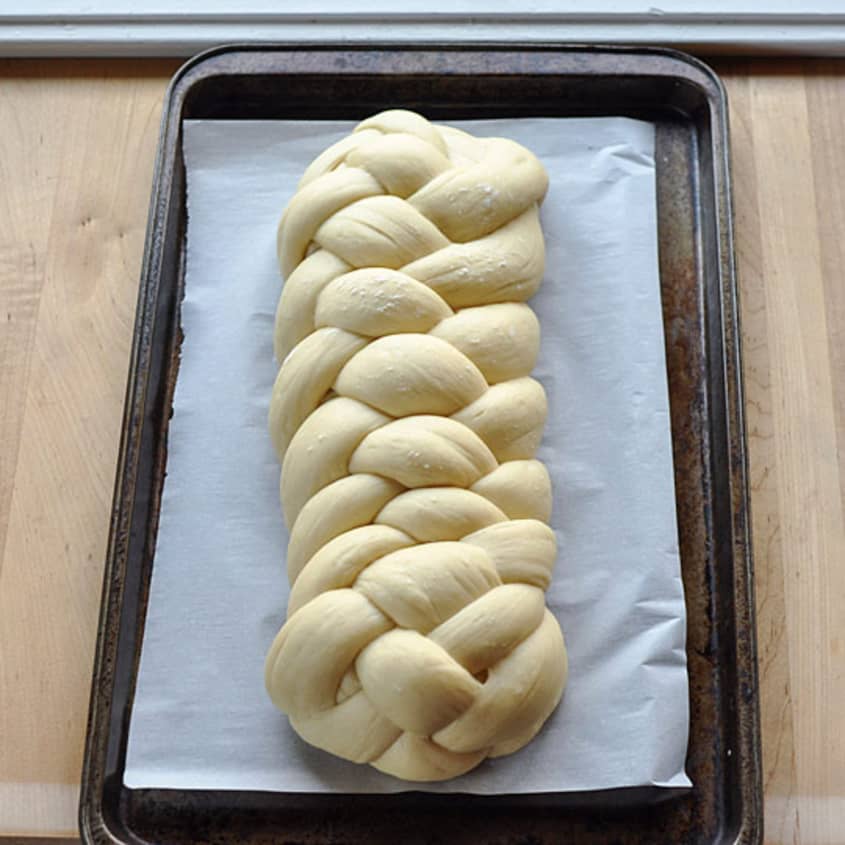
Let the challah rise. Line a baking sheet with parchment paper. Place the braided loaf on top and sprinkle with a little flour. Cover with a clean kitchen towel. Let rise in a warm place away from drafts until puffed and pillowy, about 1 hour.
Brush the challah with egg white. About 20 minutes before baking, arrange a rack in the middle of the oven and heat to 350°F. When ready to bake, whisk the reserved egg white with 1 tablespoon of water and brush it all over the challah. Be sure to get in the cracks and down the sides of the loaf.
Bake the challah 30 to 35 minutes. Bake, rotating the baking sheet halfway through, until the challah is deeply browned and registers 190°F in the very middle with an instant-read thermometer, 30 to 35 minutes total.
Cool the challah. Let the challah cool on a cooling rack until just barely warm. Slice and eat.
Recipe Notes
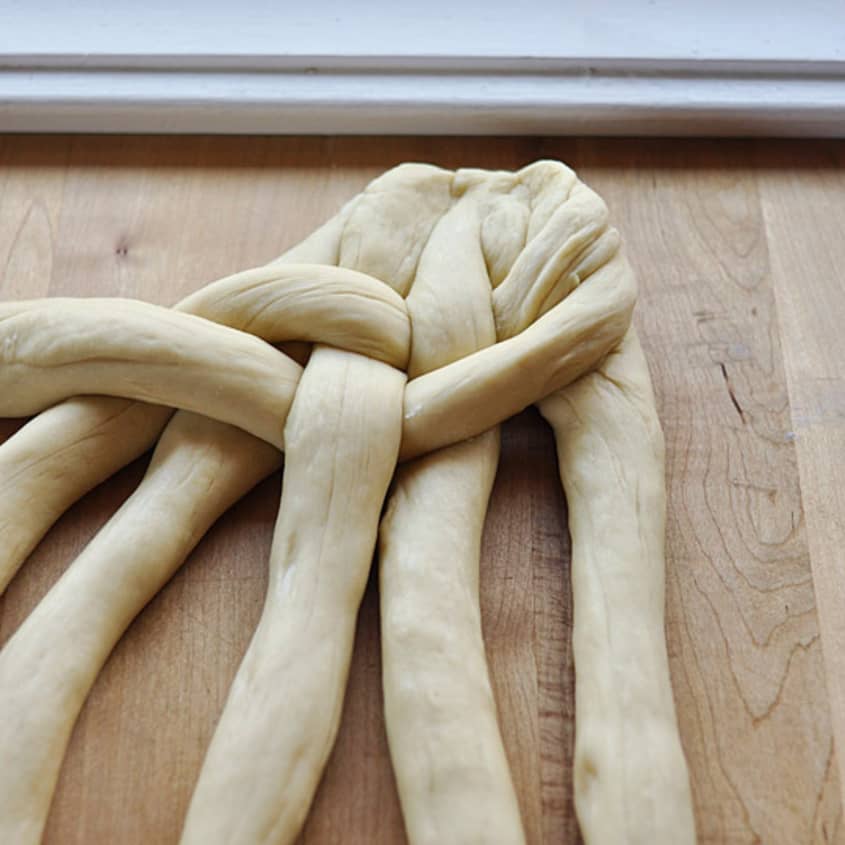
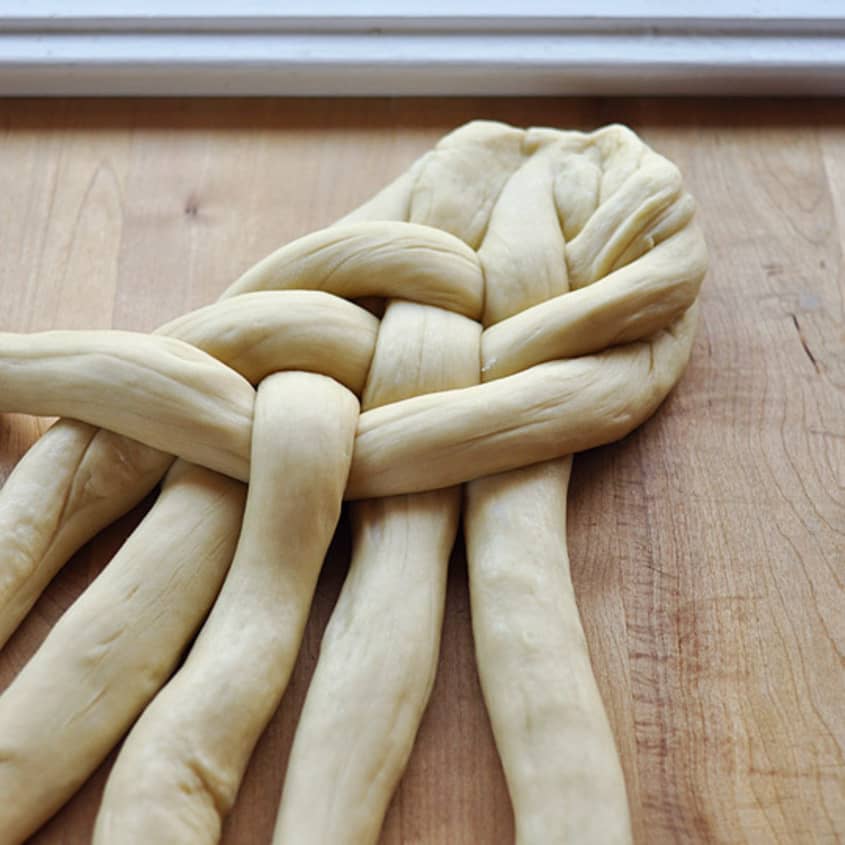
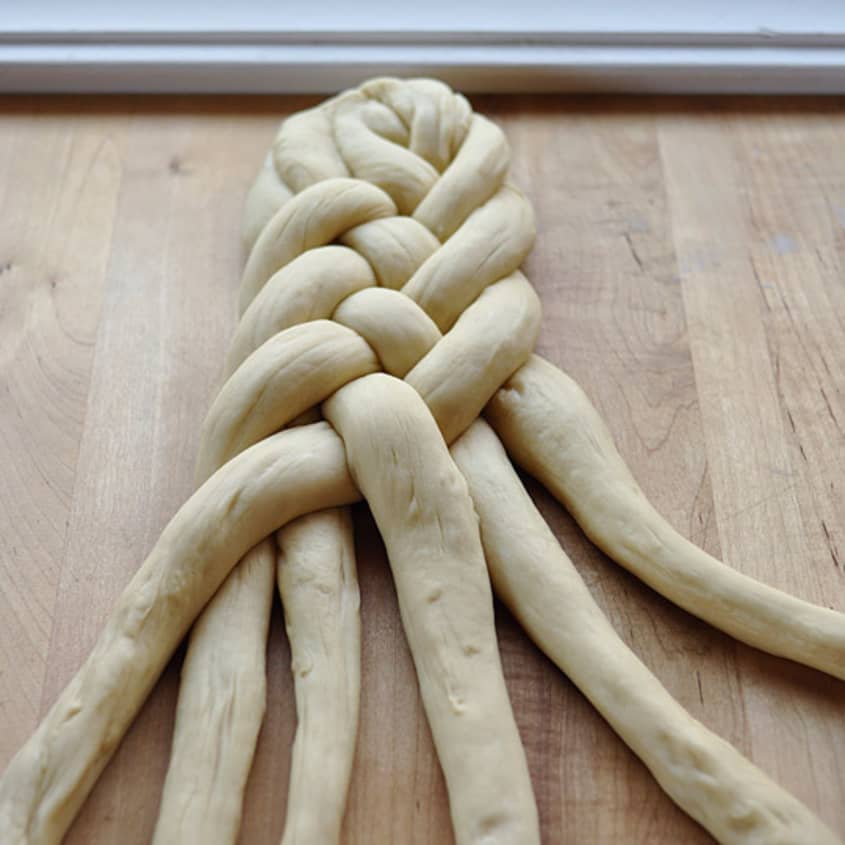
Making a 6-Stranded Challah Braid
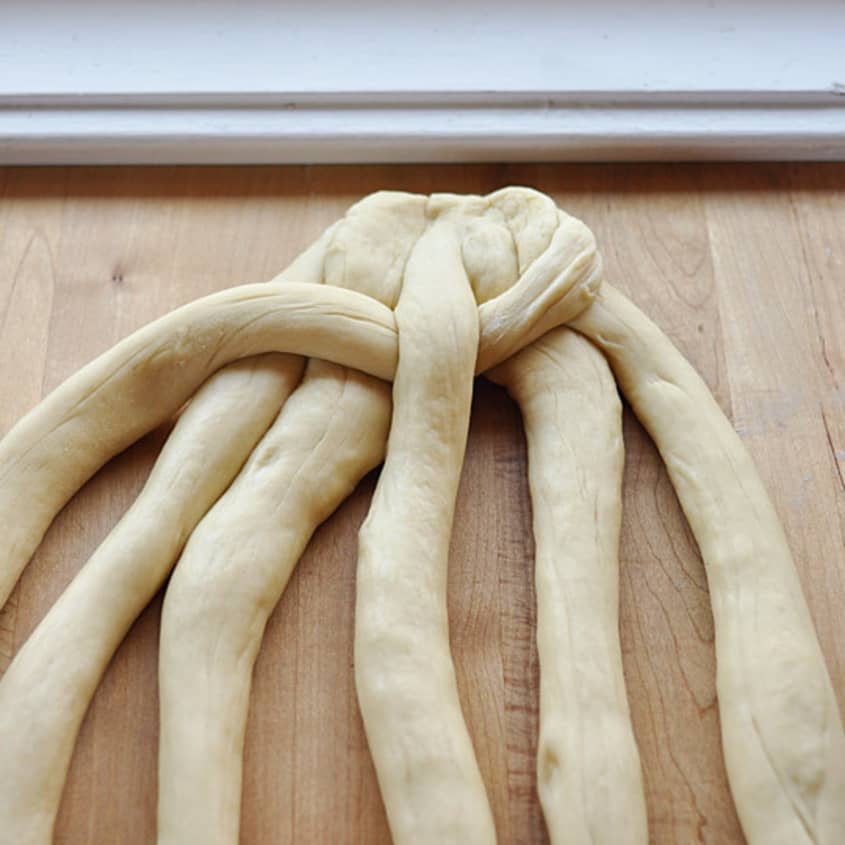
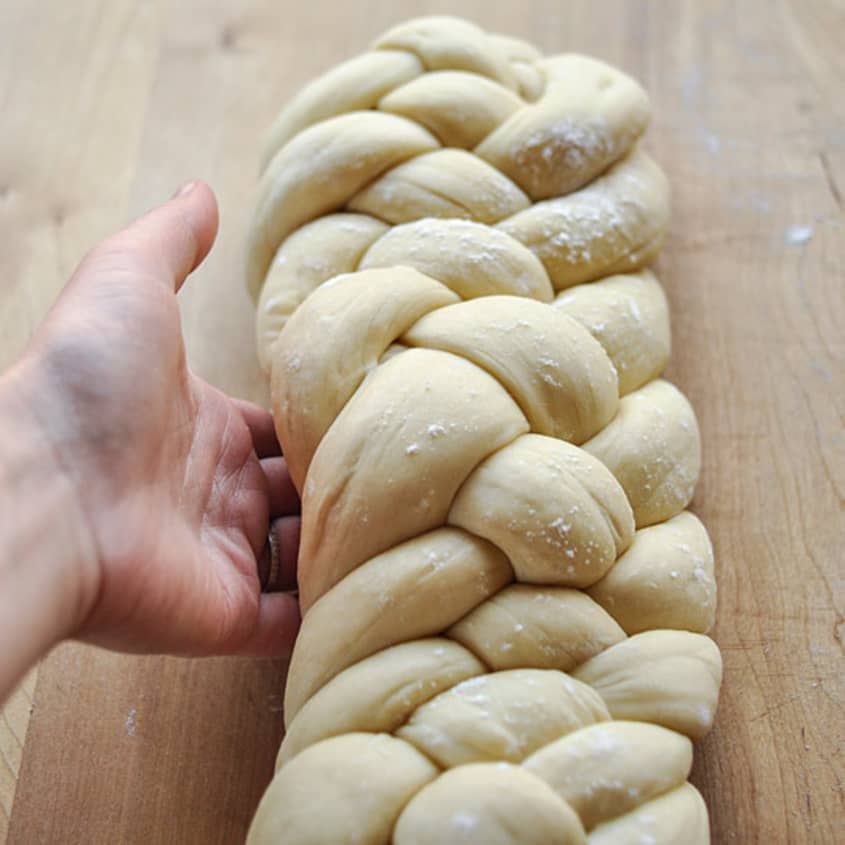
The name of the game here is "over two, under one, over two." Carry the right-most rope over the two ropes beside it, slip it under the middle rope, and then carry it over the last two ropes. Lay the rope down parallel to the other ropes; it is now the furthest-left strand. Repeat this pattern until you reach the end of the loaf. Try to make your braid as tight as possible. Your braid will start listing to the left as you go; it's ok to lift it up and recenter the loaf if you need to. Once you reach the end, squeeze the ends of the ropes together and tuck them under the loaf.
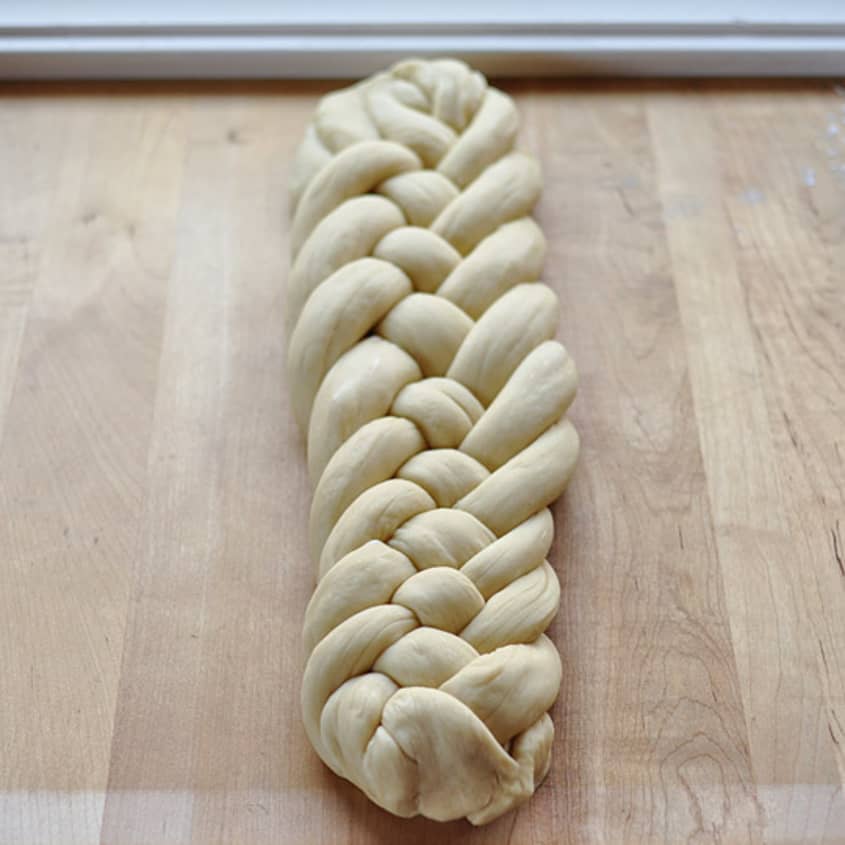
At this point, your loaf is fairly long and skinny. If you'd like to make a celebration ring, stretch the loaf a little longer and pull the ends toward each other to create a circle. You can either squeeze the ends together, or if you're feeling adventurous, braid them into a continuous circle.
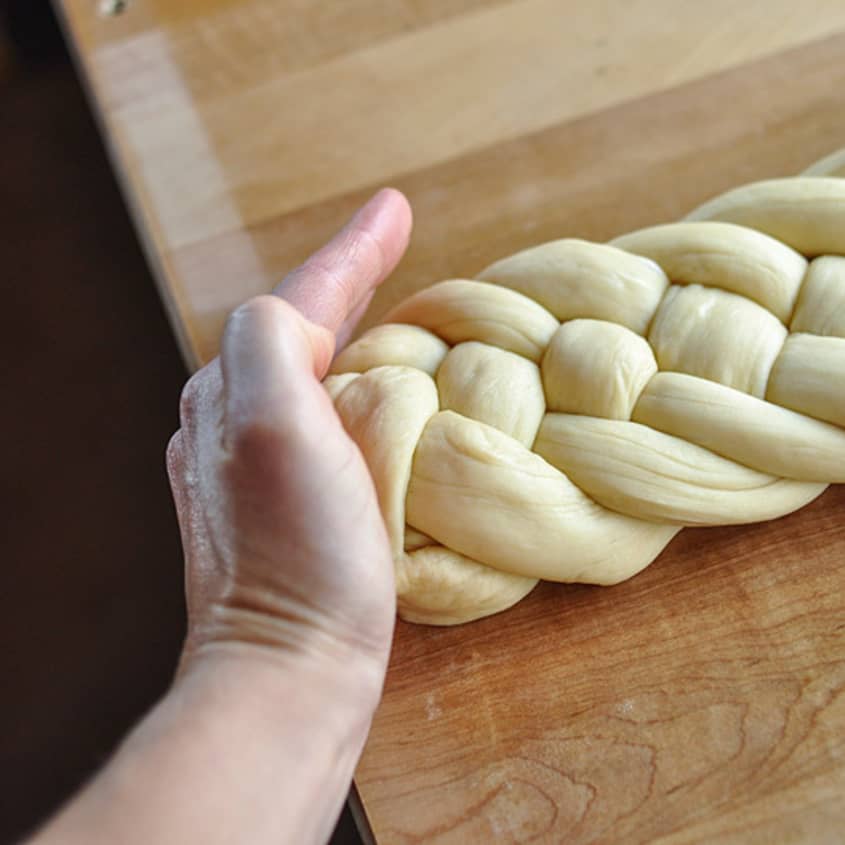
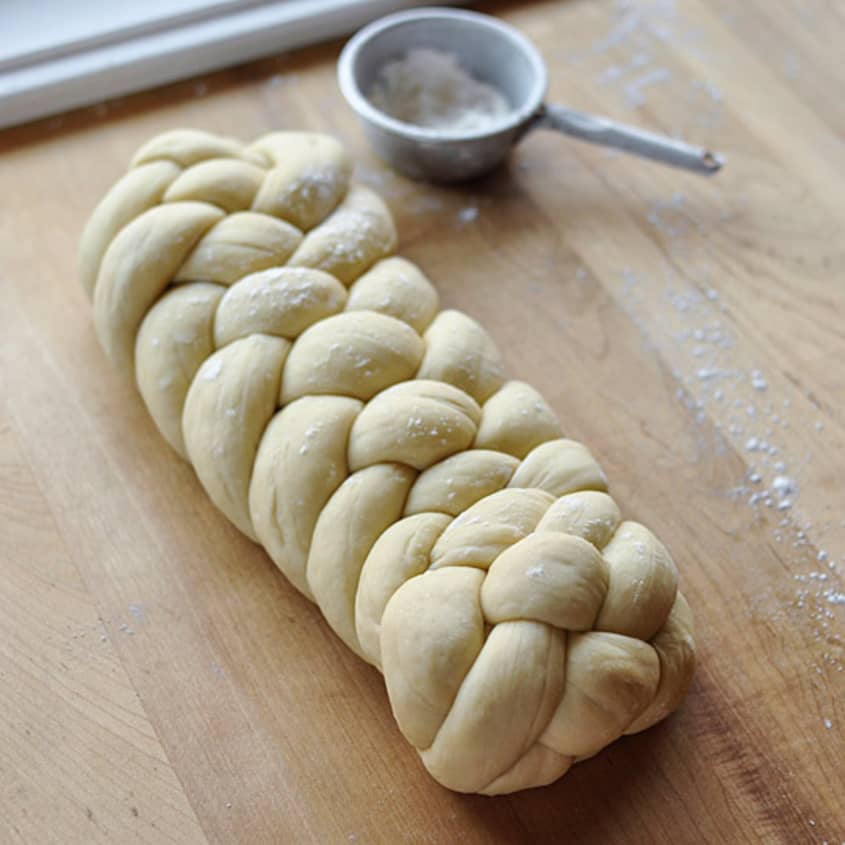
If you're making a regular loaf (as pictured), you need to "plump" it a little to tighten the ropes into more of a loaf shape. Place your left palm at the end of the braid and your right palm at the top, and gently push the two ends toward each other, just like plumping a pillow in slow motion. Then slip your fingers under the dough along either side and gently lift the dough while cupping it downwards. (This isn't a vital step, so don't worry if you're not sure you did it correctly.)
Substituting butter: If you don't need to keep a kosher table, you can substitute melted butter for the oil in this recipe.
Storage: Wrap cooled challah tightly in plastic wrap and store at room temperature for up to 5 days.