
How To Freeze & Thaw Rice, Quinoa & Other Whole Grains

For quicker weeknight meals, packages of pre-portioned cooked grains stashed in the freezer are one of our secret weapons. No waiting for rice or other grains to cook while your dinner companions prowl hungrily around the kitchen. No need to plan ahead. No need to do much more than pull a package out of the freezer and carry on with making the meal.
Freezing Grains Saves You Time
Freezing pre-cooked grains is one of the best time savers — and sanity savers — I know. I absolutely love grains like brown rice and farro with my dinners, but their long cooking time means that, when push comes to shove at the end of the day, I often end up opting for the more immediate gratification of pasta or white rice.
Now, I make a big batch of grains whenever I have the time, freeze it in two-cup portions, and then have plenty of grains to look forward to for weeks to come. If I have a little fresh rice or barley leftover after a meal, I throw that in the freezer, too.
Which Grains to Freeze
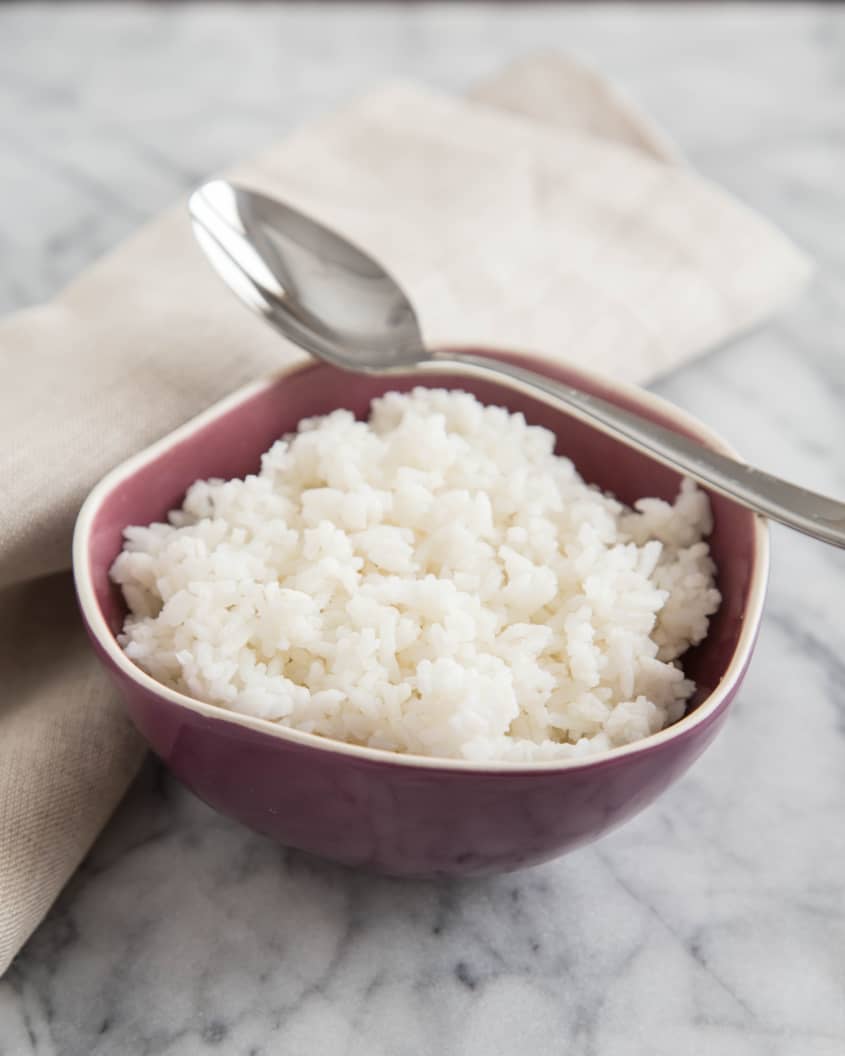
Any whole grain can be cooked and frozen: white or brown rice, barley, farro, wheat berries, rye berries, or buckwheat. Even smaller grains like quinoa or millet do well.
How to Freeze Grains
I usually freeze the grains in a thin, flat layer in sealable plastic bags. These take up less space in the freezer and also help the grains thaw more easily later on — no ice blocks left in the middle while the outside grains are ready to eat.
How to Thaw Frozen Grains
You can use frozen grains straight from the freezer — no need to thaw in the fridge first. In fact, thawing the grains in the fridge first can make some grains a bit overly mushy and gummy; they’re really best when used straight from the freezer.
Quickly thaw grains just before eating in the microwave or on the stovetop. Transfer the grains to a microwave-safe bowl or a small saucepan and sprinkle a tablespoon or two of water over top. Cover the bowl or pan, then microwave in 1-minute bursts until warmed through, or place the saucepan over low heat until warmed. If warming the grains on the stovetop, be sure to stir the grains a few times as they warm so there’s no sticking.
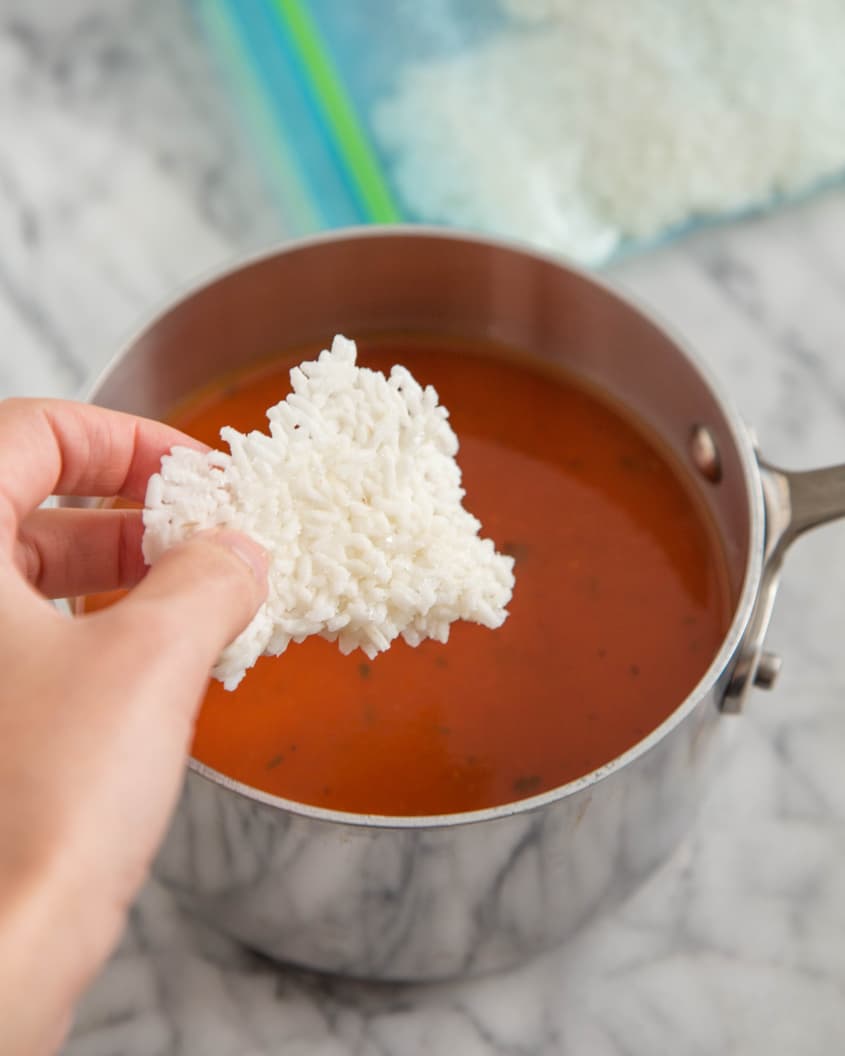
You can also add frozen grains directly to soups and skillet meals; add a few extra minutes to the total cooking time.
Best Ways to Use Frozen Grains
The texture of these grains is nearly identical to that of fresh-cooked grains, and you can use them in all the same ways. I like frozen grains best for going into things, like into a soup or casserole, tossed with a salad, as the base for grain bowls with a sauce, and so on. You can also eat the grains on their own as a side dish — I particularly like tossing the grains with some butter or flavorful oil and sprinkling minced herbs over top.


How To Make-Ahead and Freeze Any Grain
Nutritional Info
Ingredients
- Uncooked white rice, brown rice, barley, quinoa, wheat berries, buckwheat, millet, or bulgur wheat
- Water or broth, for cooking
- Salt , to taste
Equipment
- Baking sheet
- Measuring cup
- Zip-top freezer bags or other freezer containers
- Vacuum sealer, optional
- Permanent marker
Instructions
Cook the grains: Cook your grain as usual, using the same amount of liquid as usual and cooking until the grains are tender. If you still have liquid in the pan after cooking, drain the liquid.
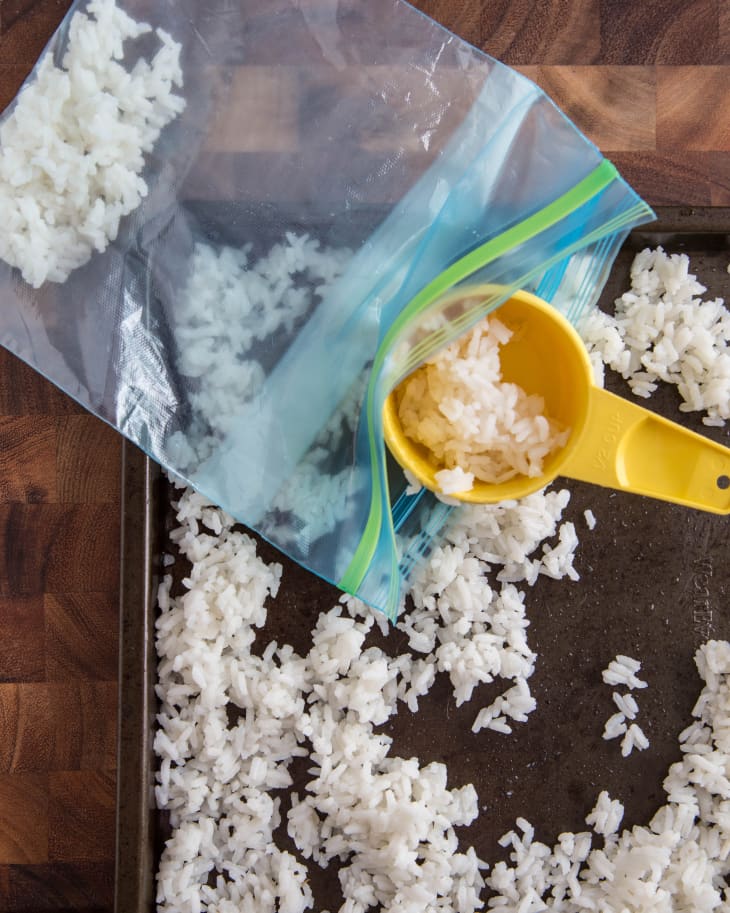
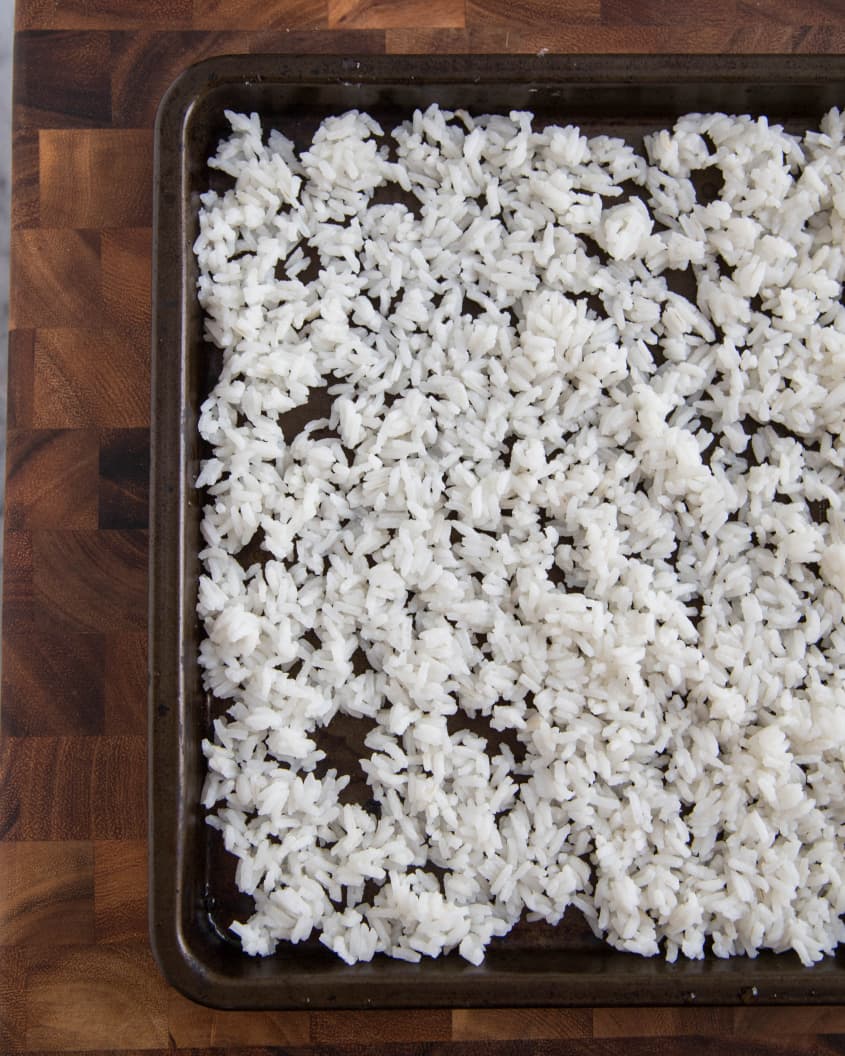
Cool the grains: Run a baking sheet under cool water. Pour off the water, but do not dry — this will help keep the grains from sticking as they dry. Spread the grains in an even layer over the baking sheet and cool for about 10 minutes, until they've cooled to room temperature. (Be sure to refrigerate or freeze the grains as soon as they are cool to avoid any food safety risks.)
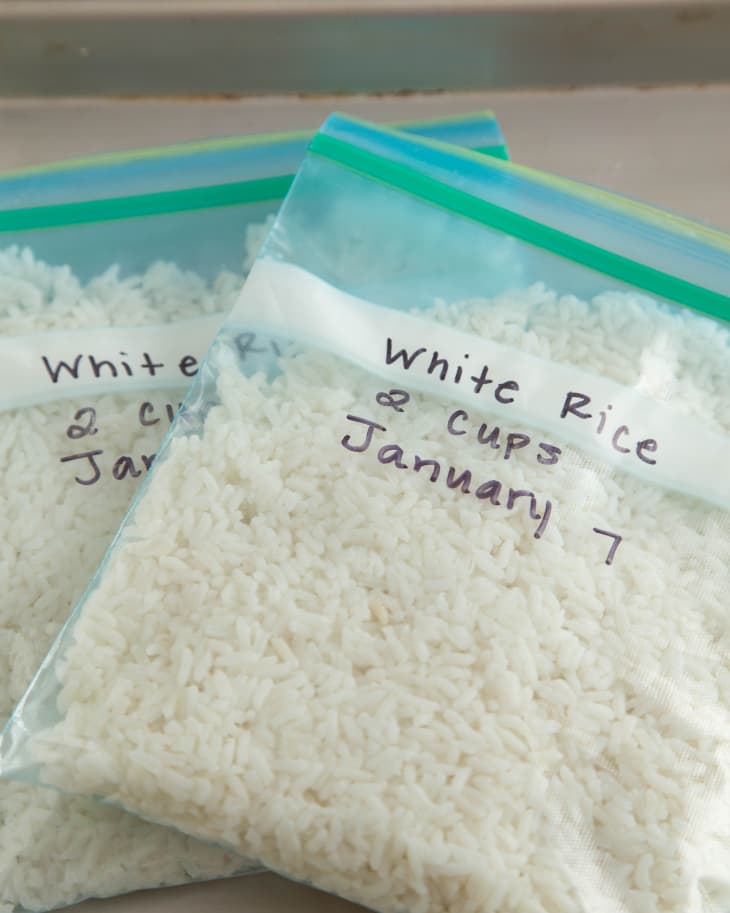
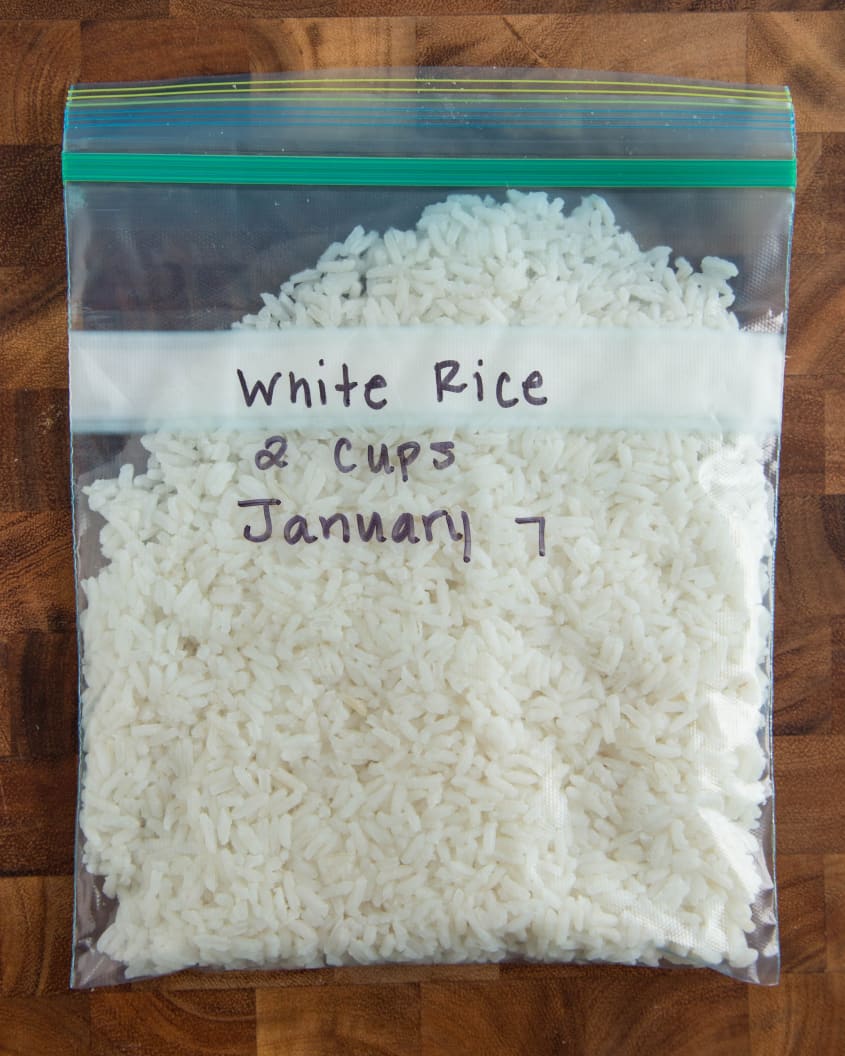
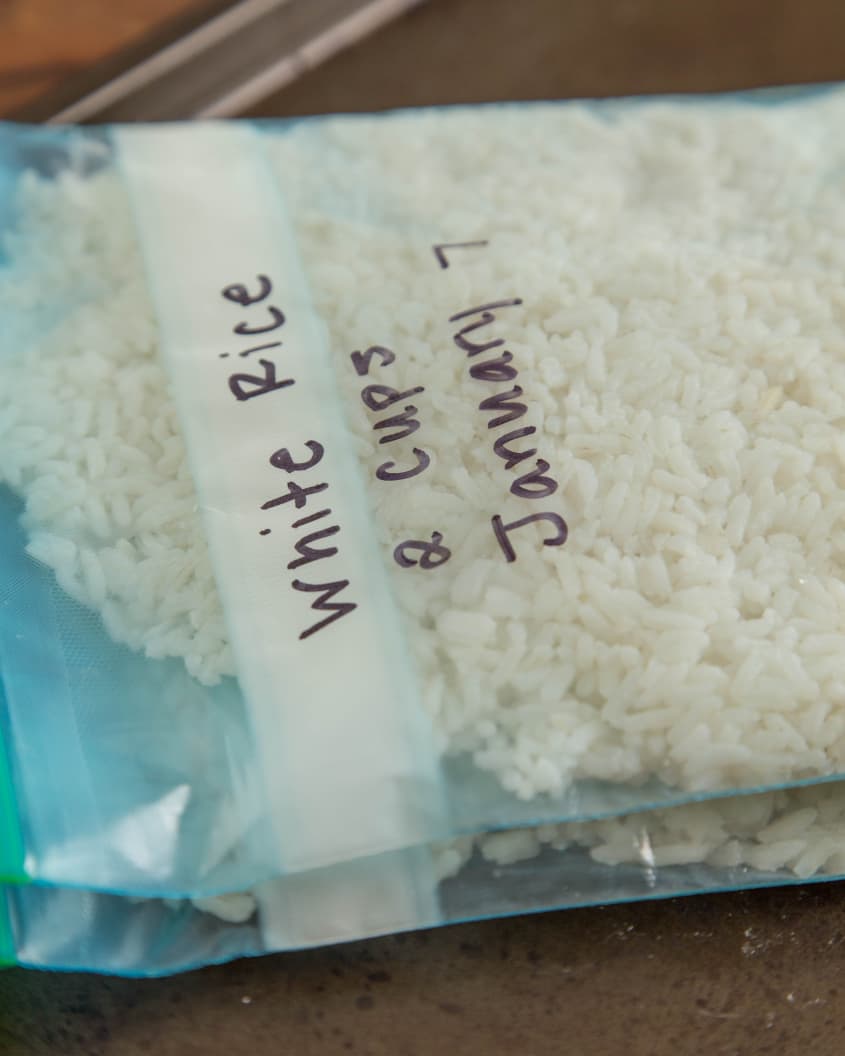
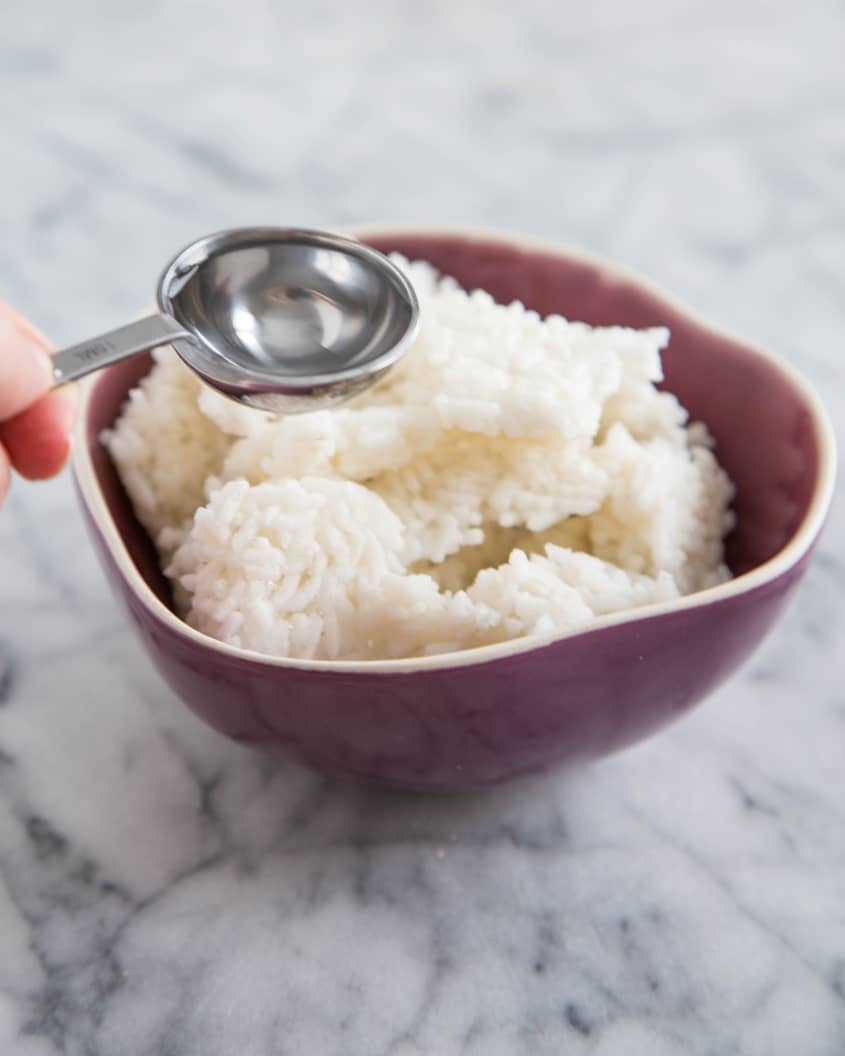
Portion the grains into freezer bags: Use a measuring cup to portion the grains into your freezer bags or containers. Portion the grains according to how much you typically use for your recipes; if you're not sure how you will use the grains, freeze them in 1-cup or 2-cup portions. This will give you versatility in how you use them.
Press out as much air as possible and seal: The more air you can squeeze out, the longer your grains will keep without developing freezer burn. If you have a vacuum sealer, now is the time to use it.
Label the bags: Label each bag with the type of grain, the portion amount, and the date.
Freeze the grains for up to 3 months: Stack the bags on top of each other and freeze flat. Frozen grains will generally keep for about 3 months before starting to develop freezer burn; grains will keep longer if vacuum-sealed.
Use the frozen grains: Grains do not need to be thawed before using; thawing can give some grains a gummy texture. There are three ways you can use or warm the frozen grains:
Add grains directly to soups and skillet dishes: Increase the cooking time by a few minutes to allow the grains to reheat.
Warm grains in the microwave: Transfer the grains to a microwave-safe bowl or other container and sprinkle a tablespoon or two of water over top. Cover loosely. Warm in 1-minute increments, stirring in between, until the grains are hot.
Warm grains on the stovetop: Transfer the grains to a small saucepan and sprinkle a tablespoon or two of water over the top. Stir frequently as the grains warm and add another tablespoon or two of water as needed to keep grains from sticking or burning on the bottom.