
How To Cook a Frozen Turkey

So, your turkey is still frozen. You have no time left to thaw it, and it’s Thanksgiving morning. Is all lost? No! You can easily and safely cook a completely frozen turkey — and it will taste pretty good! If you find yourself staring down a turkey that’s still frozen solid on Thanksgiving morning, we have the easy and safe method to cook it into a golden, delicious Thanksgiving showstopper.
How to Cook a Frozen Turkey
Cooking a frozen turkey is very simple. You remove the plastic wrapper, put the turkey in a roasting pan in the oven, and bake it at at 325°F. That’s it!
Is It Safe to Cook a Frozen Turkey?
Yes, cooking a turkey from frozen or partially frozen is totally food-safe. It is even USDA-approved.
Why is it safe? Whenever we’re thawing and cooking turkeys, our goal is to move the bird through the temperature danger zone of 40°F to 140°F as quickly as possible. This is because, within this range, harmful bacteria and toxins can accumulate to harmful levels if the food is left for too long (longer than two hours).
When cooking a frozen turkey, no part of the turkey is within the temperature danger zone for longer than is safe, even though the total cooking time is longer. The meat cooks through as it thaws and reaches that safe temperature within those two hours.
How Much Longer Does a Frozen Turkey Take to Roast?
Your frozen turkey will take about 50 percent longer to cook than if it was thawed. For instance, a 14-pound frozen turkey will take about 5 3/4 hours to cook — refer to the chart below for more estimated cooking times.
You can also cook a partially thawed turkey; the estimated cooking times will be slightly less than for a frozen turkey.
The turkey cooks as it thaws. The wings and drumsticks will cook the fastest since they’re relatively small and are on the outside of the turkey, while the big, thick muscle on the breast will take the longest. It also cooks from the outside in, so when you check the temperature during cooking, the meat close to the surface might be done cooking, while the meat closer to the bone will still be cool. Be sure to check the turkey’s temperature at multiple places and at multiple depths; when everything is above 165°F, you’re ready to eat.
Our full instructions below also clarify when to season the turkey.
Cooking Times by Weight for Frozen Turkey
- 8- to 12-pound turkey: 4 to 4 1/2 hours
- 12- to 14-pound turkey: 4 1/2 to 5 3/4 hours
- 14- to 18-pound turkey: 5 3/4 to 6 1/4 hours
- 18- to 20-pound turkey: 6 1/4 to 6 3/4 hours
- 20- to 24-pound turkey: 6 3/4 to 7 1/2 hours
Partially thawed turkeys will have shorter cooking times. Start taking the turkey’s temperature at the lower end of the time range above.
How to Tell When a Frozen Turkey Cooked and Ready
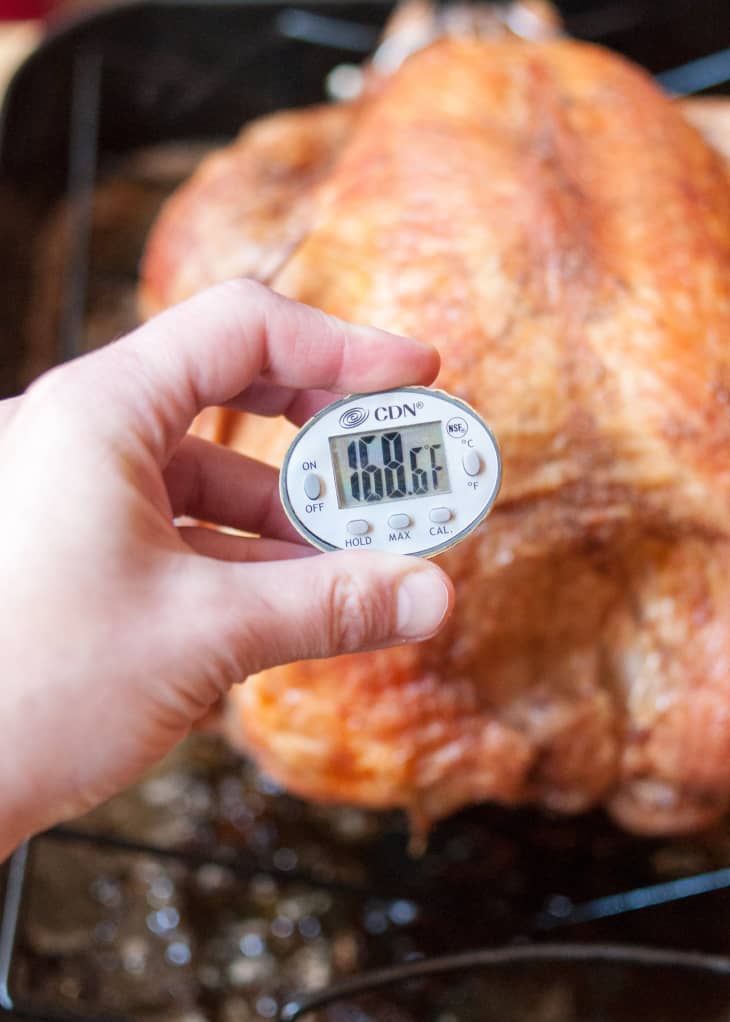
When all parts of the turkey register 165°F, the turkey is ready. Be sure to check the turkey temperature at multiple body parts (center of breast, the upper thigh) within the meat since the interior will be the last to thaw and cook through.
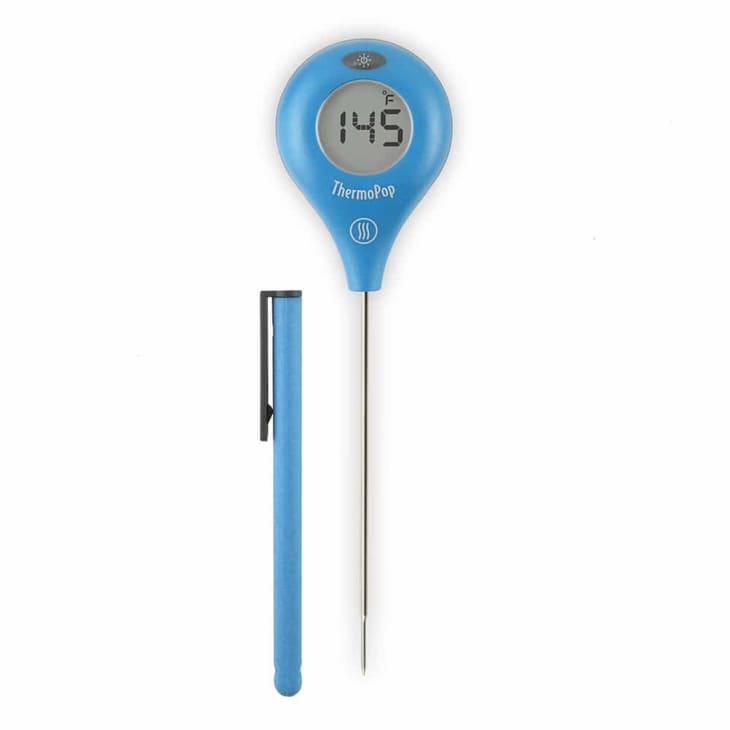
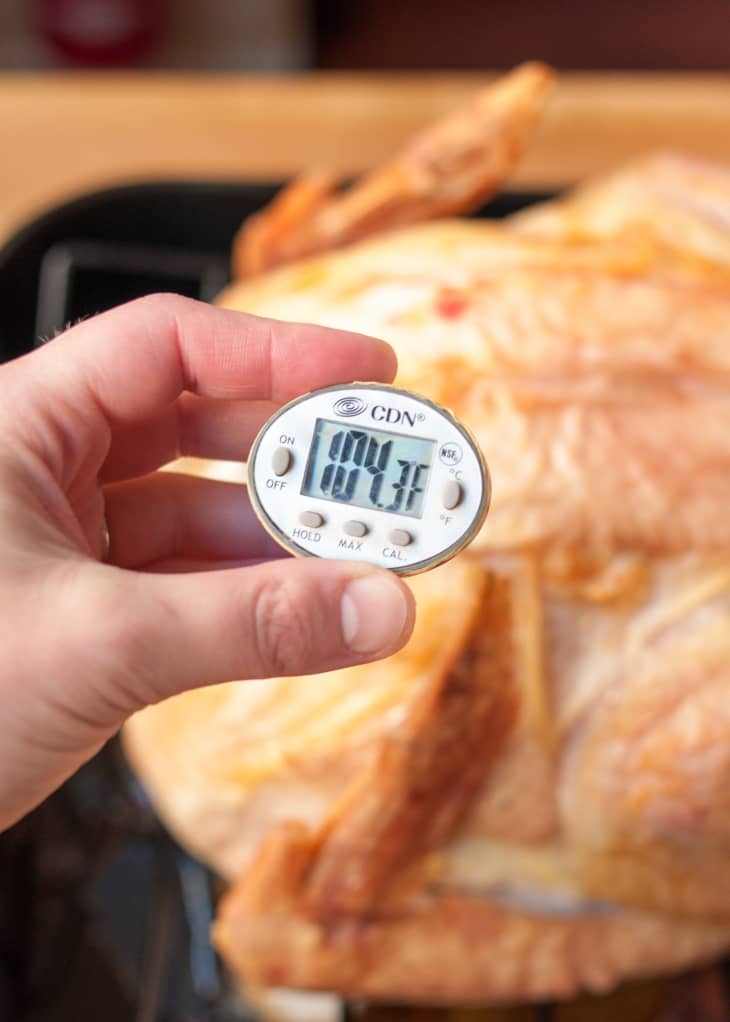
You absolutely need to use a thermometer to check the internal temperature of the turkey when using this method. Do not wing it! (Yes, that was a poultry joke, sorry.) The outside may seem done and the juices might even run clear, but the inner areas might still be frozen or under-temperature. Make sure you have a thermometer on hand, or send someone out to the store to get one.
Four Mistakes to Avoid When Cooking a Frozen Turkey
The oven-roasting method is the only truly safe way to cook a frozen turkey. Avoid these four critical mistakes:
- DO NOT attempt to deep-fry or grill a frozen turkey. Deep-frying a partially- or fully-frozen turkey is very dangerous and can lead to oil explosions.
- DO NOT try to stuff the turkey. It will be too frozen to stuff at the beginning. It’s best to cook the stuffing separately. A stuffed turkey slows down the cooking process even further, and since the stuffing has to cook to 165°F as well as the meat, the turkey meat will overcook and become dry before the stuffing is ready.
- DO NOT forget to remove the giblets halfway through cooking. If your turkey has giblets or the neck inside the body cavity, you will not be able to remove them before cooking; the turkey will be just too solidly frozen. Partway through cooking, the turkey should have thawed enough that you’ll be able to remove the giblets. Use long tongs to carefully extract them from the body cavity. If your giblets are wrapped in plastic, be very careful that the plastic doesn’t get so hot that it starts to melt.
- DO NOT attempt cooking a frozen turkey without a thermometer. Yes, I know we mentioned this above, but let’s say it one more time. You absolutely must take the turkey’s temperature to verify it is completely cooked and safe to eat.
Will a Frozen Turkey Taste Good?
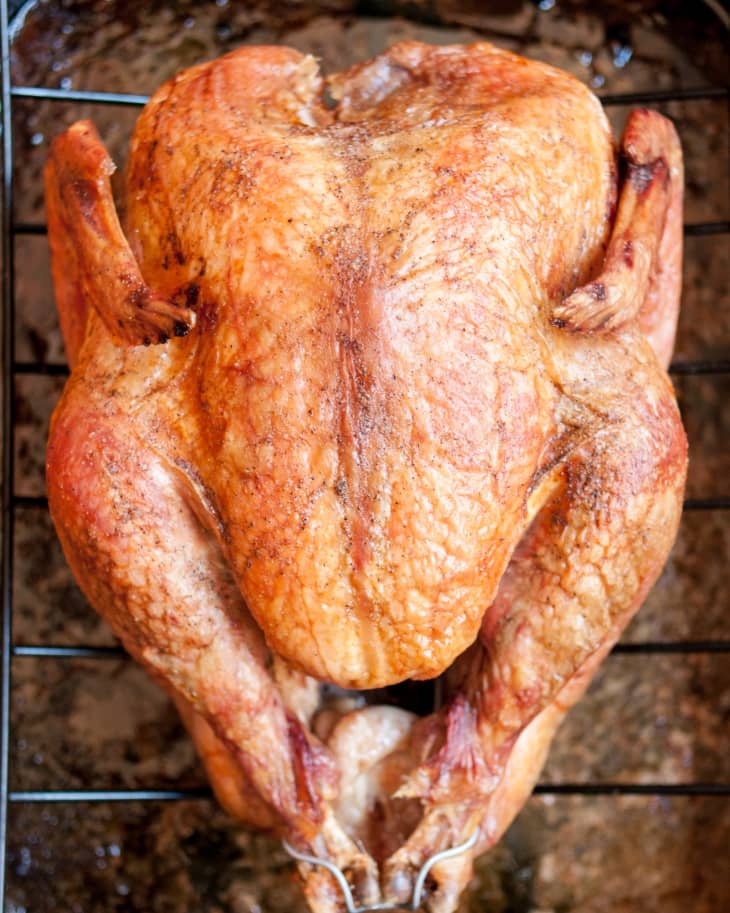
Here’s the million-dollar question: Sure, you can cook a frozen turkey, but is it anything you want to eat? Does a turkey cooked from frozen taste good? Yes! It does!
After cooking a few frozen turkeys, I can verify that frozen turkey is really quite good. It cooks more slowly at a lower temperature, so I’ve found that the breast often turns out juicier than than a fully-thawed turkey.
With a regular, thawed turkey, the breast meat tends to cook the most quickly, and often becomes overcooked and dry while you wait for the thighs and drumsticks to catch up. This is reversed with a frozen turkey — the big, dense breast meat takes much longer to thaw and cook than the smaller thighs and drumsticks. Since the breast meat is the last to finish cooking, it actually stays quite moist. Even though the legs and thighs cook faster, the dark meat can handle a little extra cooking.
Don’t be alarmed if the top inch or so of the breast meat hits 165°F and quickly shoots upward, even while the meat below it is still stubbornly below temperature. I found that the meat as a whole stayed surprisingly moist, even when technically overcooked. My suspicion is that the evaporating liquids from deep within the meat help keep the upper layers from drying out.
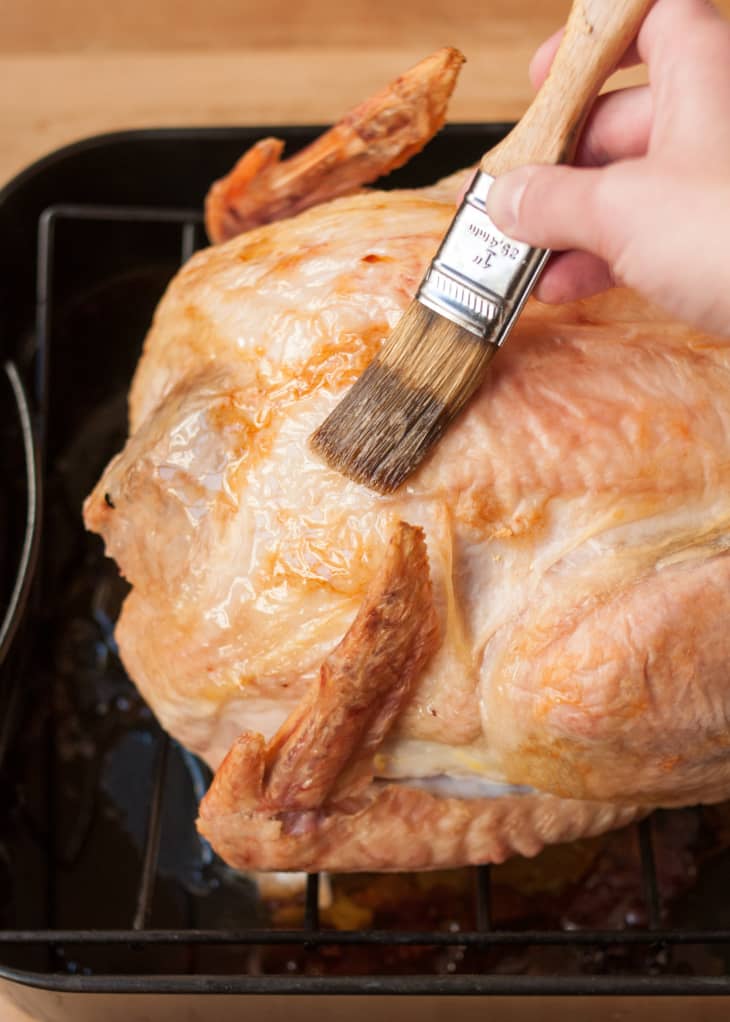
In terms of seasoning, you won’t be able to do any fancy rubs, brines, or other days-in-advance prep to your turkey — you have to keep things pretty basic with a frozen turkey. Once the outside of the turkey is thawed, partway through cooking, you can brush it with butter (or another sauce!) and rub it with salt, pepper, and any other spices you like.
And if you find that your turkey does wind up a touch on the dry side, that’s where gravy picks up the slack.
The Advantages of Cooking a Frozen Turkey
One bonus to this turkey-cooking method is that you can make a truly phenomenal gravy. The long cooking means all those drippings get really dark and caramelized, adding savory depth and richness to the finished gravy. If the pan starts looking dry or if the drippings seem to be starting to burn, just pour a cup of water or broth into the pan to simmer while the turkey cooks.
On the other hand, one downside to this method is that it ties up your oven for several hours right when you probably need it the most. We have some help for that — take a look at our round-up of stovetop Thanksgiving side dishes for ways to cook your favorite sides while the oven is occupied.
Tester’s Notes
I have tested this frozen turkey method many times over the years, from back when it was originally published to more recently when I just took the easy way out and cooked a turkey without bothering to thaw it first. I can vouch for the absolute simplicity of this method; I dare say I prefer it to a more traditional way of thawing and cooking a turkey? My experience matches up with Emma’s. I would add:
- No drippy turkey thawing in the fridge for days: It’s kind of wonderful to not worry about whether the turkey is thawed.
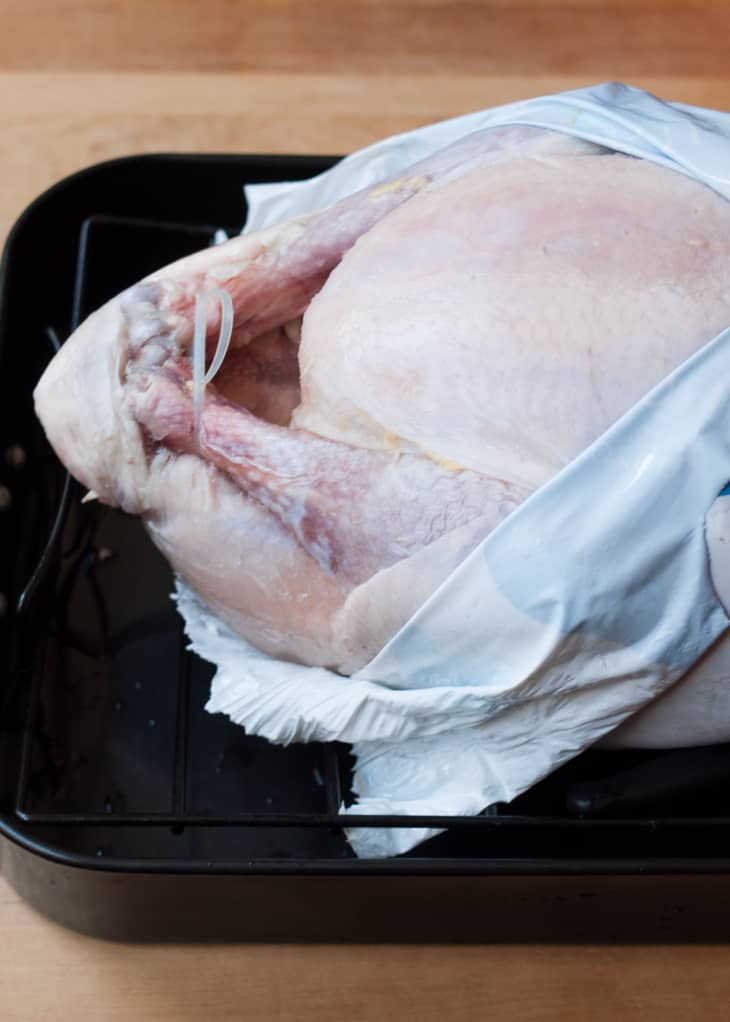
- It’s easier to remove the packaging when the turkey is frozen: I use a box knife to slit away the wrappings without mess.
- The turkey cooks low and slow and I find this less stressful: I just put it in the oven and don’t worry about it overcooking.
- It makes SPECTACULAR gravy: As Emma notes above, this method makes the extra-dark and flavorful drippings and my favorite gravy of all time.
At the end of the day, most people in my family don’t have strong feelings about turkey; it’s a side show compared to the side dishes. This method gets a perfectly adequate turkey on the table with less stress, less mess, and great gravy. Far from being an answer to an emergency situation, I think it’s one of the best methods for Thanksgiving turkey, hands-down.
How To Cook a Frozen Turkey
Makes 1 turkey
Nutritional Info
Ingredients
- 1
frozen or partially thawed turkey
Melted butter
Salt
Pepper
Equipment
Roasting pan
Roasting rack
Pastry brush
Instructions
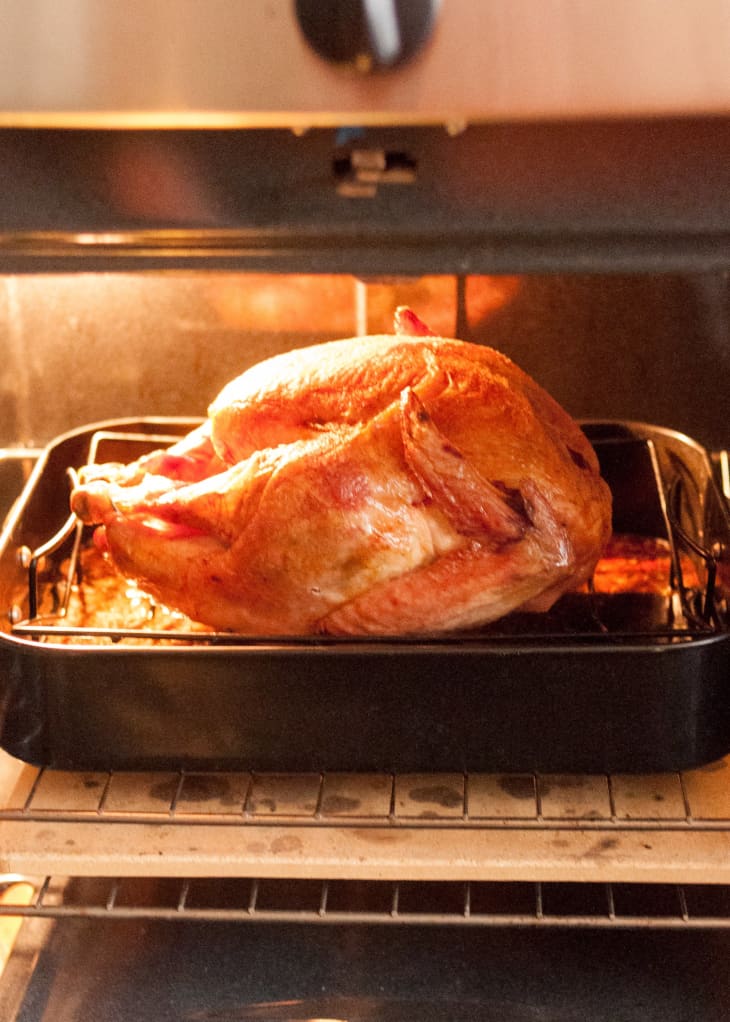
Heat the oven to 325°F. Place a rack in the bottom third of the oven.
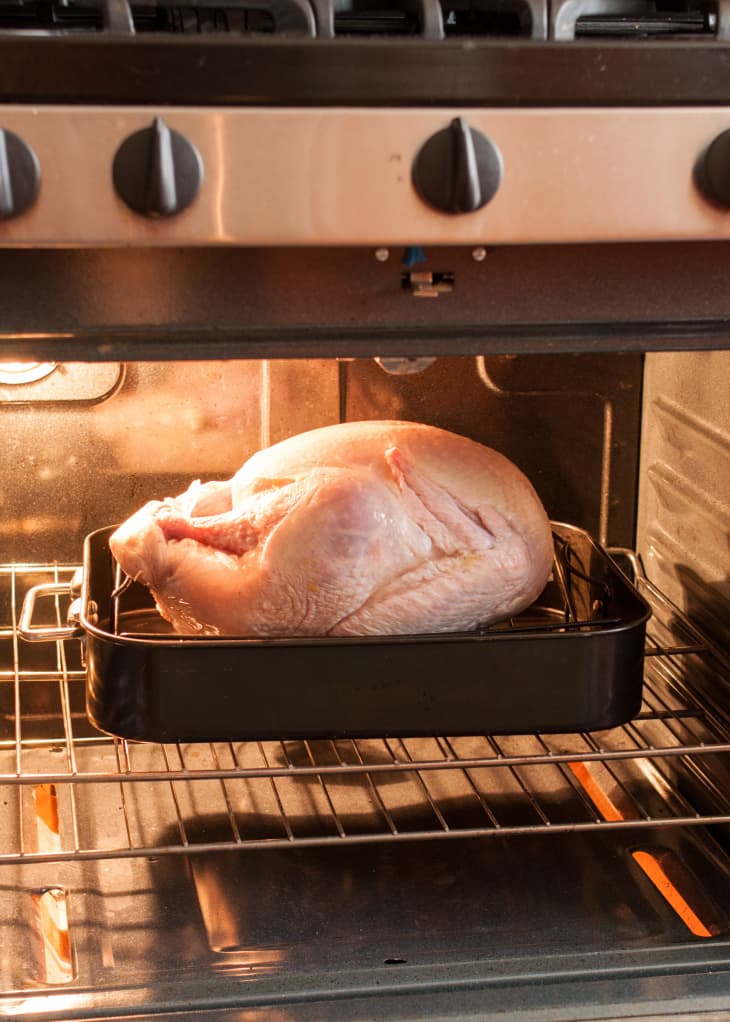
Place the turkey in the roasting pan: Unwrap the turkey and place it on top of a roasting rack inside a roasting pan. Don't try to remove the giblets or season the turkey right now.
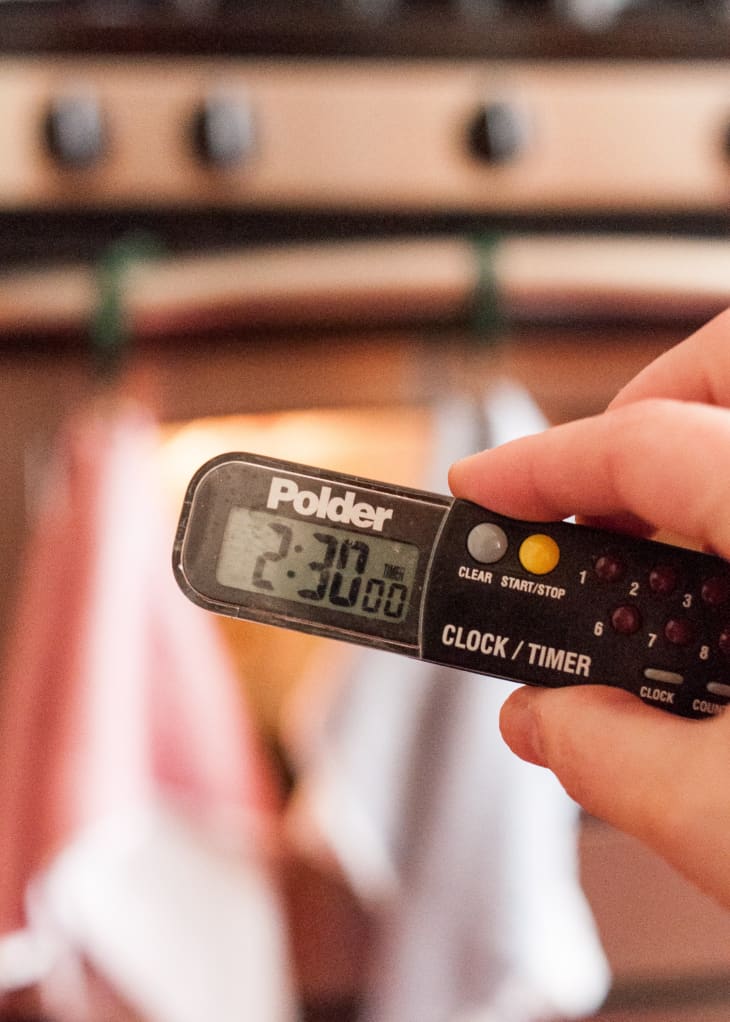
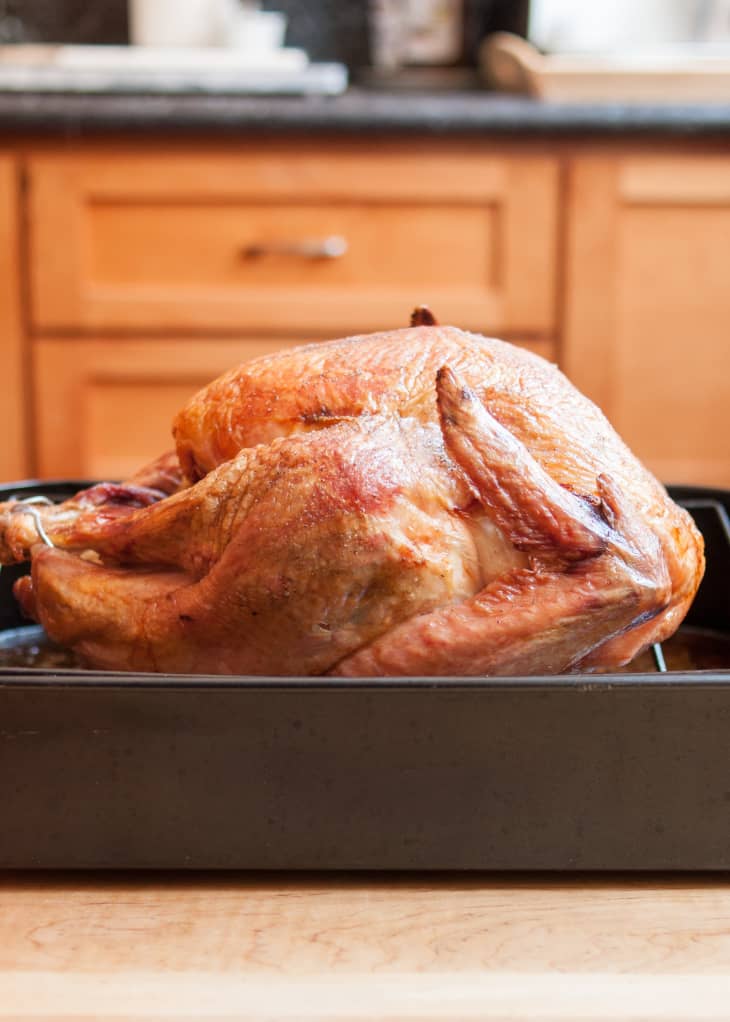
Roast for 2 1/2 hours. Try not to open the oven door or let out too much heat. After 2 1/2 hours, your turkey should just be starting to turn golden.
Check the temperature: This temperature check is just to get a reference point for how quickly the turkey is cooking. At this point, the breast and thighs will likely be in the low-100°F range.
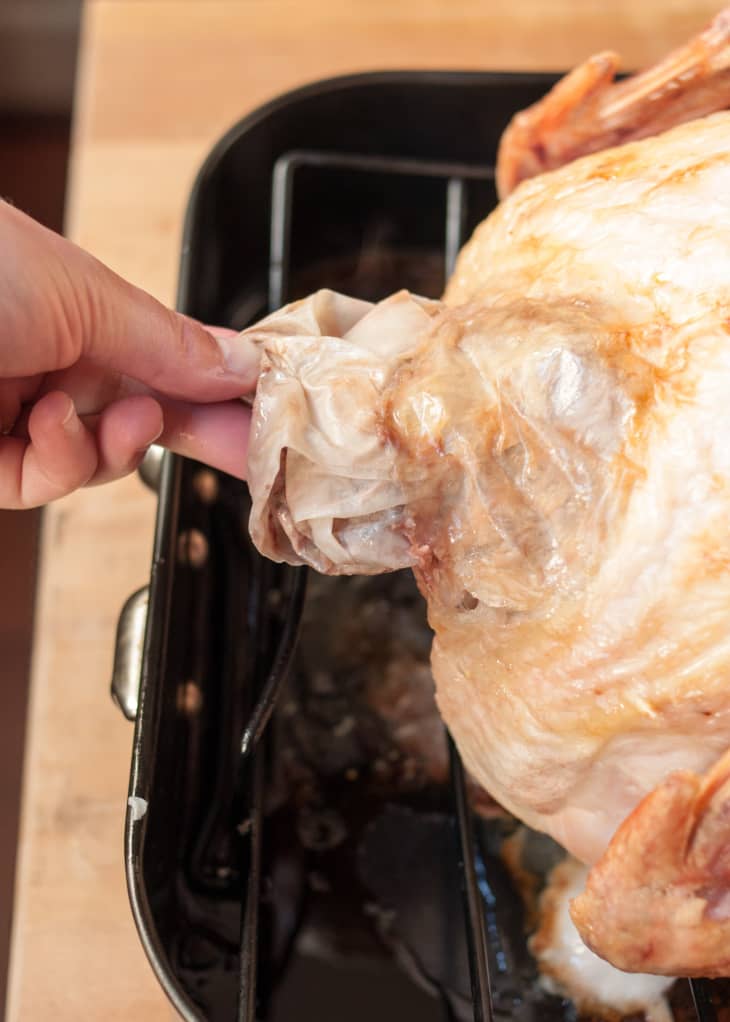
Remove the giblets: The turkey should be thawed enough at this point that you can remove any trussing mechanisms (although most are safe for roasting in the oven; check the turkey's packaging for information). Check the neck cavity and remove the bag of giblets if you see it. Check the cavity of the turkey for the neck or giblets, and remove them if you can. If you can't get to the giblets, or if the giblets are still frozen inside the turkey's cavity, continue roasting, but check every 30 minutes to see if you can remove the giblets. Be careful — the turkey is still mostly frozen, but the juices around the surface are hot.
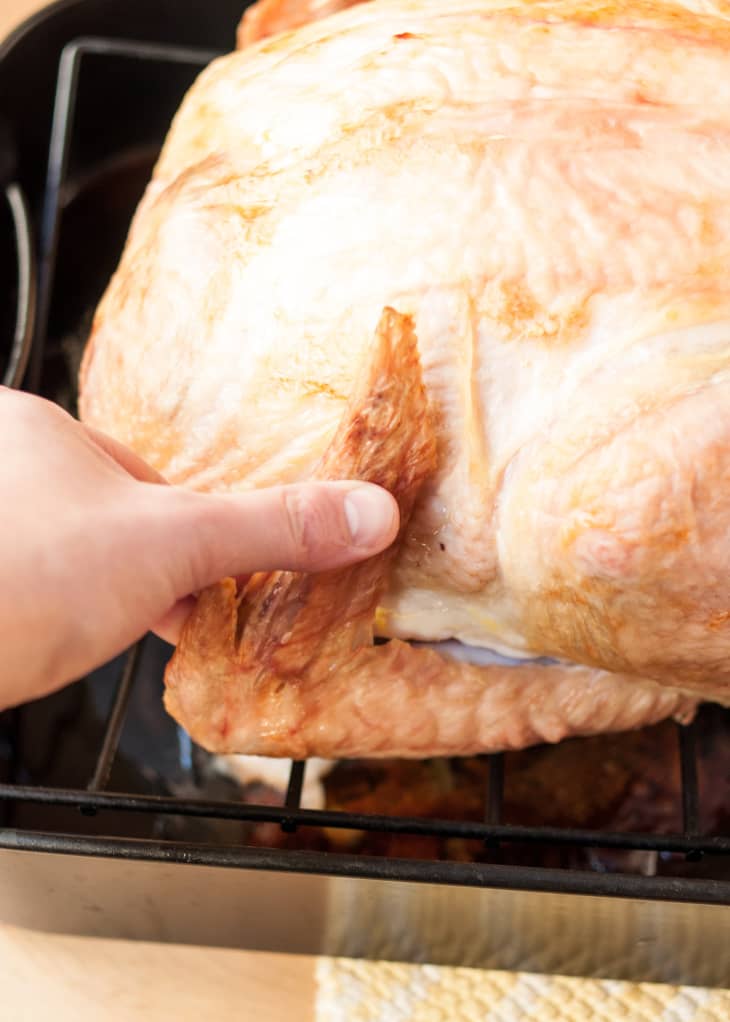
Tuck the wings behind the turkey: You can also leave them untucked — either way is fine.
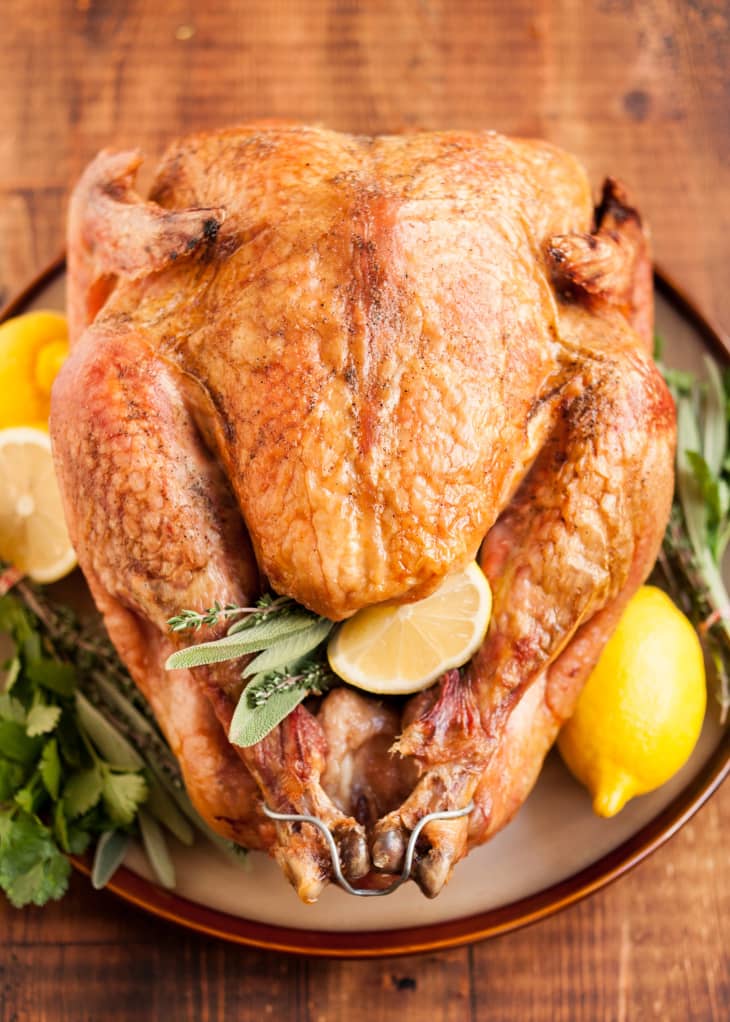
Season the turkey: Brush the turkey with melted butter. Sprinkle with salt, pepper, and any other seasonings you'd like to use. Rub in the spices with your fingers.
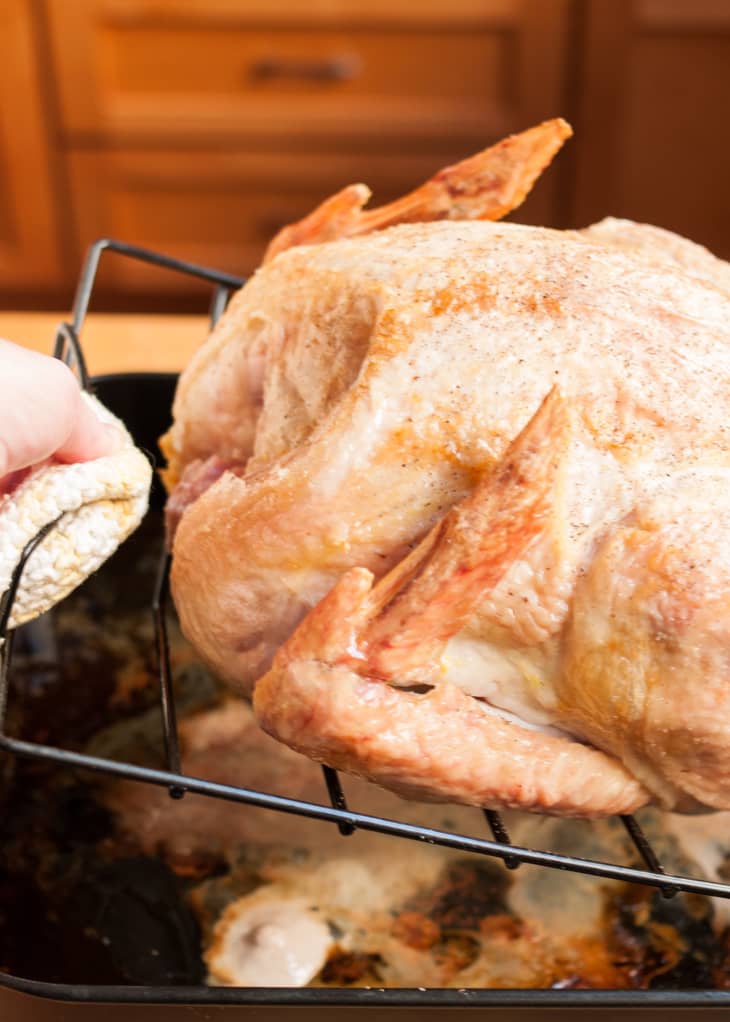
Tip the turkey to pour out any juices: Juices tend to collect inside the cavity of the turkey as they melt. Lift the roasting rack and tilt the turkey so these juices pour out into the pan.
Continue roasting: Refer to the chart above for estimated total roasting times. Check the temperature in the breast and thigh meat every hour or so to gauge how fast it's cooking, and tilt the pan to pour out any juices. Brush the turkey with more butter if you'd like. If the skin over the breasts is browning more than you like, cover loosely with foil. If the pan starts looking very dry or if the drippings start looking burnt, add a few cups of water or broth.
Cook until the turkey registers at least 165°F in all areas: The breast meat is the thickest part of the turkey and will cook the slowest. The middle of the turkey, closest to the bone, will also be the last to cook through; the temperature may be well above 165°F close to the surface, but below temperature deeper in the meat. Make sure you take the temperature in multiple places and also at multiple depths in the meat to be sure you're getting an accurate temperature reading throughout. (Just be sure not to hit the bone, which will give you a false temperature.)
Rest the turkey for 30 minutes. Set the turkey aside to rest for at least 30 minutes. Use this time to make gravy, if desired.
Carve the turkey and serve. Transfer the turkey to a cutting board and carve.
Recipe Notes
Storage: Leftovers can be stored in an airtight container in the refrigerator for up to 4 days.