
Baking School Day 8: Pâte Sablée

The Kitchn’s Baking School Day 8: All about pâte sablée.
Join The Kitchn’s Baking School: Sign up and see all The Kitchn’s Baking School assignments
Once again we head straight into French pastry and French language — pâte what? Pâte sablée is simply the sweetened pastry dough used for making tart shells. As opposed to a flaky pie crust, pâte sablée is rich, crumbly, and more cookie-like — like shortbread cookies. It tends to be crisp, not chewy or flaky, and will break into tender pieces when you cut into it with a fork. Sablée means “sandy,” which describes the buttery dough perfectly.
And this dough is one of the simplest to make and the easiest to work with, which is why it is a cornerstone of Baking School. Here’s what you need to know, and what you can make with it.

What Is Pâte Sablée?
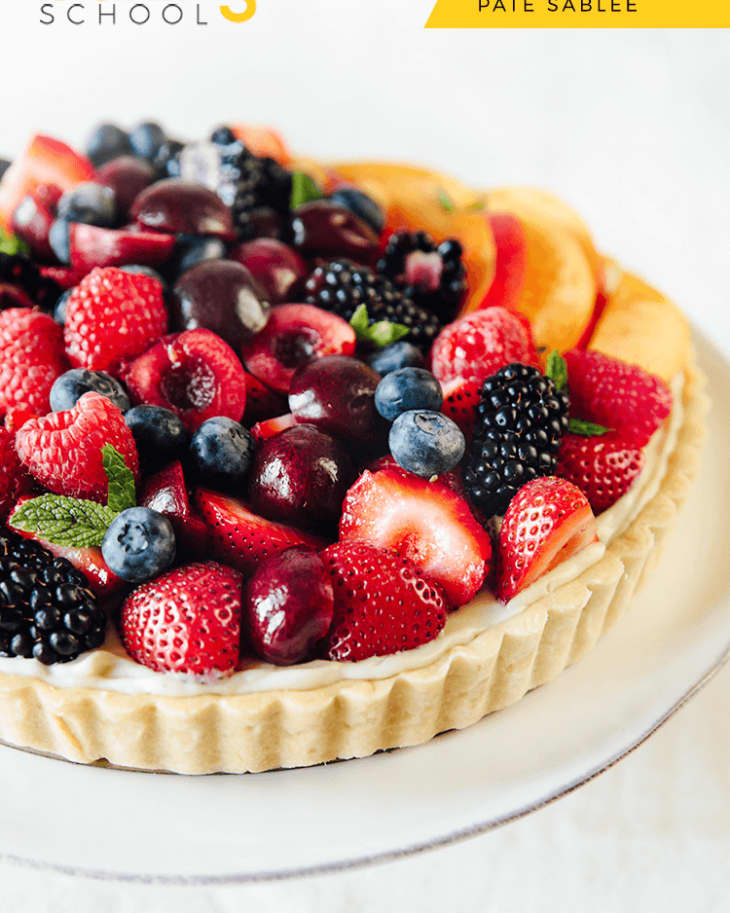
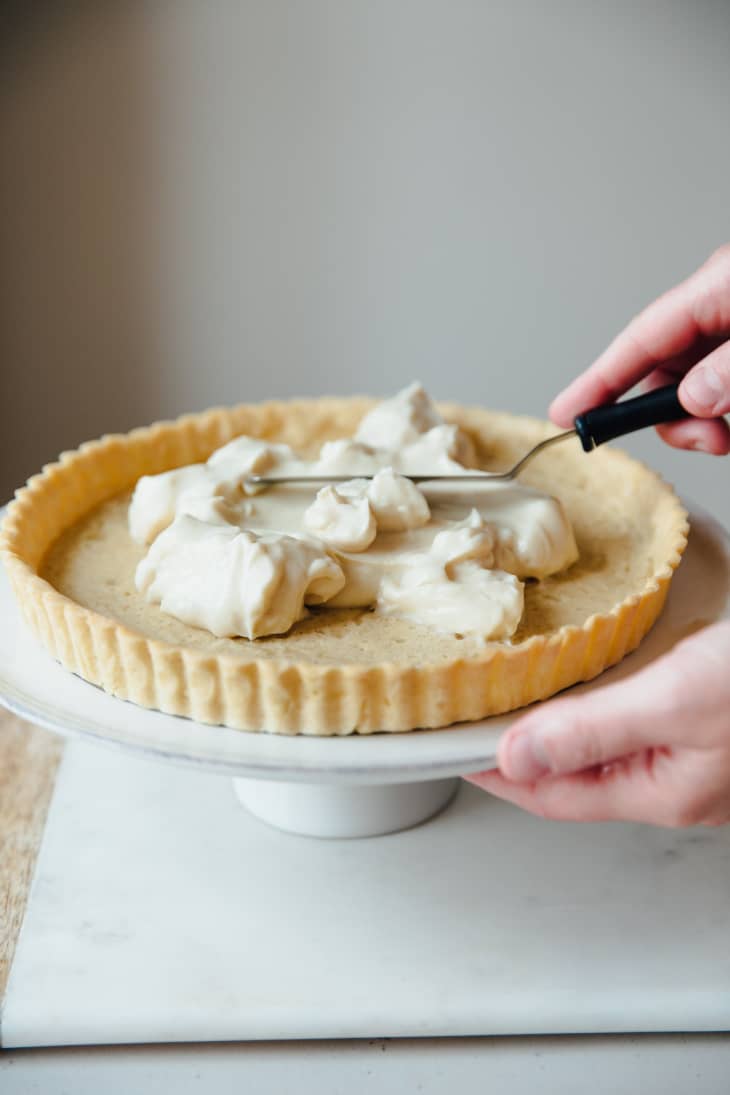
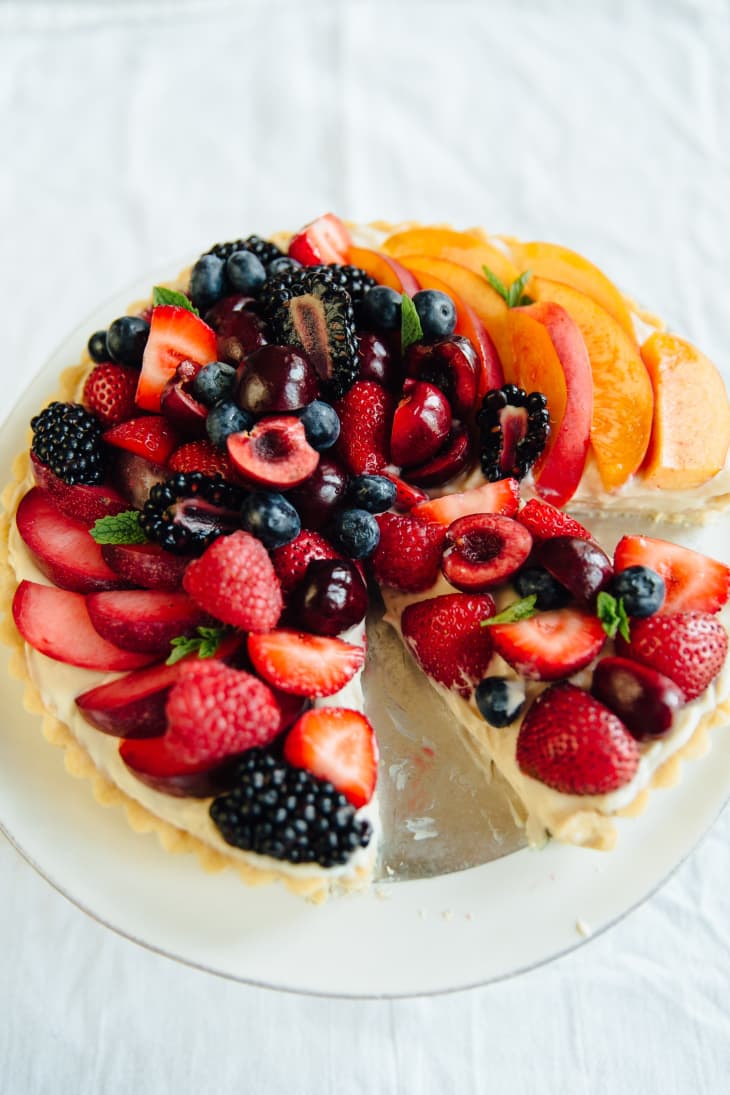
Ever eaten a beautiful fresh fruit tart with luscious pastry cream and a tender, butter crust? Nine out of 10 times that crust was made from pâte sablée. Typically partially or fully baked and then filled, pâte sablée is responsible for creating tart shells, bakewells, and more. Fill a partially baked tart shell with frangipane for a velvety almond tart, pastry cream and fruit for a fruit tart, or rich chocolate ganache for an easy chocolate tart. These tarts can be round, square, or rectangular; big enough to share, or mini individual tarts — pâte sablée is endlessly adaptable.
The Role of Butter in Pâte Sablée
Pâte sablée is a shortcrust pastry dough — meaning it uses a high ratio of fat to flour. In this case, that fat comes in the form of butter. The butter is responsible for making baked pâte sablée rich, tender, and, well, “sandy.”
Unlike when making a flaky pie crust, the butter for making pâte sablée should be softened. Room-temperature butter is creamed together with powdered sugar to evenly distribute the fat instead of it being cut into the flour and left in small pieces like other pie doughs. By coating the flour particles, butter helps inhibit gluten formation and creates the sandy, tender texture.
Remember This: Butter should be soft, not cold when making pâte sablée.
Making Pâte Sablée
Pâte sablée is a very manageable and approachable kind of dough — much easier and more forgiving than other pastries. Other than a bit of resting time between steps, it is a relatively simple and straightforward recipe.
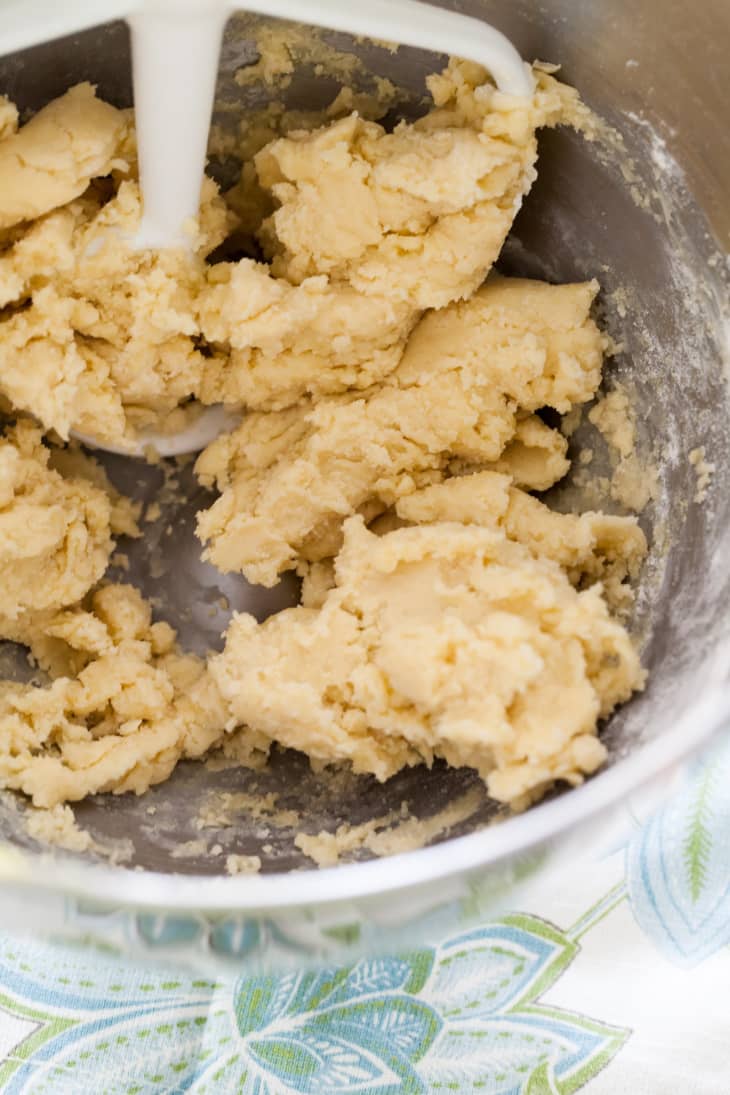
All you do is cream softened butter together with powdered sugar; add in an egg yolk, and mix until incorporated; carefully add in the flour and be sure to only mix until the last trace of flour begins to disappear. Even though the butter prevents gluten from forming, it’s still best to avoid overmixing. The finished dough should be smooth and fairly soft.
Pat the dough into a disk, wrap it in plastic, and let it chill in the fridge for at least one hour to let it firm up a bit before rolling it out.
Get your step-by-step baking lesson:
How to Roll, Press, and Crimp the Dough Like a Pro
The mission: Get the disk of dough into the tart pan without breaking, tearing, or overworking the pastry. It sounds tricky, but as I mentioned above, this dough is very forgiving.
Temperature is key when it comes time to roll out your pâte sablée. We’ve discussed chilling the dough to firm it up before rolling, but straight from the fridge, the dough will actually be a bit too cold and firm to roll, especially if you’ve chilled it for longer than an hour. For more manageable dough, let it rest on the counter for about 10 minutes before getting started. You want it to still feel cool to the touch, but just starting to feel malleable if you press the edge.
To prevent sticking and eliminate the need for additional flour, place the disk of dough between two pieces of wax paper. Start from the center and roll out, trying to use even pressure as you roll and letting up slightly at the edges. Rotate your dough and continue around. Be careful not to roll completely over the edges, which thins them too much. Keep rolling until the dough is roughly 1/8-inch thick.
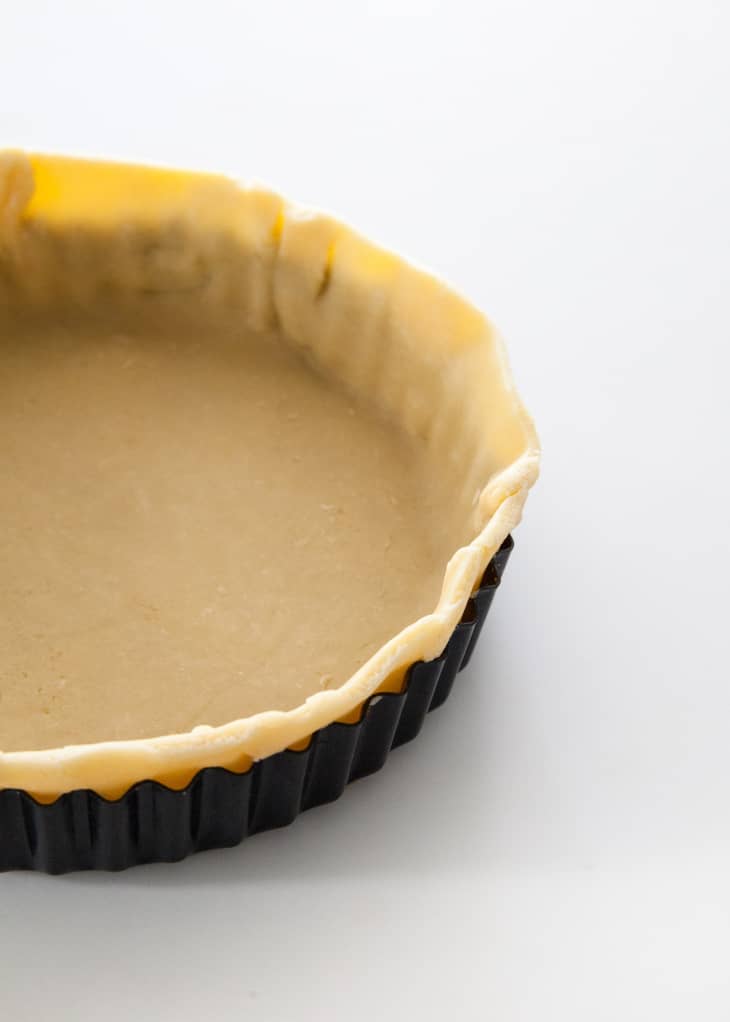
Once your dough has been rolled out to a circle, you can transfer it to the tart pan or pans. Peel away the top layer of wax paper and carefully invert the dough into a large tart pan, or cut out individual shapes for smaller tarts. For large tarts, peel off the top layer once you invert the dough.
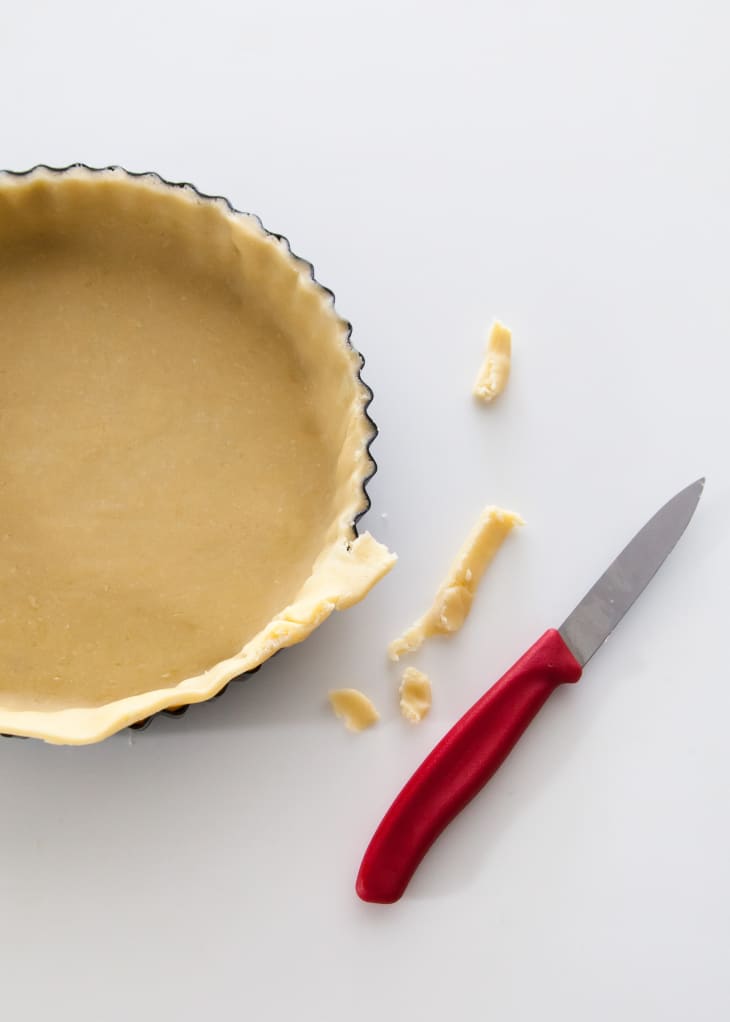
Once the dough is draped in the tart pan or pans, gently press the dough into place. Try not to stretch the dough too much. If the pan has a fluted edge, firmly roll your rolling pin off the top edge to “cut” the excess dough and give the tart a clean edge. Alternatively, simply run a sharp paring knife around the top edge of the pan. Save your scraps for any potential cracks during baking.
For mini tarts, drape a large piece of dough over each tin and press into place.
Patching Up Cracks in the Dough
If the dough cracks while you’re rolling it out, simply press the dough back together. If the dough tears when transferring it or fitting it into the pan, do the same thing. If the cracks are too big to press back together, use some extra dough to patch it up.
Also, if you notice any small cracks after you remove the weights during blind baking, patch them up with pieces of uncooked leftover dough before returning the crust back to the oven.
Works like a charm — see, I told you this dough was forgiving!
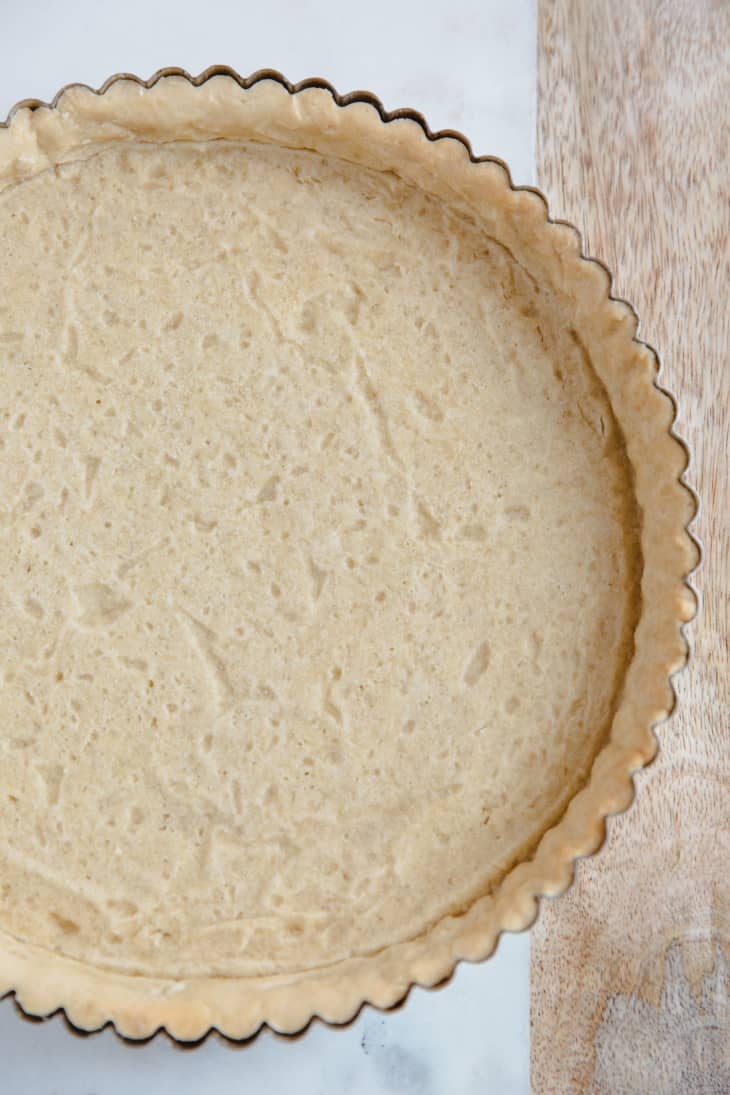
Blind Baking Pâte Sablée Tarts
Don’t be scared — this does not mean baking with your eyes closed. Blind baking is simply baking the tart shell or crust without a filling. When a tart calls for a custard-like or unbaked filling, you will want to partially or fully bake the crust ahead of time. As a rule of thumb: the less time a filling needs to cook, the longer that shell needs to bake on its own.
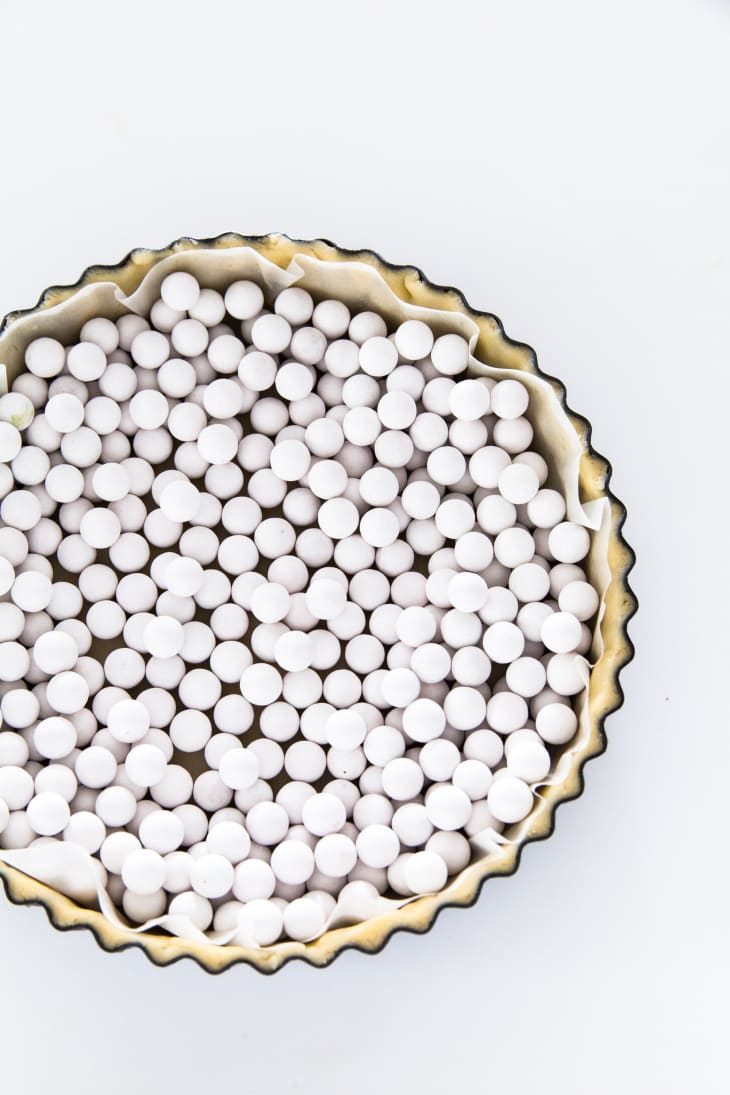
To blind bake your pâte sablée, chill in the refrigerator for at least 30 minutes after you fit it into the tart or pie tin and get your oven preheating. Once the dough has chilled, line it with parchment paper or aluminum foil. Use pie weights or dry beans to fill the center of the tin. We are essentially weighing the dough down so the crust holds its shape and the bottom does not puff as it bakes. Some recipes will instruct you to poke holes in the tart with a fork instead of baking it with weights; this isn’t quite as effective as weights (the dough still puffs up a bit), but is a good alternative if you don’t want to bother with pie weights.
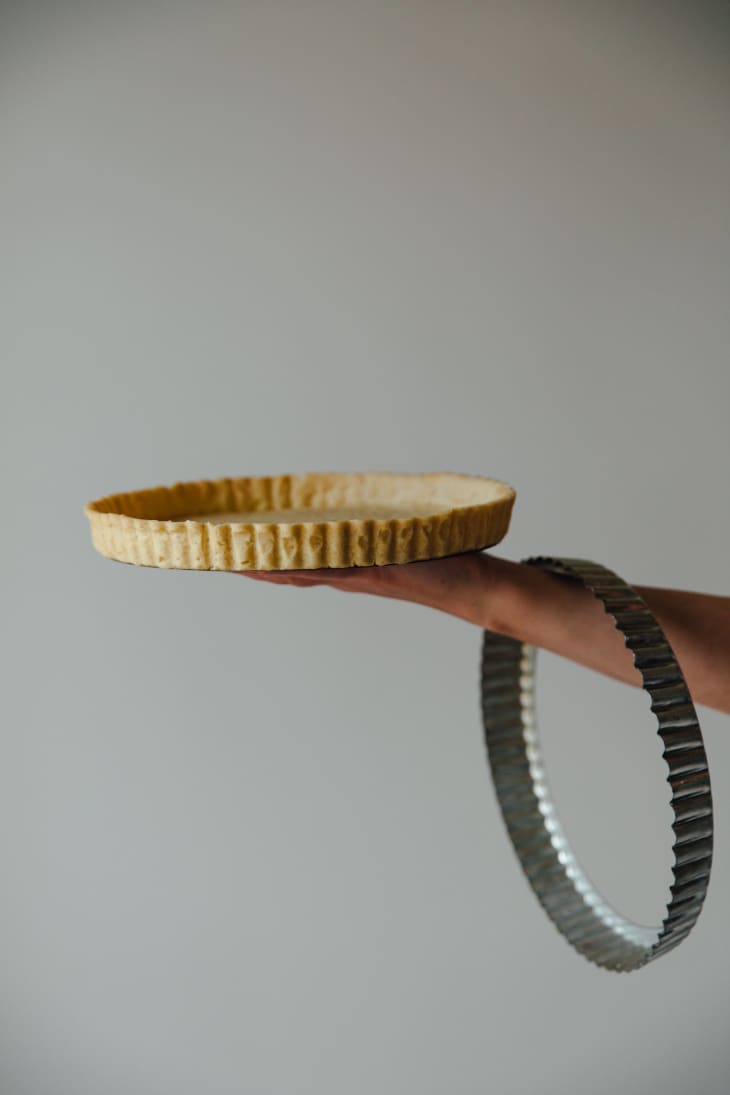
Once set, the edges of the tart will start to brown. Take the crust out of the oven and carefully remove the weights by lifting up the parchment or foil. Return the crust, unlined, back to the oven. For a partially baked crust, let it bake for a few minutes longer, or until the center of the crust appears dry but is still pale in color. For a fully baked crust, the center should tun light-brown when done.
Tips for Pâte Sablée Success
We talked about these above, but repetition makes perfect — here are some key tips to take away from this lesson:
- Leave enough time for the dough to chill and rest between steps. This means, chill it after the dough comes together and then again after the dough is in the tart tin.
- Before rolling out the dough, let it soften slightly — about 10 minutes. Yes, we just talked about the importance of chilling the dough, but the dough should be softened slightly to prevent tearing.
- Instead of adding in more flour when rolling out the dough, which can make the crust tough, roll it between two pieces of wax paper to prevent the dough from sticking.
- Patch up any holes or cracks by pressing the dough back together or patching it up with extra dough. (This goes for partially baked crusts, too!)
- Preheat the oven while the tart is chilling for the second time. The oven needs to be fully heated before you start baking the crust so it cooks the tart rather than melting the butter.
- If you’re fully baking the crust, and the edges are browning before the center is done, cover the edges in foil after removing the pie weights.
Ways to Switch Up This Dough
As if you didn’t already have enough ideas for filling these tarts (lemon curd, chocolate ganache, pastry cream, vanilla custard, frangipane — oh my!), you can also play around with the dough itself. Try adding finely ground pistachios, hazelnuts, and almond meal in place of a portion of the flour, or add cocoa powder and different spices! Just think — a cinnamon-chocolate tart shell with vanilla bean pastry cream and fresh strawberries, or a nutty pistachio shell filled with luscious chocolate ganache!
Make-Ahead Pâte Sablée
Pâte sablée can definitely be made in advance. The prepared dough may be chilled and kept in the refrigerator for two to three days before being baked, or you can freeze it for up to one month (thaw overnight in the refrigerator before using). Alternatively, you can freeze the tarts right after rolling them out and then bake directly from the freezer.
You can also bake the tart crust by itself a day or two ahead of when you plan to serve it. Cool completely the unfilled tart shell, wrap it in plastic (or transfer mini tarts to an airtight container) and keep them at room temperature until ready to fill. You may also wrap it in foil and then place in a large zip-top bag (or place minis in an plastic, lidded container) to freeze for up to one month. Thaw baked, frozen shells in the refrigerator before adding the filling.

Every lesson has three homework options. Maybe you’ve already got one down, or you just have time for a quick study session. So pick one, and show us by tagging it with #kitchnbakingschool on Instagram or Twitter.

Find the prettiest tarts on Pinterest and share the links in the comments.

Make a disk of dough and freeze it.

Bake a whole tart! Make the dough and turn it into a lemon tart, a berry tart, or a savory mushroom tart.
Join The Kitchn’s Baking School!
SIGN UP
SHARE YOUR PROGRESS
- Follow and show your progress on Instagram, Pinterest, Facebook, and Twitter! Make sure to use the #kitchnbakingschool hashtag.