
7 Tips to Make Sure Your Jam Sets Up
We independently select these products—if you buy from one of our links, we may earn a commission. All prices were accurate at the time of publishing.
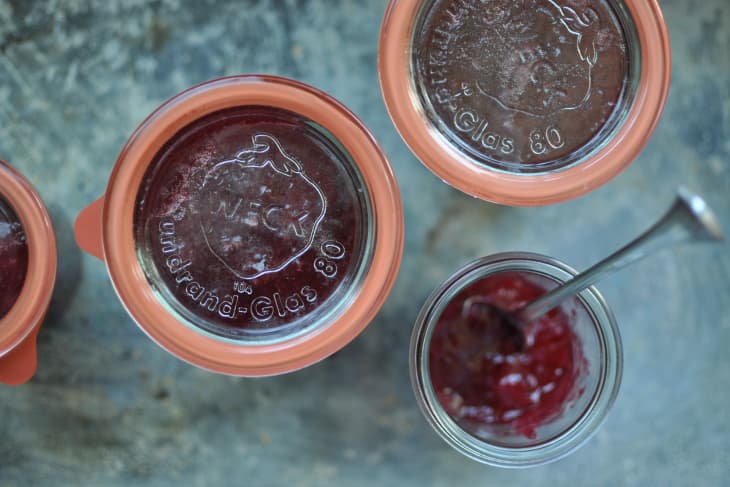
(Image credit: Marisa McClellan)
I am an equal opportunity fruit jam eater. I am just as happy with the loose, sloshy batches as I am the ones that have a firmer consistency. I love to use the runny varieties to flavor plain yogurt or as a sweetener for green smoothies. The slightly overset batches are perfect for serving with cheese plates or as the filling in a thumbprint cookie.
However, if your fruit jams never quite hit the set mark and you’re getting frustrated, here are a few tips and tricks for getting a better final consistency.
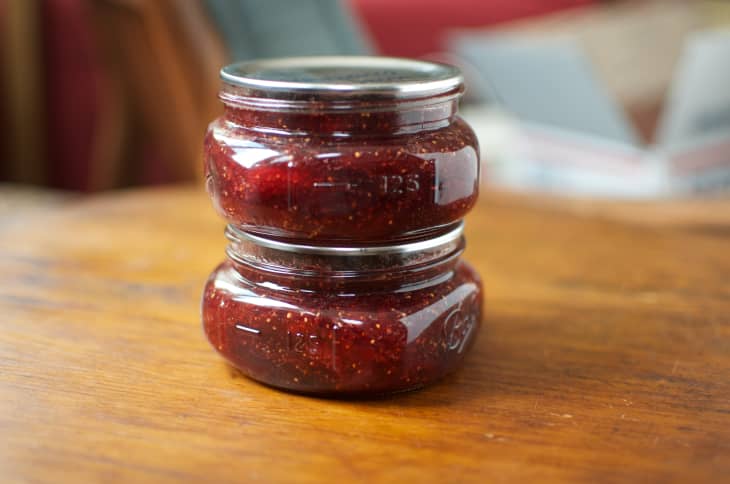
(Image credit: Marisa McClellan)
(Image credit: Marisa McClellan)
- Understand pectin.
Pectin is the fiber that holds up the cell walls of fruits and vegetables. It exists in all produce, but some things have more of it than others. High pectin fruits like blueberries, apples, and cranberries don’t need any additional pectin and can be used in combination with other fruits to boost their pectin. If you’re working with low pectin fruit like strawberries or pears, there’s no shame in using some commercial pectin, as it will give the sugar more fiber with which to bond.
- Use a candy thermometer.
When you’re making jam with traditional amounts of sugar, you’re aiming to cook it to 220°F. That’s the temperature at which sugar forms a gel and can bond with the pectin (whether it naturally occurring in the fruit or you’ve added it). Monitoring the temperature can give you confirmation that you’re on the right track.
- Watch the way the jam drips.
Swirl your spatula through your cooking jam, hold it up over the pot, and watch how it falls. If the jam runs right off the spoon and looks thin and runny, it’s not done yet. However, if it forms thick droplets that hang heavily off the bowl of the utensil, but don’t immediately fall off, it is either nearing completion or is done.
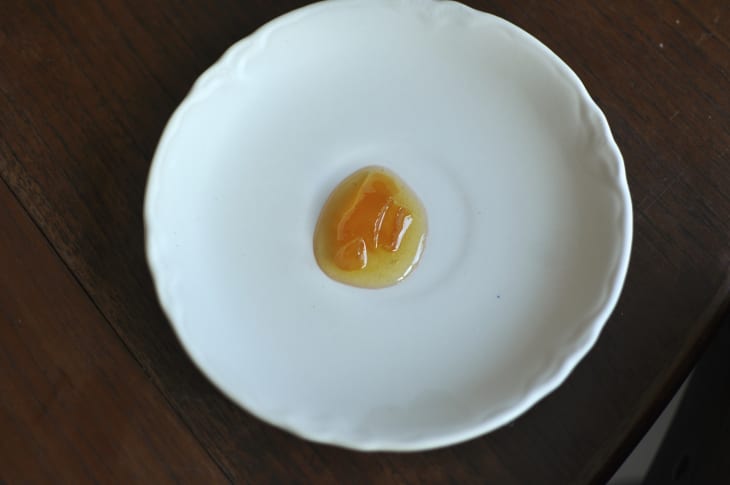
Use the freezer test.
At the beginning of cooking, put two or three small plates or bowls in the freezer. As you begin to approach the end of cooking, pull one out and put a small dollop of jam into the middle of the dish. Tuck it back into the freezer for two or three minutes (take your jam off the heat during this time, because if it the test tells you it’s done, you will have just spent three minutes overcooking your jam).
When the time is up, pull the dish out of the freezer and gently nudge the dollop of jam with the tip of your finger. If it has formed a skin on top that wrinkles a bit when pushed, it is done. If it is still quite liquid and your finger runs right through it, it’s not done yet.
- Watch and listen.
I realize it might sound a little zen-like, but I’ve gotten to the point where I truly believe that most batches of jam will tell you when they’re done. I find that the cooking noise takes on a frenzied quality that sounds more like a sizzle than a gentle boil. The look of the boil also changes towards the end. Foam subsides, jam starts to gather more thickly on the sides of the pot, and it begins to splatter more violently.
- Use a low or no sugar pectin.
One of the reasons that people often wind up with runny jam is that they couldn’t bear to use the amount of sugar necessary to get a conventionally sweetened batch to set. If you’re trying to lower your sugar consumption but still want jam, try Pomona’s Pectin. It allows you to make a spreadable jam that’s sweetened with a small amount of sugar, honey, Stevia or other alternative sweetener.
- Give it time. Jam can take up to a week to achieve its finished set. Don’t declare it a failure ten minutes out of the canner. Patience pays.
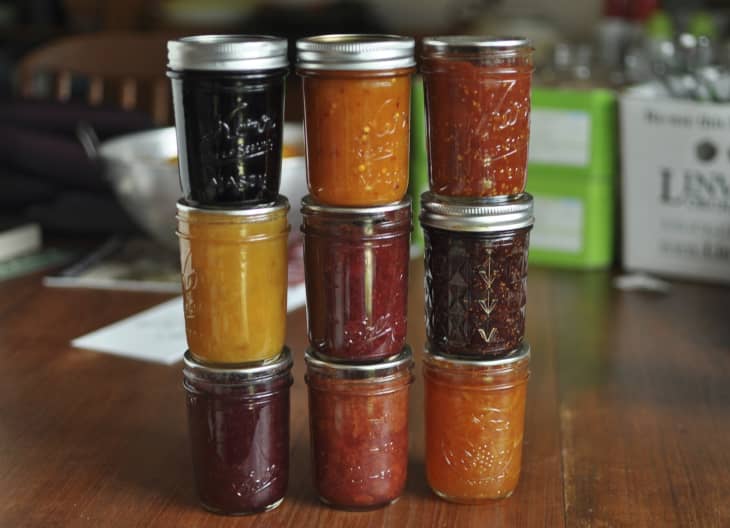
(Image credit: Marisa McClellan)