
Best Food Photography Tips From 3 Pro Photographers
Food photography is a hot topic these days, as many cooks love to snap shots of their food for friends on Facebook and Twitter. Even if you don’t keep a blog or photograph food as a hobby, you may want to share that birthday cake you made or the lasagna from last weekend. We are always trying to improve our skills here too, so we asked three professional food photographers to share their single biggest piece of advice for new food photographers. They also share their favorite piece of equipment (besides the camera) and their favorite kind of food to shoot! So welcome Andrew, Sabra, and Michael, and read on to see what they have to say!
First, a little introduction is in order.
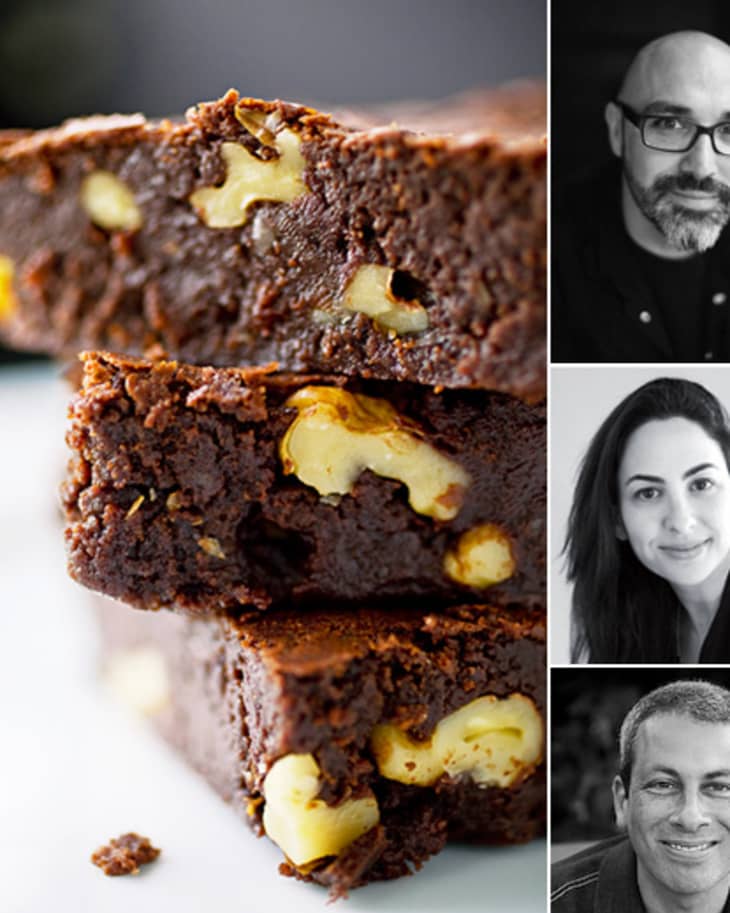
Andrew Scrivani is a professional photographer and blogger whose work appears nearly every week in The New York Times. We love his style and use of color!
Michael Natkin is the blogger behind Herbivoracious, and a self-taught photographer who is currently photographing his first book.
Sabra Krock is also a blogger and her work has frequently appeared here on The Kitchn. She also freelances for The New York Times, and she has shot numerous cookbooks as well.
So, take it away guys!

1. What’s the single biggest thing a new food photographer should do to get good shots?
Andrew: The biggest mistake I see new food photographers making is not paying close enough attention to their lighting conditions. I see so many beautifully composed images on the web that are over, under or wrongly exposed. It comes down to understanding the light available to you and the capabilities of the camera and lens you are using. Better equipment is great but no substitute for better understanding.
Michael: Stabilize your camera. If you can’t use a tripod, brace it against a chair, wall, or sleeping giraffe. The food isn’t going anywhere, so as long as the camera is still, there is no reason the shot should be blurry.
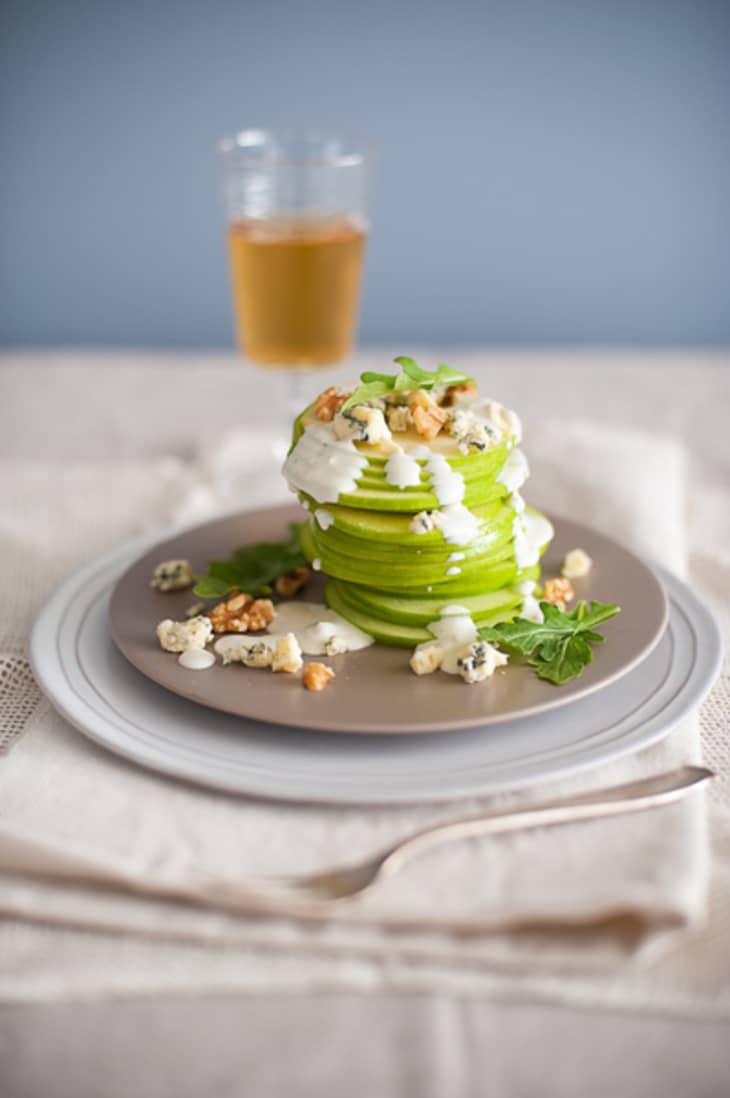
Learn the settings on your camera so that you can adjust to a wider aperture, which gives you shallow depth of field. Most food looks attractive when only a portion is in focus. (Example here) Learn to white-balance your shots, either while shooting or on the computer (not bad if you shoot RAW). Nothing sadder than seeing a good looking plate of food that is all blue or orange because of this simple mistake.
Never use a built-in pop-up flash; it creates harsh highlights and shadows.
Shoot RAW if at all possible; it gives you way more ability to adjust the shot on your computer later without losing detail or amplifying noise.
Get some safe shots first, covering the whole plate from above, 45 degrees and horizontal. Then get in close and take some more daring shots of details, and play with lighting to create more dramatic highlights and shadows. It is nothing to take 20 to 50 shots of a single plate of food so that you can pick the best one later.
Sabra: The single most important thing is getting to know light and how it plays off food and tabletop items. If you are using natural light, experiment with times of day, the direction of the light (N, S, E, W) and the angle of the light relative to your set. Try to really see the light and what the different qualities of light produce. Modify the light by cutting it down or reflecting it back and really experiment.
2. Other than a camera, what’s the most useful piece of gear or equipment for a new food photographer?
Andrew: Other than the camera the most important piece of equipment for a new food photographer is a medium focal length macro lens that does well at open apertures. I often use a 50mm macro 2.5 Canon and it has become the single most important lens in my bag when I’m shooting food.
Michael: The most useful inexpensive thing you can get is a collapsible bounce reflector with a white side and a gold side. This will let you fill in areas of your shot that are dark. Get a friend to hold it, or use a clamp, or put your camera on a tripod and use the self timer mode to go hands-free.
When you have more money to spend, professional tripods, lighting systems and better lenses are all great investments. My advice: don’t bother buying the mid-priced semi-pro versions of any of these things. They will ultimately frustrate you. I’d rather buy one new professional-grade item a year that will do everything I ask.
Sabra: A tripod. It’s nearly impossible to photograph food without a tripod for two reasons: If you use natural light you will likely need to operate at a somewhat slow shutter speed and you cannot hand hold your camera and get perfectly sharp shots. Also, food photography is very much about the details: Inching a piece of parsley to the left, directing light through a glass. You cannot have repeatable shots without a tripod.
3. What’s your favorite sort of food to shoot?
Andrew: My favorite food to shoot is far and away…dessert. Desserts are almost always sensual, colorful, architectural, textural, and universally desired. I get excited to shoot desserts because they usually photograph really well and the leftovers make the whole crew happy.
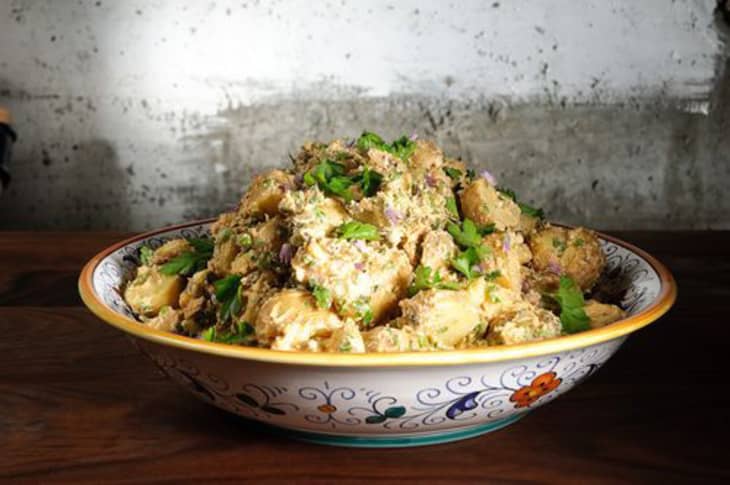
Michael: Well, it is always nice when food has a variety of colors and textures, like these stuffed zucchini blossoms. When you have all brown food, that’s when you need to be a little more creative with the props to create an appetizing shot.
Sabra: I love anything but if I have to pick one, I would say a baked good! Baked goods have you at hello!
Visit Them!
• Andrew Scrivani – Portfolio Site & his blog, making SundaySauce
• Michael Natkin – Herbivoracious
• Sabra Krock – Portfolio Site & her blog, Spoonful
(Images: Top photo of brownies by Andrew Scrivani. Other images as noted in captions. All images used with permission.)