
How To Install a Temporary Backsplash with Removable Wallpaper
Removable wallpaper is basically a renter’s best friend, and it’s one of the easiest ways to add an interesting design element to your kitchen without having to make a mess with paint or power tools. It’s a great way to add a temporary backsplash that’ll look good but also come right down, should you need to move. AND THERE ARE SO MANY FUN PATTERNS!
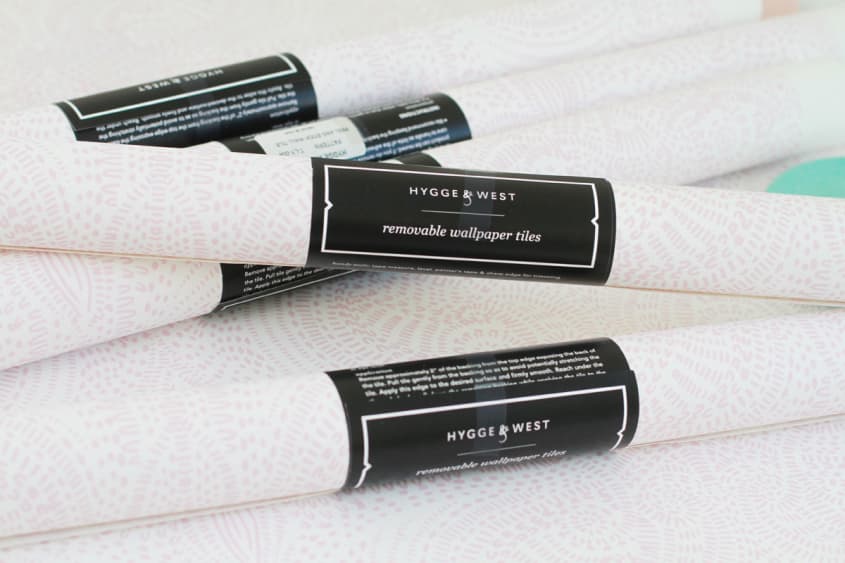
There are a few things to know before we get started. First, quality removable wallpaper isn’t cheap, but there are a few ways to keep the cost down. You can choose a pattern that could run in either direction (top to bottom or side to side) to save time and money when applying. You can also consider wallpapering just a portion of your backsplash, like behind the stove or behind the kitchen sink, as opposed to the entire kitchen.
You’ll also need to know how much you’re going to need. Once you decide on the area you’re going to cover, do some measurements, taking note of any varying heights. (Don’t worry, you’re going to measure again later, too!) When researching the wallpaper, jot down the distance of the pattern repeat, and take advantage of the Coverage Calculator that most sites offer to figure out just how much paper you’ll need.
Got your wallpaper in hand and ready to get started? Here we go!

How To Install a Temporary Backsplash with Removable Wallpaper
What You Need
- Peel-and-stick removable wallpaper
- Spray bottle
- Vinegar
- Clothing steamer (optional)
- Clean sponge
- Tape measure
- Utility knife
- Scissors
Instructions
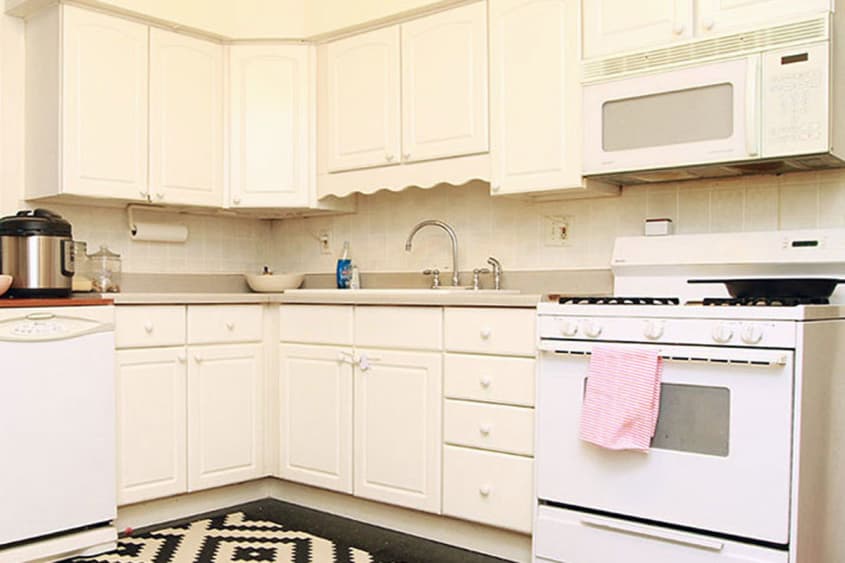
1. Prepare the wall: The walls along counters can get really gunky, so take time to meticulously clean the surfaces of any dust, food particles, or grease. A good way to quickly cut through the grease is to spray the walls with a 50/50 mixture of vinegar and water, and follow up with a handheld clothing steamer (if you have one) and a clean sponge.
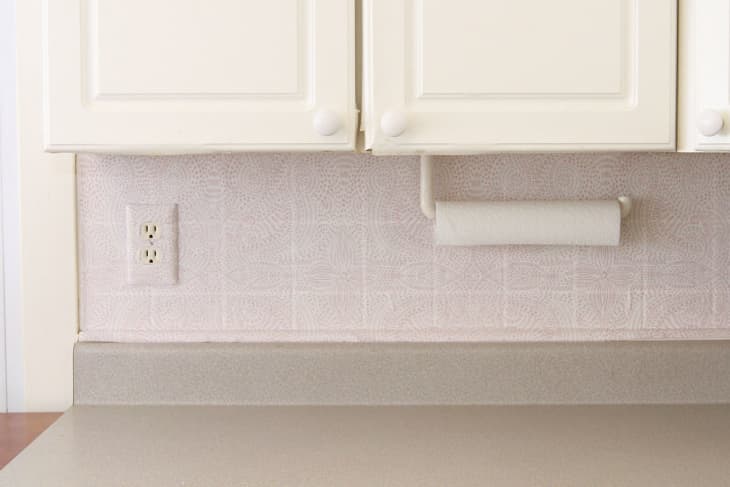
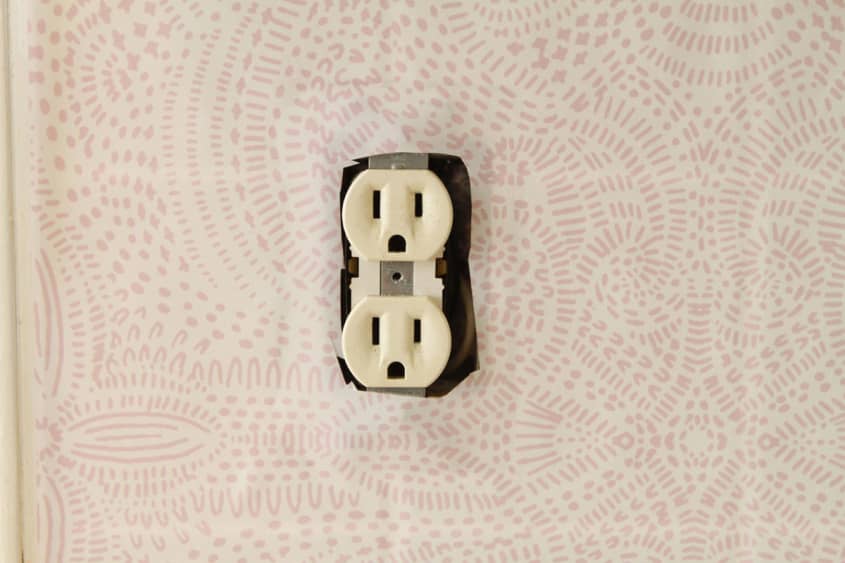
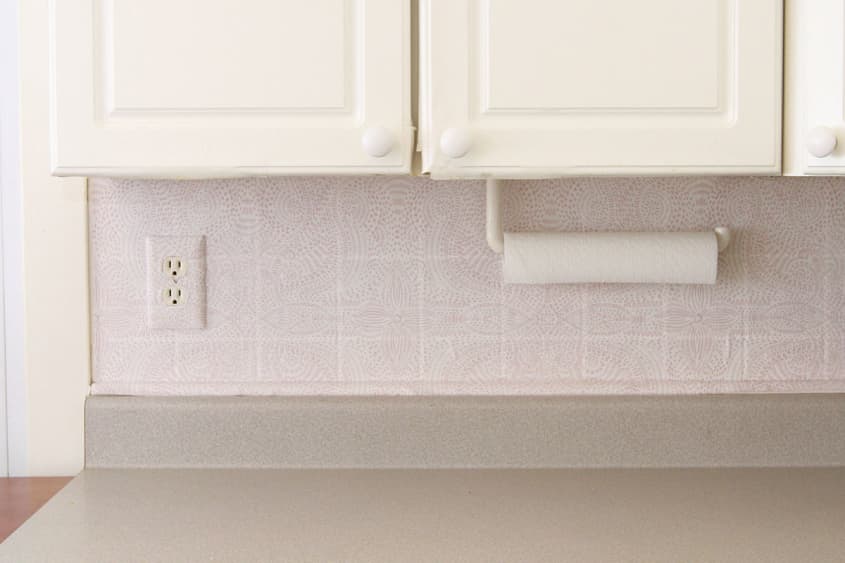
2. Take measurements and plan out your cuts: Chances are, there are quite a few things you’ll need to navigate around, like outlets, switches, or paper towel holders. I found the easiest way to keep track of these things (and my measurements) was to draw out a diagram of my kitchen, marking each section of the backsplash with the exact measurements. (It’s best to remove outlet faceplates and anything else that you can easily unscrew and don’t want to paper over!)
I started by measuring the overall length and width of the backsplash, then went in and broke up those measurements to account for places where the cabinets set lower or higher. For example, behind my sink the backsplash is an additional 17 inches higher than it is elsewhere because the cabinet size changes there. I also left an additional 2 inches overhang onto the countertop so I could come around and trim it to where I wanted it once I was finished.
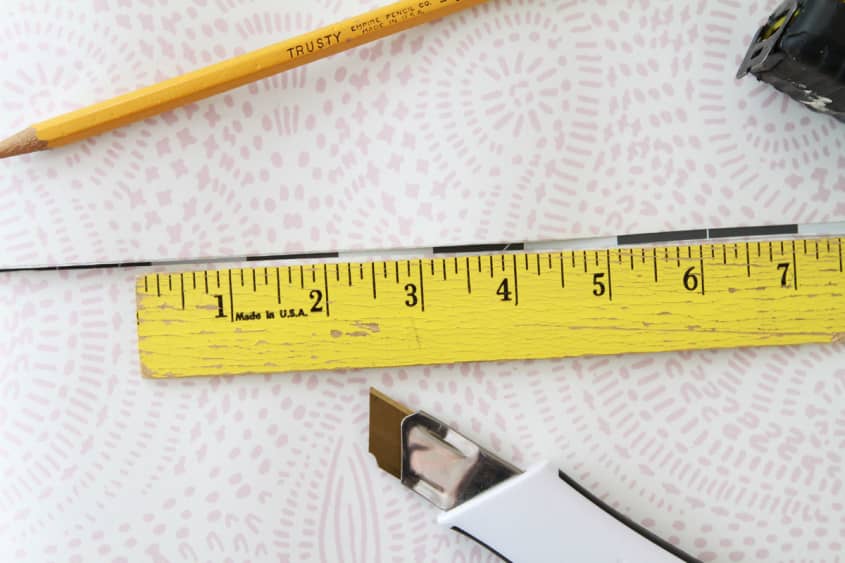
3. Cut the paper: This step is tricky, so just be sure to go slow and, as my dad always says, “Measure twice, cut once!” Most removable wallpaper sheets will be longer than your typical backsplash area (usually about 18 inches), so cut the paper down to size — leaving a few extra inches at the bottom! — to make the paper more manageable. The best way to do this is to lay out the paper on a cutting mat and use a very sharp utility knife and straightedge to make your cuts. Save any cuts you need to make around outlets until you apply the paper.
4. Start hanging: To apply, peel the top 1/3 of the backing paper and line up the paper along the underside of the cabinets. Starting at the top and working your way down, press the paper to the wall, removing the backing paper and smoothing out bubbles as you go. If you aren’t happy with how the paper is laying, remove it and start over! This is the great thing about removable wallpaper — it can be stuck and unstuck many times. (Keeping most of the backing paper on while you work helps the wallpaper not to stick to itself, but you may find it’s easier to remove it completely when working in smaller spaces.) Start at one end of the wall — not the middle.
5. Address electrical outlets and switches: When you come to an electrical outlet, apply the paper over it as best as you can, then lightly draw around the area that needs to be cut out. Next, peel the paper back up and cut out the area, reapply, and trim any excess with your utility knife once the paper is back in place. I’ve found this is the best way to be sure your cuts are exact as possible.
6. Keep going: Repeat steps four and five until your space is covered.
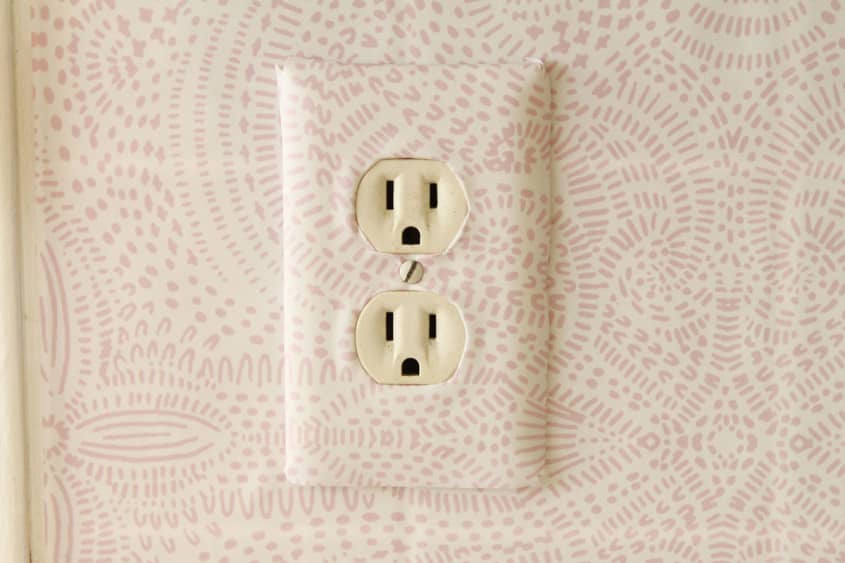
7. Cover the faceplates: If you really want to make your electrical outlets disappear, find scraps of wallpaper, match up the pattern, and cover the outlet with the paper before you put it back in place.
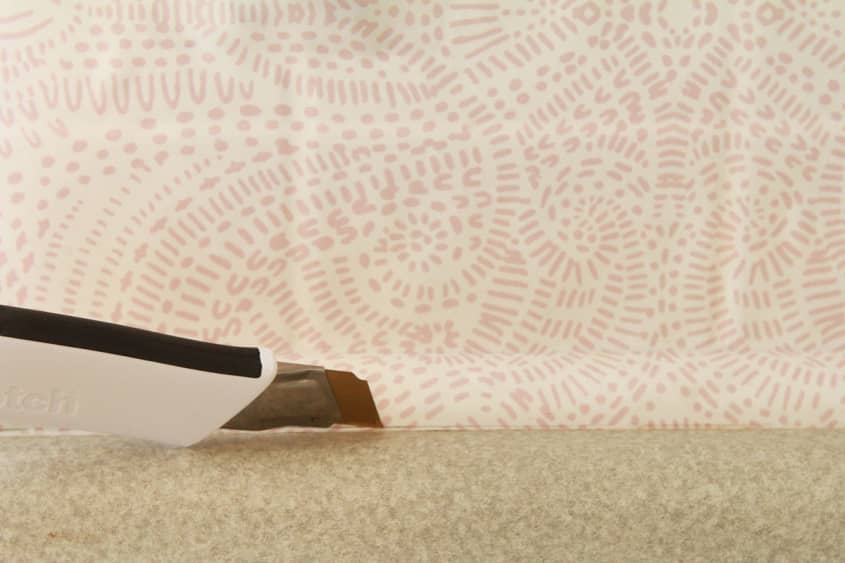
8. Trim the excess: Lastly, go back with a sharp utility knife and trim any paper that is hanging over the trim or onto the counter. Hold a straightedge against the paper to keep it from pulling up while you trim.
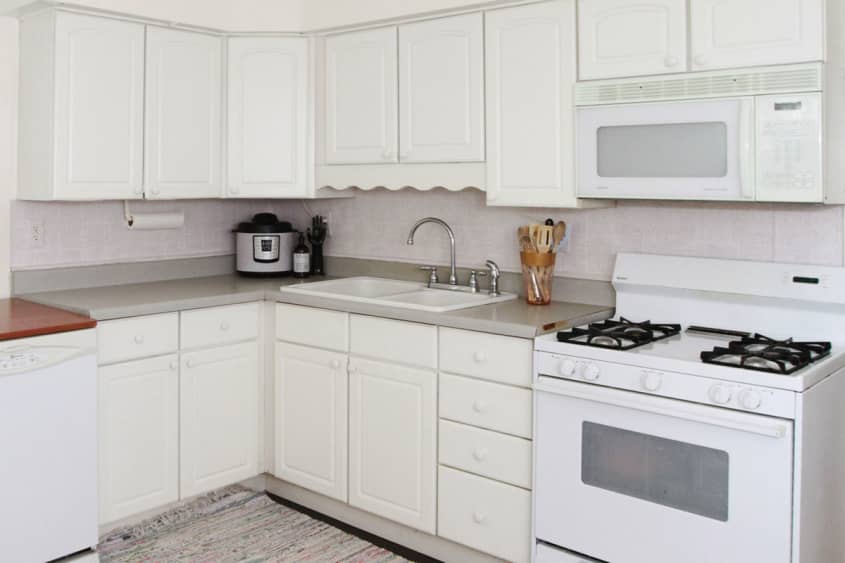
Covering Ugly Tile with Removable Wallpaper
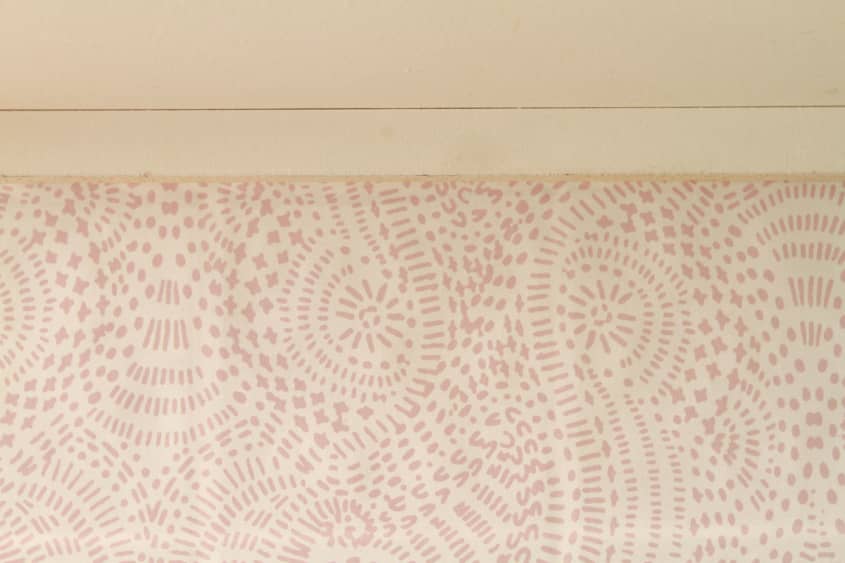
I covered over faux tile paneling in my rental kitchen and you can still make out the “tile” shapes, but I’m still really happy with the new look it gave the backsplash! Each company has its own guidelines for what their paper will stick to — generally speaking, you never want to cover a textured surface (like brick) with removable wallpaper.