
Recipe: Apple Streusel Pancake Bars

Picture this: You mix up a batch of pancake batter (because pancakes sounded so amazing 15 minutes earlier when you were in bed), only to find yourself in front of the stove, spatula in hand, thinking, “I really don’t have the patience for this.”
I experienced that scenario this morning, so I turned to an idea from last year to help me out.
While I was standing in front of the stove and my pan was heating up, it dawned on me: I just didn’t want to go through all the waiting and flipping when there were more important things to do before the day started (like taking a shower). Remembering this idea from last year — make-ahead pancakes in bar form — I took the lazy way out and still had time to bathe (which I’m sure everyone I come across today will appreciate).
I also realized that these bars are the perfect make-ahead breakfast! Make a big batch on the weekend, eat some immediately (of course), and refrigerate the rest for quick meals throughout the week. They’re pretty good cold from the fridge, honestly, but even better warmed for a few minutes in the toaster.
Tester’s Notes
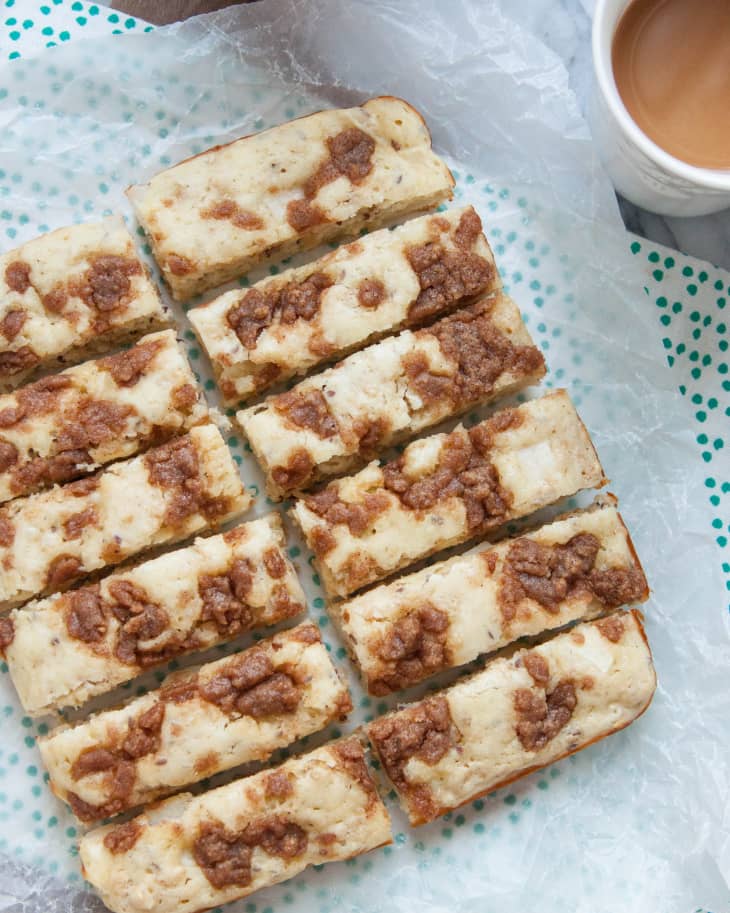
What’s better than a tall stack of fluffy buttermilk pancakes? Pancake bars! Perhaps it’s the streusel topping. (Because, when is streusel not a good idea?) Perhaps it’s the apple and granola studded throughout the bars. Or, maybe it’s simply because these bars give you a fun excuse to eat breakfast with your hands.
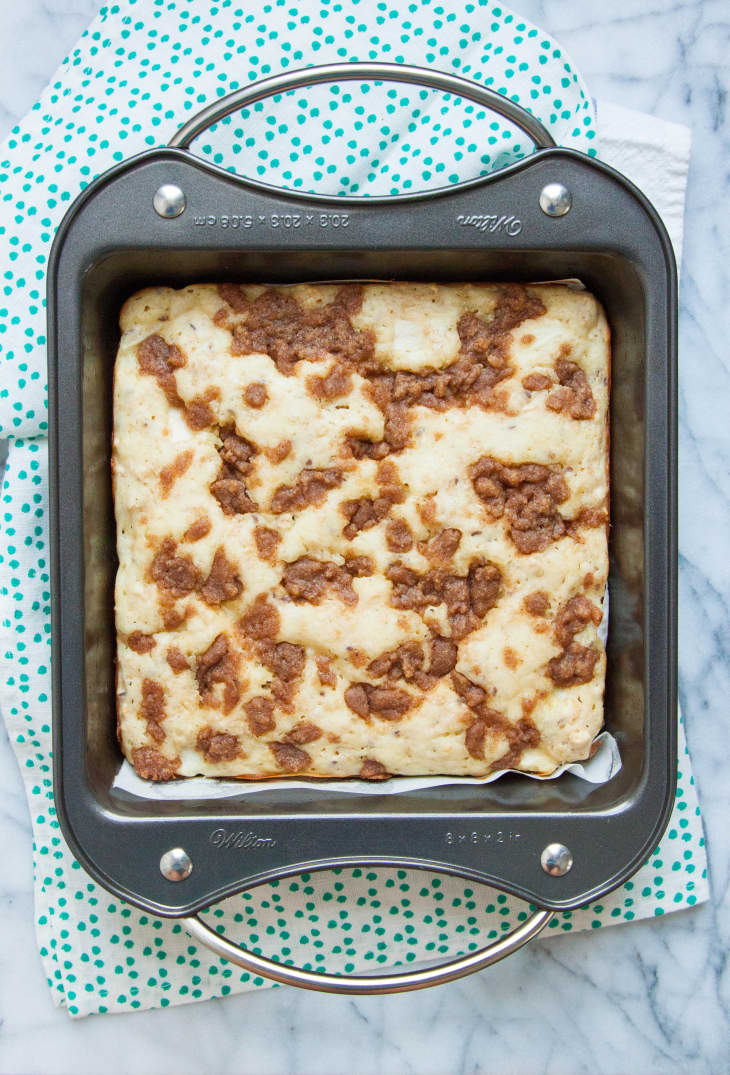
This year I made a resolution to embrace more make-ahead meals, and these pancake bars are one giant step in the right direction. I baked the bars in two 8×8-inch pans — one for weekend breakfasting and snacking, and the other for freezing. I’ve been taking the frozen bars out one or two at a time as I want them, and reheating in the oven for a few minutes. You can also easily halve this recipe if you’d like a smaller batch.
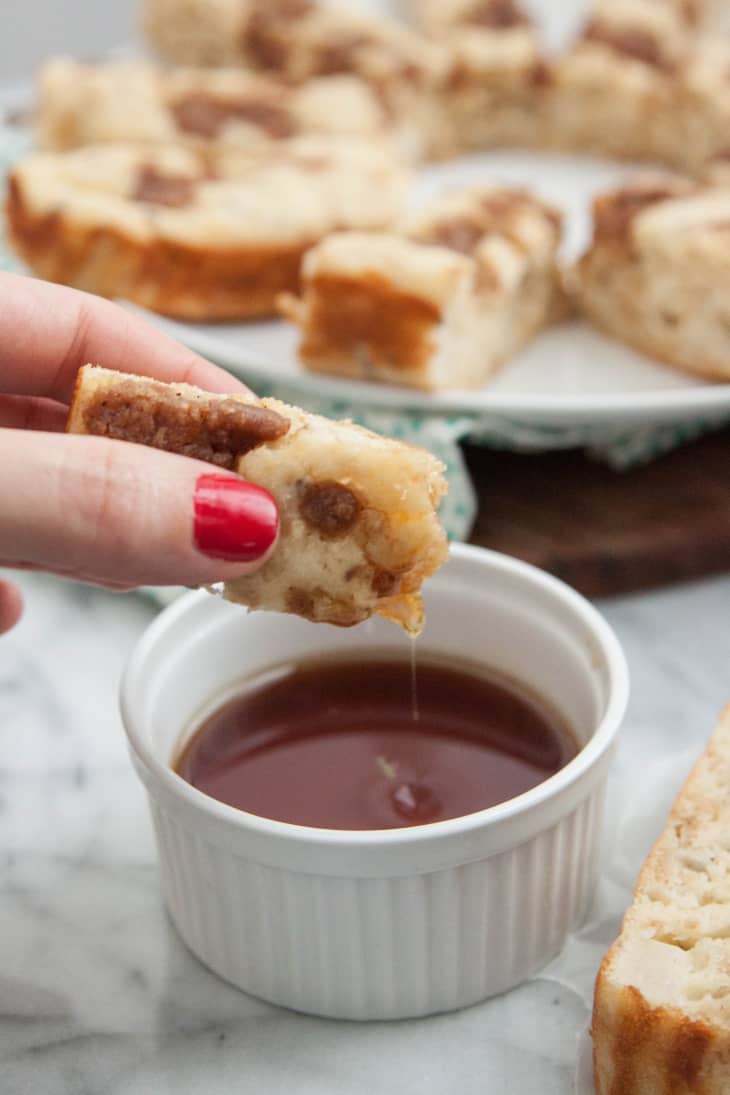
But whatever you do, don’t forget the syrup!
– Kelli, February 2015
Baked Apple Streusel Pancake Bars
Makes 20 to 24 bars
Nutritional Info
Ingredients
For the pancake bars:
- 2 cups
all-purpose flour
- 2 teaspoons
baking powder
- 1 teaspoon
baking soda
- 1/2 teaspoon
kosher salt, or slightly less table salt
- 3 tablespoons
sugar
- 2
large eggs, lightly beaten
- 2 3/4 cups
buttermilk (whole milk can be substituted without any problems)
- 3 tablespoons
unsalted butter, melted
- 1
small apple, diced into 1/2-inch pieces
- 2 cups
granola (use your favorite)
For the streusel topping:
- 1/4 cup
all-purpose flour
- 1/4 cup
brown sugar, firmly packed
- 3 tablespoons
butter, melted
- 1 teaspoon
cinnamon
- 1/2 teaspoon
freshly grated nutmeg
Instructions
Line two 8x8-inch square pans or one 9-x13-inch pan with parchment and coat with nonstick cooking spray. Whisk the flour, baking powder, baking soda, salt, and sugar together in a large bowl. Add the eggs, buttermilk, and melted butter, and stir until just barely combined. Add in the diced apples and granola, stirring just until coated. The batter will be lumpy and without any dry spots.
Divide the batter between the prepared pans. Preheat the oven to 400°F. Allow batter to rest in pans while oven is coming to temperature, and prepare the streusel.
Combine all of the ingredients for the streusel topping in a small bowl, and mix until well combined, then scatter over the pancake batter in the pans.
Bake for 12 to 15 minutes, or until the top of the bars springs back gently when touched. Cool for a few minutes on a wire rack, then use the parchment to lift the bars from the pan and onto a cutting board. Cut into bars. If you wish, brush tops with 2 more tablespoons of melted butter.
Recipe Notes
- These are great for a brunch where people might find themselves eating away from the table. Serve them with a little lemon curd, apple butter, or maple syrup!
- Allow any leftovers to cool completely and then refrigerate for up to 5 days. Warm in a toaster or the oven at low heat.
- You can also wrap individual portions and freeze them. Just take them out the night before (or if you forget, pop them in the microwave to defrost), and let them sit on the counter so your breakfast is ready as you bolt out the door!
Updated from a post originally published in October 2009.
Adapted from Martha Stewart.