
How to Whisk a Bowl of Matcha Green Tea
Matcha, a powdered form of green tea found mostly in Japan, is usually associated with intricate tea ceremonies where the tea is whisked and served in a special tatami-floored teahouse. It’s a beautiful tradition but it has also kept many people from enjoying this delicious, creamy, slightly bitter/sweet beverage. It is possible to enjoy a bowl of matcha in your own kitchen using just a few key ingredients and utensils and a little less formality. Read on for instructions and a short little video I made showing how to whisk the tea.

I recently visited the kitchen of Scott McDougall, a tea teacher who has studied formal tea ceremony for over 25 years. Scott explained that we would be doing what he calls ‘kitchen matcha’ which means that he has dropped most (but not all) of the tea ceremony’s formality while still producing a delicious bowl of tea. (Kitchn readers may recognize Scott from
his kitchen tour
What You Need
Ingredients
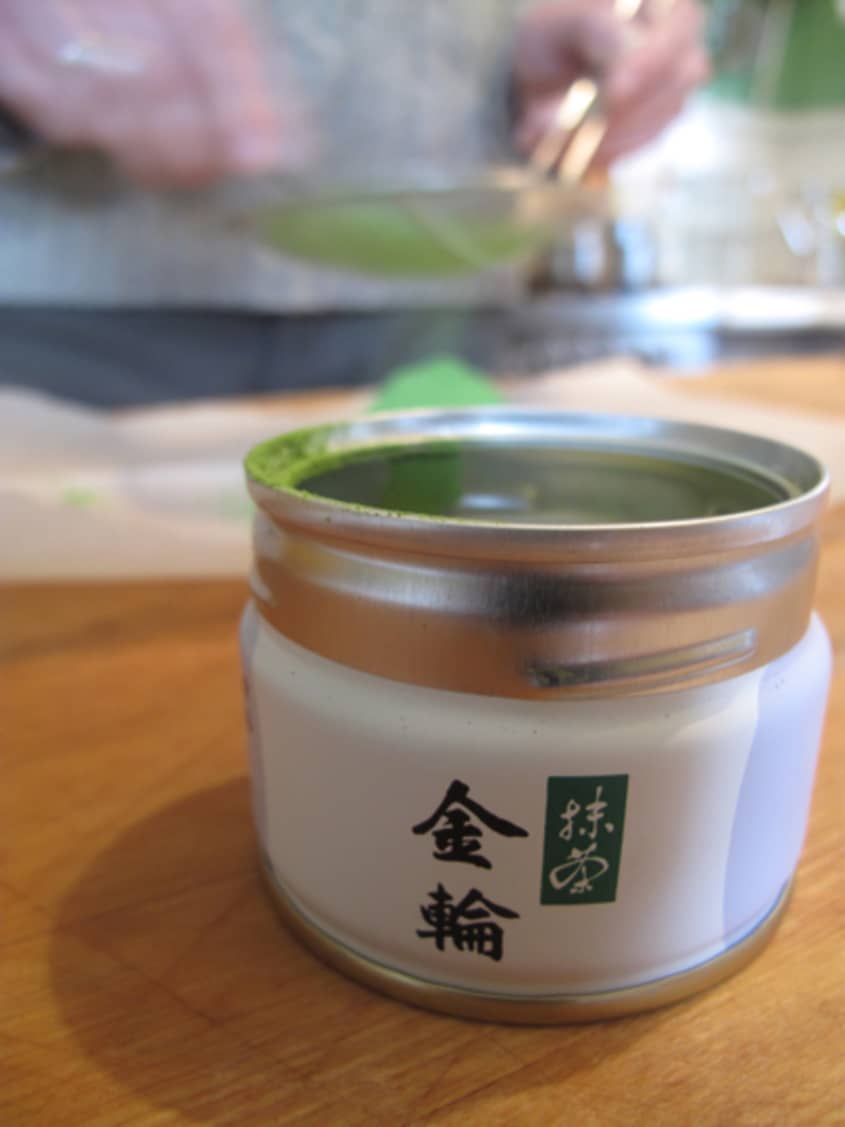
Matcha Tea
Matcha is a special green tea that has been steamed, dried and ground into a power. The leaves are harvested 66 days after the vernal equinox when only the first three leaves of each branch are picked by hand. Often the plants are shaded when they begin to bud so they are not exposed to direct sunlight.
It is possible to find good matcha in some of the better teashops that are popping up around the United States or, if you live in a city with a large Japanese community, you can find it in tea and sweet shops, especially if they sell mochi. And of course you can look for it online. Scott recommends using a company that has a high turnover, as freshness is absolutely critical. He uses Marukyu-Koyamaen.
It’s important that the tea come in a reusable, well-sealed canister and that once it’s opened, it is consumed as quickly as possible. It can be refrigerated for a few days to extend its shelf life, and in the freezer even longer, but be sure to bring the canister to room temperature before opening. This may sound fussy, but matcha is delicate and your care will be greatly rewarded.
Water
In traditional tea ceremony, unchlorinated water is heated in an iron pot over a charcoal brasier. Scott believes that this produces a unique quality of water for the tea, but that it is also perfectly fine to use your regular kettle when making kitchen matcha. For our tea, we used Hetch-Hetchy water from Scott’s San Francisco tap.
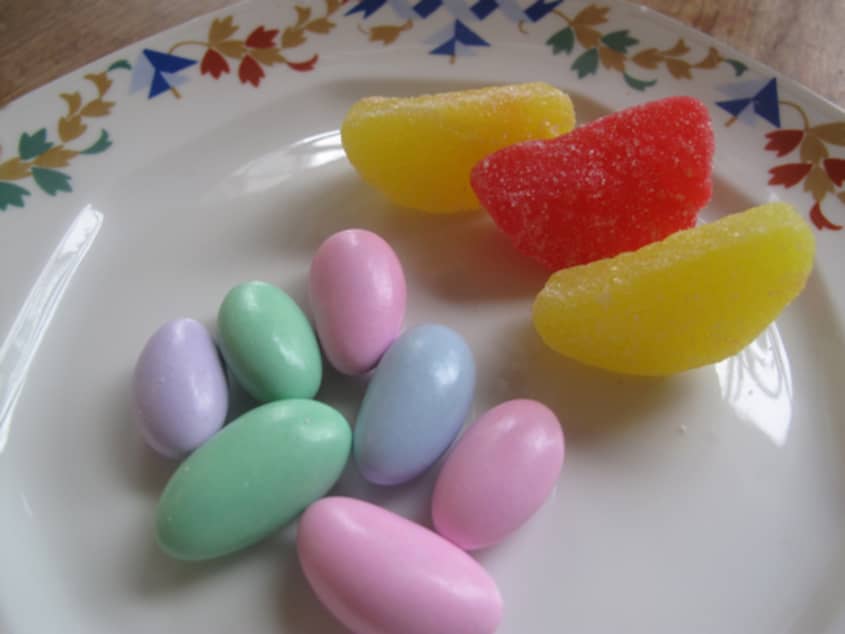
Treats
It is traditional to consume a small, very sweet treat just before drinking a bowl of matcha. There are beautiful Japanese versions of these treats where a sugary paste is colored and pressed into intricate shapes. For kitchen matcha, Scott has used jellybeans, jordan almonds, a good quality fruit gel wedge or pate, quince paste and even marshmallow Peeps. (A sense of humor is not forbidden in tea ceremony.) The most important thing is that it can be consumed in one or two bites and that it is not sticky.
Equipment
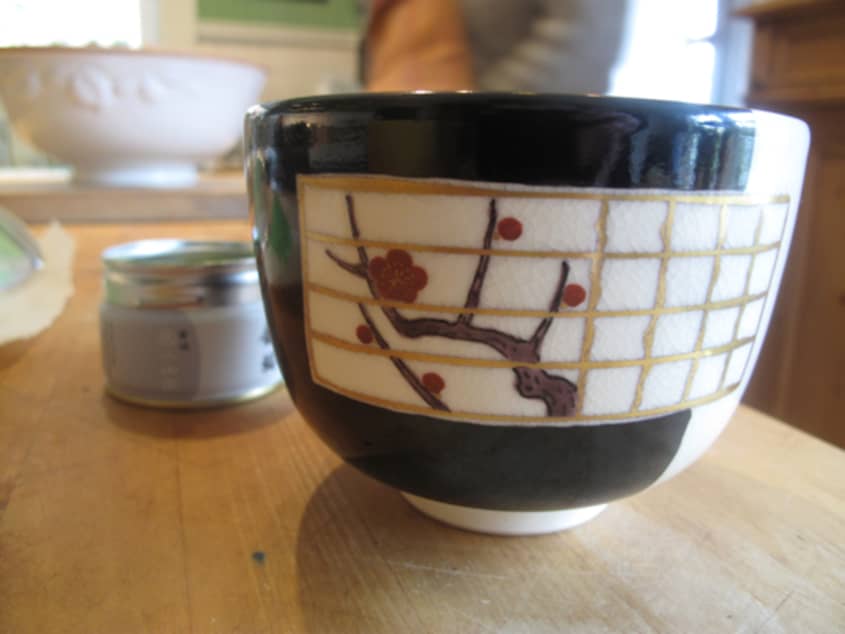
Tea Bowl
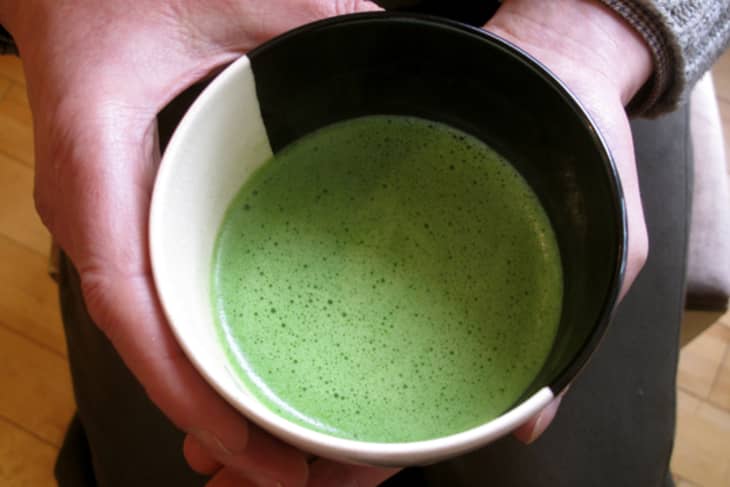
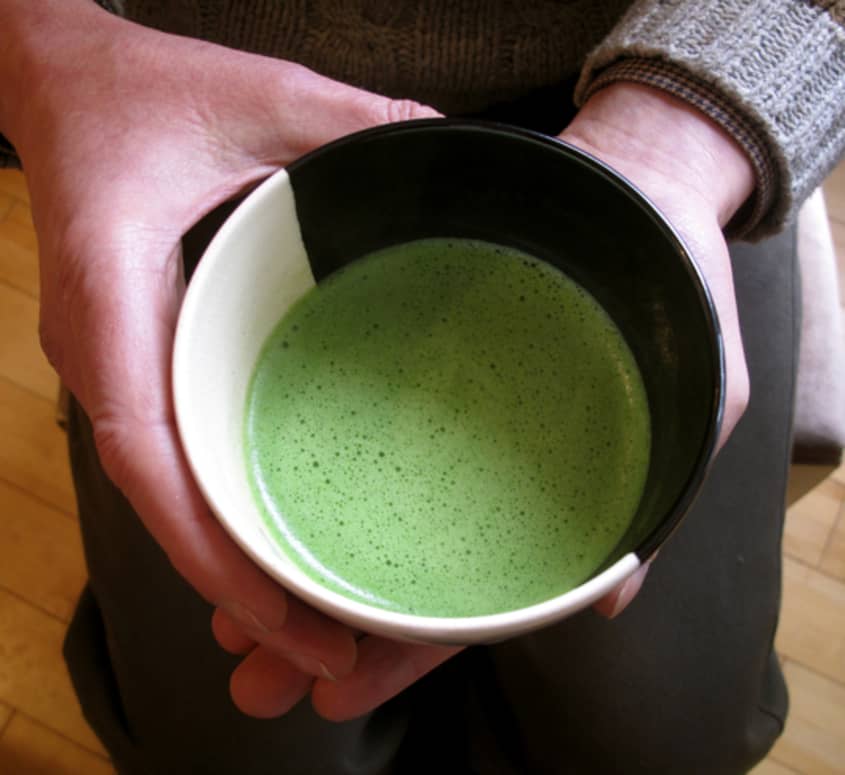
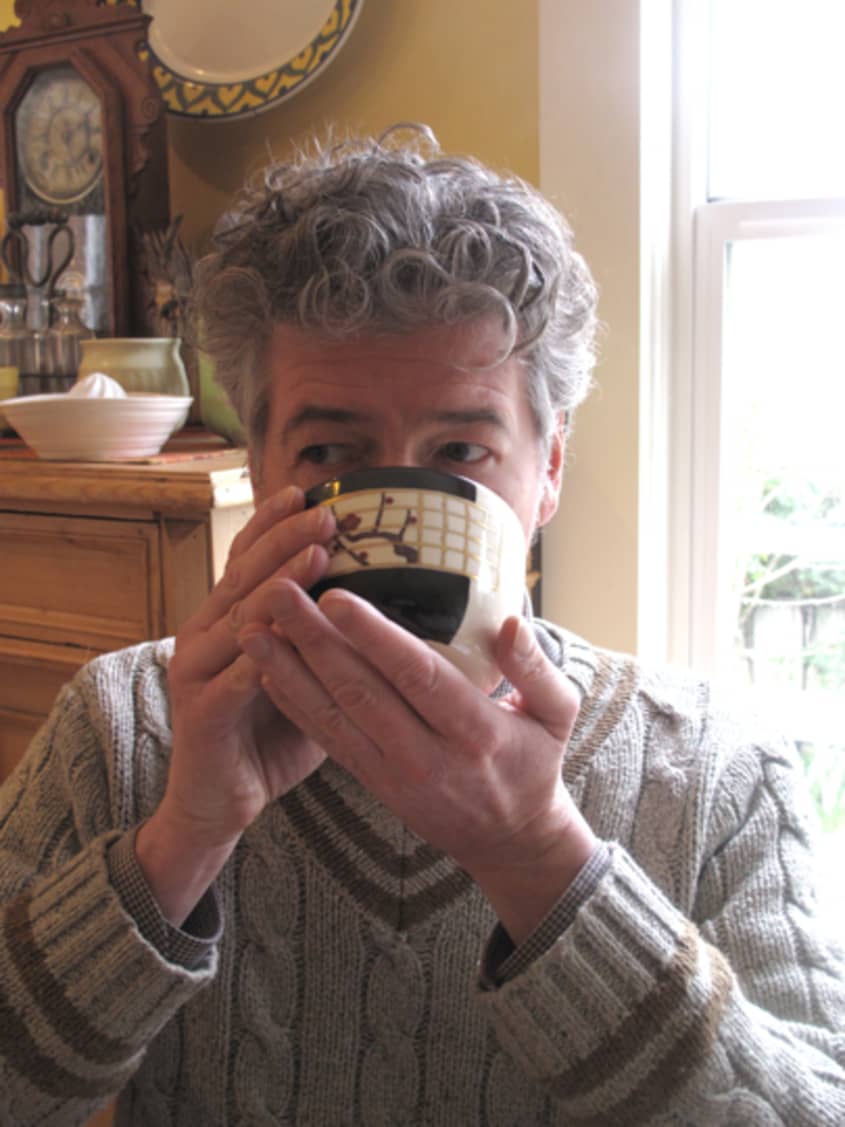
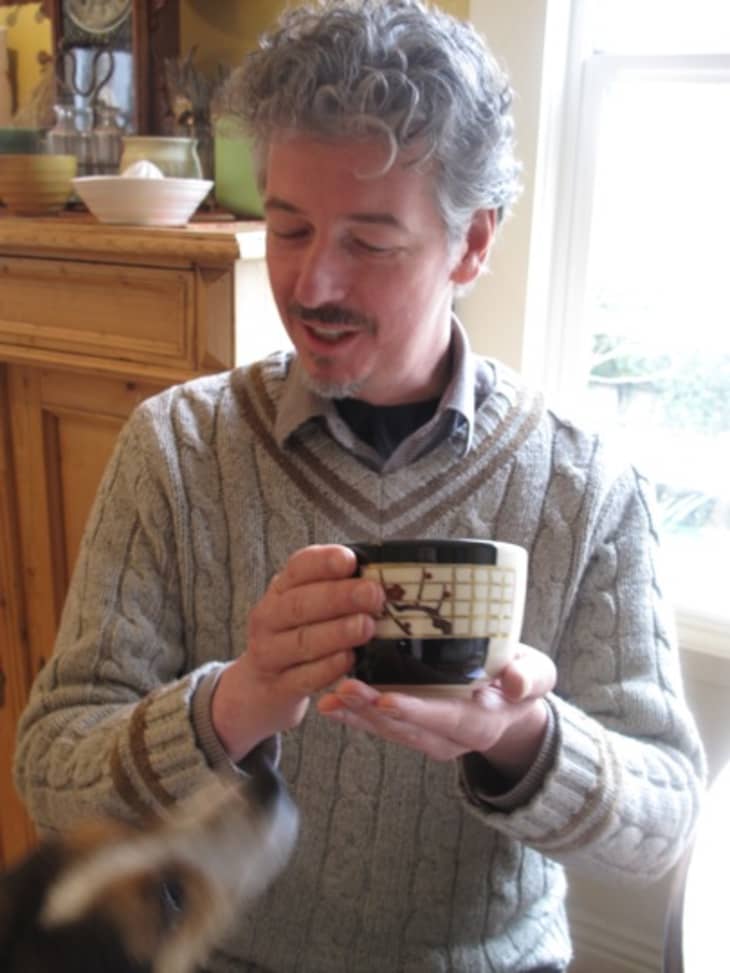
In traditional tea ceremony, choosing the proper tea bowl is extremely important. In kitchen matcha, this is important, too, but perhaps a little less so. Your bowl should be sturdy, wide enough so that you can whisk in it and pleasing to hold in your hands. The black and white bowl pictured above is used in traditional tea ceremony and is a reproduction of one designed by Tantansai, the head of the Urasenke school of tea in the 1950’s and 60’s. But you can also use a French latte bowl, as seen in the video clip below, or any other suitable bowl. Traditionally, tea bowls are also chosen for their seasonality. The Tantansai bowl, for example, is a New Year’s bowl, as it depicts plum, pine and bamboo, all congratulatory symbols.
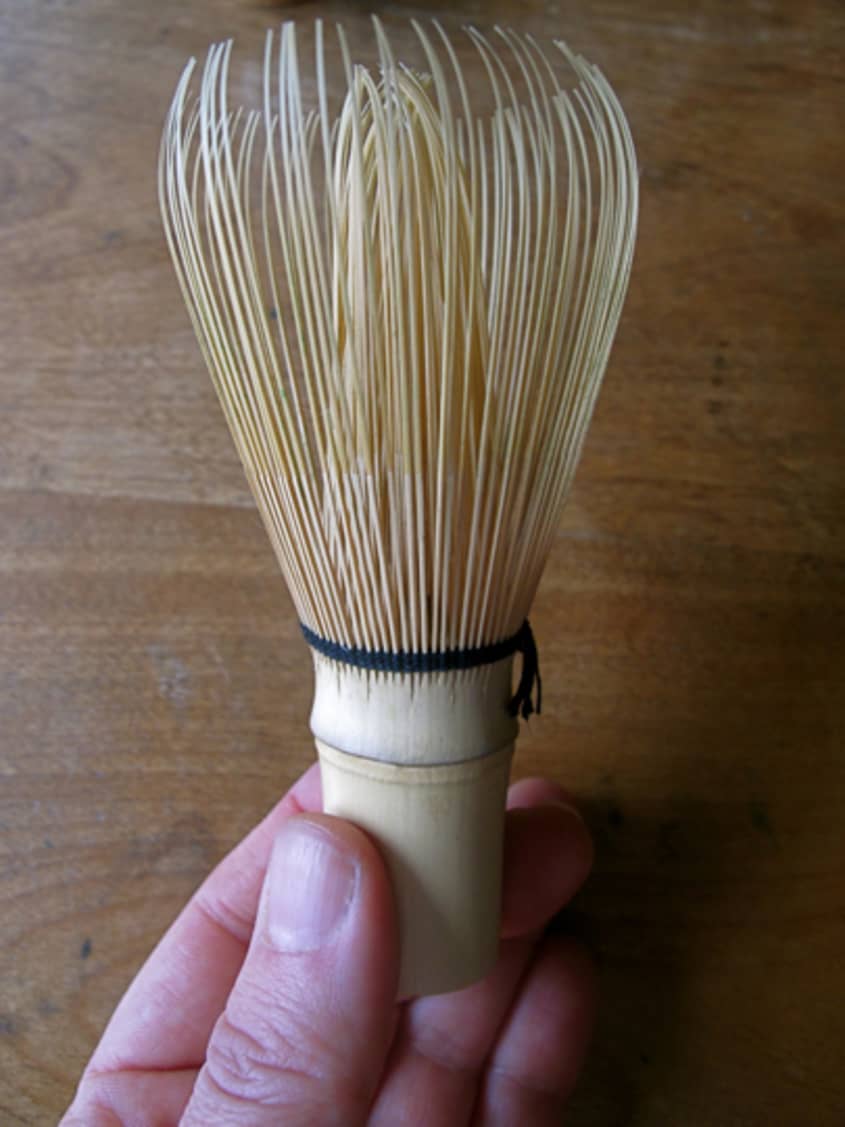
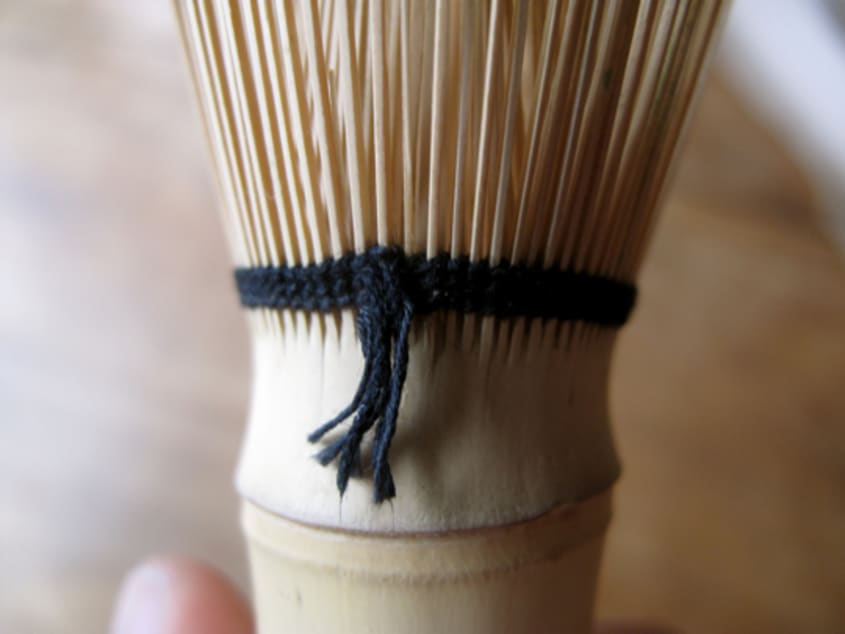
Whisk
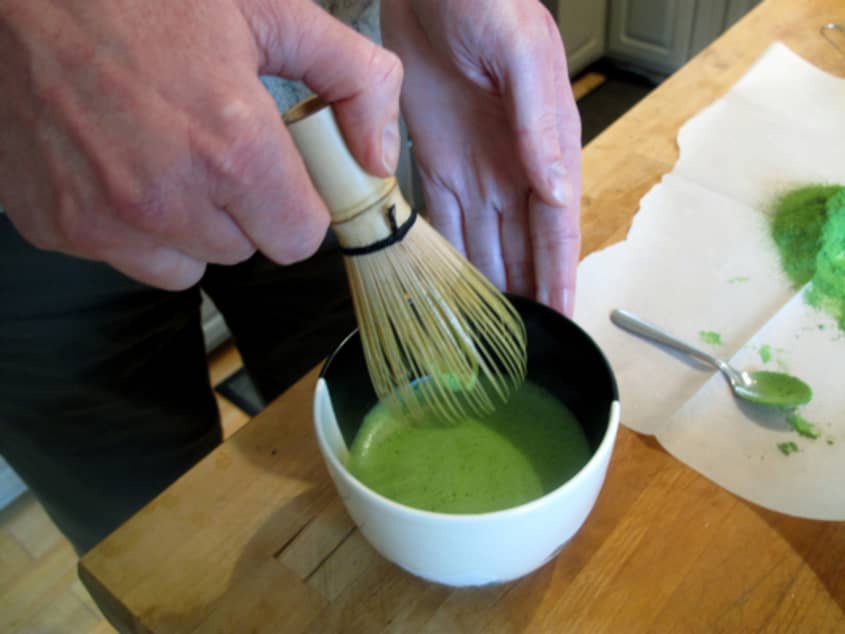
The traditional bamboo whisk (also called chasen) is essential for this method of making matcha. You can use an electric latte aerator (here’s a video of Eric Gower using one on a hike) but it’s a much different aesthetic experience. A metal whisk is not recommended. You can purchase the bamboo whisks at shops that carry matcha tea or online, usually for under $15.00. Even Amazon offers them these days.
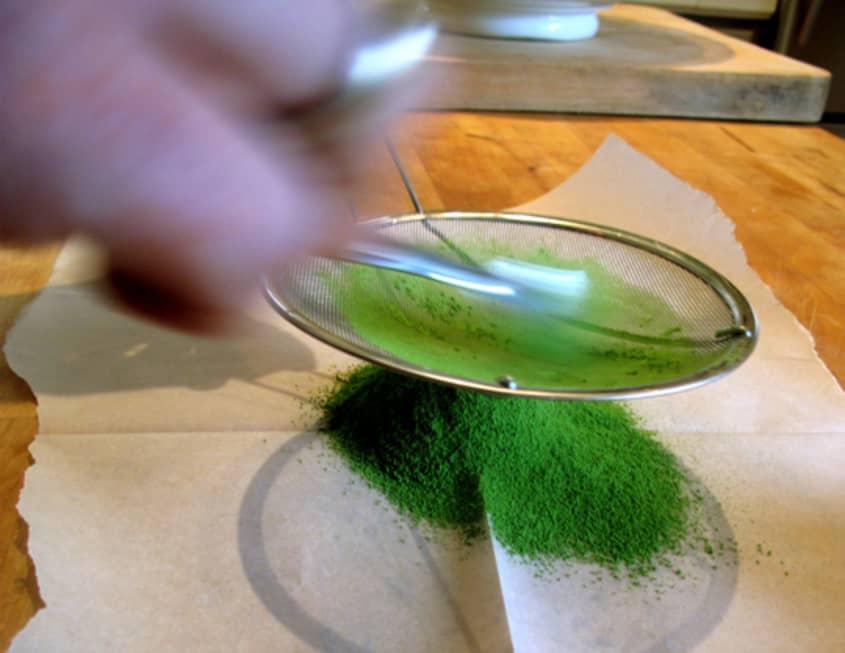
Fine Mesh Strainer
This is essential for sifting your tea.
Instructions
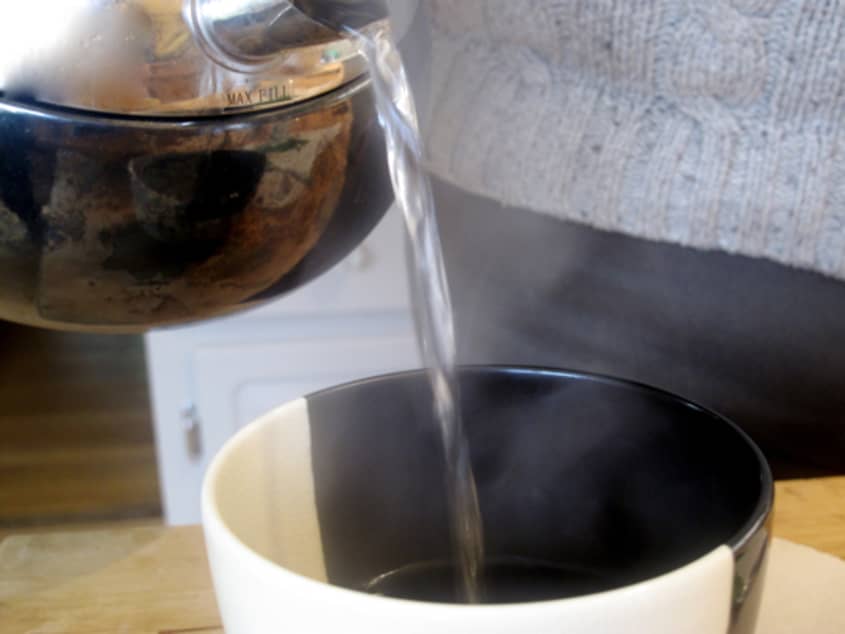
1. Put the kettle on. Matcha is made with water that has come to a boil and then left to sit a few minutes. It should be in the 165° to 180° range.
2. Gather supplies. While your water is heating, find your sifter, bowl and whisk, and plate up your tea treats.
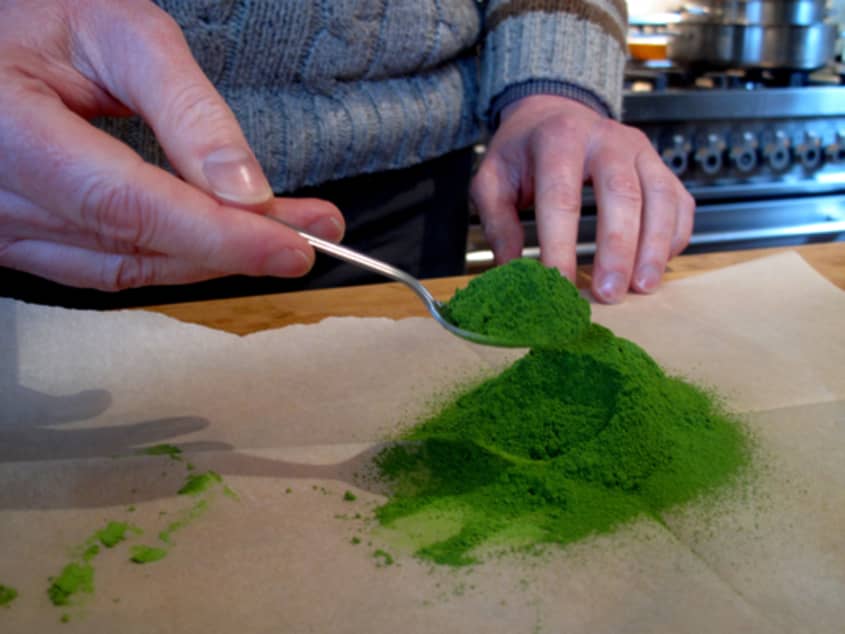
3. Sift the tea. Good matcha will be a little clumpy, so its essential to sift the tea through a fine mesh strainer. It’s important not for force the tea through the strainer, just shake it through, maybe giving the final little clumps a push. Scott sifted his onto a piece of paper which made it easy to pick up and tap the unused tea back into its canister.
4. Warm the bowl. When the water has come to a boil, remove it from the heat and pour a little into your tea bowl to warm it. Wet your whisk by whisking the plain water for a few seconds, then pour the water out of the bowl and dry it very well.
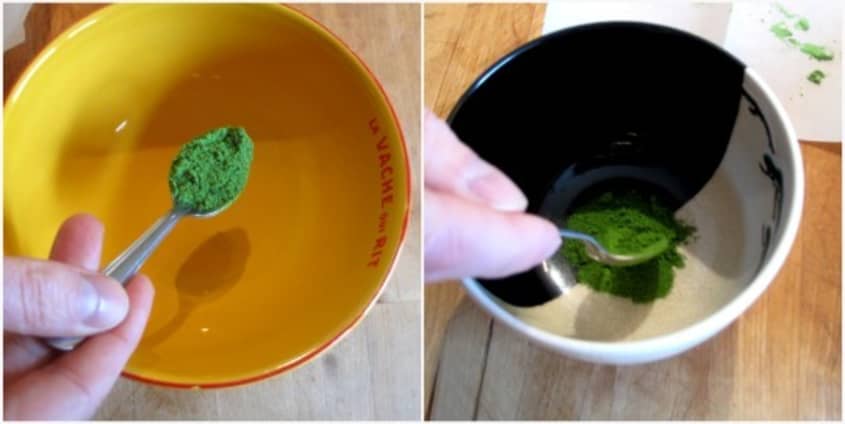
5. Measure the tea. Traditionally, tea is measured with a bamboo scoop called a chashaku. They’re a lovely thing to have, but a spoon works well, too. Measure about 1/2 to 3/4 of a teaspoon of matcha into the bowl.
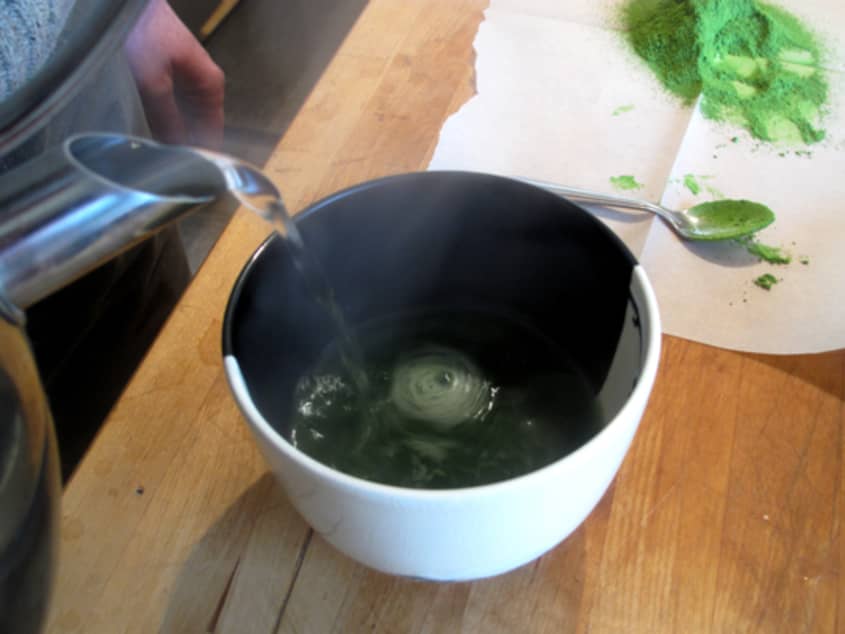
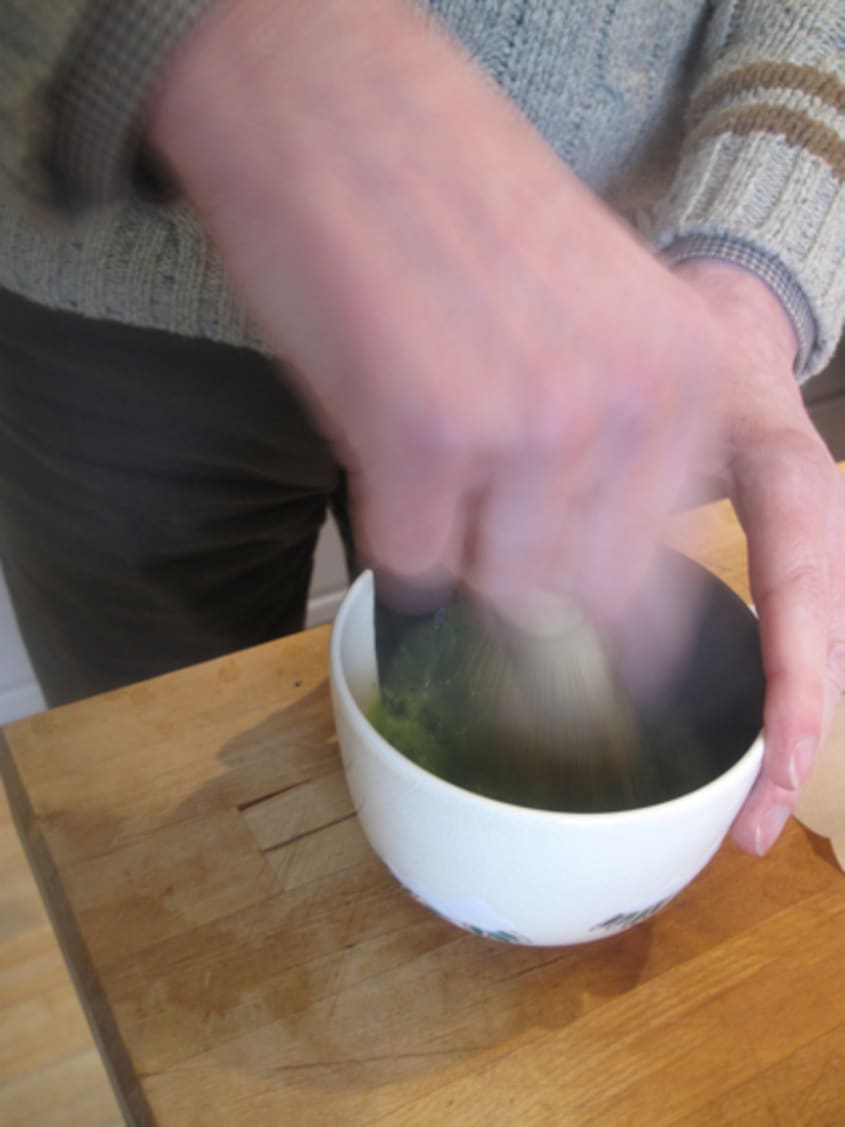
6. Whisking. Add about a scant 1/2 cup of the hot water to your bowl. (Scott did all of this by eye but it may help in the beginning for you to measure.) Start whisking slowly and then pick up speed, whisking back and forth (not in a circular pattern) until bubbles start to form. While still whisking quickly, slowly draw the whisk up towards the surface and when you reach the surface, slow your whisking a little. This final step will help to break up the larger bubbles on the surface and produce a nice, tight crema. (See video above.)
7. Enjoy! Sit down and eat your tea treat. Then pick up the bowl in two hands and take small, quick sips of your delicious matcha. Tradition dictates that you not set the bowl down until you have drunk all the tea. After you are done, it is also traditional to examine your tea bowl, admiring its shape and glaze. This is, of course, optional.
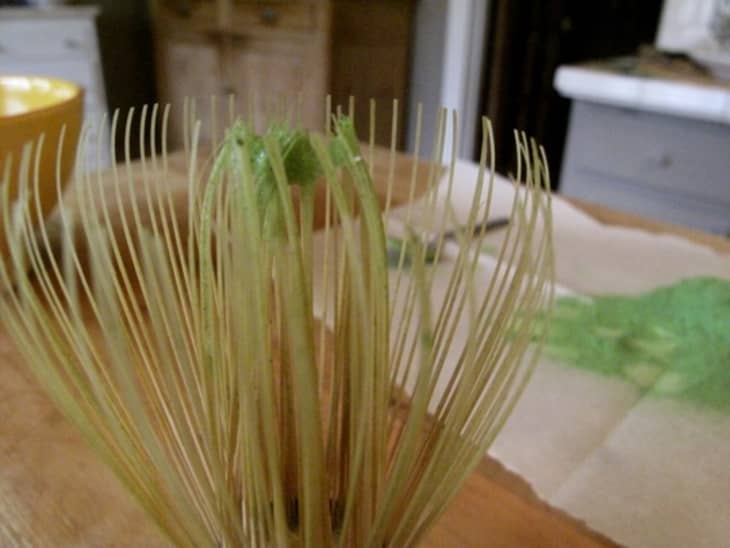
8. Clean up. In traditional tea ceremony, the whisk is only used once and then thrown away. But when training and in less formal situations, the whisk can be rinsed out, dried and kept for future use. Just run it under the tap and stand it on its base so the tines are sticking up in the air (or return it to its holder, if you have one.) Wash and dry your bowl, put away your tea and any leftover treats, and go back into your day, refreshed and invigorated.
• If you are interested in a little more information on traditional tea ceremony, watch this video produced by Samovar and the Urasenke Foundation in San Francisco.
Want more smart tutorials for getting things done around the home?
See more How To posts
We’re looking for great examples of your own household intelligence too!
Submit your own tutorials or ideas here!
(Images: Dana Velden)