
How To Pour and Taste Beer Like a Boss

Good beer deserves its own glass. Left in the bottle, your beer experience is limited to one thing: how the beer tastes. That’s of crucial importance, to be sure, but to really appreciate your finely crafted brew in all its glory, that beer must be liberated. Pour your beer into a glass, my friend — you’ll be rewarded with not only taste, but aroma, color, bubbles, and a foamy upper lip. Here’s what to do.

Now, before anyone starts grumbling, let me just say that I think it’s perfectly fine to sip your beer from the bottle. I’m not here to tell anyone how they should or should not appreciate their favorite six-pack, and I honestly think there’s a time and place for both methods of beer enjoyment. If you prefer your beer from a bottle, then I say amen.
But if you’ve found yourself growing increasingly fond of this malty beverage, or if you’ve taken the deep dive into homebrewing, then I think it’s worth your while to understand the ABCs of pouring and tasting beer. It will only grow your appreciation that much more, and you might even learn a thing or two.
How To Pour and Taste Beer
Nutritional Info
Ingredients
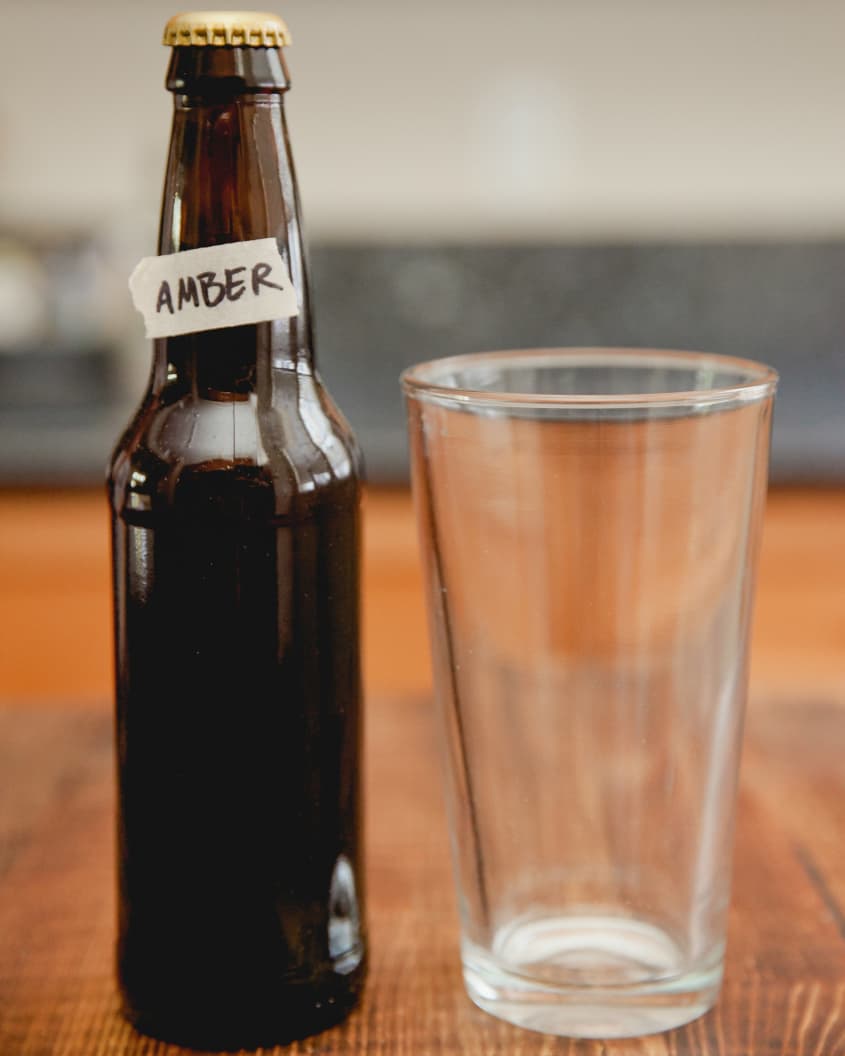
- 1 bottle of beer
- 1 pint glass
Instructions
First use a Pint glass : Find yourself an actual pint glass — the kind with sloped sides that you see at bars. You can get into pairing fancy glassware with beer styles later, but for now, just go with the ol' standby. Don't worry about chilling or freezing your glass — ice-cold beer isn't as important as we're often led to believe (and in fact, can dull some of the flavors and aromas you're here to appreciate).
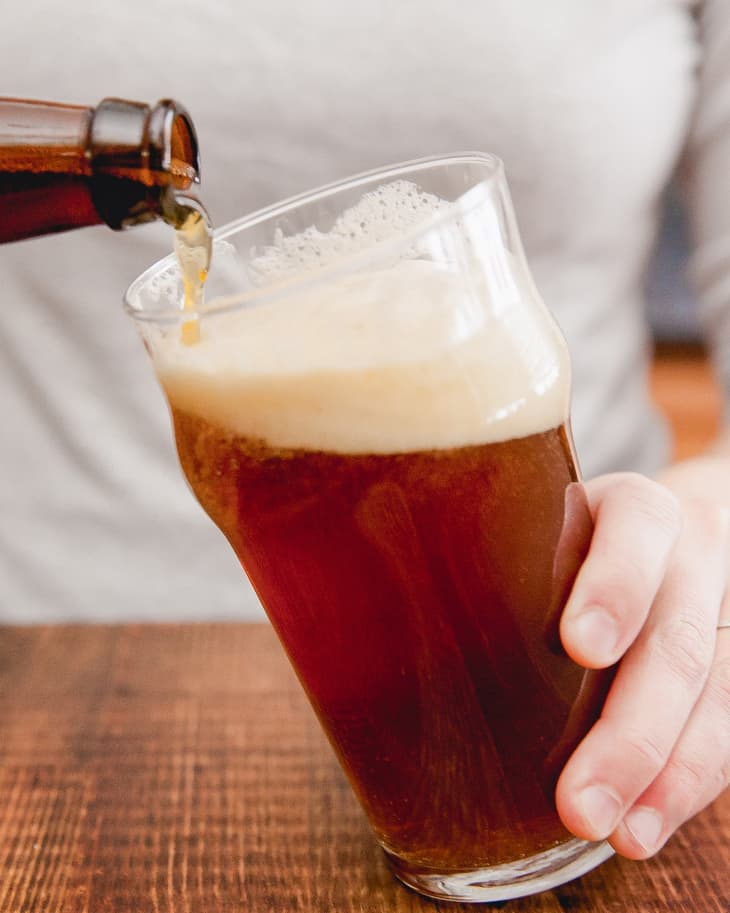
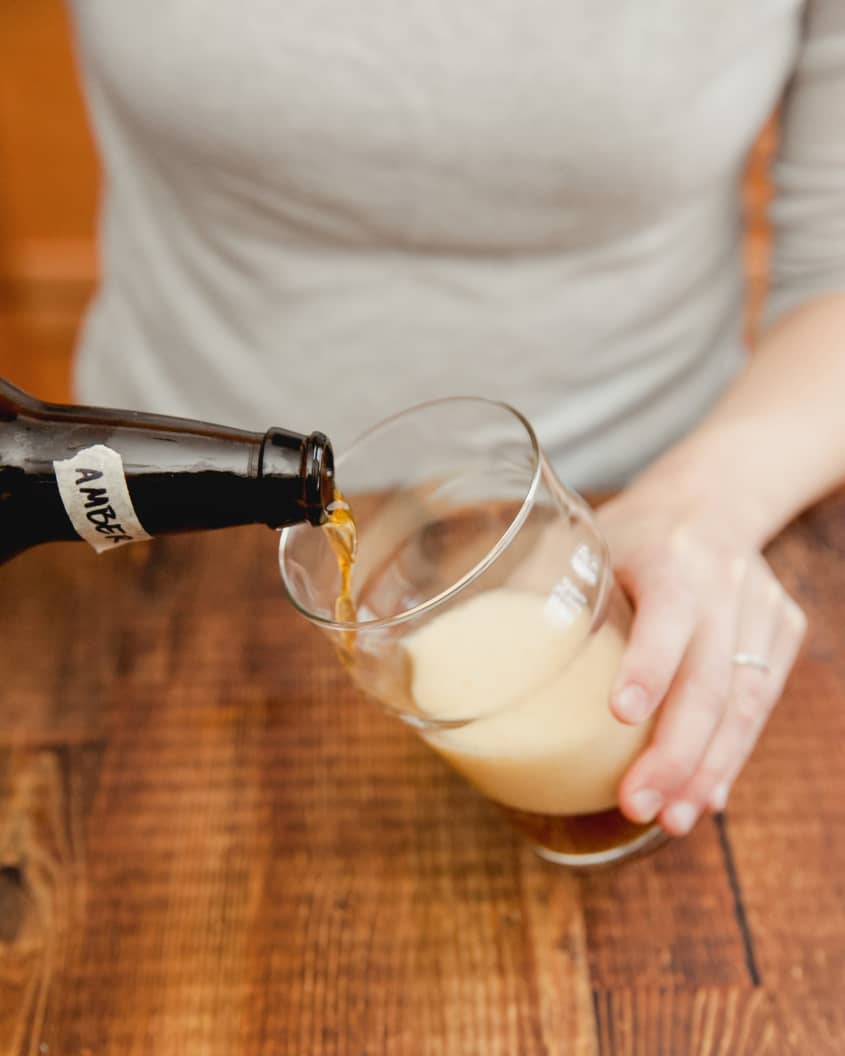
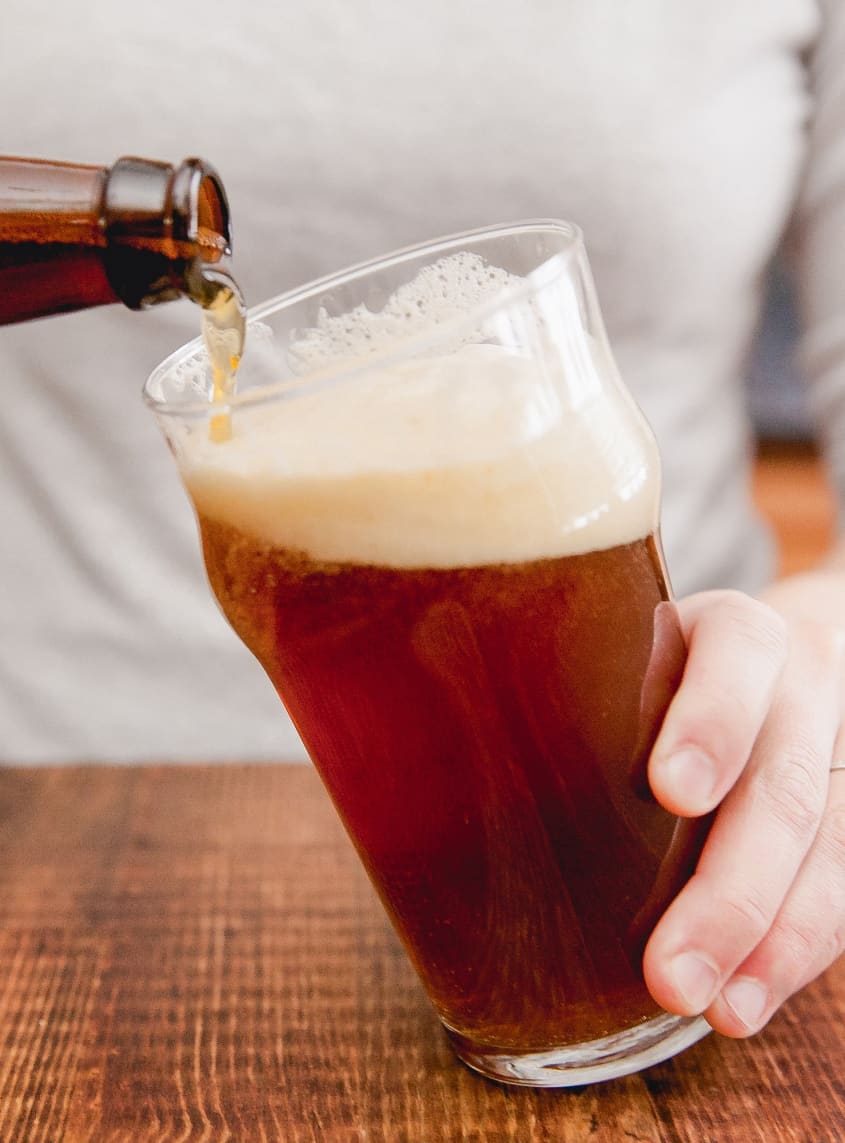
Tilt as you pour : You actually have two choices here — you can tilt the glass from the start and slowly bring it upright as you pour, or you can pour straight down into the glass and then tilt it once you've raised a nice fluffy head of foam. Tilting the glass and pouring the beer against the side helps control the amount of foam that kicks up.
For most basic beers, like ambers, pales ales, and IPAs, I usually go for the tilt-then-straighten approach. I find that pouring straight down is best for beers with lower carbonation or that don't tend to be foamy, like stouts and some high-gravity beers. If you're pouring a homebrew, this is one way that you can control the foaming situation on foamy, slightly over-carbonated beer, or encourage more foam if your beer is a bit under-carbonated.
Save the last drop: All homebrews and any bottle-conditioned craft brews will have a tiny bit of yeasty sediment at the bottom of the bottle. In general, you want to stop pouring just before you hit that sediment so the beer in your glass stays sparkly and clear. The sediment can also add more yeasty flavors to the beer, which you might not want.
Or maybe you do! Those yeast flavors can be really interesting and add complexity to your glass. Some styles, like hefeweizens, are often deliberately served with the yeast sediment poured over the foamy head. Try both ways and see which one you like.
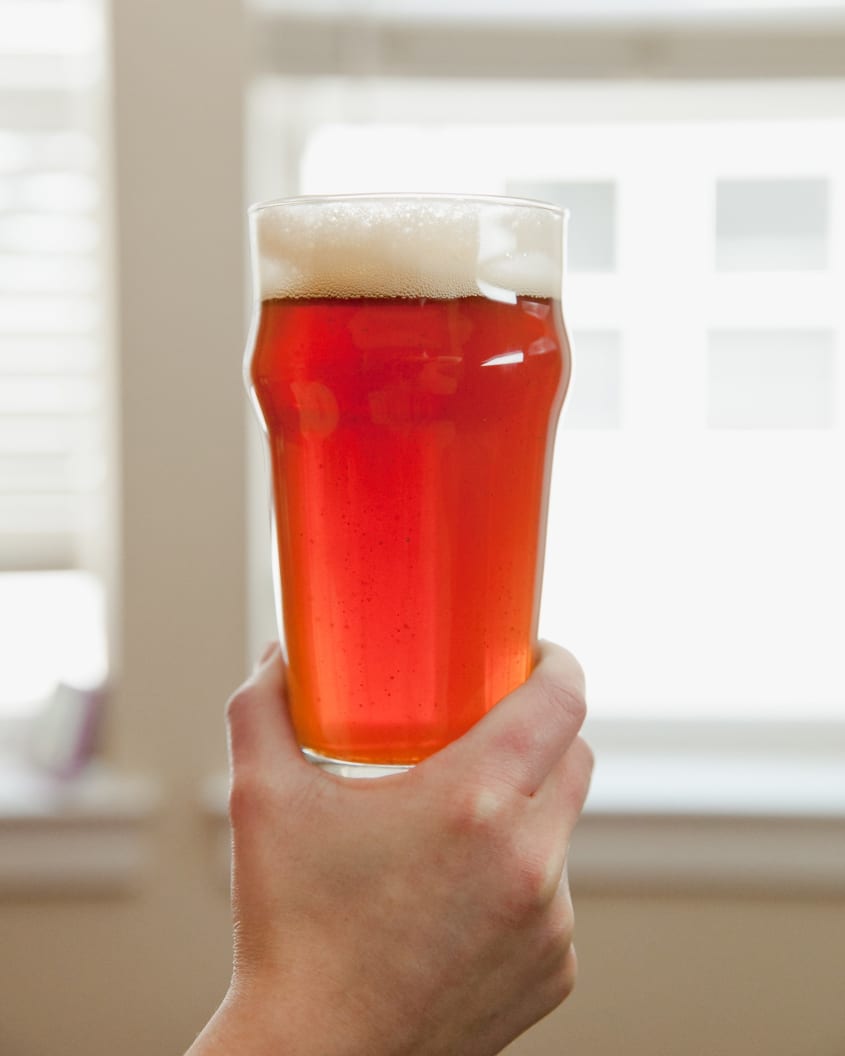
Take a good look: Before you drink your beer, take a minute to give it a good look-over. Hold it up to the light, preferably a window with natural light, and check the beer's color and clarity. Color is all thanks to the malts used to brew the beer. Clarity can be affected by things like whether the beer was filtered before it was bottled, if there was any sediment in the bottle, how old the beer is (older beers tend to be clearer, generally-speaking), and how the beer was mashed.
If your beer has a foamy head, take a second to appreciate that special feature. Not all beer will have heads, but when they do, they're a thing of beauty.
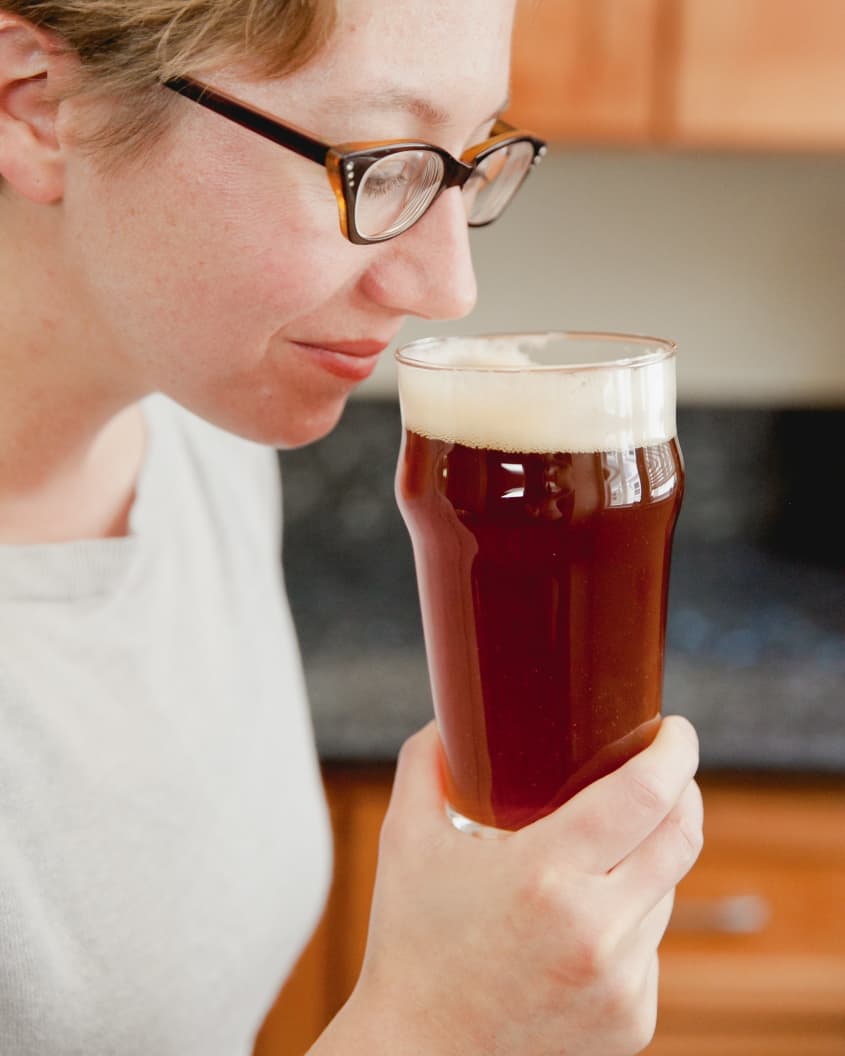
Breathe in the aromas: Put your nose over the glass and take a few deep inhales. You'll no doubt smell some hop aromas right off the bat. These can range from citrusy and perfume-like to spicy and earthy. You may also smell some fruity aromas, called esters, which come from certain kinds of yeast. Malty beers may also have strong caramel or nutty flavors.
Take note of the aromas you like — or don't like. This is your first introduction to how the beer will taste and its overall flavor.
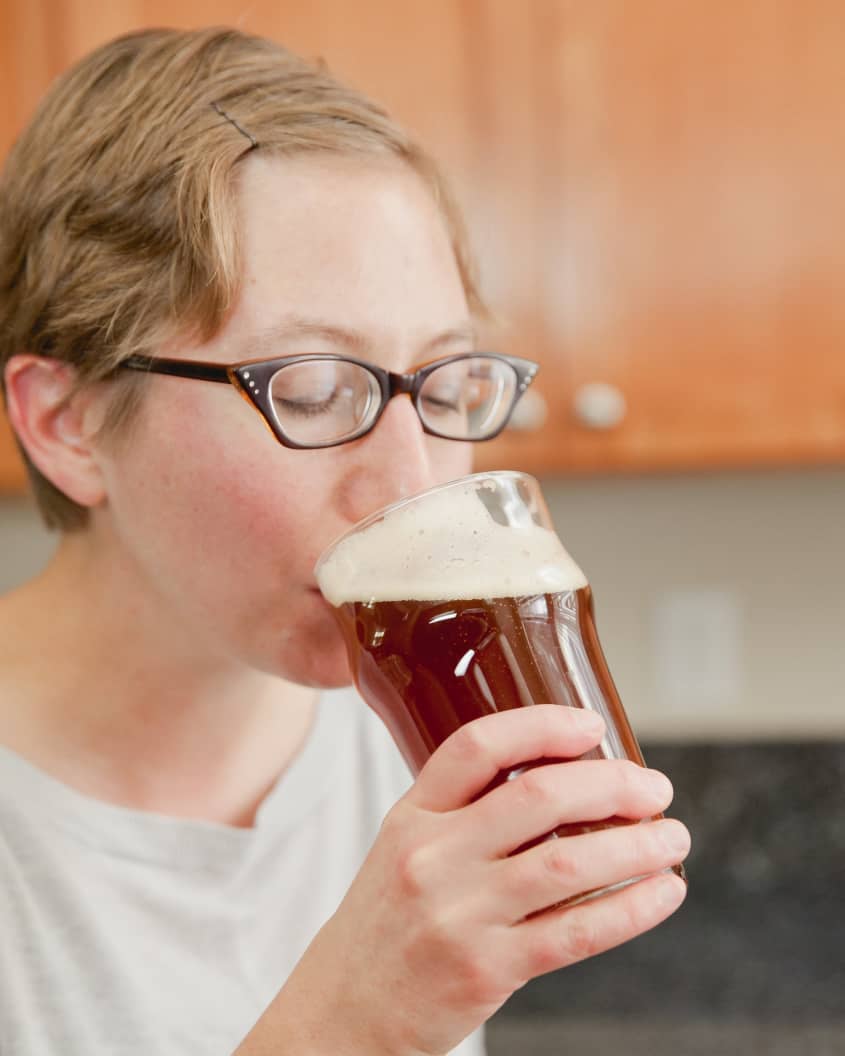
Go on, have a sip: Finally, yes, take a good sip of your beer! Let the beer wash over your tongue so that it hits all the different tastebuds. You may notice different flavors when you first sip, as the beer rolls across your tongue, and then when you swallow. If you don't, take another sip!
Swirl your glass and inhale every so often between sips. Flavor is a combination of aroma and taste, so this makes sure you're getting the full-on beer experience. Again, take note of flavors you like or don't like, and how they change as you sip and as the beer warms.
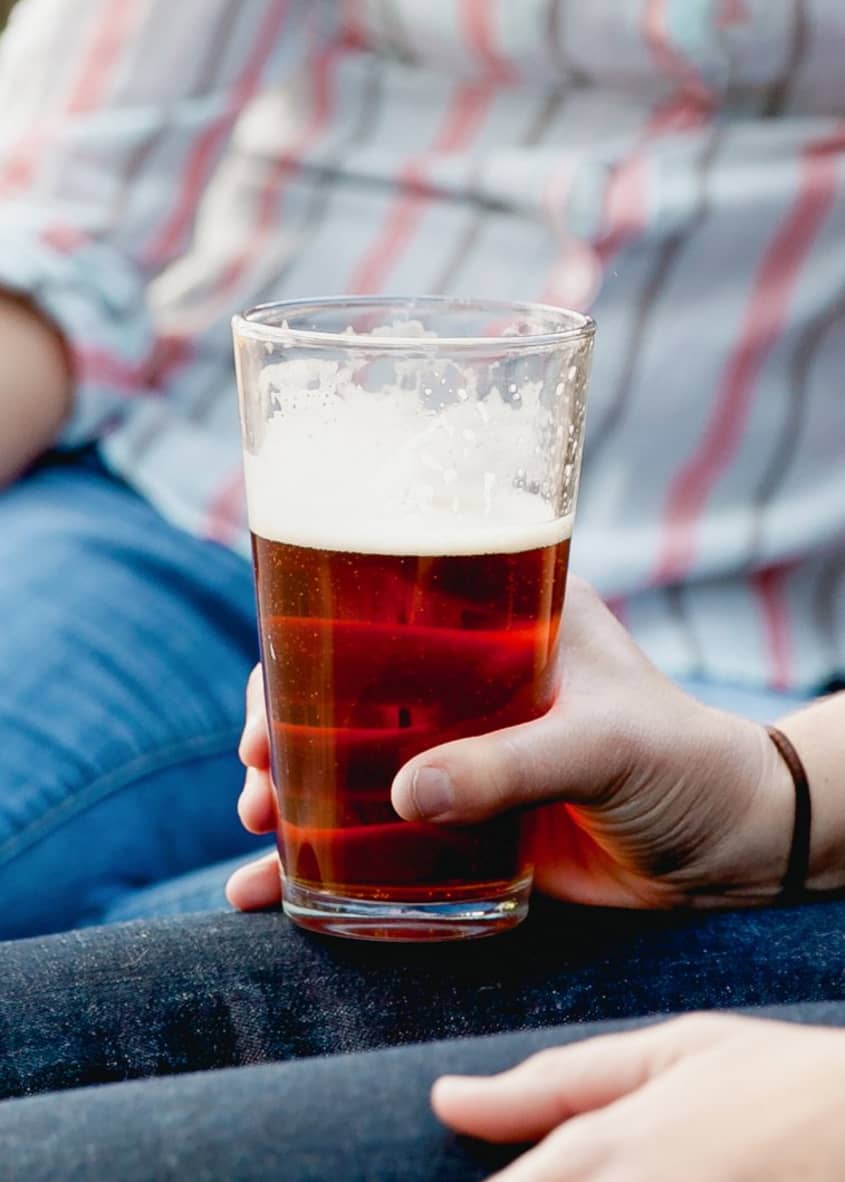
Now relax and enjoy your beer: Once you've had a few moments to appreciate the fine beauty of the beer in your glass, don't get so caught up in pondering its nuances that you forget to actually enjoy the simple act of drinking it! Enjoying your beer is just as much a part of the experience as analyzing its aroma or pondering its hue. Whether you're out with friends or having a beer by yourself, sit back and relax. Cheers!