
How To Make Your Own Canning Equipment Home Hacks Guest Post from Marisa McClellan of Food in Jars

For many, the most intimidating part of canning is all the specialty equipment necessary. Happily, I’ve found that when you’re first getting started, you can cobble together everything you need to safely process a batch of jam or pickles from what you already have in your kitchen!


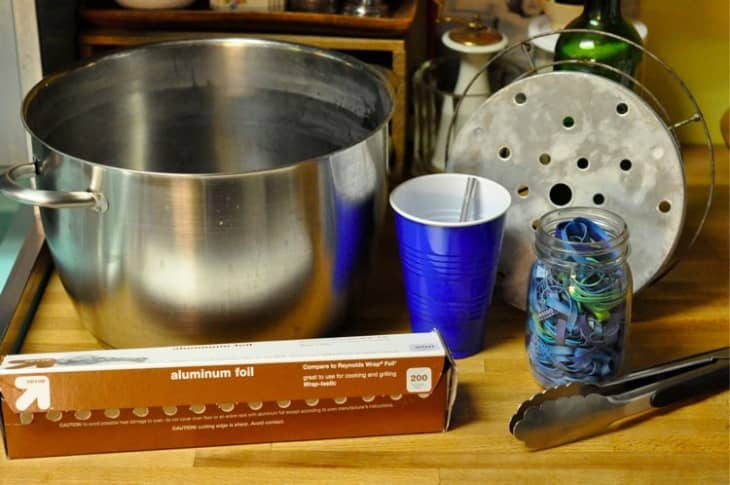
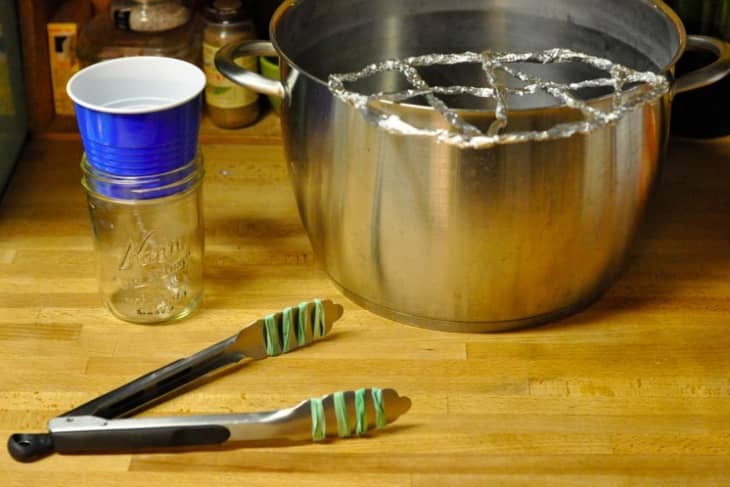
Everything you’ll need to get started, including a big stock pot, aluminum foil (or a round rack if you have it), a hot/cold plastic cup, exact-o knife, tongs and rubber bands.
What You Need
Materials
Big stock pot
Aluminum foil
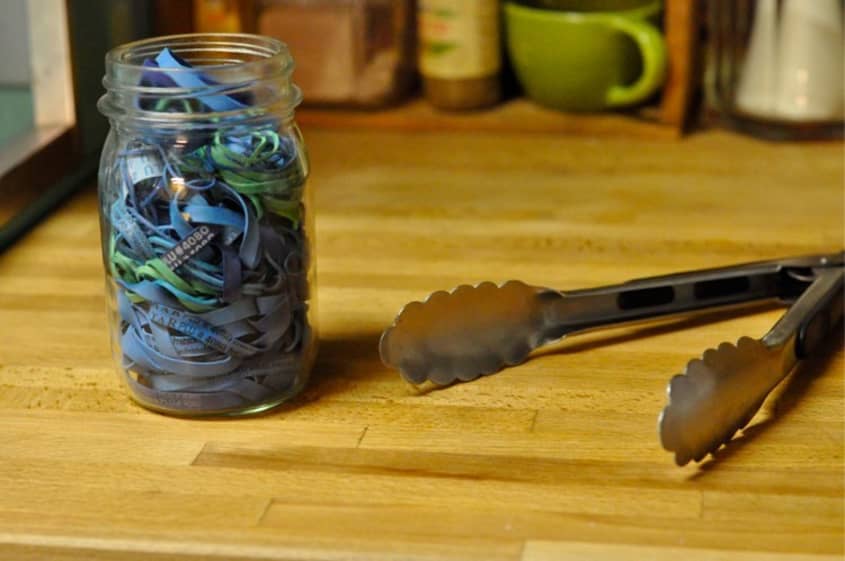
Kitchen tongs
Rubber bands
Hot/cold SOLO plastic cup
Tools
X-Acto knife OR razor blade
Instructions
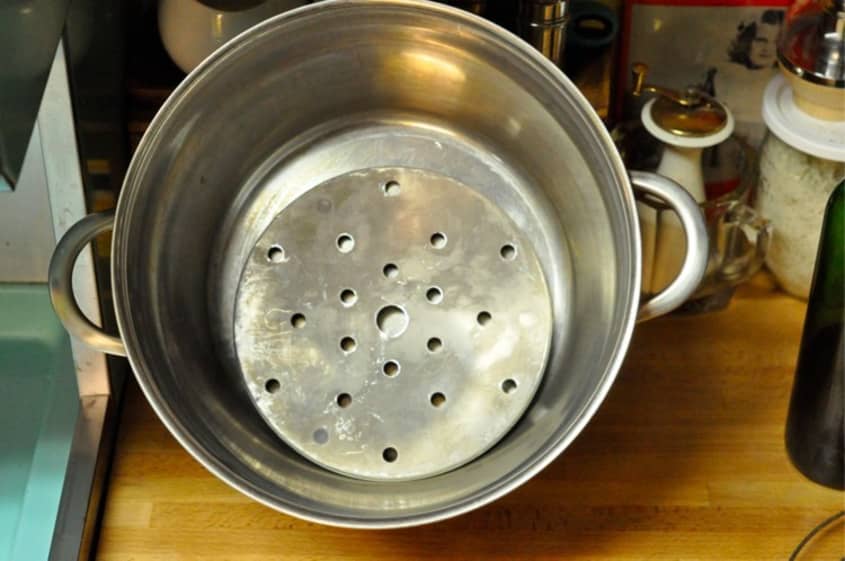
1. When processing canned goods in a boiling water canner, you must use a rack of some sort to elevate the jars off the bottom of the pot. You do this for two reasons. One is to prevent the glass from being in direct contact with the bottom of the pot (a cooktop with particularly strong heat source can sometimes be too much for even the most carefully tempered jar). The other is that the rack allows the boiling water to thoroughly circulate around the jars, which aids in heat penetration. If you have a round rack (both my pressure cookers can with them), you can pop one into the bottom of your stock pot and consider your canning pot ready to go.
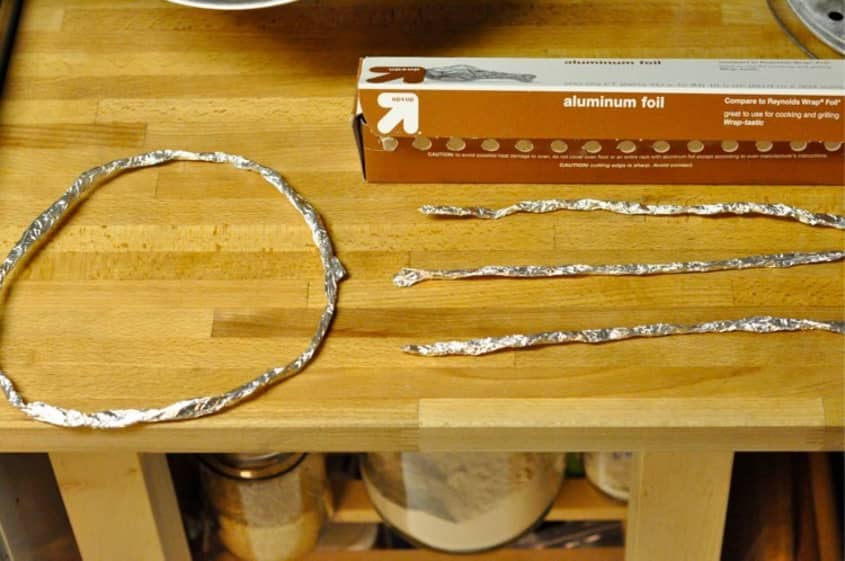
2. If you don’t have a round rack that fits your stock pot, you can build one with aluminum foil. Tear seven pieces of two-inch wide aluminum foil off the roll. (There are only six pieces here. I used one more than is pictured.) Roll them up to form seven individual foil ropes. Take three and form them into a circle, crimping the ends to hold them together.
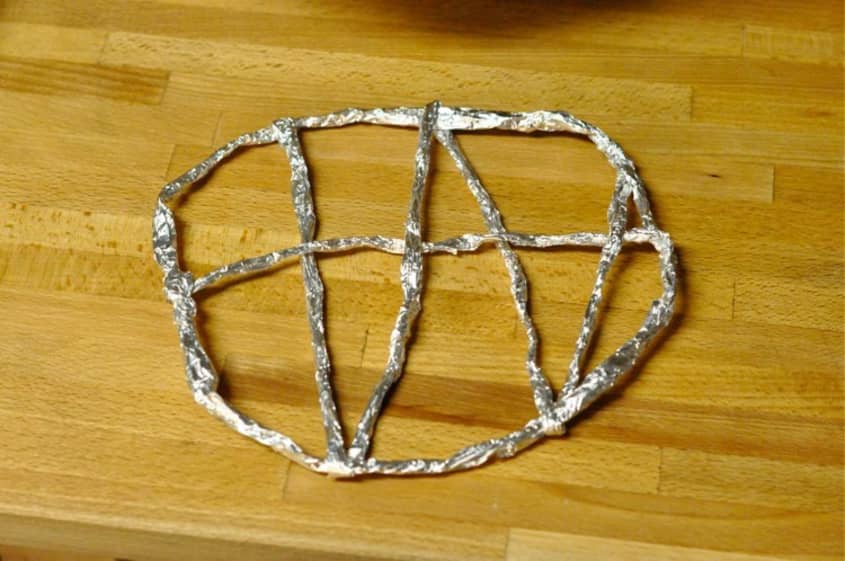
3. Weave the the remaining four lengths of foil in and out of the circle in a zig-zag pattern. Pinch the ends of the foil ropes to secure them to the outer circle.
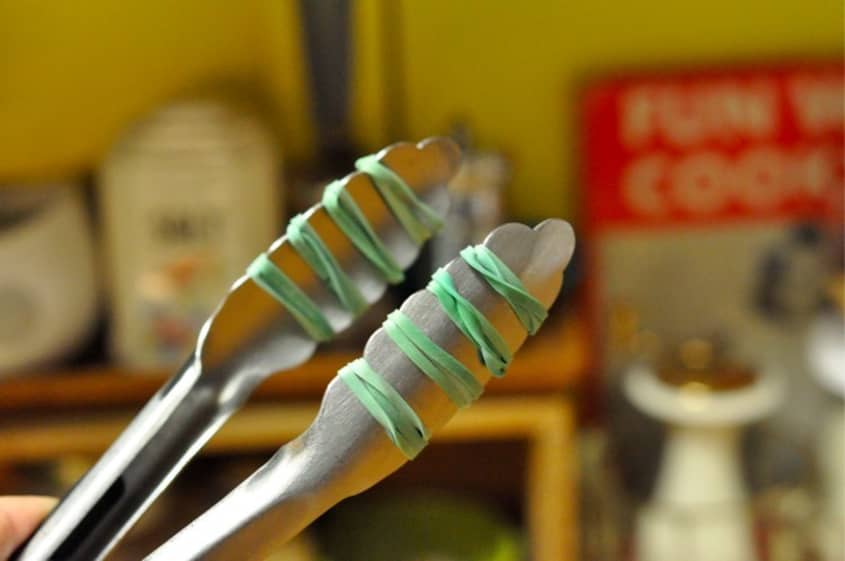
4. Now that the canning pot is all set, let’s turn our attention to making a safe way to lift the hot jars in and out of the boiling water bath. You’ll find wide, curved tongs in most canning sets, but you can easily adapt a pair of kitchen tongs to do the job.
5. Wrap a series of rubber bands around the grabbing ends of the tongs, securing them into the grooves.
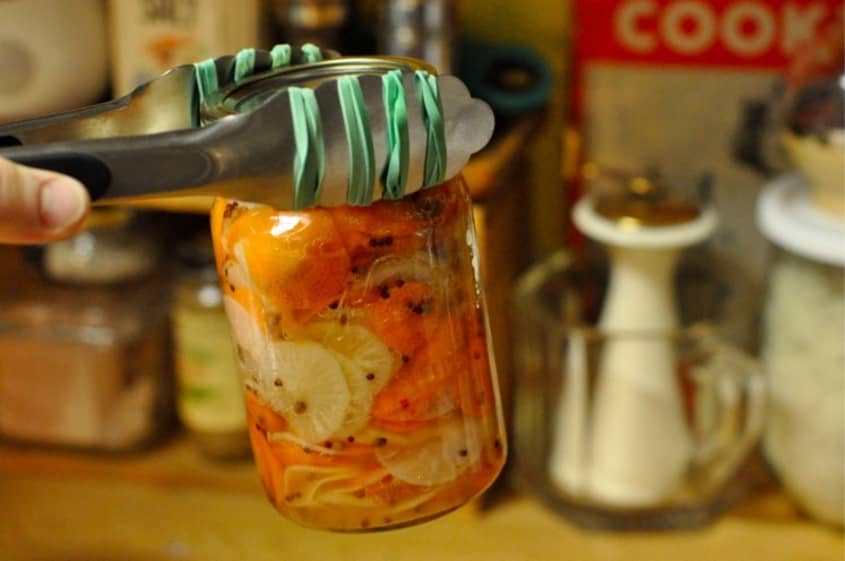
6. You can see how these enhanced tongs give far better grip than plain ones. Just take care when using these to remove the jars from the boiling water, as they can still trap burning hot water in the interior channels of the tongs. Careful lifting will prevent scalds!
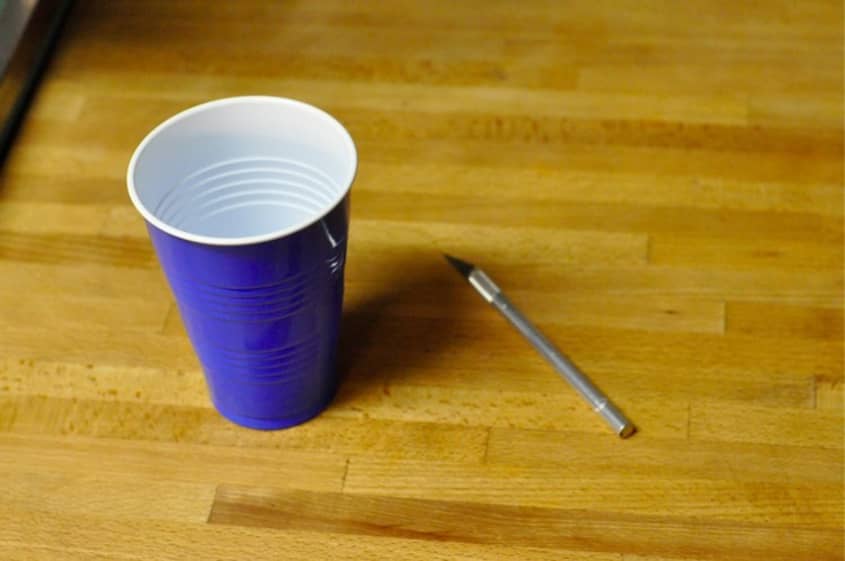
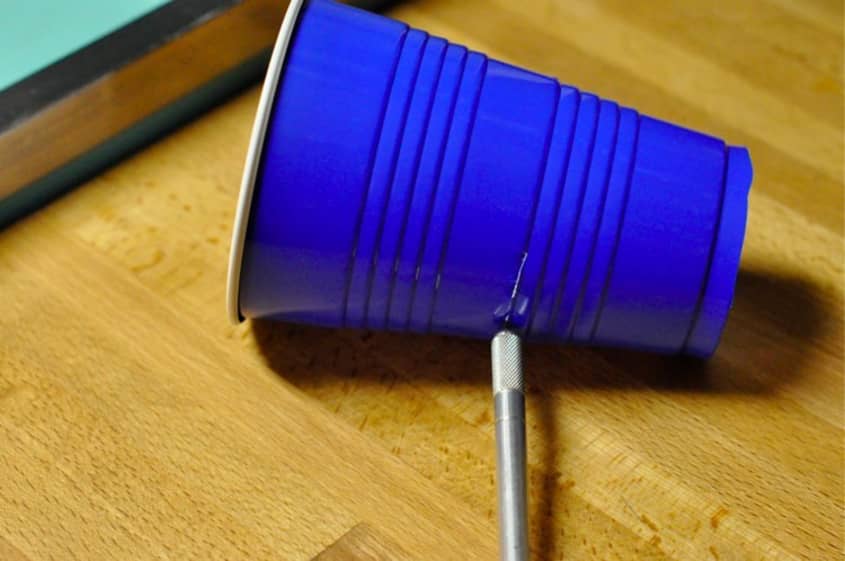
7. Another useful tool during canning is a wide-mouth funnel. However, you can make your own with just a hot/cold plastic cup and an X-Acto knife.
8. Carefully insert the blade into the cup about halfway up. Slowly cut the plastic, until the bottom of the cup has been removed. (You can also do this with a sturdy pair of cuticle scissors if your toolbox doesn’t run to X-Acto knives).
9. A homemade wide-mouth funnel will keep your jam in the jar and off the countertop!
10. Our hacks are complete! Happy canning!
* * *
Thank you so much for sharing, Marisa!
Visit Marisa’s weblog:
Food in Jars
Want more smart tutorials for getting things done around the home?
See all of our Home Hacks tutorials
We’re looking for great examples of your own household intelligence too!
Submit your own Home Hacks tutorial or idea here!
(Images: Marisa McClellan)