
No-Knead Rosemary Focaccia

This no-knead focaccia is a simple Italian flatbread topped garlic, rosemary, and flaky salt.
Serves12
Prep20 minutes to 25 minutes
Cook20 minutes to 25 minutes
If I could bottle the yeasty aroma of freshly baked bread, I would, but until then, I’ll rely on simple no-knead breads. The dough for this rosemary focaccia comes together quickly — and with no kneading required — so that anyone (yes, anyone) can make this bread. The bubbly bread can be prepped and baked in a single afternoon, although it tastes even better if there’s time to allow the dough to rest overnight.
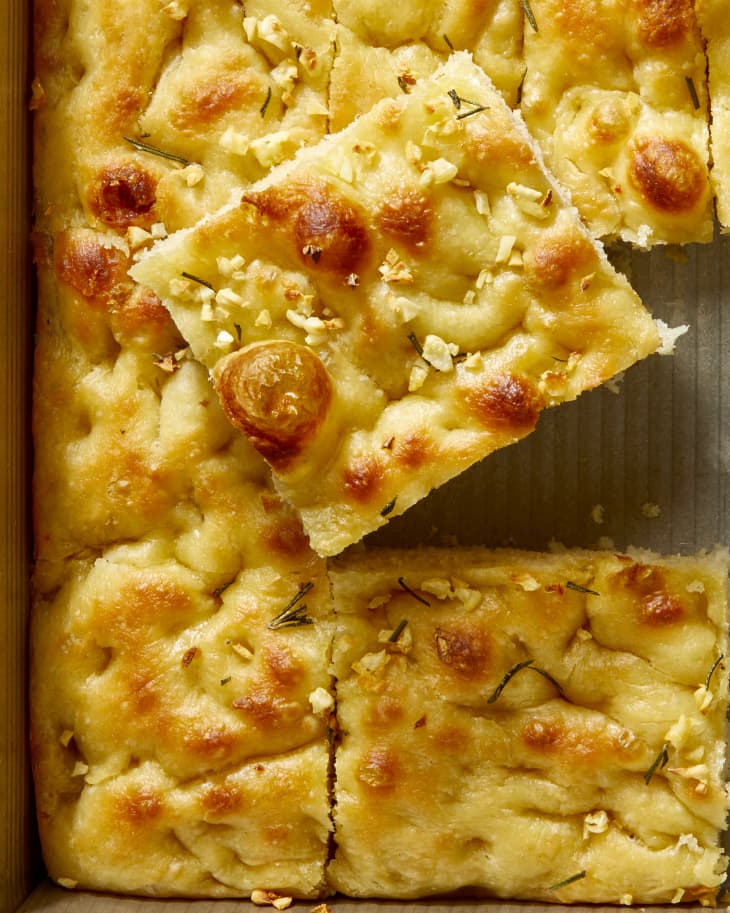
Be generous with the olive oil, as that’s the secret to developing focaccia’s signature crunchy bottom crust. Chopped garlic, fresh rosemary, and flaky sea salt are all you need to add flavor. After you’ve baked this focaccia once, give other toppings like sliced lemon, olives, tomatoes, or cheese a try.
Ingredients in Rosemary Focaccia
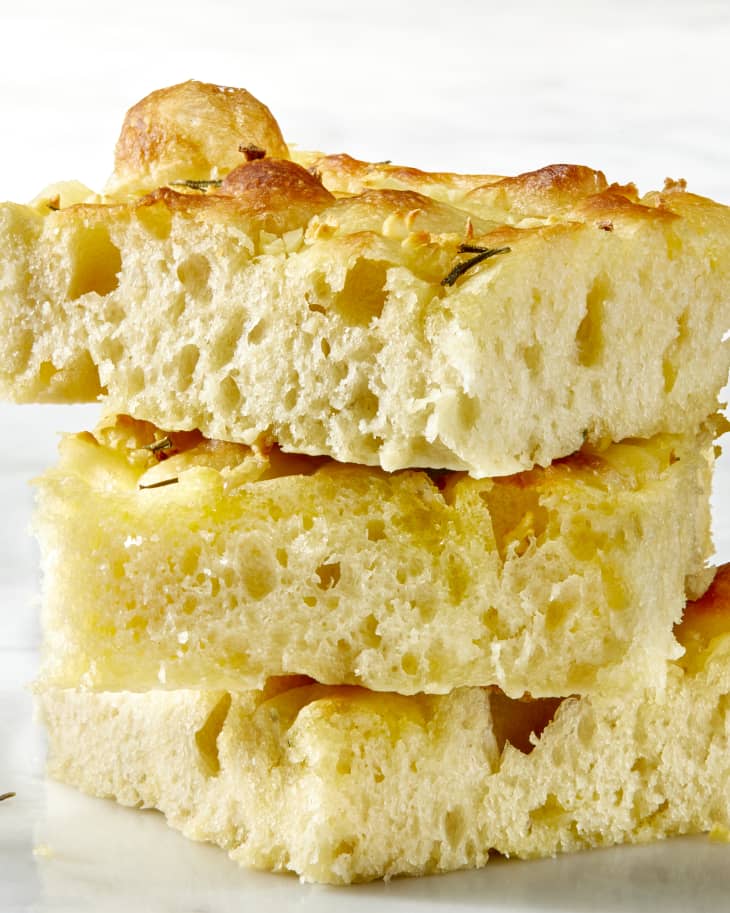
- All-purpose flour: All-purpose flour is exactly that — all-purpose. You can use this type of flour for homemade cakes, cookies, and even breads like focaccia. All-purpose flour has a slightly lower protein content than bread flour, but luckily it still gives focaccia its signature bubbly structure and chewy texture.
- Kosher salt: Salt controls the yeast’s activity, which gives the dough time to develop flavor while it rises.
- Water: Make sure to use warm — not hot — water when baking with yeast. The optimal water temperature is 100 to 110°F.
- Sweetener: Sweetener not only adds flavor to the bread, but also acts as food for the yeast. Honey works well, but barley malt syrup adds an incredible depth of flavor and unbeatable browning.
- Yeast: Let the active dry yeast go to work with the warm water and sweetener until it is foamy and aromatic.
- Olive oil: Olive oil is essential to the flavor and texture of focaccia, so use the best bottle you can.
- Rosemary: Coarsely chop full sprigs of fresh rosemary to add flavor to the focaccia.
- Garlic: Scatter minced cloves of garlic evenly over the dough.
- Flaky salt: An extra flourish of finishing salt like Maldon gives the focaccia crunch and flavor.
Why Is There So Much Olive Oil in Focaccia?
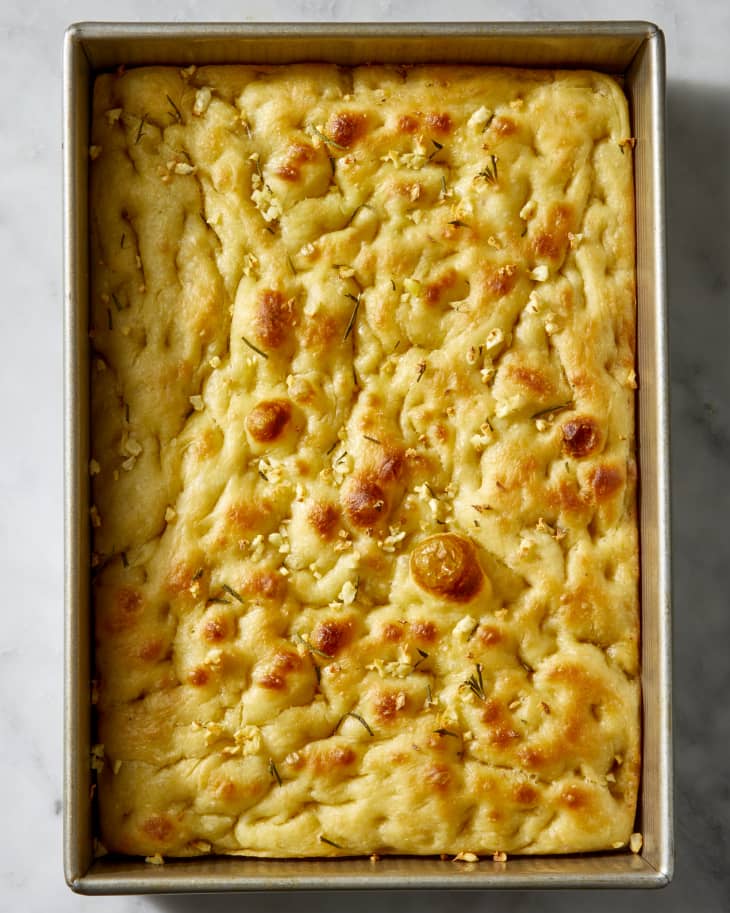
Adding olive oil to focaccia dough adds a distinctive flavor while keeping it tender and preventing the dough from drying out as it rests. A generous amount of olive oil is added to the bottom of the metal baking pan to encourage the dough to spread, rise, and fill the pan without sticking. Plus the oil encourages the bottom of the focaccia to brown and sizzle (as if it is practically fried), which gives the bread its signature golden and crunchy crust.
How Do You Prevent Fresh Herbs from Burning on Focaccia?
Slight charring of herbs or other toppings is to be expected when baking focaccia. There are some ways to reduce the degree to which the herbs are cooked.
- Coarsely chop herbs. The smaller the pieces of herbs, the more quickly they will burn. Chop coarsely, rather than finely, for this recipe.
- Coat herbs in oil. Sprinkle the herbs over the surface of the dough, then drizzle with olive oil before dimpling the dough. Doing it in this order coats the herbs in oil, which protects them from the oven’s heat.
- Bake on the middle rack. Place the focaccia on the middle oven rack to maintain a safe distance from the heating element and to avoid burning.
- Add herbs at the end. If you’re sensitive to any charred flavor, save the freshly chopped herbs for the end, and sprinkle them over the warm focaccia as it comes out of the oven. An extra light drizzle of olive oil can help the herbs stick.
What to Serve with Rosemary Focaccia
Here are a few pairing ideas to get you started.
Rosemary Focaccia Recipe
This no-knead focaccia is a simple Italian flatbread topped garlic, rosemary, and flaky salt.
Prep time 20 minutes to 25 minutes
Cook time 20 minutes to 25 minutes
Serves 12
Nutritional Info
Ingredients
- 4 cups
all-purpose flour
- 4 teaspoons
kosher salt
- 1 1/2 cups
warm water (100°F to 110°F)
- 1 tablespoon
barley malt syrup or honey
- 1
(1/4-ounce) packet active dry yeast (2 1/4 teaspoons)
- 1/4 cup
plus 5 tablespoons olive oil, divided
- 2
sprigs fresh rosemary, plus more garnish if desired
- 3
cloves garlic
- 1/2 teaspoon
flaky salt, such as Maldon
Instructions
Place 4 cups all-purpose flour and 4 teaspoons kosher salt in a large bowl and whisk to combine.
Place 1 1/2 cups warm water and 1 tablespoon barley malt syrup or honey in a small bowl and whisk to combine. Sprinkle 1 packet active dry yeast over the top. Let stand until the yeast dissolves and is foamy, about 5 minutes.
Add the yeast mixture and 1/4 cup of the olive oil to the flour mixture and stir with a flexible spatula until no dry flour remains.
Remove the dough from the bowl. Clean and dry the bowl, then coat the bowl with 1 tablespoon of the olive oil. Return the dough to the bowl and turn to coat in the oil. Cover with plastic wrap and let rise in a warm place until doubled in bulk, about 1 hour. (Alternatively, let rise in the refrigerator for 12 to 24 hours.)
Place 2 tablespoons of the olive oil in a 9x13-inch metal baking pan and rub it into the bottom and sides of the pan. Place the dough in the pan. Gently stretch to the edges of the pan; if the dough is very sticky, use damp hands or a plastic dough scraper.
Cover with plastic wrap and let rise in a warm place until puffed and slightly risen, about 1 1/2 hours. The dough is ready when it appears puffed and bubbly, and it springs back slowly when poked, leaving a small indentation.
Arrange a rack in the middle of the oven and heat the oven to 450°F. Meanwhile, pick the leaves from 2 fresh rosemary sprigs and coarsely chop until you have 1 tablespoon. Mince 3 garlic cloves.
Uncover the dough and sprinkle with the rosemary, garlic, and 1/2 teaspoon flaky salt. Use your fingertips to gently dimple the surface of the dough, then drizzle the remaining 2 tablespoons olive oil evenly over the top.
Bake until the edges of the focaccia are dark-golden brown, 15 to 20 minutes. Garnish with more chopped fresh rosemary leaves if desired.
Recipe Notes
Equipment variation: A 13x18-inch rimmed baking sheet can be substituted for the 9x13-inch baking dish, and will result in a slightly thinner focaccia. The baking time remains the same.
Storage: Focaccia is best eaten on the day it is baked. Leftovers can be refrigerated in an airtight container at room temperature for up to 4 days, or wrapped tightly and frozen for up to 2 weeks. Reheat in a low oven until warmed through.