
How To Make Creme Brûlée


Here’s a recipe and step-by-step guide to making crème brûlée in your own kitchen — no torch or special equipment required, and you’ll only need five or six ingredients to get that sweet, creamy custard with a shattering sugar crust.

Why Make Creme Brûlée at Home?
Crème brûlée is really one of the simplest desserts to make. But like French onion soup, it seems to be a dessert that many people don’t realize they can make at home. It’s such a staple of restaurants — it must be finicky and difficult, right? Nope! There’s no stovetop stirring, no need for a mixer. There are no specialty ingredients or tools involved.
All you do is mix up a few egg yolks with cream and a little sugar. Bake, then chill and broil with sugar on top.
For Your Information
- Creme Brûlée bakes for about an hour, but will need to chill for at least 30 minutes before being brûléed.
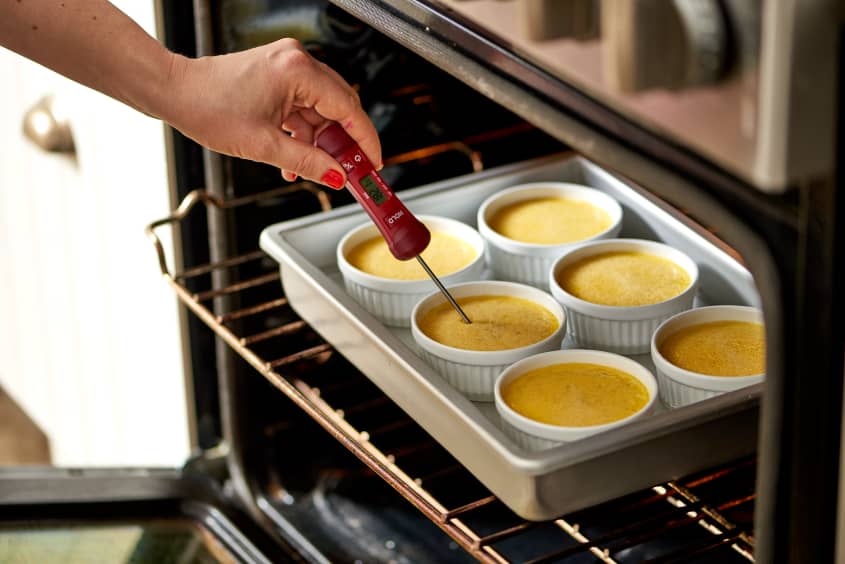
- The custard will firm up considerably in the refrigerator, so take it out of the oven when it has set into that very-jiggly-not-liquid consistency.
Key Steps for Making Creme Brûlée at Home
- Strain your custard. There’s no tempering of eggs or stovetop cooking of this custard (you’re basically just whisking eggs, sugar, and cream together), so the one tiny thing you can do to all but guarantee a perfectly smooth custard is to strain the mixture before filling the ramekins. Here’s how I do it: Mix up the custard and then strain the mixture through a fine-mesh sieve into a pitcher. The pitcher will make filling the ramekins easier.
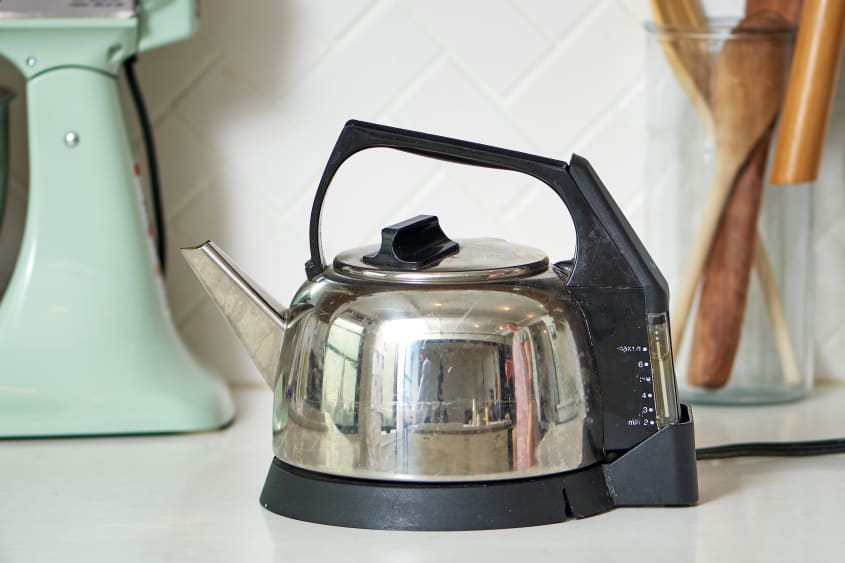
- Bake the custard gently in a water bath. A water bath is simply a dish of warm water that slowly cooks the creme for crème brûlée. Heat a kettle of water while you preheat the oven and make the custard. Then place the filled ramekins in a baking or roasting pan and fill the pan with the warm water.
- Chill the cremes before you brûlée. Crème brûlée can be served warm or cold, but you need to chill the baked and set custard before the caramelization step to ensure a thick, crackling crust.

Brûléeing and Serving the Creme
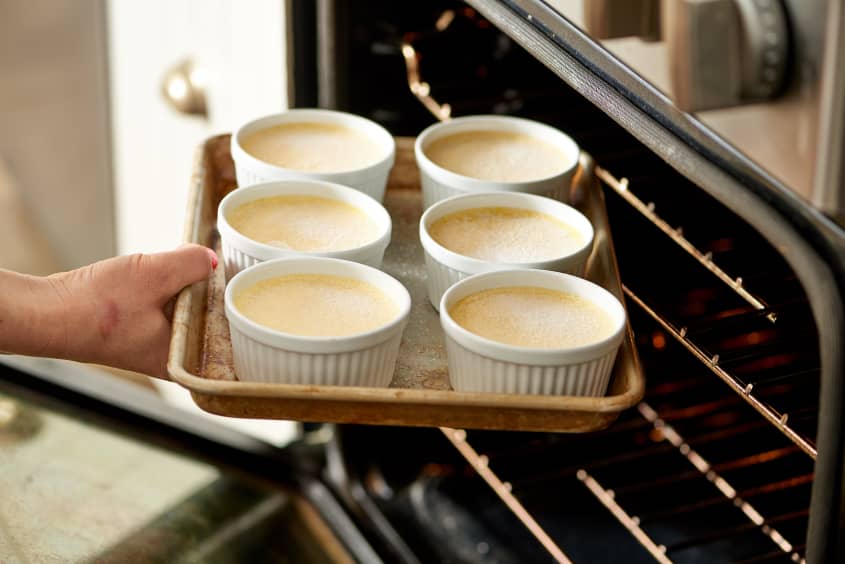
Some cooks use a kitchen torch to caramelize the sugar on top of the custard, but why buy a gadget for this one use? Okay, some of us like crème brûlée a lot, and maybe if you’re making it every week it’s worth it to buy a torch. But honestly, the oven broiler will do a fine job. I follow Alton Brown’s advice of putting the ramekins in a cold oven, then turning on the broiler. This helps keep the custard cool while getting the top crisp.
Using a kitchen torch instead of a broiler? Getting a Good Caramelized Top on Crème Brûlée
You can also make an Instant Pot crème brûlée, but an oven-broiled crème brûlée tends to be a little more rustic, spattered with craters of burnt sugar, blackened around the edges, with piebald pale spots here and there. I do not mind this. In fact, I like my crème brûlée just this side of burnt; I think that such a sweet, rich custard needs the dark, nearly bitter burnt sugar to balance it out. You can also add a twist to this dessert by making a pumpkin crème brûlée, or a no-bake version during fall. So here you are: crème brûlée. Happy tap, tap, tapping!


How To Make Crème Brûlée
Serves 6
Nutritional Info
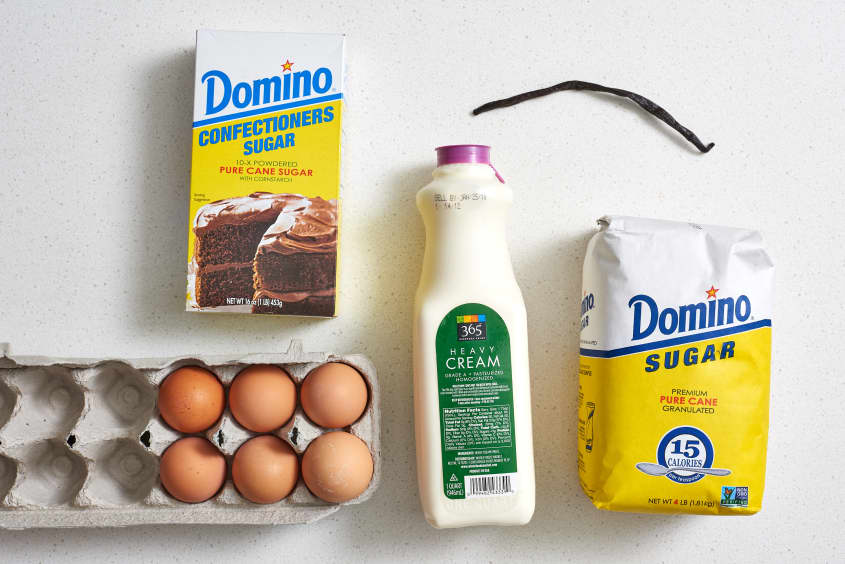
Ingredients
- 6 large
egg yolks
- 1
vanilla bean or 1 teaspoon vanilla extract
- 1 cup
powdered sugar
- 3 cups
heavy cream
- 1/2 cup
granulated sugar
Equipment
Measuring cups and spoon
Kettle or electric kettle (optional)
Large mixing bowl
Fine-mesh strainer
- 6 (6-ounce)
oven-safe ramekins
Roasting pan or 9x13-inch metal baking pan
Pitcher or large liquid measuring cup
Instructions
Heat the oven to 300°F and bring water to a boil. Heat the oven to 300°F. Meanwhile, bring about 3 cups of water to a boil on the stovetop or in an electric kettle. Place 6 (6-ounce) ramekins in a roasting pan or metal 9x13-inch baking pan.
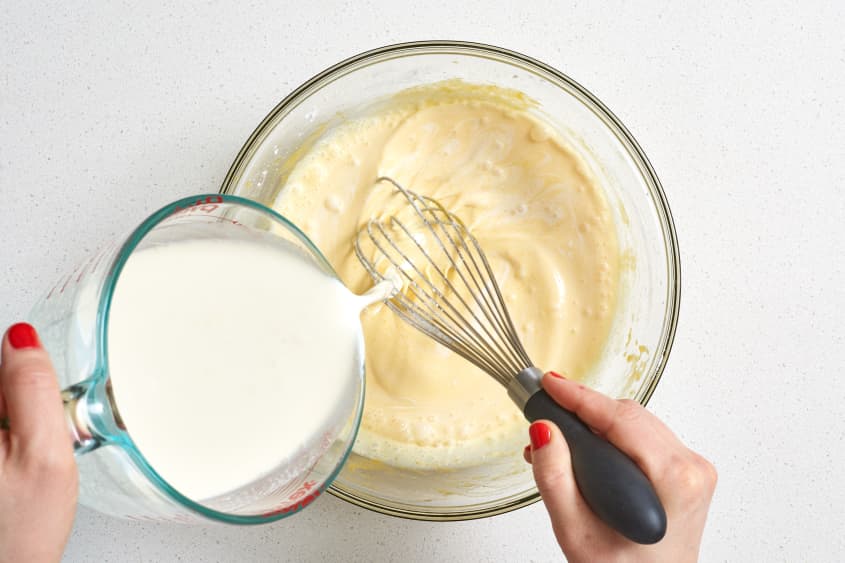
Make the crème brûlée custard mixture. Place the egg yolks in a medium bowl. If you are using a vanilla bean, split it lengthwise with a knife and scrape out its seeds into the bowl. Whisk the egg yolks to break them up. Add the powdered sugar and a pinch of salt, and whisk until uniform. Add a drizzle of the cream and whisk it into the egg yolk mixture to lighten it, then add the rest of the cream and whisk.
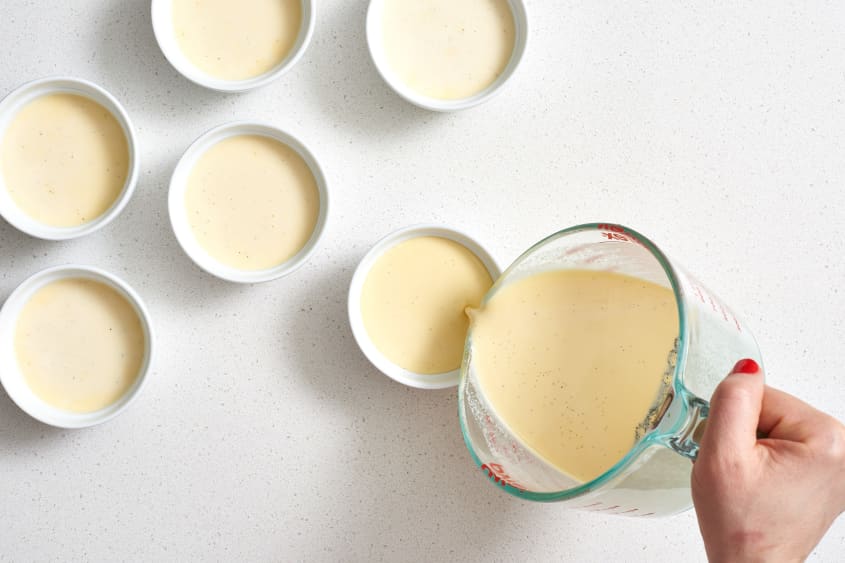
Strain the crème brûlée custard mixture into a spouted container. Pour the mixture through a fine-mesh strainer into a pitcher or liquid measuring cup — this will make filling the custard cups easier. If using vanilla extract instead of a vanilla bean, add it now, to the strained custard.
Divide the custard between the baking cups. Pour the custard into the prepared ramekins. Fill the ramekins as close to the edge as you can; you do not want a lot of empty space between the surface of the custard and the top rim of the ramekin.
Add the boiling water to the baking pan. Place the baking dish on the rack in the preheated oven, and pour the boiling water into the baking dish around the ramekins, being careful not to let any water splash into the ramekins.
Bake the crème brûlée for 45 to 60 minutes. The depth of the ramekins will determine how long it takes for the custards to bake. When using very shallow dishes, with the custard less than 1 inch deep, bake for about 30 minutes. When the dishes are narrower and taller, with the custard about 2 inches deep, bake for at least 50 minutes, and up to 60.
How to know when the custard is done. The custard will be quite wobbly; it should jiggle from side to side when nudged. However, it should not be liquid in the center. It will be barely set, but not liquid. The custard will firm up considerably in the refrigerator, so take it out of the oven when it has set into that very-jiggly-not-liquid consistency.
Remove the crème brûlées from the water bath and chill. Use tongs to remove the crème brûlées from the water bath to a rimmed baking sheet. Let them cool for about 5 minutes, then refrigerate for at least 30 minutes or until ready to serve.
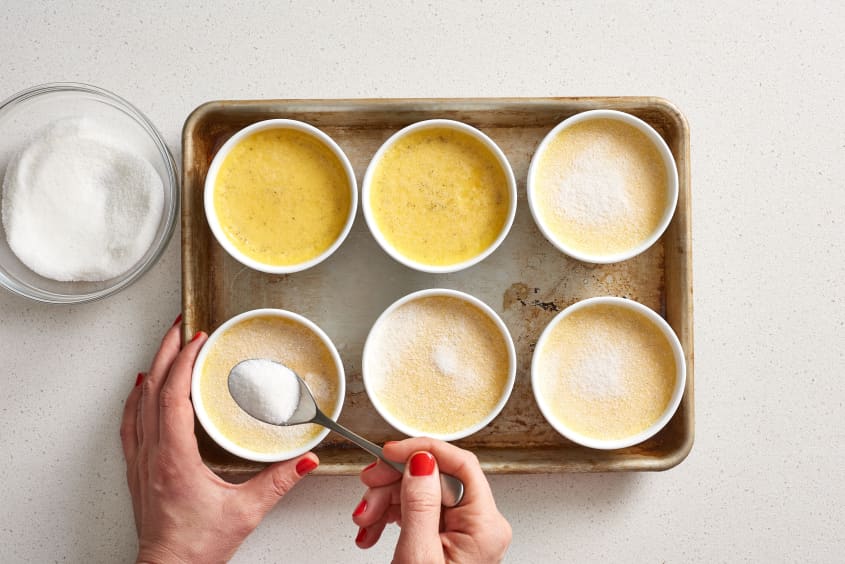
Prepare the crème brûlées for brûlée. When ready to make the sugar crust, take the ramekins out of the refrigerator. Gently dab the tops with paper towels to remove any moisture or condensation. Even sprinkle the tops with a fine layer of granulated sugar The key here is for the sugar layer to be of even thickness. Shake the ramekins back and forth to distribute the sugar evenly. Tap out any excess sugar; you should be able to almost see the custard through the thin layer of sugar.
Brûlée the crème brûlées with the broiler. Arrange a rack in the oven in the highest position. Place the ramekins on the rack and turn on the broiler. Broil for 5 to 10 minutes, rotating them frequently so that they broil evenly. Take them out when they are golden brown and bubbling.
Refrigerate the crème brûlées again or serve warm. It is traditional for crème brûlées to be served cold. If you like it cold, place the ramekins back in the refrigerator. They can be refrigerated for about 30 to 45 minutes before serving (no longer, otherwise the sugar crust may begin to soften). If, however, you like them lukewarm in the center, as I do, you may serve them after the sugar has set (about 5 minutes).
Recipe Notes
Make ahead: The crème brûlées can be made and stored in the refrigerator before the final brûlée for up to 2 days.