
How To Make Almond Milk at Home
I have peer pressure to thank for my newfound love of homemade almond milk. Two of my friends have been making it for months, and I’ve been regularly treated to their exclamation-filled exchanges about its incredible creaminess, mellow milky flavor, and all-around superiority store-bought almond milk. So, obviously I had to figure out how to make almond milk at home.
I finally got to try a glass for myself a few weeks ago, and in this case, peer pressure definitely wins. This stuff is good. Really good. And once they showed me how easy it is to make for myself, I may never drink store-bought again.
How Is Almond Milk Made?
Making almond milk is actually an incredibly old process. We learned about it in culinary school as part of our training in classic French cuisine, but it was made and used long before the French transformed it into delicate blancmanges:
- Soak almonds in water overnight or for up to two days — the longer you soak the almonds, the creamier the milk will be. (This is true of any nut milk recipe you make.)
- Drain and rinse the beans from their soaking water and grind them with fresh water.
- The resulting liquid, drained from the almond meal, is almond milk.

How long does homemade almond milk last in the fridge?
Homemade almond milk only lasts a few days in the fridge, so make just what you think you will drink in this time period. You could heat your almond milk on the stove to pasteurize it and extend the shelf-life, but this somewhat defeats the purpose of making it yourself. The process of grinding and straining the milk only takes a few minutes, so making smaller, more frequent batches doesn’t feel too labor-intensive to me.
Ingredients Needed to Make Almond Milk
To make almond milk, all you’ll need is raw almonds, water, and any sweetener that you’d like to add such as honey or agave.
- Start with a ratio of 1 cup almonds to 2 cups water when making almond milk. This makes a milk that is roughly the consistency of 2% milk.
- If you’d like a thinner milk, use more water next time; for thicker milk, use less.
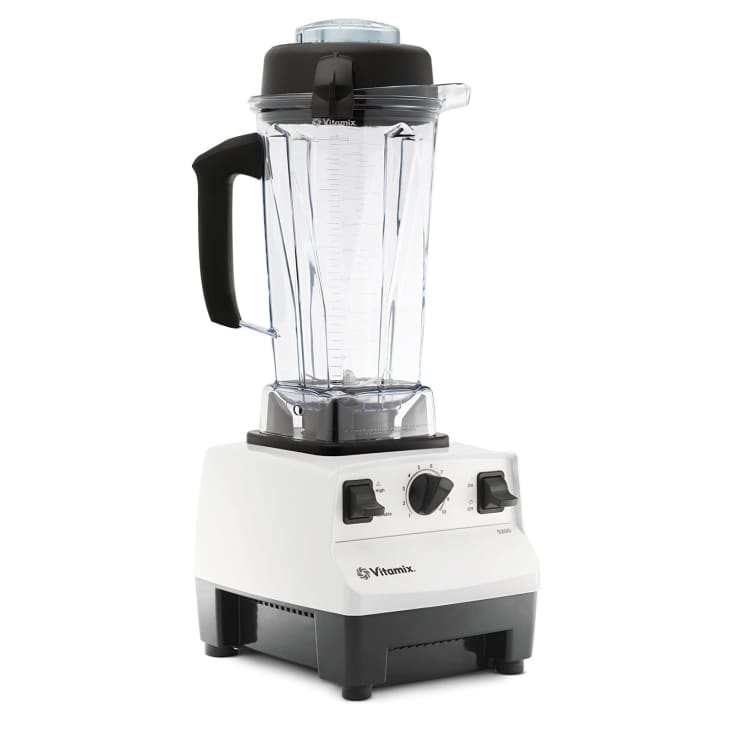
Blender vs. Food Processor for Homemade Almond Milk
I have made almond milk in both a blender and the food processor, and I’ve had good results with both. Overall, I like the milk made in the blender ever-so-slightly better: it has a silky texture and a subtly sweet flavor.
Almond milk made in the food processor is a bit thicker and occasionally has some grit, and it has a more pronounced nutty flavor (making almond butter in the food processor, however, is a great idea). Visually, you can’t tell the difference at all! If you have both a blender and a food processor, try making almond milk in both to see which one you prefer.
How To Make Almond Milk at Home
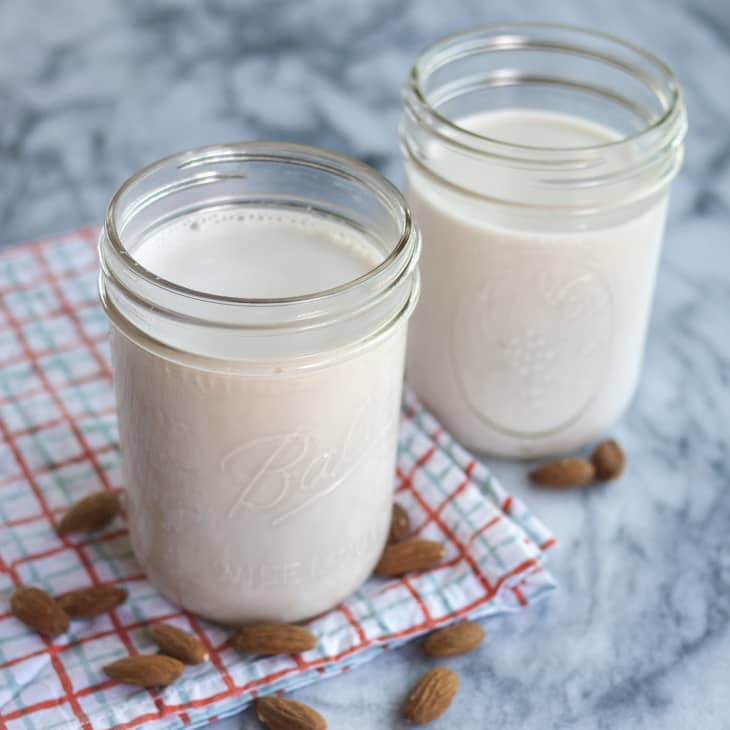
Makes about 2 cups
Nutritional Info
Ingredients
- 1 cup
raw almonds, preferably organic
- 2 cups
water, plus more for soaking
Sweeteners like honey, sugar, agave syrup, or maple syrup (optional)
Equipment
Bowls
Strainer
Measuring cup
Blender or food processor
Fine-mesh nut bag or cheesecloth
Instructions
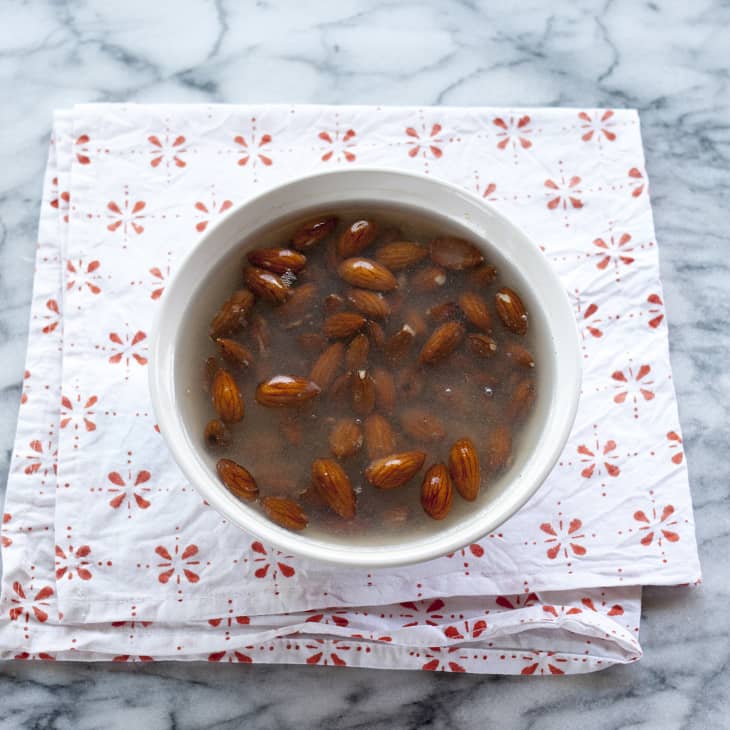
Soak the almonds overnight or up to 2 days. Place the almonds in a bowl and cover with about an inch of water. They will plump as they absorb water. Let stand on the counter, covered with a cloth, overnight, or refrigerate for up to 2 days. The longer the almonds soak, the creamier the almond milk.
Drain and rinse the almonds. Drain the almonds from their soaking water and rinse them thoroughly under cool running water. At this point, the almonds should feel a little squishy if you pinch them. (It's best to discard the soaking water because it contains phytic acid, which inhibits the body's ability to absorb nutrients.)
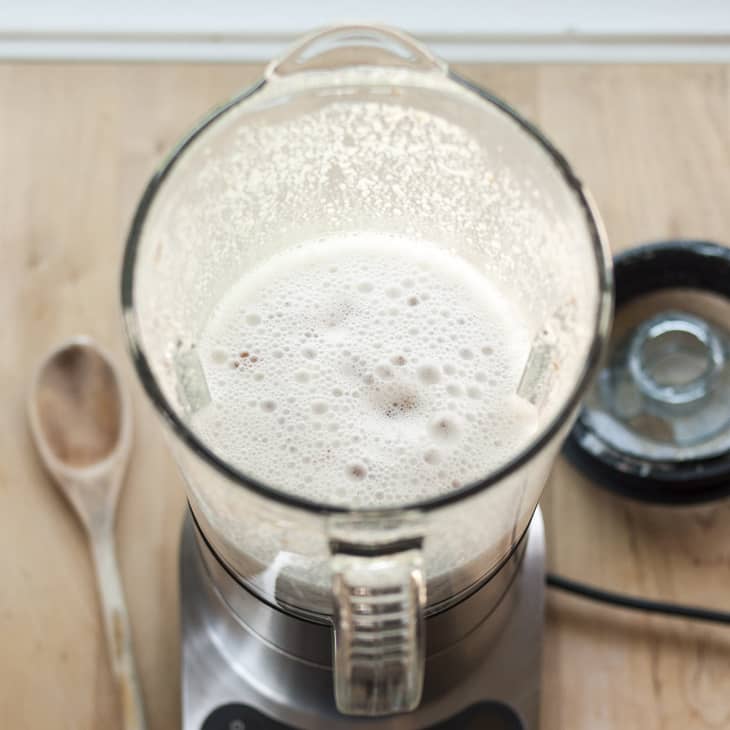
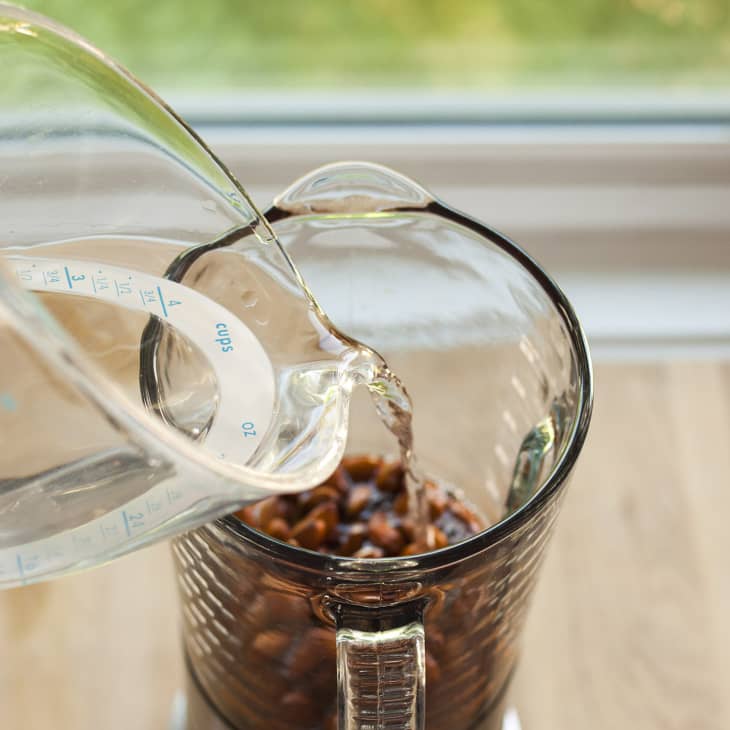
Combine the almonds and water in a blender or food processor. Place the almonds in the blender or food processor fitted with the blade attachment and cover with 2 cups of water.
Blend at the highest speed for 2 minutes. Pulse the blender a few times to break up the almonds, then blend continuously for 2 minutes. The almonds should be broken down into a very fine meal and the water should be white and opaque. (If using a food processor, process for 4 minutes total, pausing to scrape down the sides halfway through.)
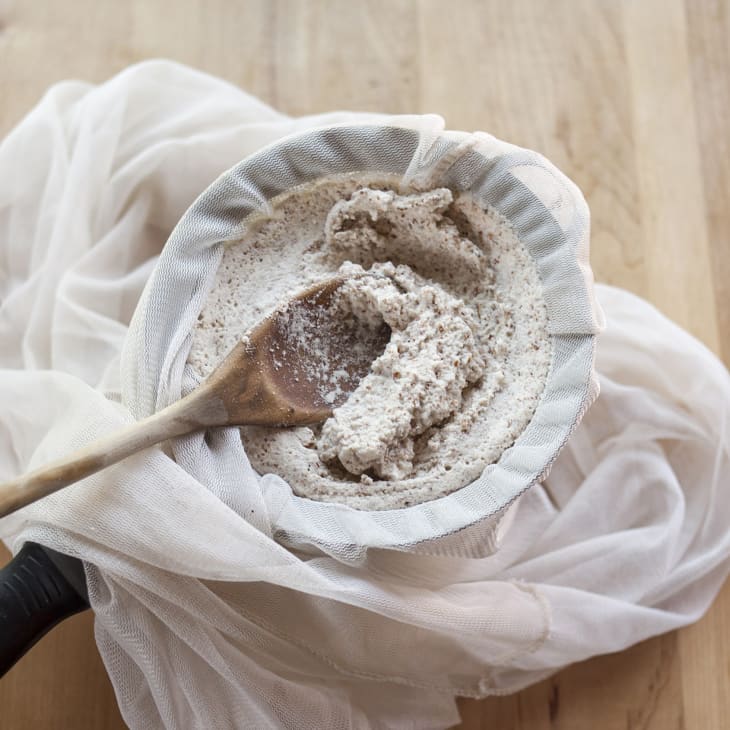
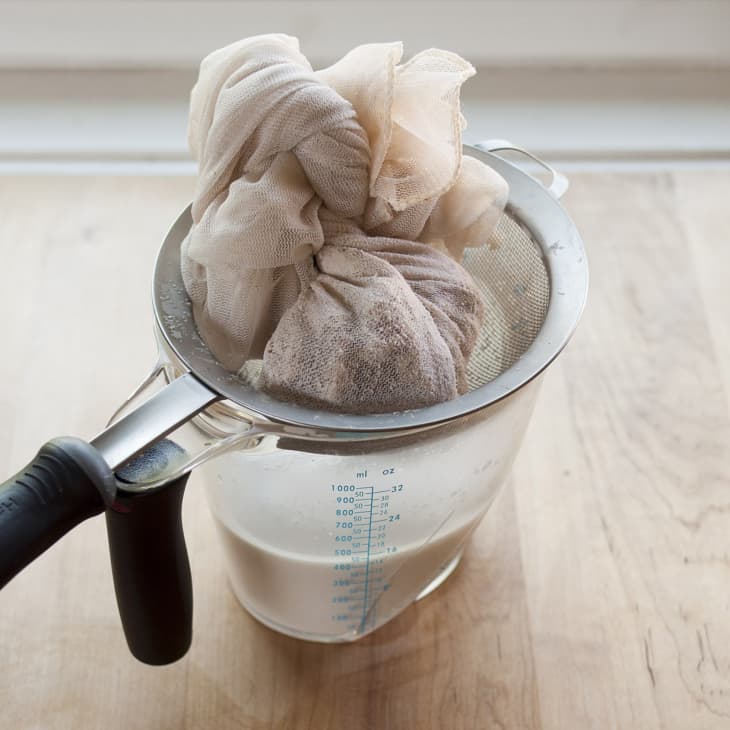
Strain the almonds. Line a fine-mesh strainer with either an opened nut milk bag or cheesecloth, and place over a measuring cup. Pour the almond mixture into the strainer.
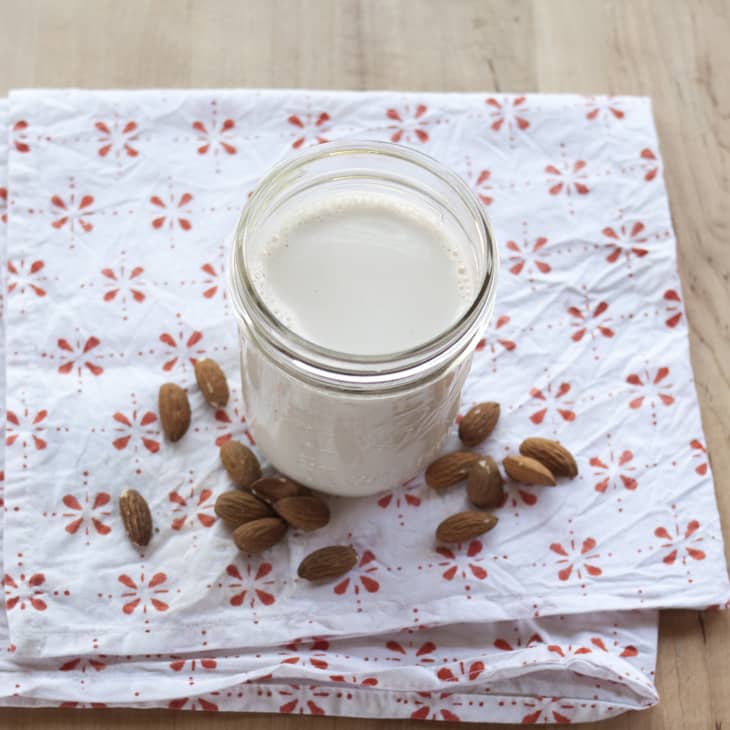
Press all the almond milk from the almond meal. Gather the nut bag or cheesecloth around the almond mixture and twist close. Squeeze and press with clean hands to extract as much almond milk as possible. You should get about 2 cups.
Sweeten to taste. Taste the almond milk, and if a sweeter drink is desired, add sweetener to taste.


Recipe Notes
Using the leftover almond meal: The leftover almond meal can be added to oatmeal, smoothies, and muffins as it is. You can also spread it out on a baking sheet and bake it in a low oven until completely dry (2 to 3 hours). Dry almond meal can be kept frozen for several months and used in baked goods.
Storage: Store the almond milk in sealed containers in the fridge for up to 2 days.