
How To Make AeroPress Coffee (Two Ways!)

The AeroPress delivers a great taste and convenience without much expense. Here are two ways to use it: the most basic/easy and then a slight variation for more flavor.
Makes1 to 2 cups
A good cup of coffee is an essential part of my morning, and there are many ways to achieve this necessity. Drip coffee makers, single-cup brewers, the French press. But if I had to choose just one way to make coffee, one that delivered good taste and convenience without much expense, I would have to go with the AeroPress — a strange-looking little gadget that produces a superb cup of coffee.
The AeroPress is inexpensive and so, so fast. Here’s how to use one!
What Is the AeroPress?
The AeroPress is a simple gadget that was invented about 10 years ago by an engineer, physicist, and Stanford lecturer named Alan Adler. (Read more of his story at Fast Company.) He was impatient with the difficulty of making just one good cup of coffee in a drip coffee maker, and also with the time it took to do a pour over, which takes about 4 minutes. He tinkered around and came up with a distinctly non-sexy tool that quickly pressed hot water through the coffee.
This plastic gadget surprised Adler with its ease, but also with the taste of the coffee. He developed a fine paper filter that gave a very clean cup of coffee, without bitterness or the sludge that ends up at the bottom of French press coffee.
He started producing the kit commercially and it became a cult success among coffee lovers. He initially marketed it as an espresso maker, but fortunately he dropped that, as it really produces strong, concentrated coffee — not true espresso.
6 Reasons the AeroPress Is a Great Way to Make Coffee
The AeroPress has a lot of advantages.
- First of all, it’s much less fussy than other ways of brewing coffee. Unlike the French press, you don’t need a burr grinder, and unlike pour over, no special technique is necessary. Just pour and push.
- It’s inexpensive; a full set of AeroPress gear, including a year’s supply of filters, retails for about $25.
- The AeroPress is light and durable. With no glass to crack, it’s a good option for travel.
- It’s very fast. No steeping or long pouring. I can make a cup of coffee in about 60 seconds once the water is hot.
- The AeroPress produces a fantastic cup of coffee with clear, clean flavors. If you’re interested in really tasting interesting coffees and the differences between different roasts and beans, the AeroPress lets flavors come through distinct and crisp.
- Last but not least the cleanup is so easy. Unlike the French press, where you have to scoop out all those grounds, the AeroPress cap comes off and you simply press out the puck of compressed grounds into the compost or trash. Give the whole thing a rinse and you’re done.
Any drawbacks? It only makes one or two cups at a time, so it’s not the right tool to pull out for a group of people at brunch in the morning. And it’s certainly not very pretty, but its hospital-style plastic has a certain geeky charm.
How to Find an AeroPress
I remember when these used to be hard to find! You can easily buy them on Amazon and you can also find them in local coffee shops.
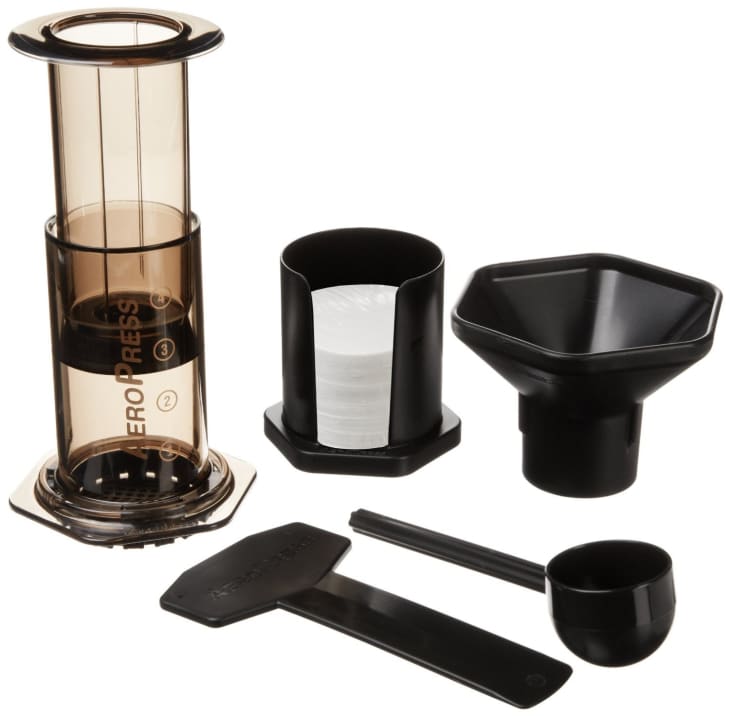
An Aeropress comes with several odd-looking accessories, and it might feel complicated at first, but it’s really quite simple. Here’s what you get:
- The AeroPress itself, a plastic plunger
- A cap for the end of the plunger
- Filters that go in the cap
- A coffee scoop measure
- A funnel for getting coffee grounds neatly into the chamber
- A paddle for stirring
→ Buy an Aeropress: Aeropress Coffee Maker, $25 at Amazon
What’s Important in Making AeroPress Coffee?
Like I said, Aeropress is way simpler than many other methods of making coffee. It’s foolproof, and when it comes to coffee, that’s saying something.
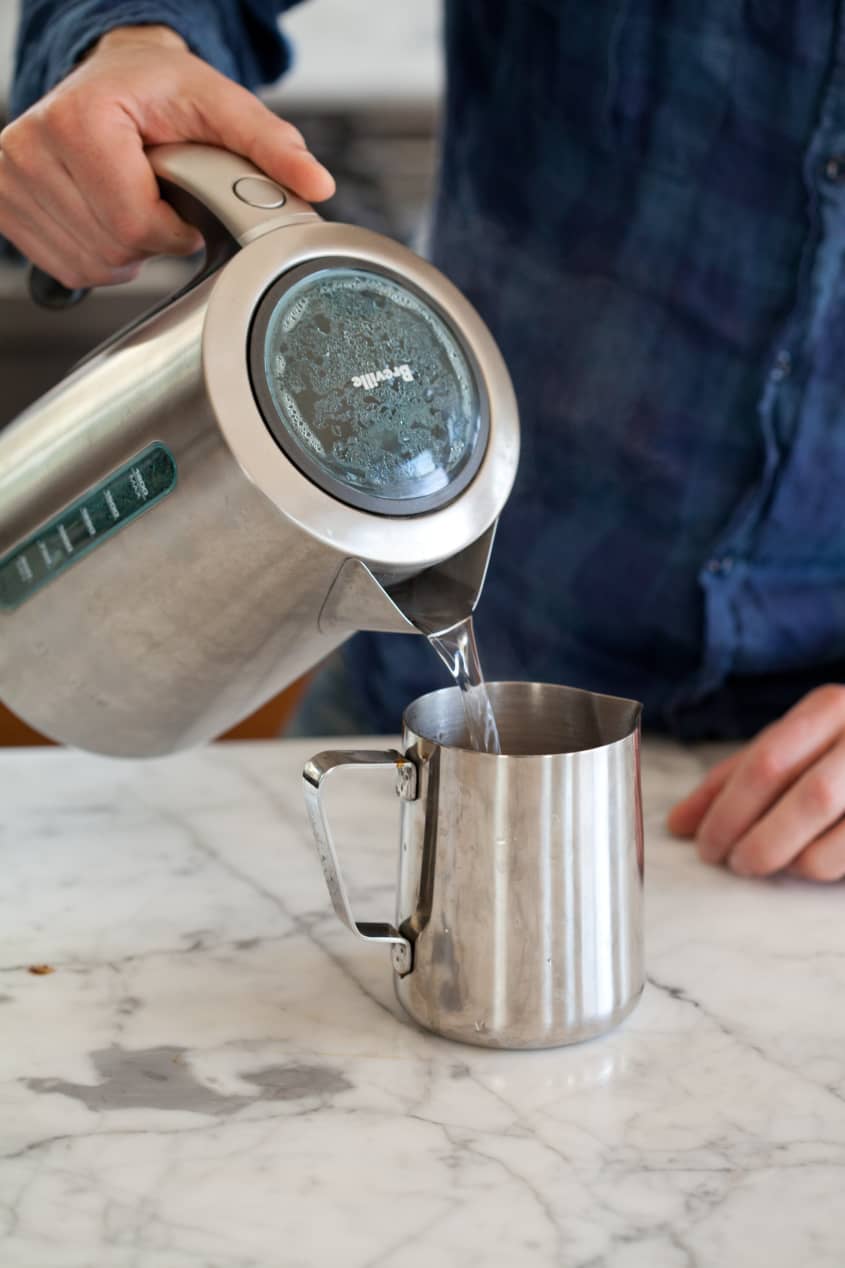
However, you still need to be careful about water temperature. Boiling water will make your coffee bitter. It’s important use water that’s hot but not boiling. To do this, boil your water and take it off the heat for about 1 minute before using. (If you do want to be precise, I aim for 195°F, although the AeroPress inventor recommends an even lower temperature of 175°F.)
As always, you want to use quality beans that have been roasted recently. But you don’t need a burr grinder (unlike French press). A cheap blade grinder does just fine. Or just have your coffee ground when you buy the beans. For AeroPress you’ll want the coffee ground fine, like for drip coffee.
OK, time to make some coffee — I promise that just explaining how to do this is way more time-consuming than actually making a cup of AeroPress coffee!
The Inverted Method
I’m going to show you two ways of using your AeroPress — the most basic and easy, and then a slight variation that lets the coffee steep for an extra minute in the chamber. Some people like to make their coffee even more robust and strong, and this extracts more flavor. It’s not necessary, but it’s fun to play with both methods to see which you like best!
How To Make Aeropress Coffee (Two Ways!)
The AeroPress delivers a great taste and convenience without much expense. Here are two ways to use it: the most basic/easy and then a slight variation for more flavor.
Makes 1 to 2 cups
Nutritional Info
Ingredients
Water
Whole coffee beans
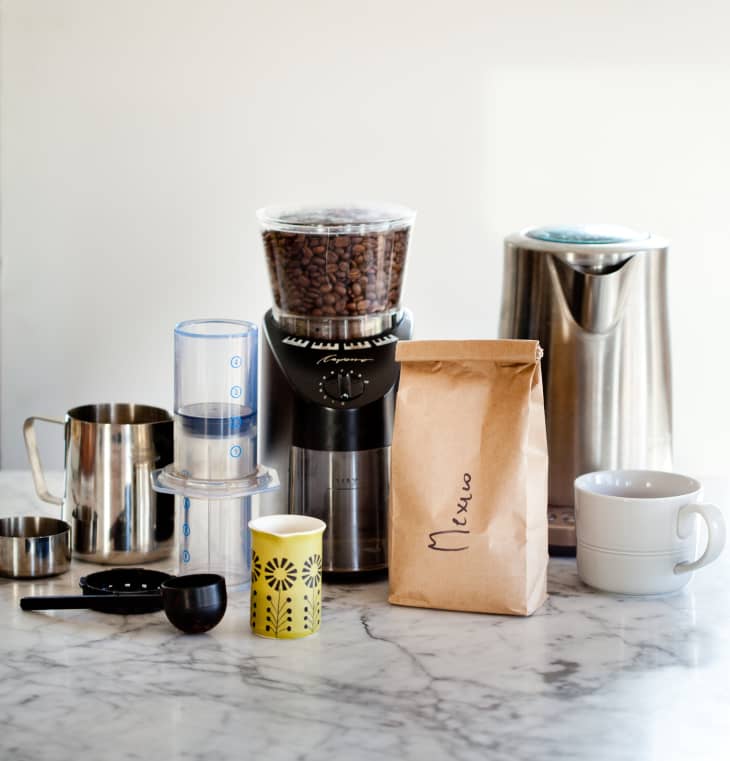
Equipment
Kettle, stovetop or electric
Aeropress, including scoop, funnel, and stirrer
Coffe grinder
Mug or small pitcher
Timer, optional
Instructions
The Original Method
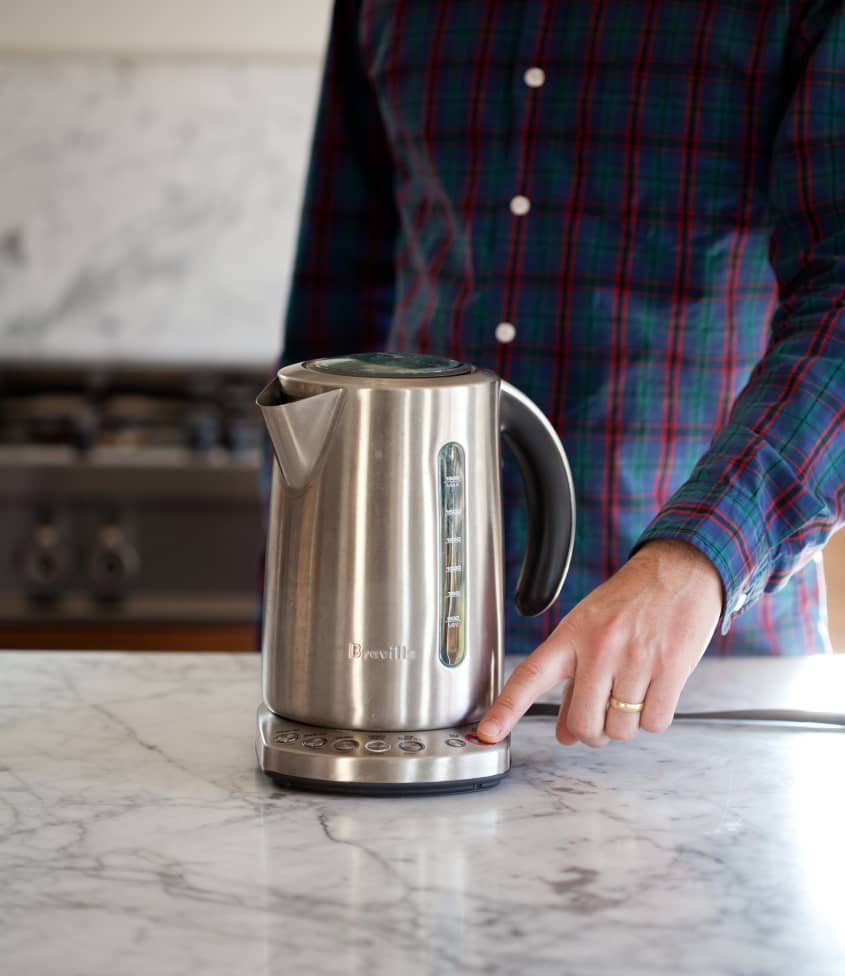
Heat the water. Bring your water to a boil then let it cool for about 1 minute. (You're aiming for something in between 175°F and 195°F.)
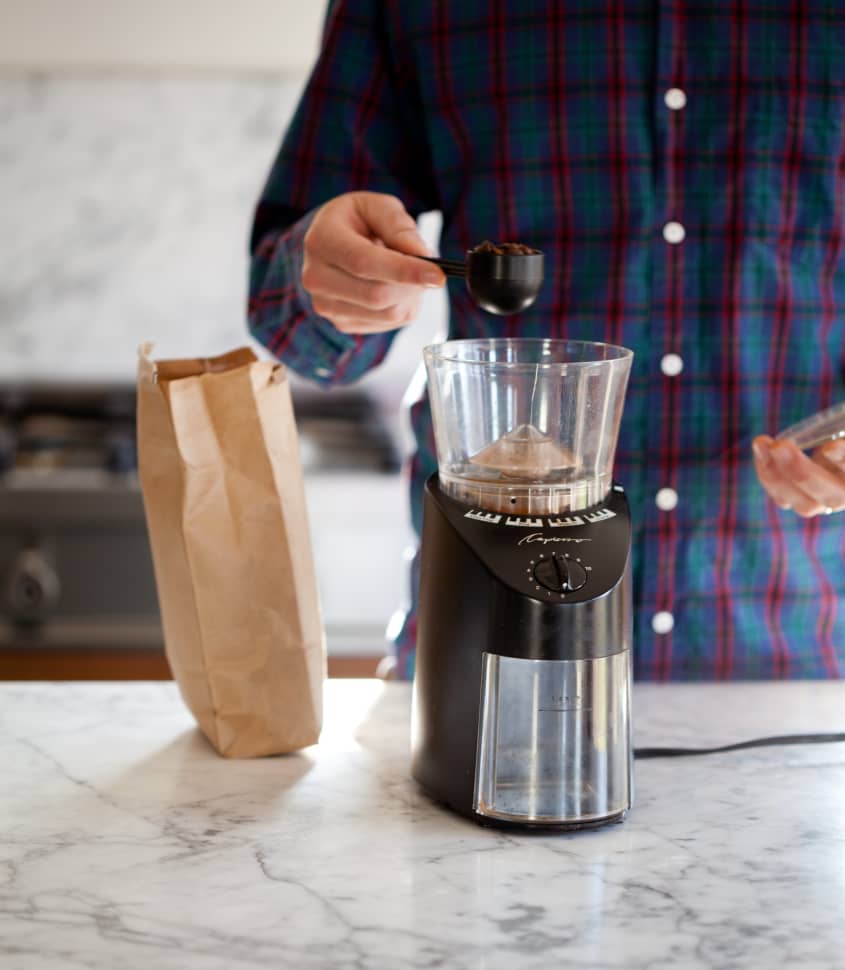
Grind the beans. Measure out 2 full AeroPress scoops of coffee beans (about 1/4 cup) and grind until fine.
Wet the filter. Assemble the AeroPress with a paper filter inside the cap and place on top of a mug or cup. Drizzle a little warm water in to wet the filter.
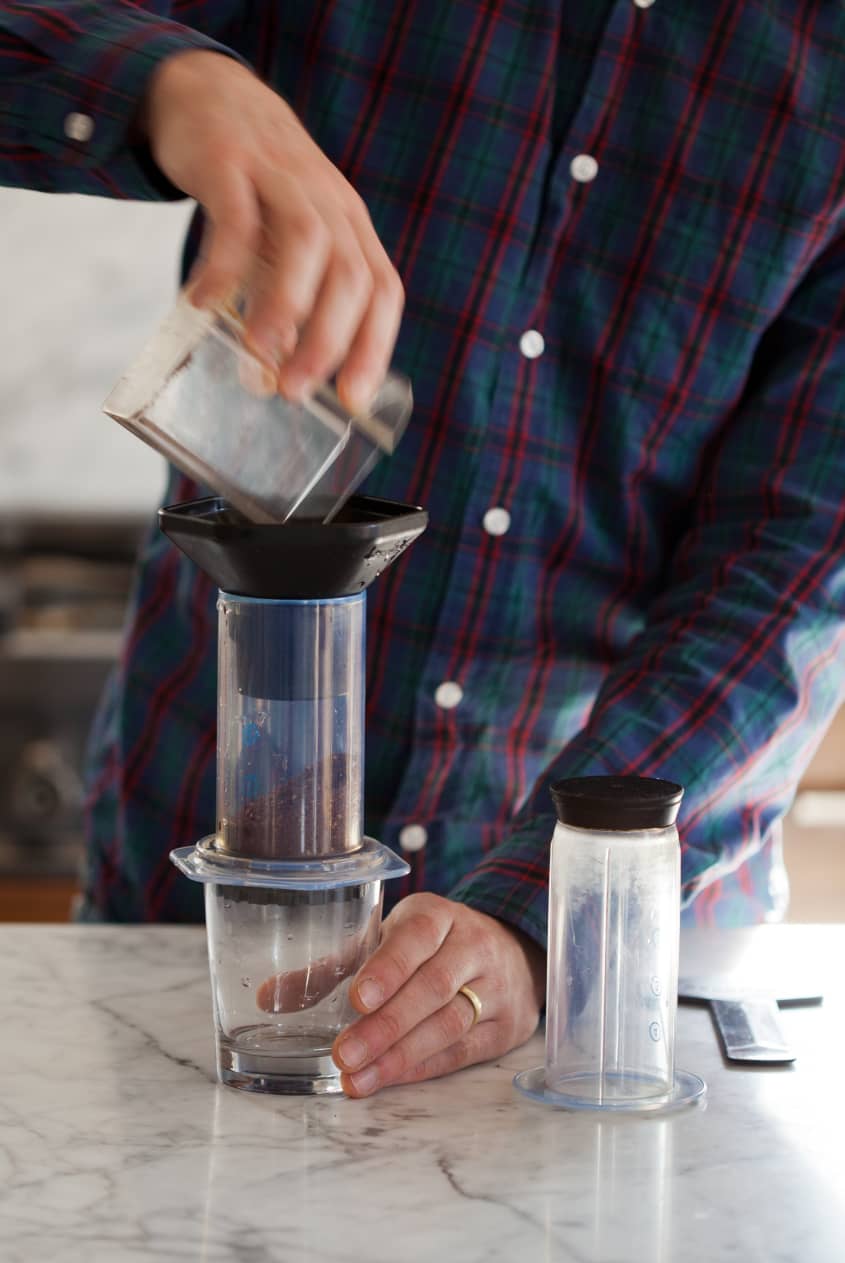
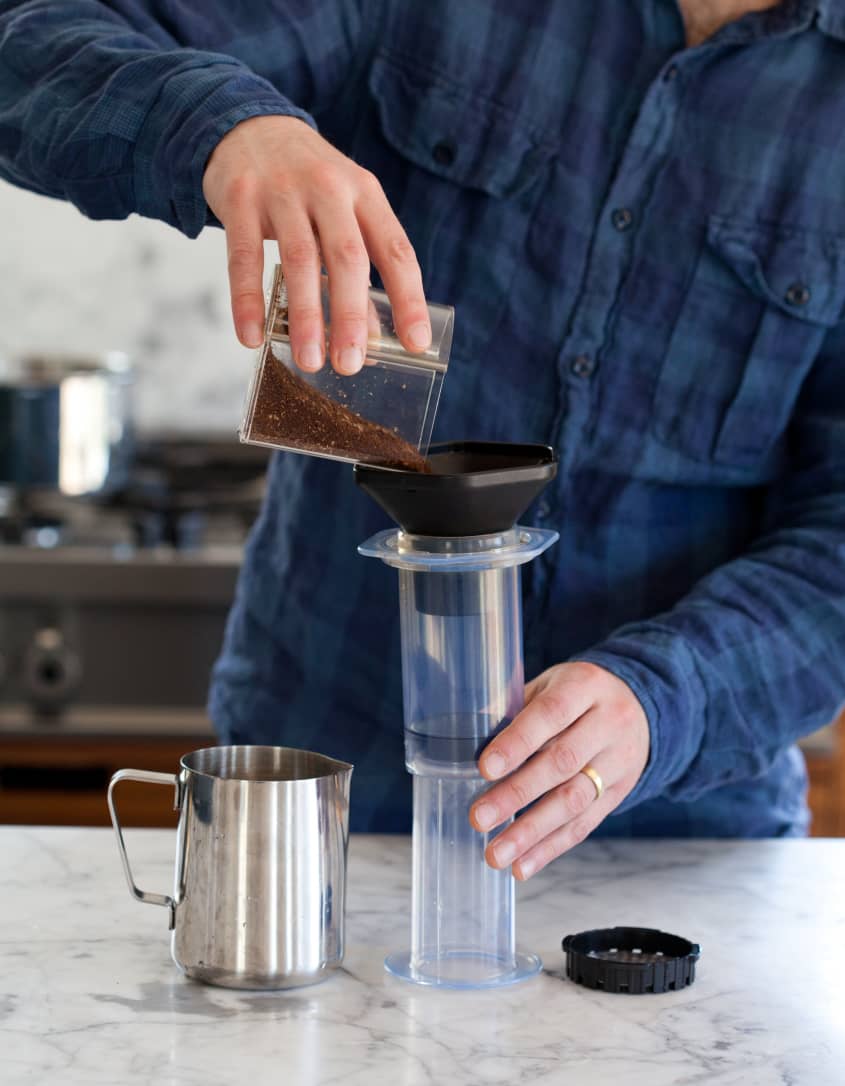
Add the coffee. Place the funnel on top of the cup and pour in the coffee. Remove the funnel.
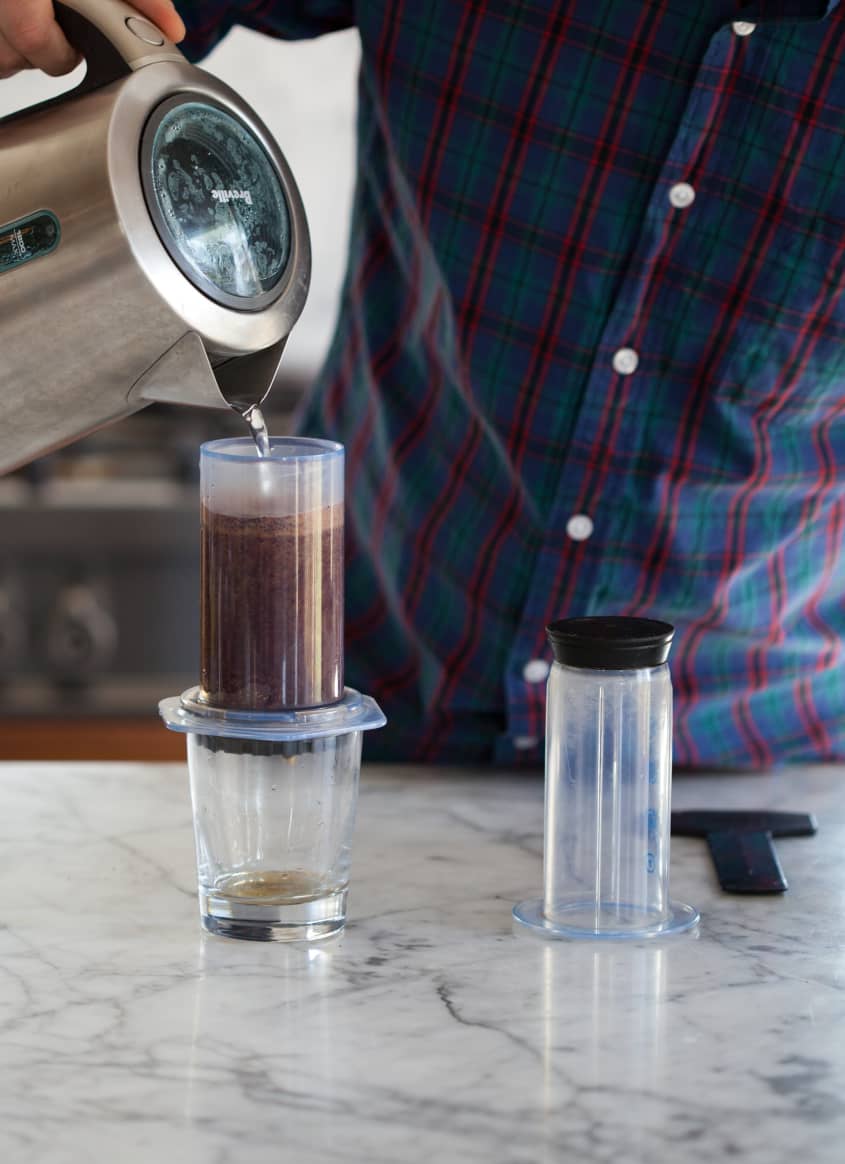
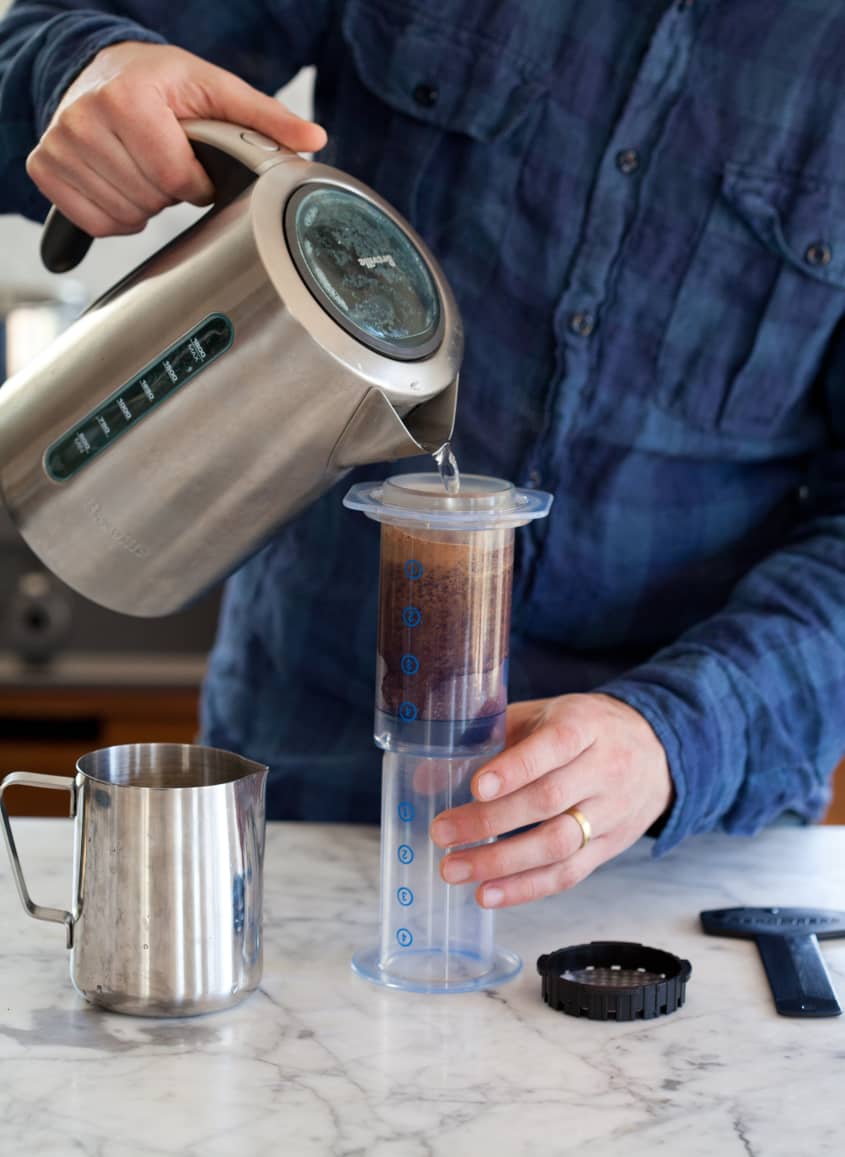
Add the water. Pour in coffee until it comes up to the top line on the AeroPress.
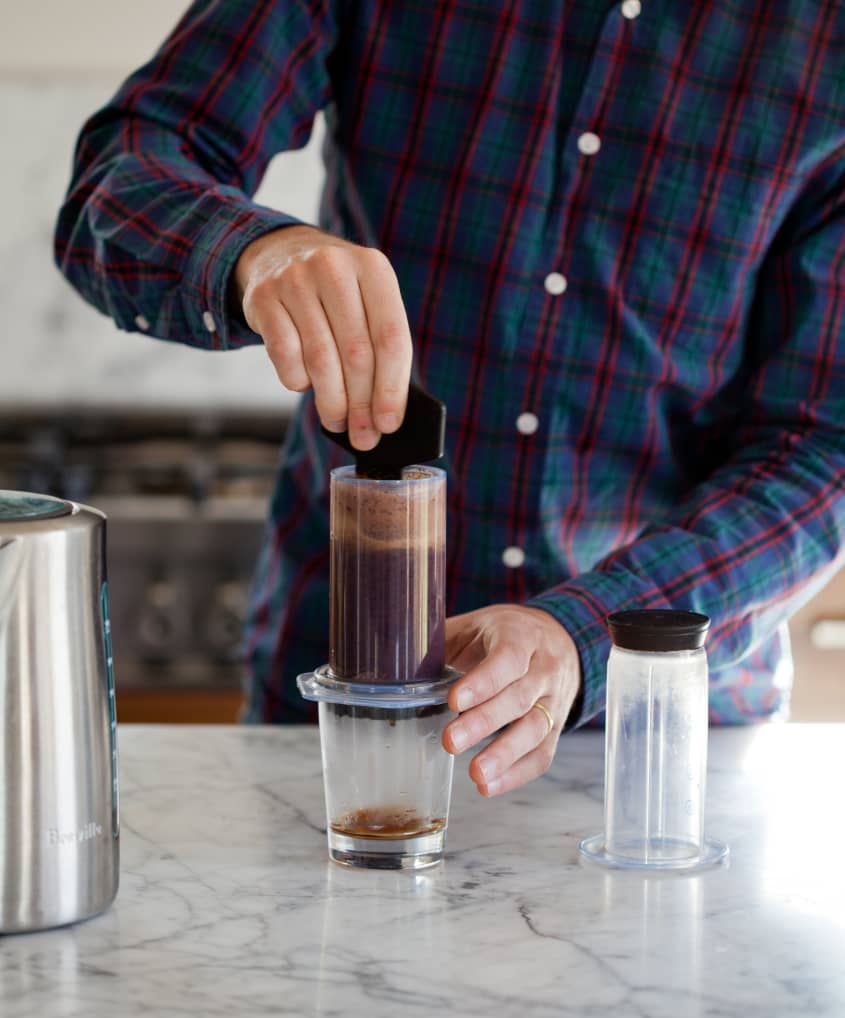
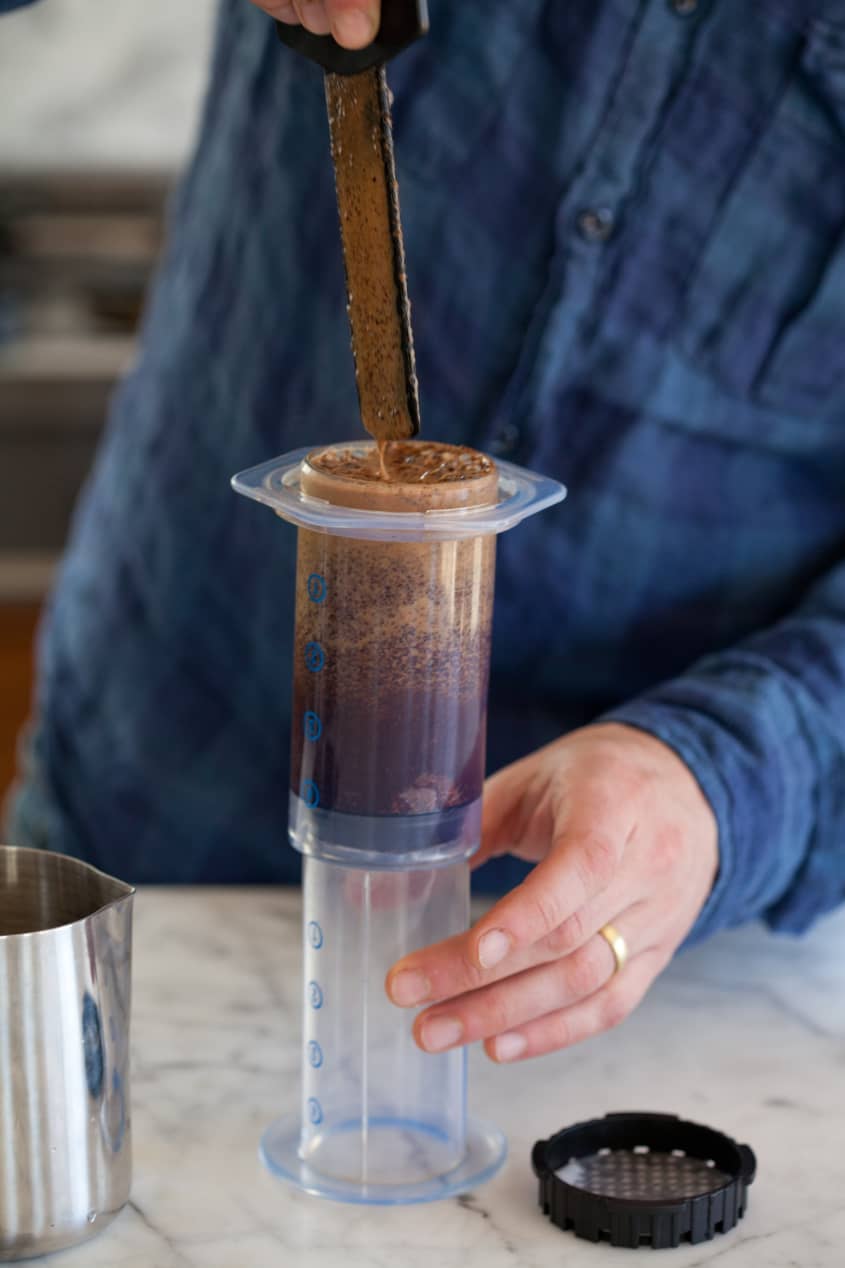
Stir. Use the paddle stirrer (or a spoon) to stir once, briefly.
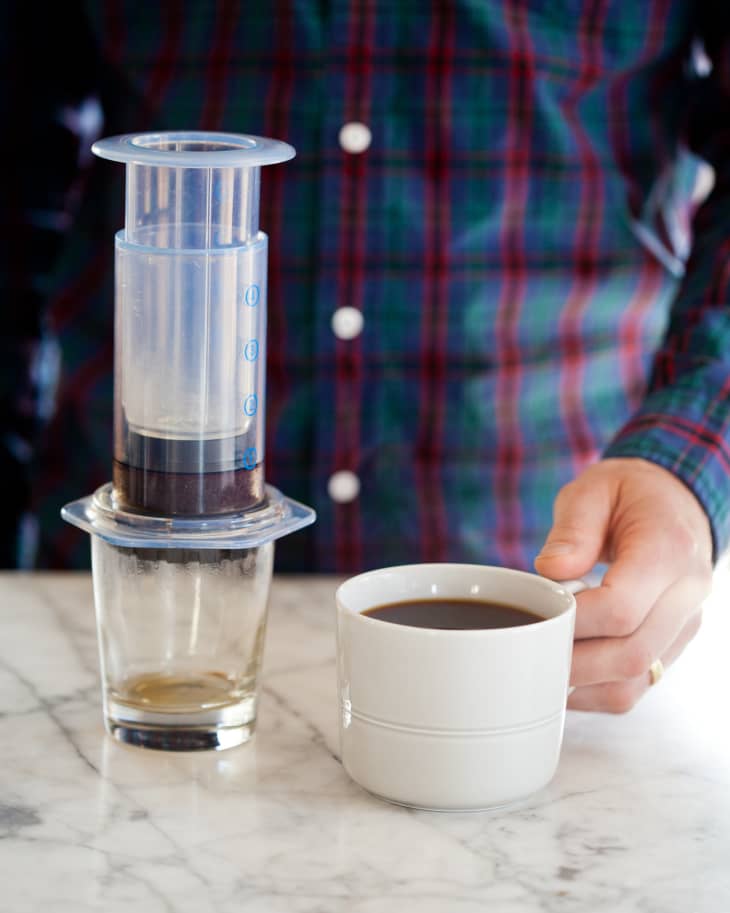
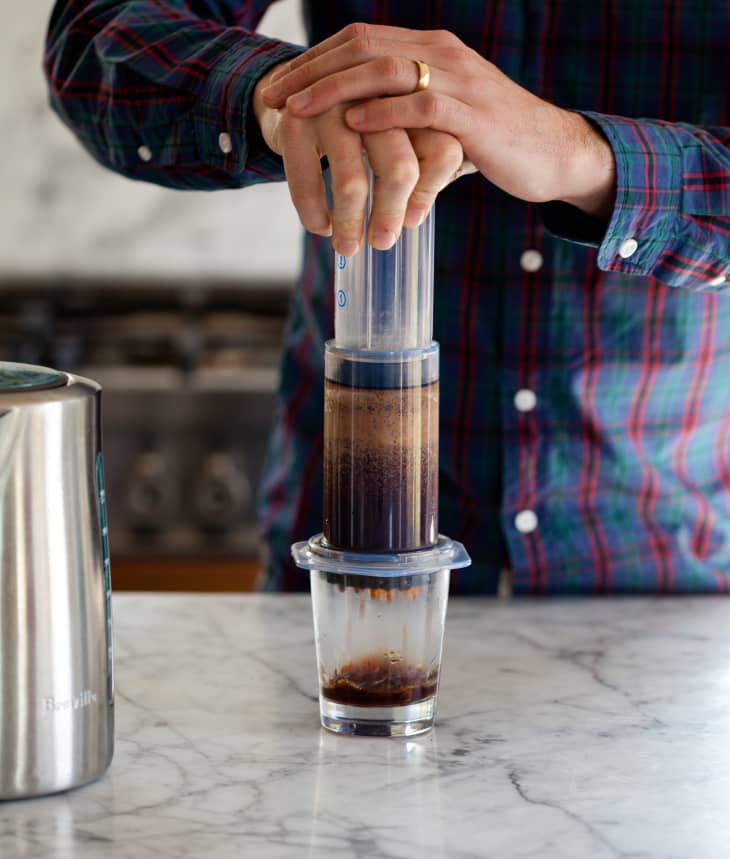
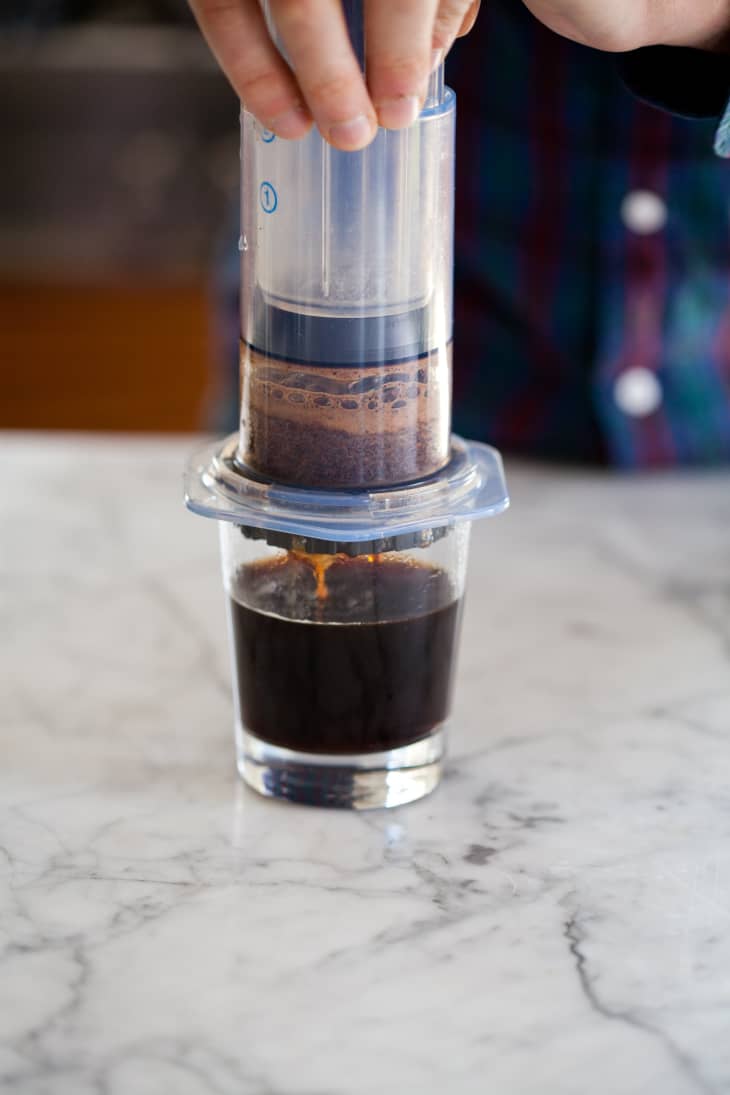
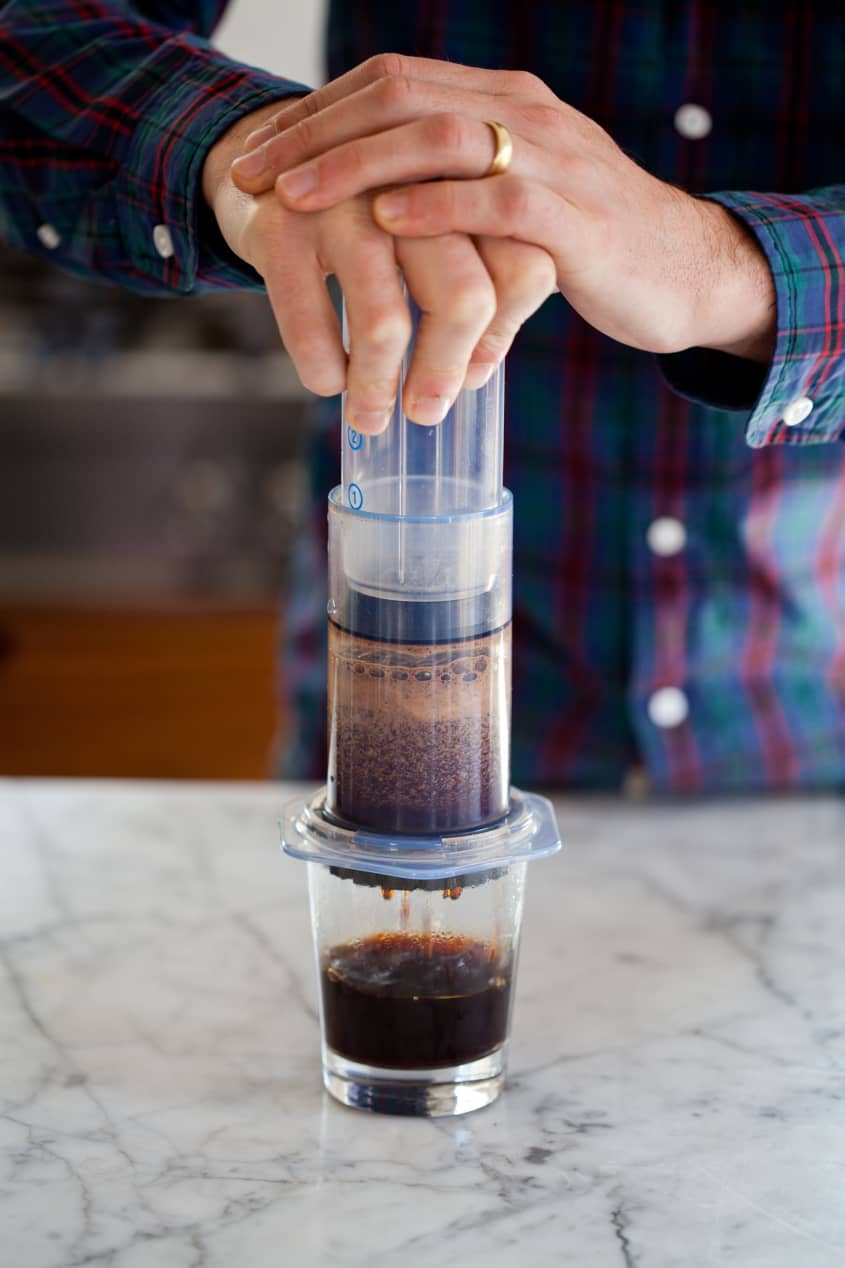
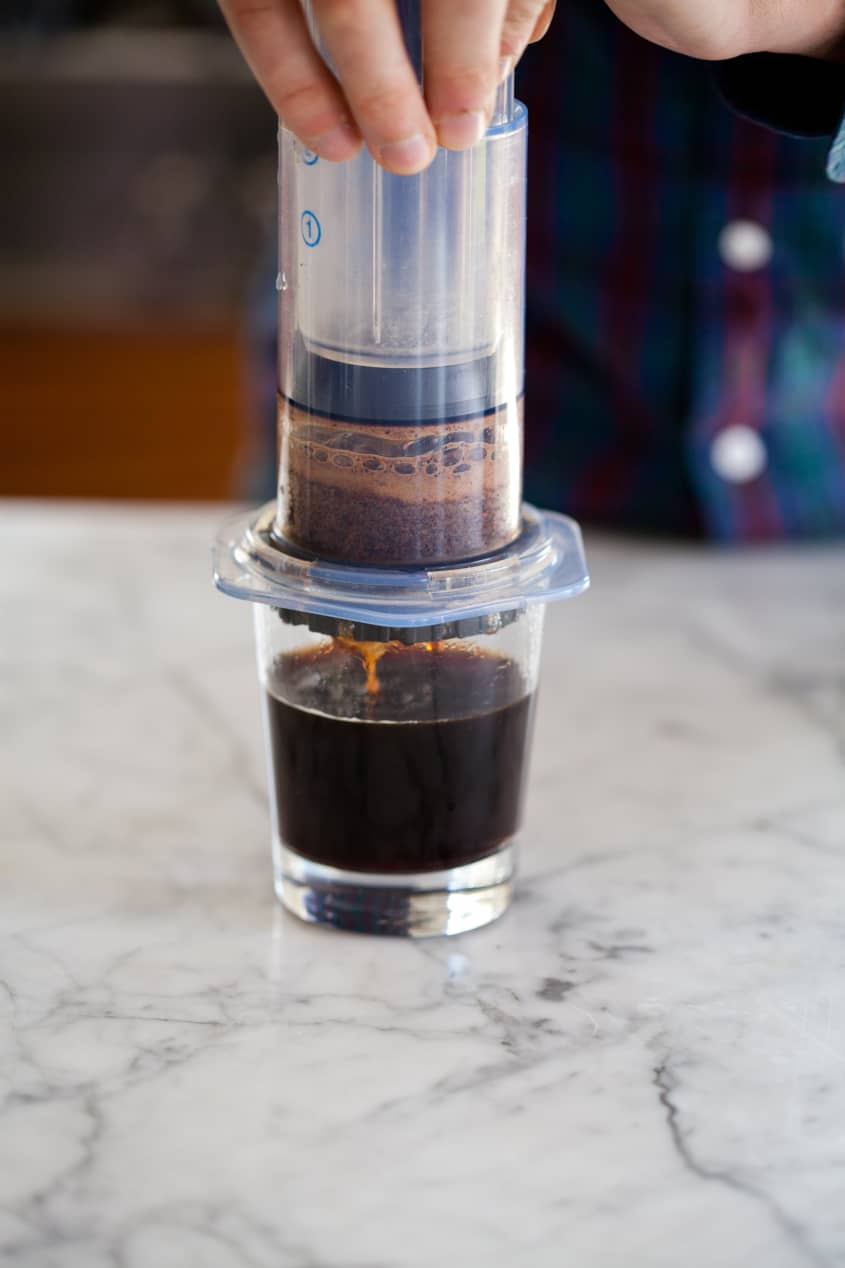
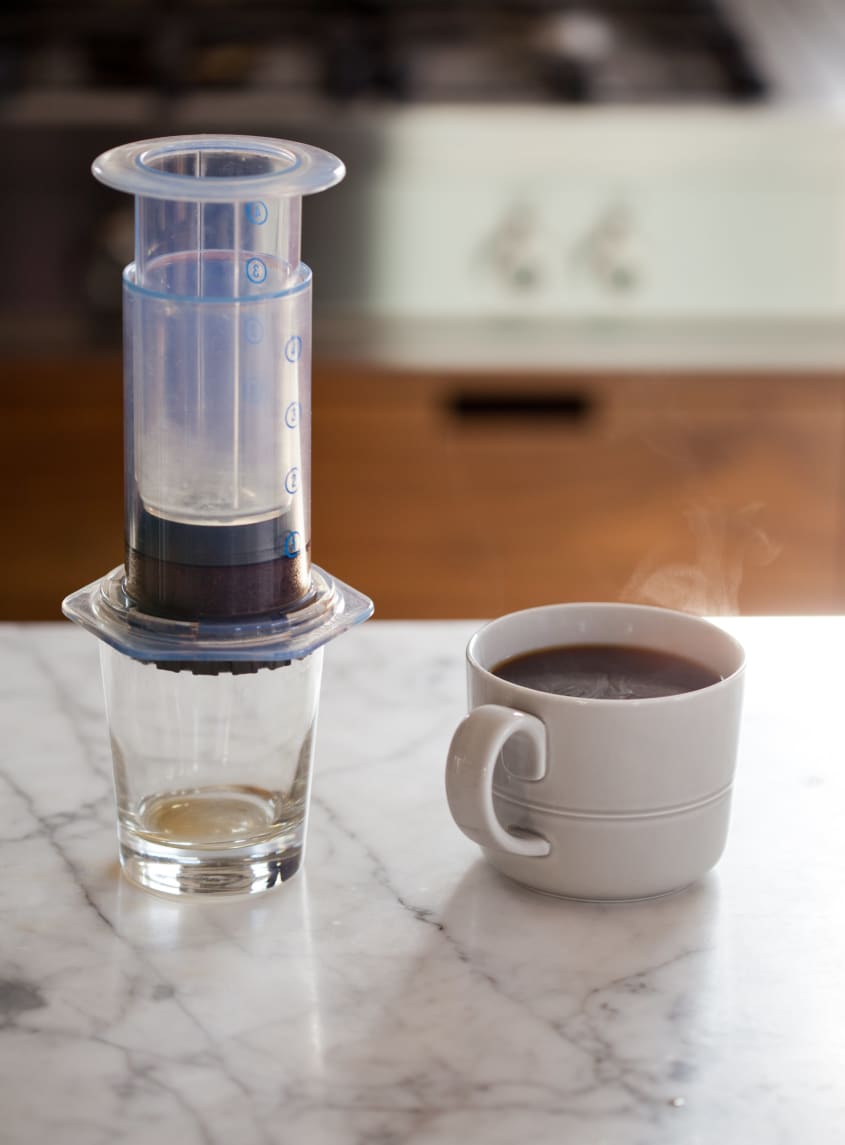
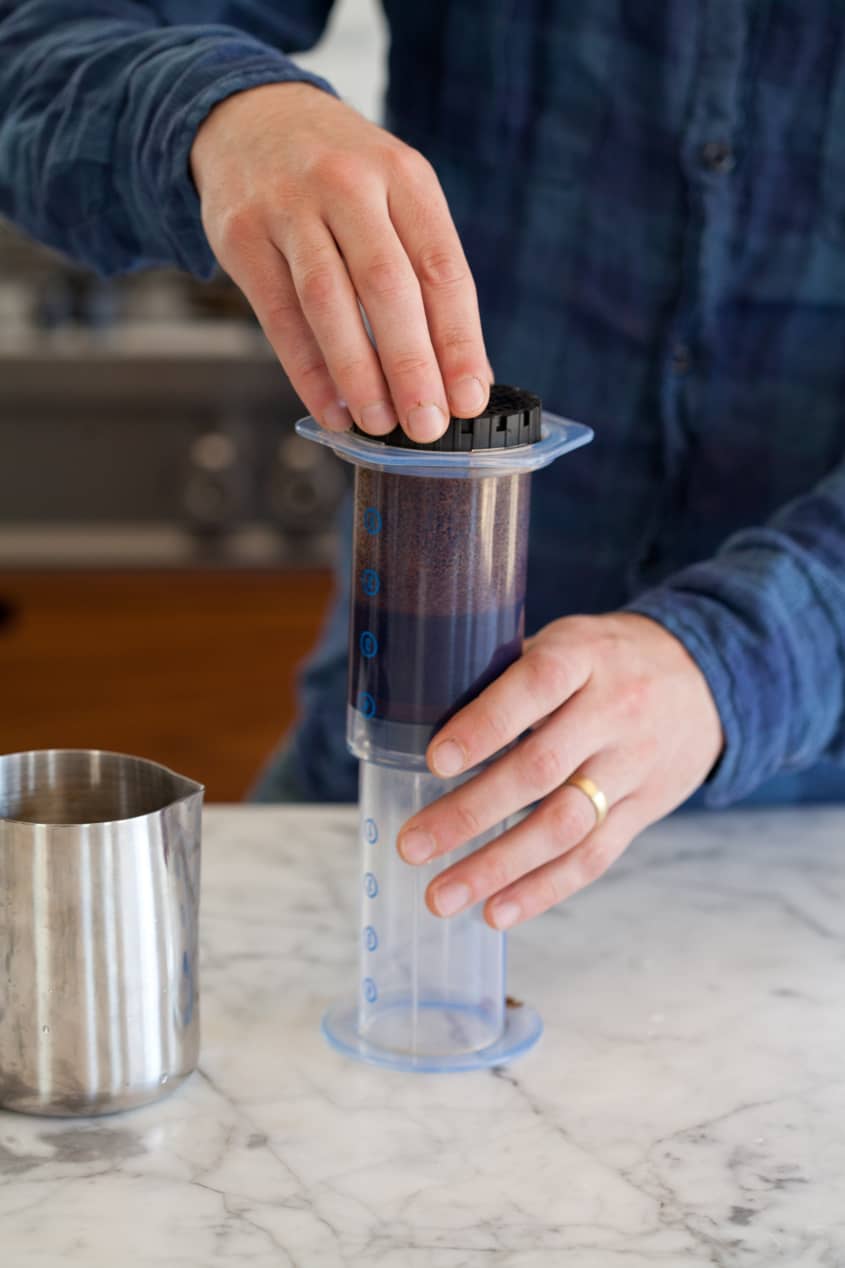
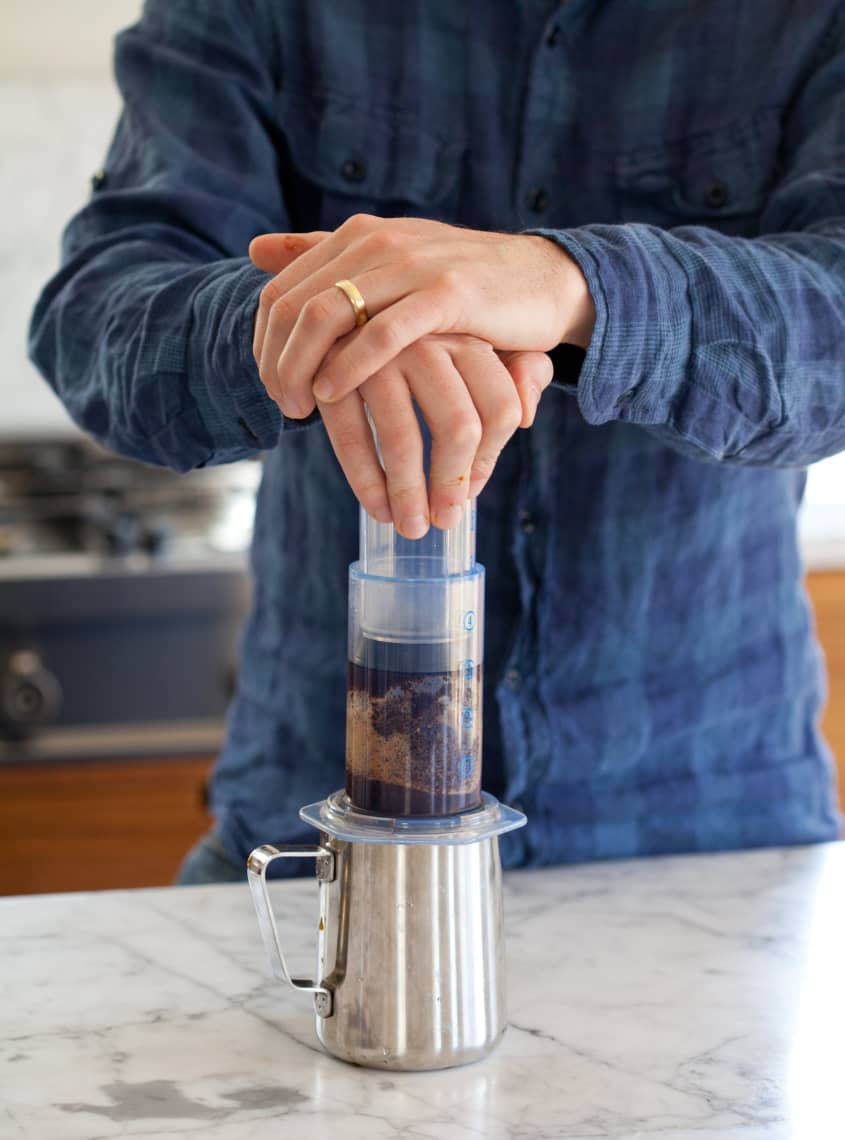
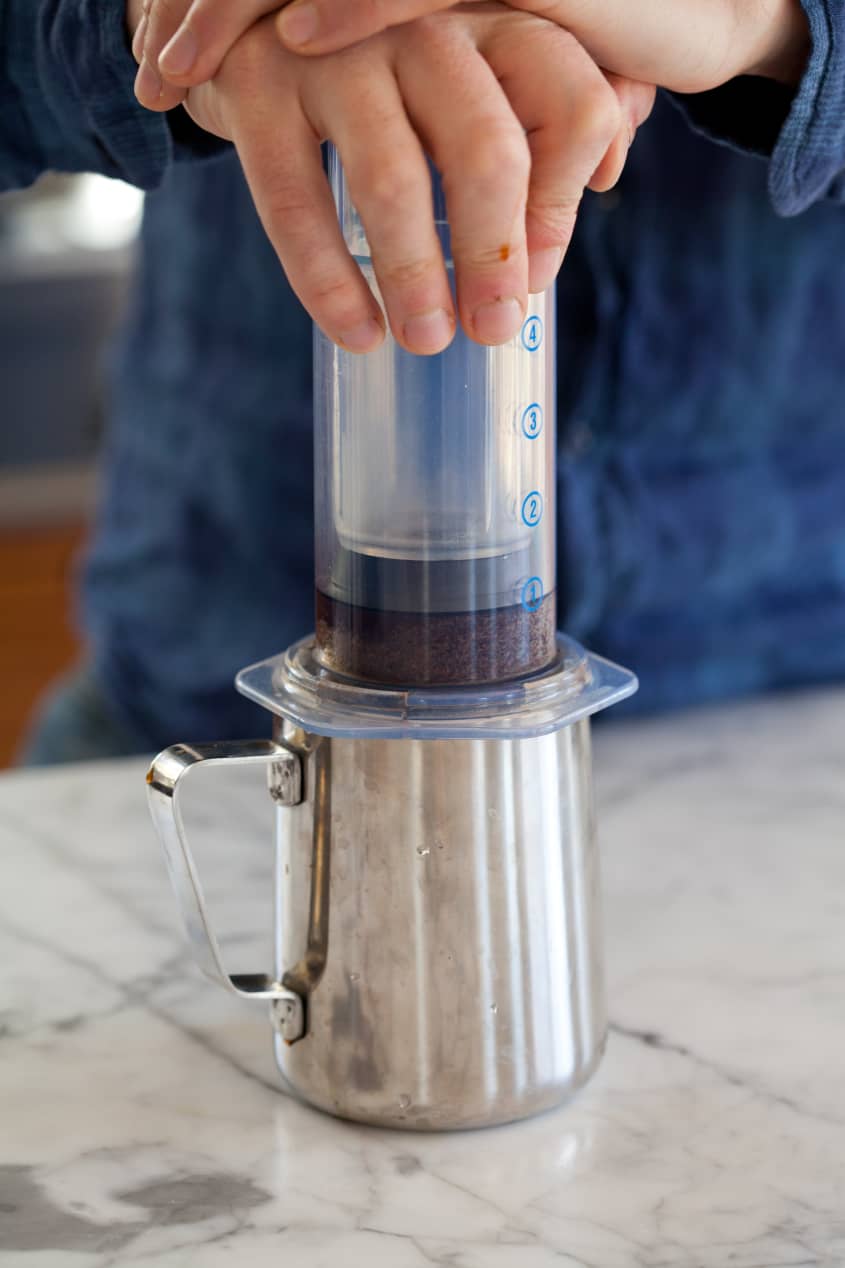
Press. Insert the plunger. Firmly press down the plunger until you hear a long hiss.
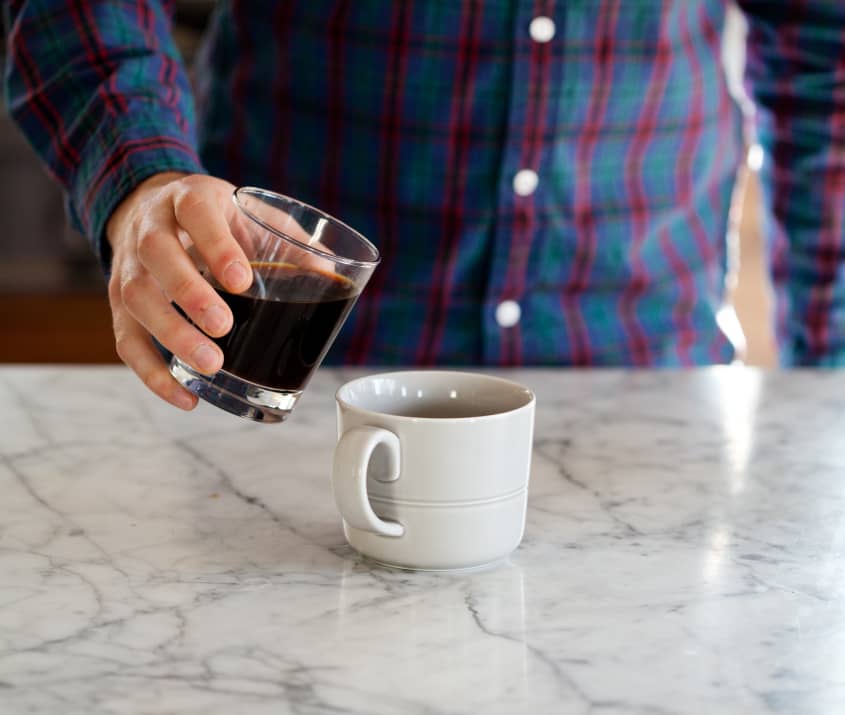
Taste and dilute. Taste the coffee and if desired add more water. The AeroPress makes a concentrated cup of coffee and if desired you can split this amount between two cups and add a little more hot water.
The Upside-Down/Reverse Method
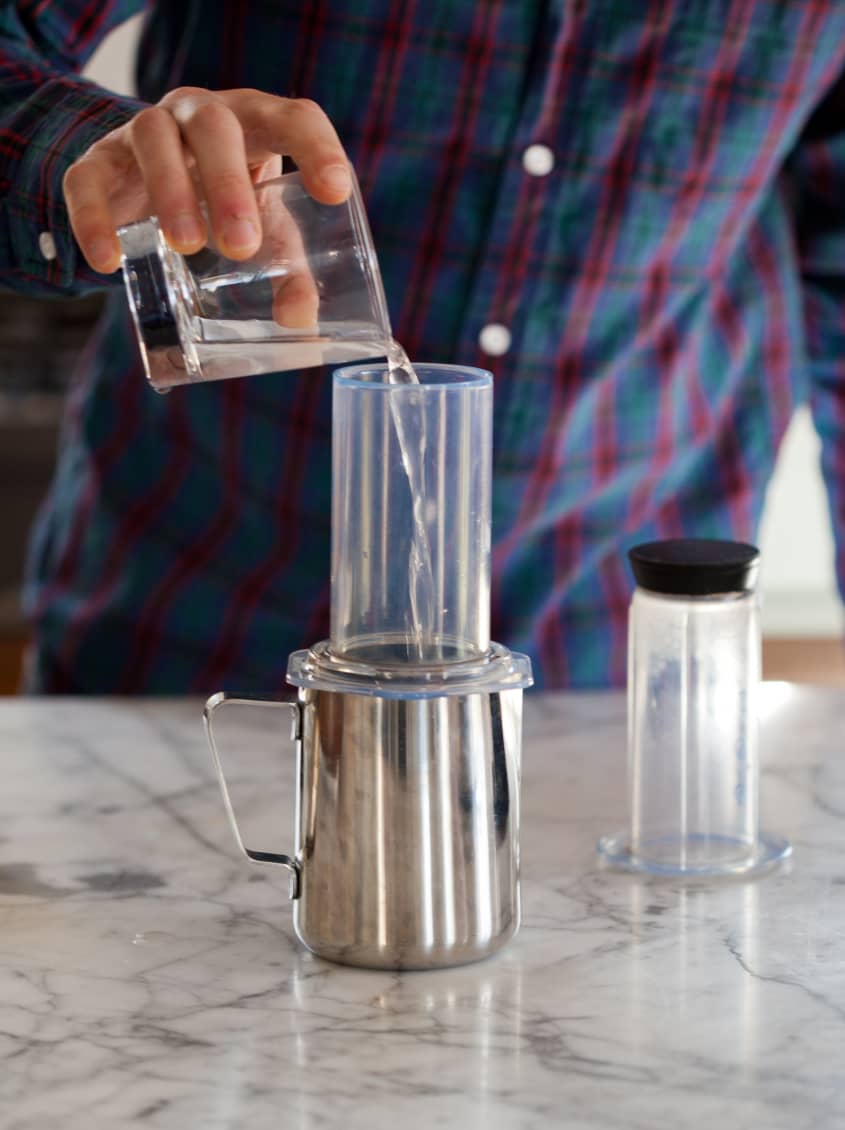
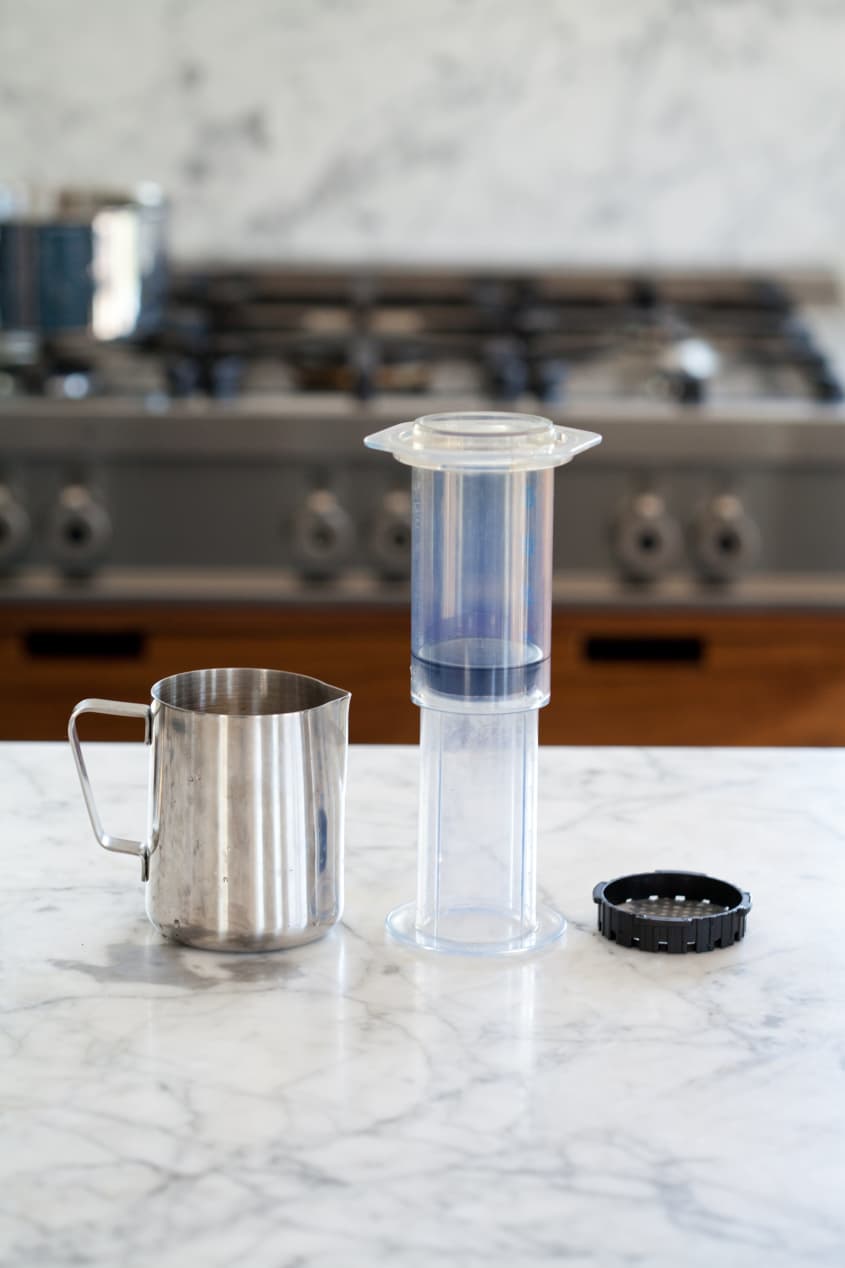
Assemble the AeroPress upside-down. Heat the water and grind the coffee as described above. Assemble the AeroPress by putting plunger in the chamber. Flip upside-down but don't put the cap or filter on.
Pour in the coffee. Put the funnel in. Pour the ground coffee (from 2 AeroPress scoops of beans) into the the chamber.
Pour in the water. Add hot water until the chamber is almost full.
Stir once. Use the paddle (or a spoon) to stir once.
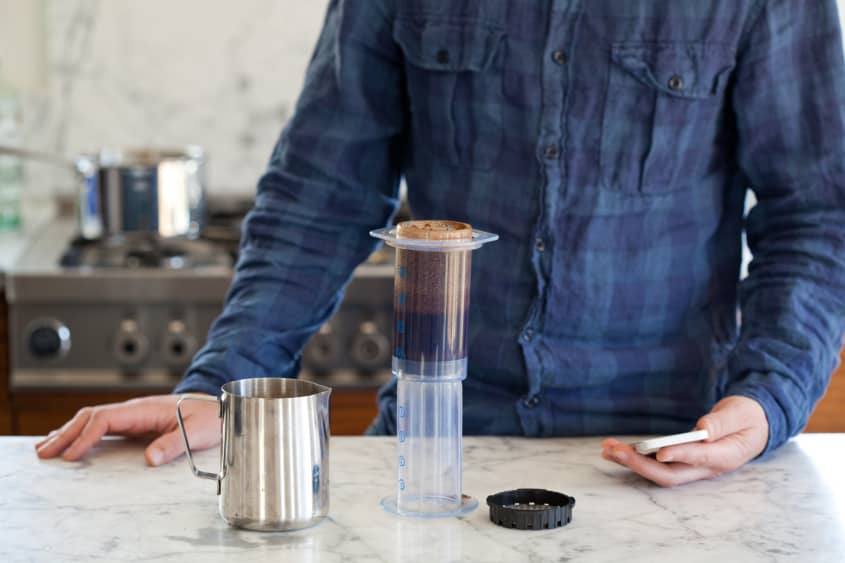
Steep for 1 minute. Try steeping for 1 minute, but adjust in future batches if this comes out too strong or too weak.
Put on the cap. Place a paper filter in the cap and screw tightly onto the chamber.
Flip over, carefully! Quickly and carefully flip the full AeroPress over so the cap is down, and place on a mug or pitcher.
Press. Press as directed above.
Taste and dilute. Again, taste and dilute if desired with more hot water.
Recipe Notes
Funnel: The funnel looks a little goofy and it's not necessary, especially if you have a sure hand! But I like using it to get the grounds neatly into the narrow tube.
Mug or pitcher? You exert a lot of pressure when pressing the AeroPress, and while I've never broken a mug or cup while brewing, we've switched to using a metal coffee bar-style pitcher to press into.