
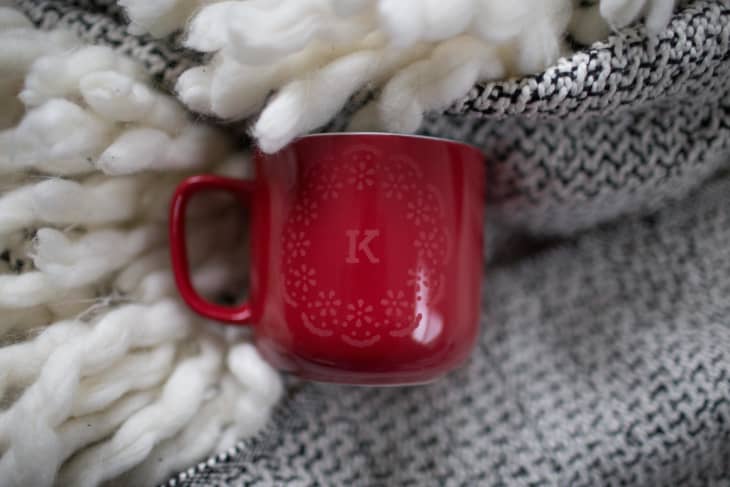
How To Etch a Personalized Mug
I’m going to level with you and let you in on an important crafting secret. While you might see easy DIYs making the rounds on Pinterest, a lot of them don’t always work. One in particular? That idea to use a Sharpie or a paint pen to personalize a mug. While it might be tempting to draw something onto a mug for your favorite coworker or your kid’s teacher, it’s incredibly difficult to have it last for the long haul. I don’t care how long you bake it (this is the step that’s supposed to set the ink permanently) — the marker won’t stand up to the wear and tear of actual use.
Enter a subtler, but lasting idea: glass etching. Now you might be thinking, doesn’t that only work on clear glass? Nope, you can use it on colored mugs too. It’s easy! Here’s how to personalize any mug with a pretty design or initial.
How To Etch a Personalized Mug
Makes 1 mug
What You Need
Supplies
- 1 mug
Equipment
- Adhesive stencils
- Glass etching cream
- A paintbrush
Instructions
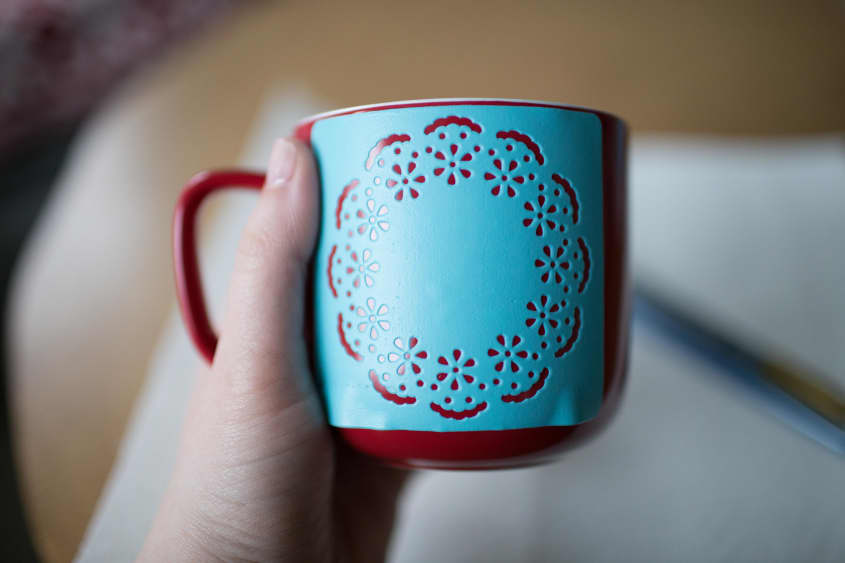
- Prepare your mug: Make sure the surface of your mug is clean. Take your stencil (I used a pre-designed option from Martha Stewart Crafts) and place it exactly where you’d like the etching to appear. Use one stencil at a time if you’re doing more than one (for example, I did the ornamental decoration first, and then the initial). Press down firmly along all of the edges of the stencil to form a tight seal.
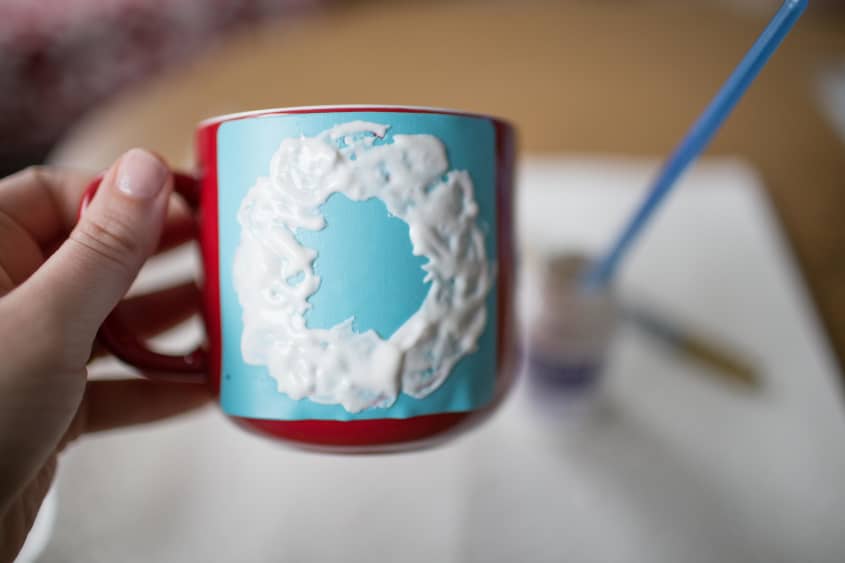
- Apply etching cream: Before you apply the etching cream, protect your work surface and make sure you’re in a well-ventilated area. Liberally apply the etching cream over the surface of the stencil with the paintbrush. Let it sit for 5 to 10 minutes (I left it for 10 minutes here).
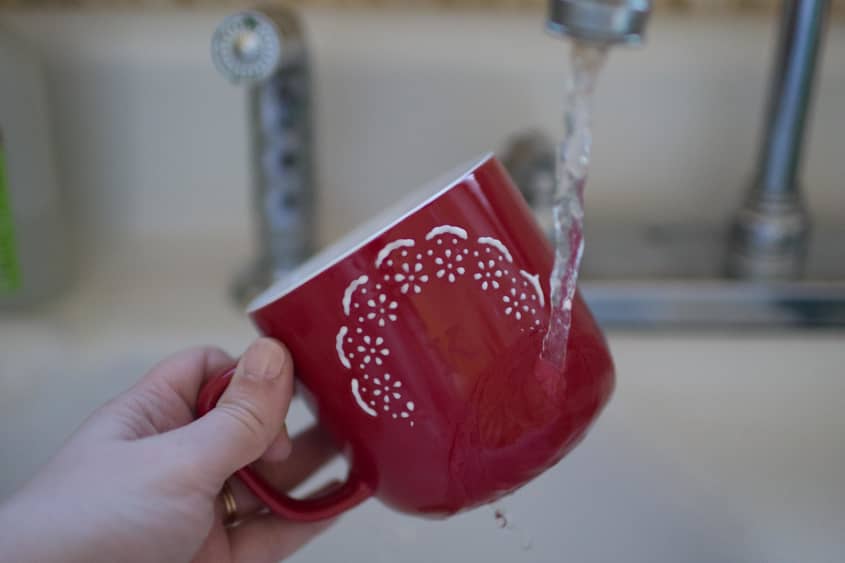
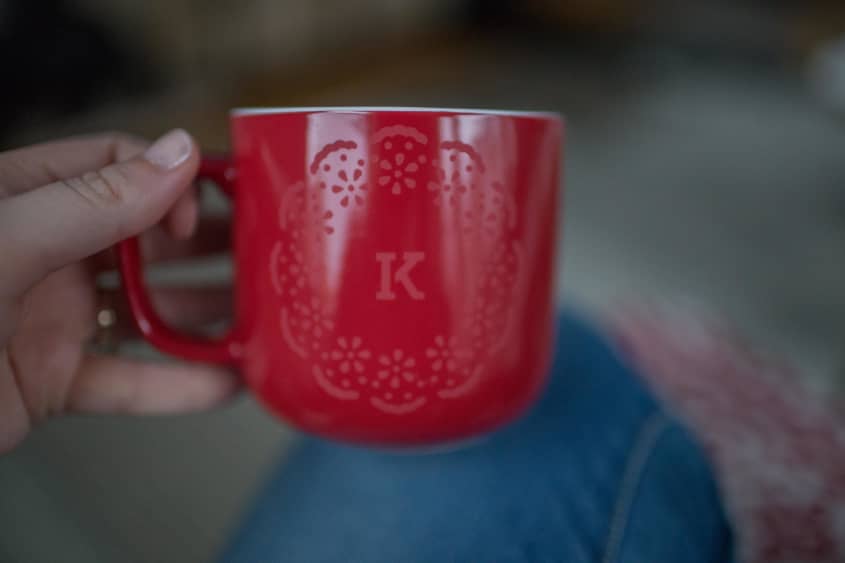
- Wash off the mug: Take the mug to the sink and peel off the stencil. Rinse off the etching cream and then dry the mug thoroughly. If you want to do another stencil, repeat the steps above, until your design looks exactly the way you want it. (This is when I added the letter.)
- Marvel in your craftiness: Box and wrap up this handmade piece of perfection! Or keep it for yourself!
Craft Notes
- If you’re making more than one mug, you can usually reuse the stencils.