
How to Cook Beans on the Stovetop
The best and easiest way to cook tasty, creamy, tender beans at home.
Makesabout 5 cups
If you’ve avoided cooking beans at home because you’ve heard they are tricky, finicky, or complicated, it’s time to leave all that behind. Cooking dried beans is no more trouble than filling a pot of water and letting it simmer happily on the back burner all afternoon. In fact, that’s basically all it is. Ignore the naysayers; it’s time to cook some tasty, creamy, totally tender beans at home. Here’s our easy method on the stovetop.
Tips for Cooking Beans on the Stovetop
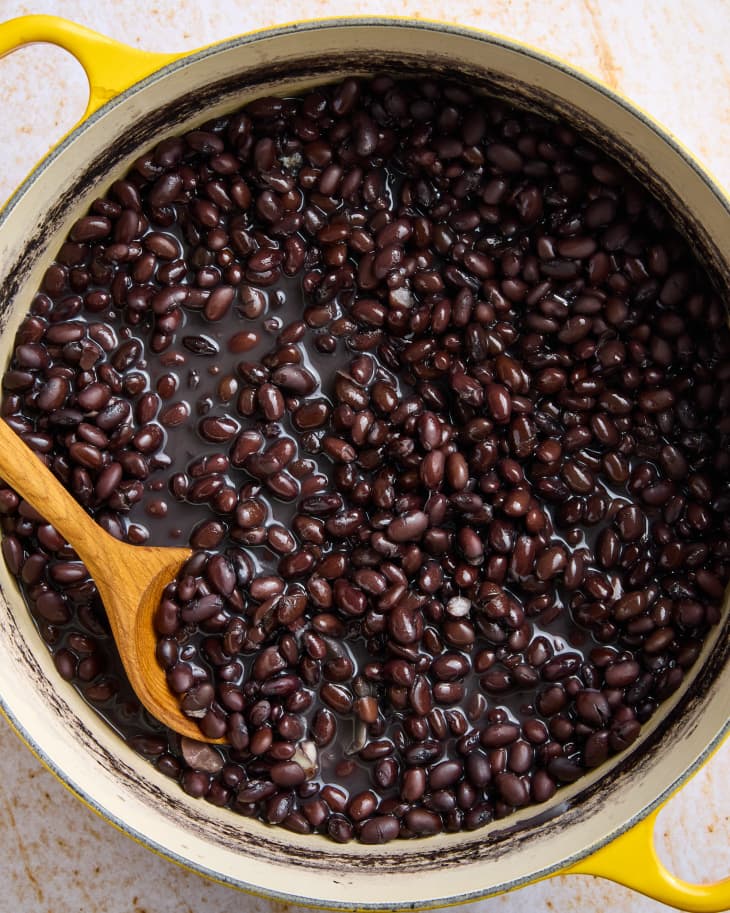
- Keep the beans at a simmer. Simmering the beans gently helps them cook evenly until tender, retain their shape, and keep their skins intact.
- Add salt when beans are just barely tender. Adding the salt at the beginning of cooking can sometimes prevent the starches in the beans from breaking down, so they’ll be a little over-firm even after long cooking. The best time to add the salt is when the beans are almost finished cooking. When they are tender enough to eat but still too firm to really be enjoyable (aka, al dente), add the salt.
- Cooking beans for soup. If you intend to use your beans in a soup, it’s best to slightly undercook them here and then finish cooking them in the soup itself.
Why You’ll Love Cooking Dried Beans
- One pound of dried beans makes about five cups of cooked beans, which is plenty for hearty soups, bean burritos, marinated bean salads, and other quick meals all week long.
- They also freeze beautifully, ensuring delicious beans whenever you need them.
How Long Does It Take to Cook Beans on the Stovetop?
The biggest thing to realize about beans is that they take time. Once they’re on the stove and simmering, it can take anywhere from an hour to four hours for them to become tender. There’s no predicting it. The age of your beans, variety, and size can all affect the cooking time.
Don’t try to rush things by increasing the temperature under the pot; that just roughs up the outside of the beans and makes them mushy before cooking through. Likewise, don’t think you’ve done something wrong if your beans are still crunchy after a few hours of cooking; I’ve found that some beans can go from crunchy to creamy in the space of fifteen minutes, right when I thought all was lost. If you’re ever in doubt, just keep simmering. (FYI, garbanzo beans are particularly notorious for taking forever to become tender.)
The solution? Be patient. Make sure you’re cooking beans on an afternoon when you’ll be at home anyway and can be relaxing on the couch while your beans putter away.
How To Cook Beans on the Stovetop
- Sort the beans. Spread them out on a rimmed baking sheet and remove any shriveled beans or other debris.
- Rinse the beans. Rinse them in a colander under cold running water.
- Transfer the beans to a large pot or Dutch oven. Add the aromatics, if using.
- Add water and bring the beans to a boil. Add enough water to cover the beans by about an inch and bring them to a boil over medium-high heat.
- Reduce to a low simmer and cook. Reduce the heat to low and a very gentle simmer.
- Check the beans after an hour. Cook the beans for 1 hour, and then begin checking for doneness. Depending on their age, size, and variety, beans can take anywhere from 1 to 4 hours to cook through.
- Add the salt when beans are just barely tender. Continue simmering until the beans are as tender and creamy as you like them. Taste and season with more salt as needed.
Ways to Eat Beans All Week Long
More Ways to Cook Dried Beans
Stovetop not your style? Try one of these other great methods!
Storage and Freezing Tips
- Storage: Leftovers can be refrigerated in an airtight container up to 3 days.
- Freeze: Place 1 1/2 cups of cooked beans in a quart-size freezer zip-top bag, and then fill with cooking liquid. Close the bag, lay flat, and freeze until solid. This bag is the equivalent of 1 (15-ounce) can and can be frozen up to 6 months.
How to Cook Beans on the Stovetop
The best and easiest way to cook tasty, creamy, tender beans at home.
Makes about 5 cups
Nutritional Info
Ingredients
- 1 pound
dried beans, any kind
Water
- 2 to 3 teaspoons
salt, plus more as needed
Aromatics (optional):
Bay leaf, 1 to 2 whole garlic cloves, 1/2 onion, chopped carrots
Instructions
Spread 1 pound dried beans on a rimmed baking sheet in a single layer. Pick through the beans, removing any shriveled beans or other debris.
Transfer the beans to a colander or fine-mesh strainer and rinse until the water runs clear.
Place the dried beans in a Dutch oven or other heavy cooking pot. Add the aromatics, if using.
Add enough water to cover the beans by about an inch. Bring them to a boil over medium-high heat.
Once boiling, reduce the heat to low and a very gentle simmer. You should barely see the water moving. Leave the lid off for firm beans meant for cold salads and pasta dishes. Cover the pot with the lid slightly ajar for creamier beans for soups, casseroles, and burritos. (Learn more: Leaving the Lid On Vs. Off When Cooking Beans.)
Cook the beans for 1 hour, and then begin checking for doneness. Depending on their age, size, and variety, beans can take anywhere from 1 to 4 hours to cook through. Be patient. Keep the beans at a gentle simmer and taste frequently as they start to become tender. Add more water as needed to keep the beans submerged, and stir occasionally.
When beans are tender but still too firm to enjoy eating, add the salt. Adding the salt too early can keep the beans from becoming tender. Continue simmering until the beans are as tender and creamy as you like them. Taste and season with more salt as needed.
If not serving immediately, cool the beans in their cooking liquid. Transfer the beans and cooking liquid to airtight containers and refrigerate or freeze.
Recipe Notes
Storage: Leftovers can be refrigerated in an airtight container up to 3 days.
To freeze: Place 1 1/2 cups of cooked beans in a quart-size freezer zip-top bag, and then fill with cooking liquid. Close the bag, lay flat, and freeze until solid. This bag is the equivalent of 1 (15-ounce) can and can be frozen up to 6 months.