
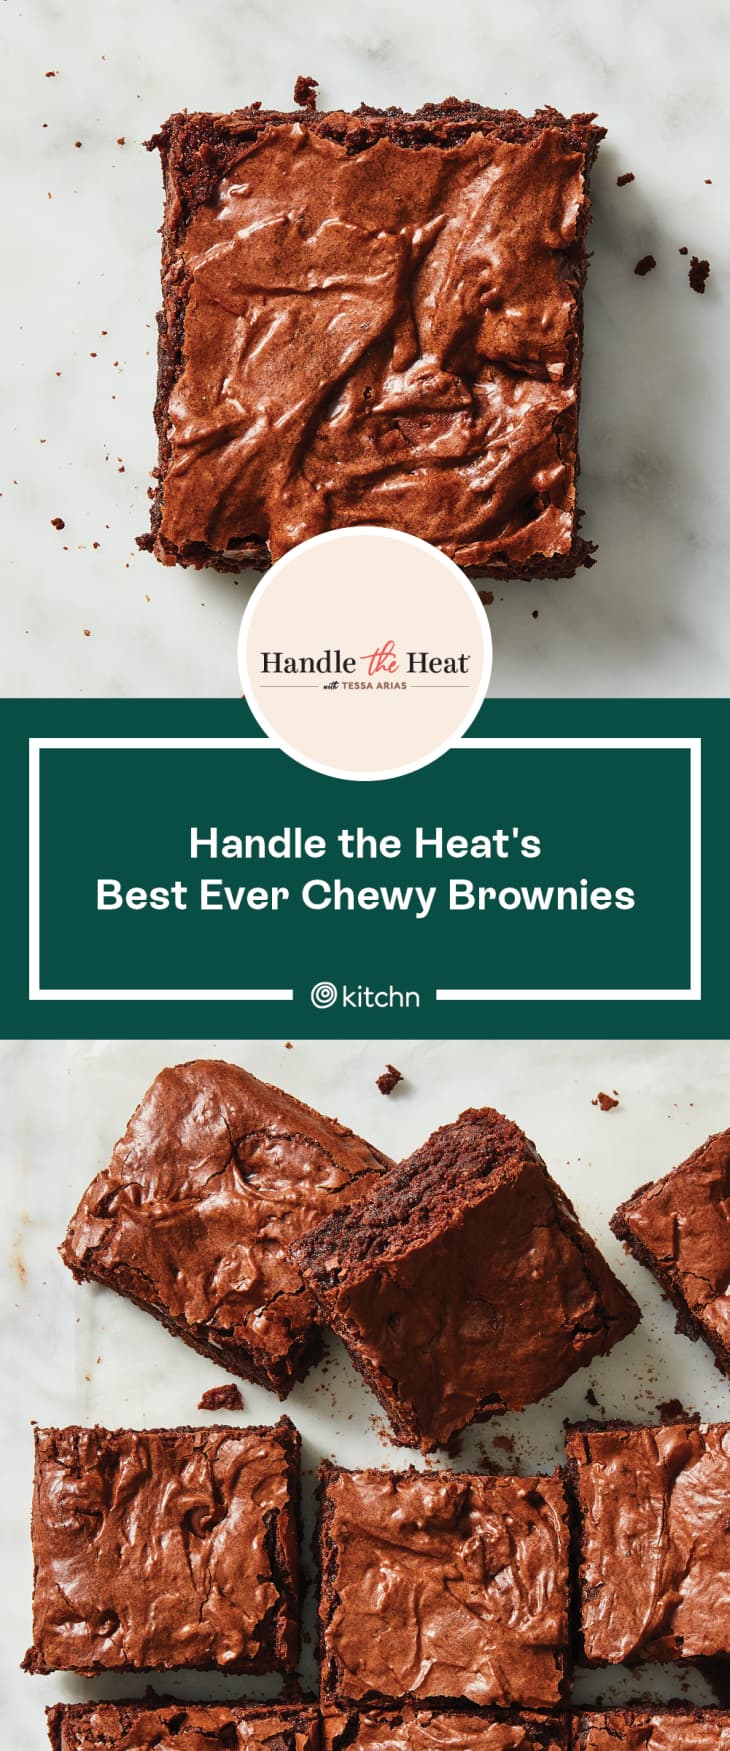
I Tried the Internet’s Most Popular Chewy Brownie Recipe — And It’s Almost Perfect
Tessa Arias, creator of the blog Handle the Heat, is arguably the biggest brownie expert on the internet. She’s the author of an incredibly comprehensive (and Pinterest-famous) brownie guide, has shared more than 40 brownie recipes on her blog, and takes a scientific approach to all of her baking projects. I had no doubt her chewy brownie recipe would live up to its “best ever” name.
To give these brownies their chewy texture, Tessa uses cocoa powder rather than melted chocolate, a combination of melted butter and vegetable oil for the fat, and an extra egg yolk. She also calls for a tablespoon of cornstarch, which she says makes the brownies thicker and creates that quintessential crackly crust. I couldn’t wait to give them a try.
Get the recipe: Handle the Heat’s Best Ever Chewy Brownies
How to Make Handle the Heat’s Best Ever Chewy Brownies
Preheat the oven to 325°F, line an 8×8-inch metal pan with foil or parchment paper, and coat with nonstick cooking spray. Microwave butter and granulated sugar in a large bowl, then whisk in the eggs, egg yolk, and vanilla, followed by vegetable oil and cocoa powder. I used regular unsweetened cocoa powder as instructed, but Tessa said she’s also had success with Hershey’s Special Dark cocoa powder, which is what’s used in the recipe video.
Next, stir in flour, baking soda, cornstarch, and salt with a rubber spatula, then fold in semisweet chocolate chips. Spread into the prepared pan (it’s a thick batter, so I smoothed the top with an offset spatula) and bake until the brownies are set and a toothpick has moist crumbs attached, about 30 minutes. Let cool completely before slicing.
My Honest Review of Handle the Heat’s Best Ever Chewy Brownies
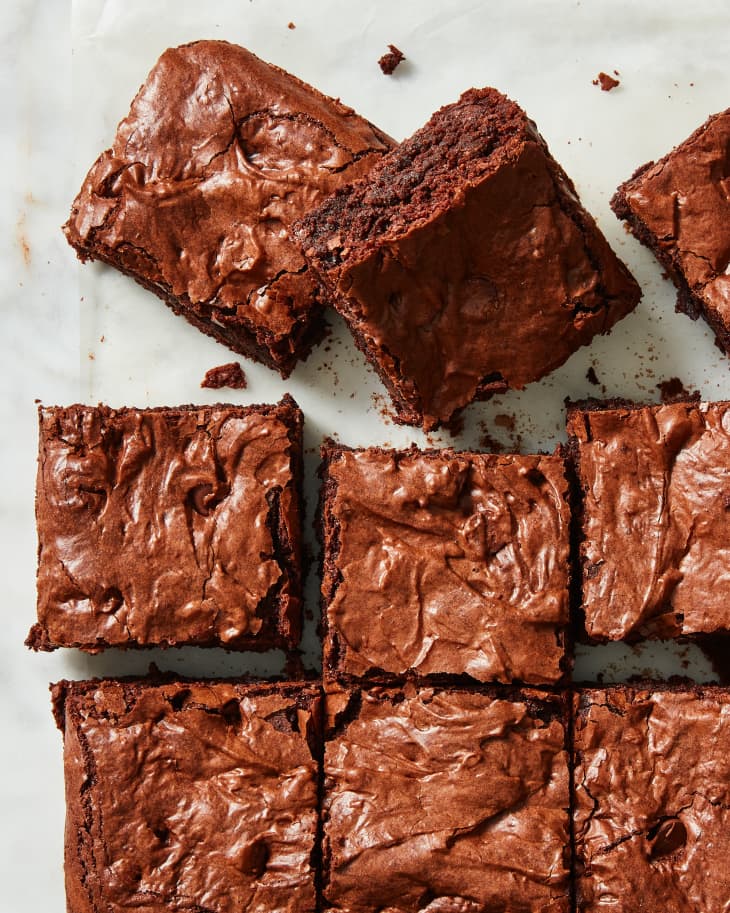
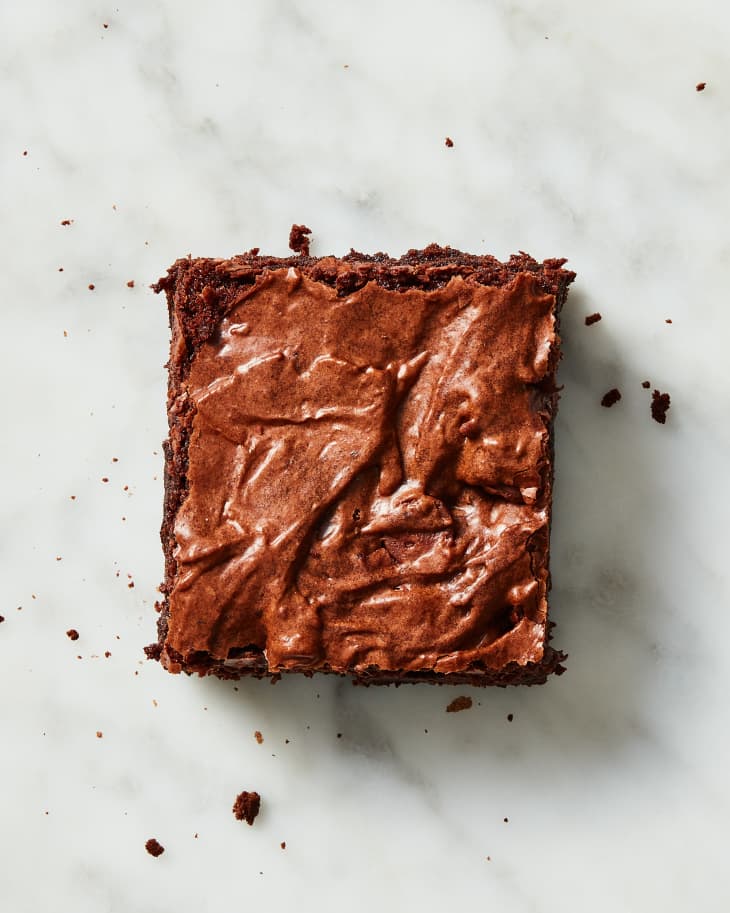
If I was judging on looks alone, I’d give these brownies a 10/10. They rose beautifully in the oven and formed a shiny, crackly top as promised. Each square is thick and decadent, with melty chocolate chips studded throughout.
Unfortunately, I didn’t find them particularly chewy. Sweet, fudgy, and dense, yes — but not chewy. Everyone has a different definition of chewy, and Tessa does describe these as gooey and moist, so maybe they just weren’t chewy enough for me personally. I’m curious if a longer bake time would have made them more chewy than fudgy.
But back to the positives. What this recipe loses in chewiness it gains in ease. You don’t have to set up a double boiler, chop chocolate, or really do anything fussy at all. You simply whisk everything together in one bowl and that’s it. I also appreciate Tessa’s thorough explanation about why she chose each ingredient, and I’m impressed that someone on her team has responded to every one of the reader comments. Her attention to detail makes me want to try more of her recipes.
If You’re Making Handle the Heat’s Best Ever Chewy Brownies, a Few Tips
- Use your largest mixing bowl. Because all of the ingredients are ultimately added to this one bowl, you’ll want to use your biggest one. Just make sure it fits in the microwave!
- Check on the butter after 30 seconds. Tessa recommends microwaving the butter for 1 minute, but mine was melted after 45 seconds. Start checking on it early to ensure it doesn’t spatter or burn. If there are any stubborn solid pieces, simply stir the hot butter to melt them.
- Bake a few extra minutes, if needed. Tessa advises against baking the brownies for longer than 30 minutes, as the residual heat of the pan will continue to cook them. But at 30 minutes, my toothpick was a gooey mess. I ultimately baked them for 33 minutes and honestly feel like they could have used a few more minutes. Next time, I’ll go based on her visual indicator instead and pull them out when the toothpick has moist crumbs attached.
- Cut into 16 squares. These brownies are rich. Tessa gives the option of slicing them into 9 large or 16 small brownies, and I highly recommend the latter. If you have one, use a plastic knife to slice them, which will help you make cleaner cuts.
Overall rating: 9/10