
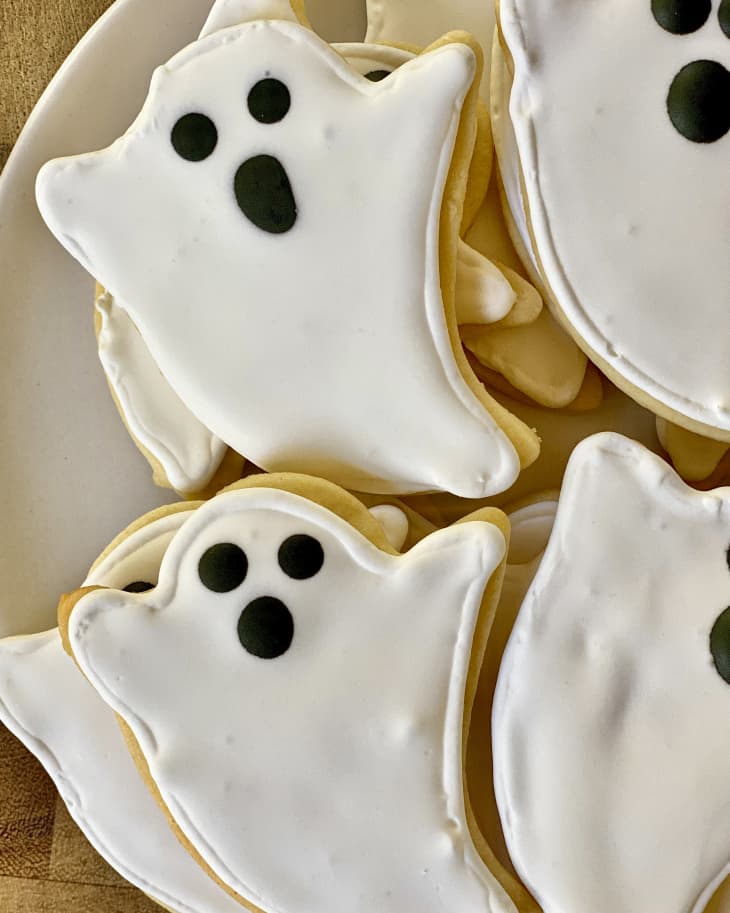
Ghost Cookies

Cut-out sugar cookies are covered in royal icing for a fun, spooky Halloween treat.
Makes48 cookies
Prep1 hour 40 minutes to 1 hour 50 minutes

If you’re ready to get in the Halloween spirit and bake up a totally classic sweet treat that will delight kids and adults alike, it’s time for a batch of ghost cookies. Cut-out sugar cookies are always a fun tradition around the holidays, but I happen to love them most at Halloween. Made with buttery, vanilla-scented sugar cookie dough and finished with smooth royal icing, these spooky sweet treats look like they came from the bakery, but are easy to pull off at home. Plus, from stamping out the cookies to piping on the icing, there are plenty of ways for the kiddos to help.
What Kind of Cookies Are Ghost Cookies?
Ghost cookies are made using our classic sugar cookie dough, which is perfect for cut-out cookies. The dough is firm, extremely easy to roll and work with, and yields tender, just-sweet-enough cookies with warm notes of vanilla.
To make stamping out the cookie dough easy as can be, we recommend rolling the dough between two pieces of parchment paper, chilling the dough in the fridge for at least one hour, then stamping out the cookies with a ghost cookie cutter, and baking. The reason for this method is two-fold:
- Just-made cookie dough is soft and easy to roll out (much easier to roll than chilled dough).
- Cookies cut from chilled dough hold their shape really well.

What Kind of Frosting Do You Put on Ghost Cookies?
We love royal icing for decorating ghost cookies! Unlike regular icing, which doesn’t totally harden, royal icing dries into a hard, candy-like coating that crunches when you bite into it.
Royal icing is easy to whip together with just four ingredients:
- Pasteurized egg whites: We prefer liquid egg whites over meringue powder. If you don’t want to have to separate eggs, you can use liquid egg whites that are found in the carton in the egg section.
- Powdered sugar: Opt for conventional powdered sugar here, which is whiter than many organic versions that tend to have a slight grey hue.
- Vanilla extract: A touch of vanilla flavors the icing.
- Water: Regular tap water works just fine here.
3 Easy Steps for Decorating Ghost Cookies
You’ll use the pipe-and-flood method that’s commonly used when working with royal icing. It’s a pro decorator move that’s easy to do at home. It starts with a thick border icing, followed by a thinner flood icing that gives the cookies a smooth finish.
- Pipe the border. The icing is fairly thick when initially whipped together. You’ll use about one-third of this as the border icing. Add to apiping bag with a small round tip or squeeze bottle and pipe a tall border of icing around the edge of the cookies.
- Thin and flood. Thin the remainder of the icing with water 1 teaspoon at a time until a pourable consistency is reached. Transfer to a piping bag or squeeze bottle and “flood” (or pipe into the center of the cookies, using a toothpick to pop any air bubbles and push the icing into the corners and against the border.
- Decorate. After whipping together the icing, I like to reserve about 1/2 cup of icing in a separate bowl to be used for decorating. Add black food coloring to the reserved icing until you achieve the desired shade. Transfer to a piping bag with a small round tip or a squeeze bottle, and pipe the eyes and mouth onto the cookies.
Other Halloween Treat Recipes
Ghost Cookies Recipe
Cut-out sugar cookies are covered in royal icing for a fun, spooky Halloween treat.
Prep time 1 hour 40 minutes to 1 hour 50 minutes
Makes 48 cookies
Nutritional Info
Ingredients
For the cookies:
- 2 sticks
(8 ounces) unsalted butter
- 1/4 cup
cream cheese (2 ounces)
- 3 cups
all-purpose flour
- 1 1/2 teaspoons
baking powder
- 3/4 teaspoon
kosher salt
- 1
large egg
- 1 1/2 teaspoons
vanilla extract
For the icing:
- 3 1/2 cups
powdered sugar (1 pound), plus more as needed
- 4
large pasteurized egg whites, or 1/2 cup liquid egg whites
- 1 teaspoon
vanilla extract
Black food coloring
Instructions
Make the cookies:
Place 2 sticks unsalted butter and 1/4 cup cream cheese in the bowl of a stand mixer (or large bowl if using an electric hand mixer). Let sit at room temperature until softened, about 1 hour.
Place 3 cups all-purpose flour, 1 1/2 teaspoons baking powder, and 3/4 teaspoon kosher salt in a medium bowl and whisk to combine.
Add 1 cup granulated sugar to the butter. Beat with the paddle attachment on low speed until combined. Increase the speed to medium and beat until light and fluffy, about 2 minutes. Stop the mixer and scrape down the sides of the bowl with a flexible spatula.
Add 1 large egg and 1 1/2 teaspoons vanilla extract and beat on medium speed until combined. Scrape down the sides of the bowl. With the mixer on low speed, gradually add in the flour mixture and beat until just combined and a soft dough forms, about 1 minute.
Divide the dough in half. Shape each piece of dough into a rectangle and lightly dust with flour. Place each rectangle between 2 sheets of parchment paper and roll until 1/8-inch thick. Stack the sheets of dough, still in beween parchment, on a baking sheet. Refrigerate for at least 1 hour or up to overnight.
Arrange 2 racks to divide the oven into thirds and heat the oven to 350°F. Remove the top sheet of parchment from each piece of dough, and use them to line 2 rimmed baking sheets.
Use a 3-inch ghost cookie cutter to make as many cut-outs as possible. Using a thin metal spatula, transfer the cookies the baking sheets, spacing them about 1/2-inch apart, 12 to 16 cookies per baking sheet. The cookies will not spread as they bake.
Bake until set and barely golden around the edges, 8 to 12 minutes. Let cool on the baking sheet for 5 minutes, then transfer to a wire rack to cool completely, about 20 minutes. Meanwhile, gather and reroll out the dough scraps and cut out more cookies. Repeat the process until all the dough is used. The dough is best cut when it is firm, so you may have to return it to the refrigerator before cutting more shapes.
Make the icing:
Sift 3 1/2 cups powdered sugar (1 pound) through a fine-mesh strainer into a large bowl. If any lumps remain, use your fingers to break them up and push them through the strainer.
Place 4 large pasteurized egg whites or 1/2 cup liquid egg whites in the clean and dry bowl of a stand mixer (or large bowl if using an electric hand mixer). Beat with the whisk attachment on medium-high speed until foamy, doubled in volume, and opaque, 2 to 3 minutes.
Turn the mixer off and add half of the powdered sugar. Mix on low speed until the powdered sugar is completely dissolved and no large lumps remain, 1 to 2 minutes. Add the remaining powdered sugar and continue mixing until completely dissolved, 1 to 2 minutes more.
Increase the mixer speed to high and beat until the icing is completely smooth, glossy, and slightly thickened, 4 to 5 minutes. The icing should hold a soft peak and slowly run off of the whisk attachment. If the icing is too loose, add more powdered sugar, 1/4 cup at a time, and continue mixing until combined. Reduce the mixer speed to low and beat in 1 teaspoon vanilla extract.
Transfer 1/2 cup of the icing to a small bowl. Mix in black food coloring until the desired shade is achieved. If necessary, add more powdered sugar, 1 tablespoon at a time, for a thicker consistency. Press a sheet of plastic wrap directly onto the surface of the black icing to keep it from drying out.
Transfer about a third of the remaining icing to a piping bag with a small round tip or squeeze bottle. This will be used as the border icing.
The remaining icing in the stand mixer will be used as the flood icing. To thin, add water in 1-teaspoon increments, stirring between each, until a pourable consistency is reached, 4 to 6 teaspoons. Transfer the flood icing to a piping bag or squeeze bottle.
Decorate the cookies:
Place the cooled cookies on parchment paper. Begin with the border icing and trace the outline of each cookie with icing. Let the border icing dry for a few minutes.
Use the flood icing to fill the center of the cookies. Use a toothpick to pop any air bubbles and push the icing into corners and against the edges of the border. Let dry for at least 15 minutes. Meanwhile, transfer the black icing to a piping bag with a small round tip.
Pipe the eyes and mouth onto the cookies with the black icing. Let the cookies sit undisturbed for at least 24 hours for the icing to fully dry.
Recipe Notes
Make ahead: The cookies can be baked up to 1 day ahead. Store the cooled cookies in an airtight container at room tempreature.
Storage: Store the decorated cookies in an airtight container, between layers of waxed paper, at room temperature for up to 5 days or in the refrigerator for up to 2 weeks.