
10 Amateur Painting Mistakes (and How to Fix Them)
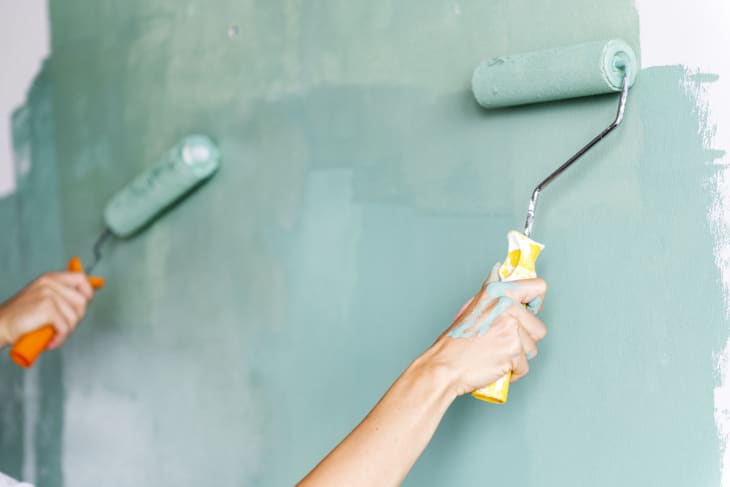
A paint job does wonders for a tired space and is one of the most affordable and DIY-friendly projects you can take on. And while painting a room is a relatively simple task, that doesn’t mean it’s doesn’t have its challenges. This job requires both patience and precision. If you don’t take the time to do your due diligence, like protecting your space from rogue paint splatters and selecting the right formula, chances are you’ll end up with a botched job that may even look worse than what you started with.
Prepping for your own project? Here’s a breakdown of the most telltale signs of an inexperienced painter, so when you finish up, all you see is a perfect paint job.
1. Your coverage is inconsistent.
Though it’s tempting to skip right to the fun stuff — painting that fabulous new color on your walls — priming is extremely important and can alleviate some potential headaches along the way. “Starting with a primer will help ensure your paint has a good foundation and has the best overall appearance,” says Colin Stipe, product manager for Valspar. Primer not only masks prior colors and helps you achieve an even coat, but it also ensures paint adheres to the surface better and improves durability. If you didn’t prime and need to fix a splotchy or streaky wall, your best bet is to let the paint dry overnight — or at least four hours — and apply another coat of paint, says Stipe.
2. You have paint splatters everywhere.
When you step back from your project, the walls look pretty good, but there are drips, well, everywhere? No matter how excited you are to get to work, protecting your space is imperative. A professional painter will protect anything in a room you don’t want paint on, which means placing drop cloths on the floor, plastic over any furniture, and taping off trim.
If you spot drips while the paint is still wet, a damp cloth will usually do the trick to pull paint off wood floors. If the paint has already dried on wood floors, you can try to gently scrape it up, then use a damp cloth to wipe any excess away. For really stubborn spots, you may need to use a special solvent, but be sure to check the label to ensure it won’t damage the floor. To be sure, you’ll also want to test it on an inconspicuous spot.
If you get paint drips on upholstered furniture or carpet, it’s going to be much harder to fix — but there are steps you can take to get most of the paint out.
3. The edges look sloppy.
If you end up with paint on the trim or wavering cut lines, chances are you didn’t use painter’s tape. To minimize mess and get crisp paint lines, apply painter’s tape on areas of your project where you don’t want the paint to go, then apply paint. Removal is just as important — after painting, remove the tape within a few hours. If it’s left on too long, the paint can stick to the tape and increase your chances of pulling away sections of the paint as you remove the tape, says Krystal Mindeck, senior product manager for Valspar. “If this happens, sand the damaged area smooth with a sanding block, wipe it down with a damp cloth to remove residual dust, and then carefully repaint the section,” she says.
4. The finish looks … off.
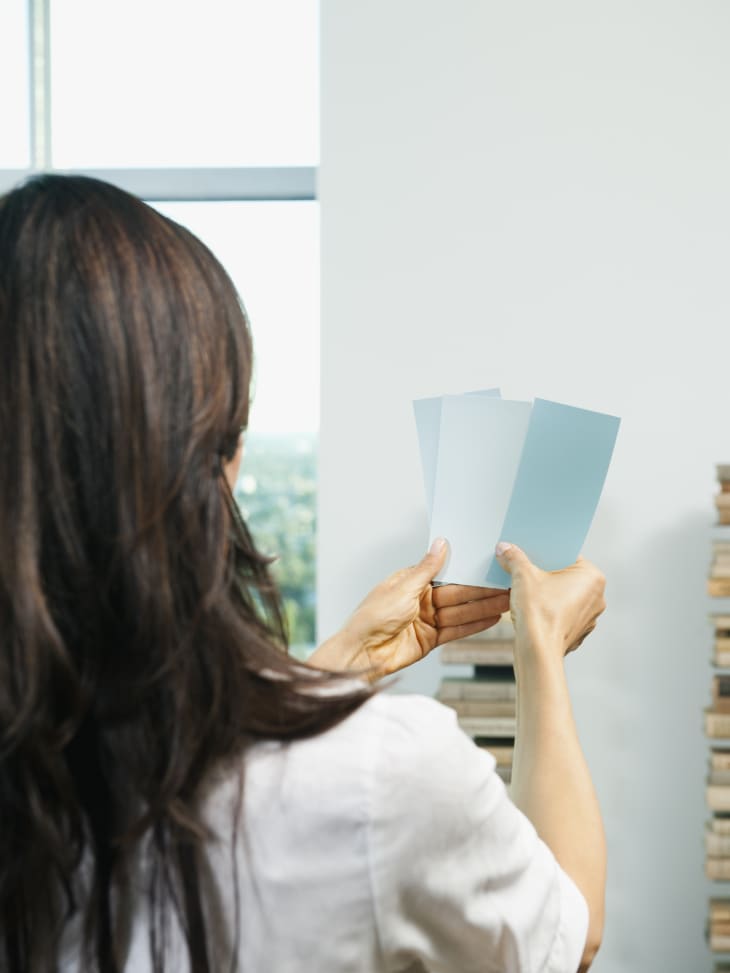
Selecting the right paint finish is almost as important as choosing the color itself. Each sheen is suited for different situations and rooms and has varying degrees of durability, says Sue Kim, color marketing manager for Valspar. Eggshell paints, for example, offer a soft look with minimal glossiness — these provide a nice middle ground in terms of durability and luster. Flat paints, on the other hand, have virtually no gloss and are excellent for hiding surface imperfections (think an old door) and underlying colors, says Kim.
5. You have streaky brush marks.
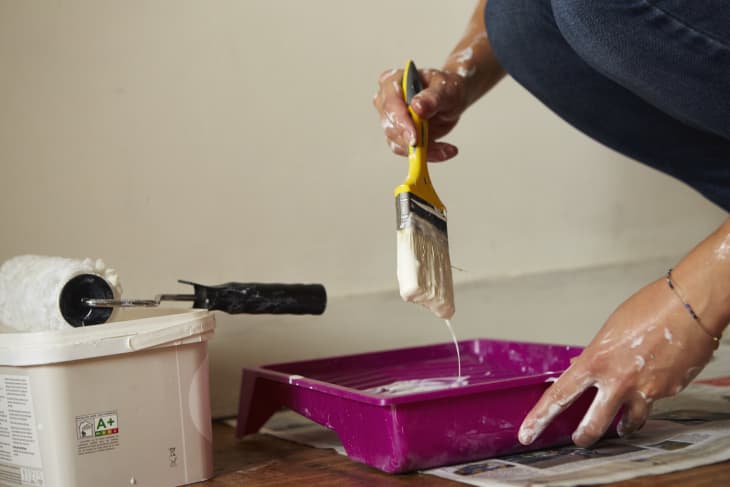
Using a quality brush or roller makes a big difference in paint jobs, says Chris Gurreri, product manager for Valspar. “A high-quality brush will help provide smooth, straight lines, while a high-quality roller will give better paint coverage and a smoother finish,” he says.
6. The walls looks splotchy.
When it comes to rollers, you should also consider nap size, Gurreri explains. “The more texture on the wall, the thicker the nap required,” he says. “The most popular is a ⅜-inch nap for smooth walls and ceilings.”
7. The lines around outlets are messy.
It’s important to remove the switch and outlet covers before you begin painting, says Colin Stipe, product manager for Valspar. “This will allow you to use the roller to get close to the outlet/switch and prevent you from cutting in with a brush.”
8. There are dried drips on the wall.
“This typically happens when the paint is too thick and commonly occurs at the top and bottom of the walls or in the corners of trim, doors, and cabinets,” says Stipe. To prevent this, make sure to start rolling at chest height, he explains. This way, most of the paint is in the middle of the wall and you can use the roller to spread the paint up and down from the center, as opposed to the top (or bottom) and try to spread it a much farther distance. Before paint dries, do a quick check for any drips. They are much easier to fix while the paint’s still wet — you’ll just need to roll it out to distribute the paint.
If you find drips later, you’ll need to scrape them off, sand that part of the wall smooth, and repaint over the section. Blending the patch into the rest of the wall can be tricky, so this is definitely easier to prevent than fix.
9. The paint is cracking or splitting.
This often happens in bathrooms and kitchens, says Stipe: “In those two rooms, nearly 100 percent of the time, it’s due to something else being on the surface that you can’t see easily — hair spray, grease, or cleaning residue.” Pre-paint cleaners can help prevent this from happening. Alternatively, you can prep the walls with a light sanding prior to priming and painting, he explains.
10. The paint around the windows and baseboards is clumpy.
There are a few culprits, including not properly cleaning the surface and picking up dust and debris, applying the paint too thick, or applying too many coats of paint over time, says Stipe. “It’s important to thoroughly prep the surface by cleaning and sanding before painting,” he explains. You’ll also want to fill any holes or cracks. “Then, take your time while you apply the paint, checking for any big drips or mistakes before the paint dries.”
This post originally appeared on Apartment Therapy. See it there: 10 Reasons Your Paint Job Looks Amateur (and How to Fix It)