
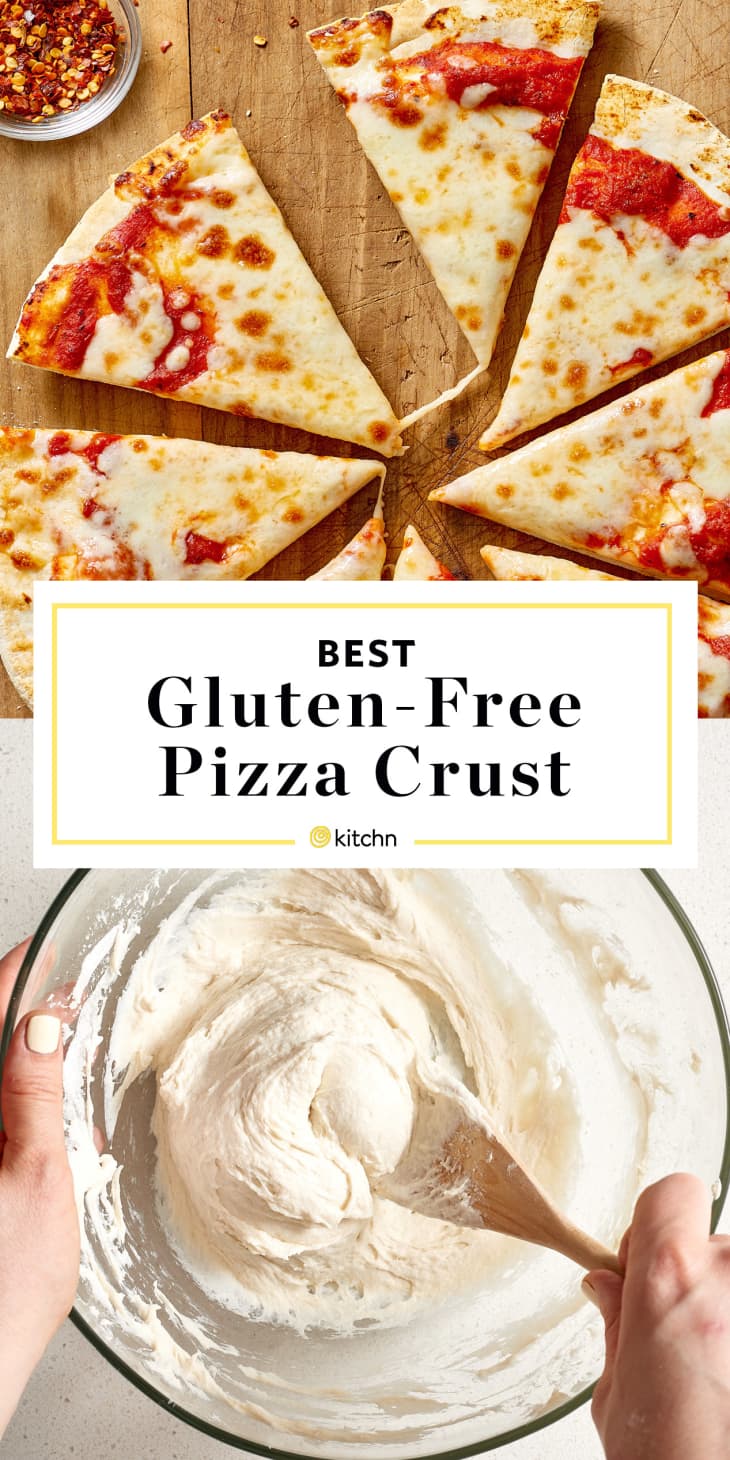
How To Make Gluten-Free Pizza Dough

A everyday gluten-free pizza crust you can top any way you like.
Makes1 (10-inch) pizza
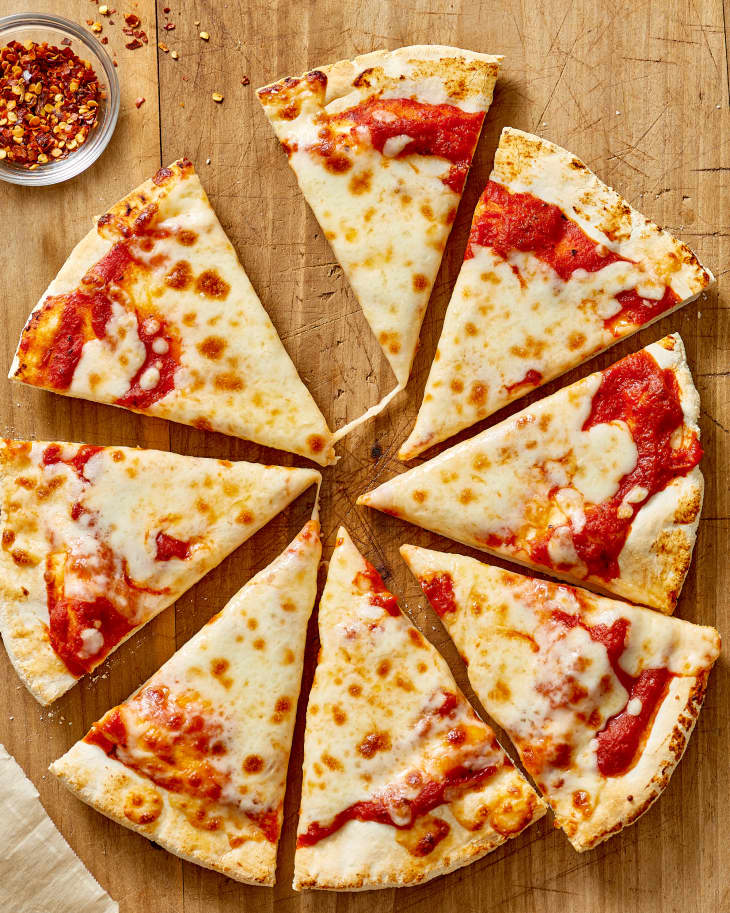
The perfect pizza crust at home is chewy and crispy, with a slightly yeasty flavor. It should be easy enough to throw together on a Friday afternoon before friends come over. This is universally true for both traditional pizza and gluten-free pizza crust, despite the fact that each mixes and bakes up slightly different.
Working with a readily available gluten-free flour blend, we set out to make an easy gluten-free pizza dough. There’s no hard-to-find ingredients or overnight rises — just a crust that delivers that satisfying combination of chewy, crispy, savory crust that we all know and love.
The Challenge and Success of Gluten-Free Pizza Dough
When I set out to make a gluten-free pizza crust for myself and our friends, my main goal was ease. I didn’t want to require any specialty or hard-to-find flours — especially since there are so many gluten-free flour blends on the market. Diving into the world of gluten-free multi-purpose blends, I found that most were not truly “all-purpose.” Some blends are better for baking, others for chewy breads, and some you should skip all together. The main challenge is that different blends have different amounts of xanthan gum, the element that mimics gluten in gluten-free products. With that in mind, I’m suggesting one gluten-free flour blend that works well with this recipe.
A Good Place to Start
If you’ve got the time and dough (pizza pun intended), you may prefer to experiment with other flour blends or making your own and adding the xathan gum as needed. Consider this dough a good place to start if you’re new to gluten-free baking or just doing it occasionally for family and friends.

For Your Information
- This recipe was formulated for Cup-4-Cup Multipurpose Gluten-Free Flour blend. This blend is readily available at most grocery chains or online. It was the easiest to work with and baked up crisp and slightly chewy. If you opt for another multipurpose flour blend, (including Cup-4-Cup’s Pizza Blend, which we found a bit sweet) your results will be different.
- Total rest and rise time for this dough is 30 minutes. You can prep your topping ingredients then.
Key Steps to Making Gluten-Free Pizza Dough
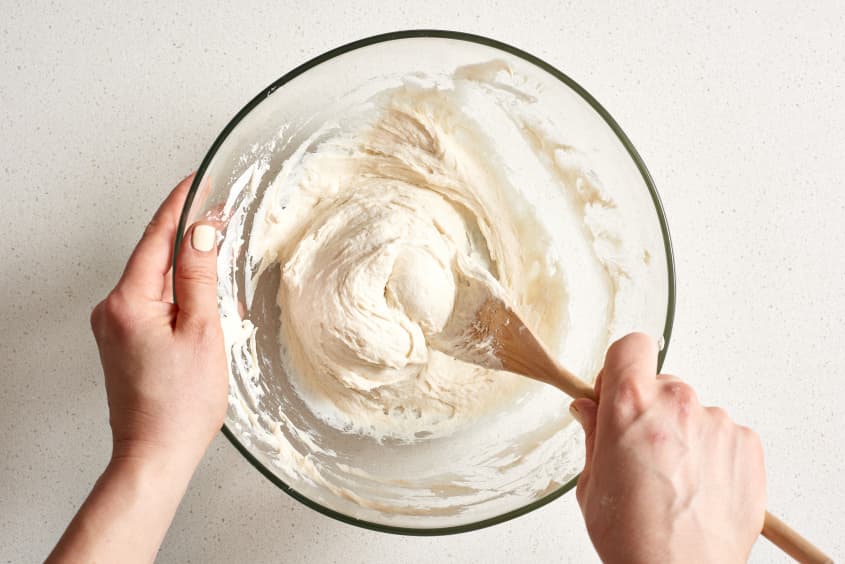
- Avoid over-mixing. I would describe the mixing of gluten-free doughs as a curve: mix too little and you won’t get a rise, mix too much and you’ll have a gummy dough. So how do you know when a gluten-free dough is mixed enough? This particular dough will go from rough and shaggy to smooth with a texture similar to Play-Doh after about five minutes of mixing.
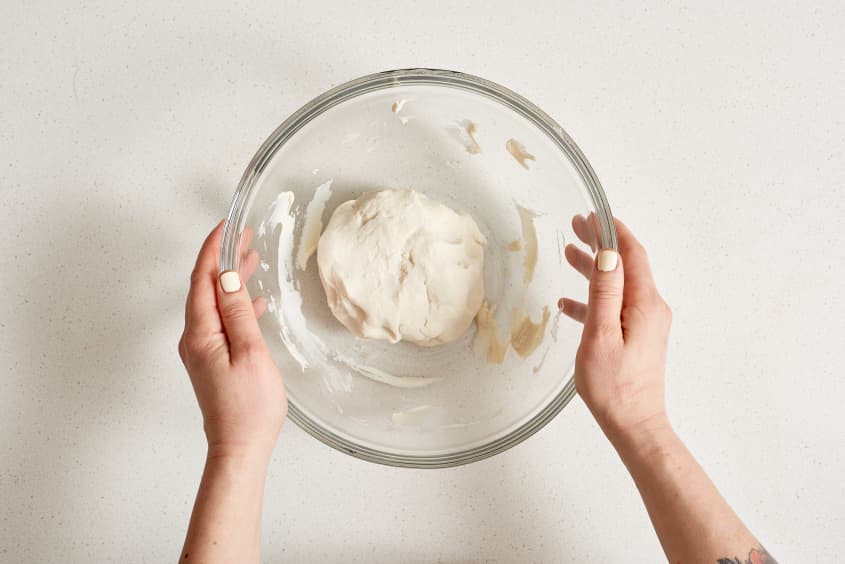
- Let the dough hydrate. One of the small but easy ways to make gluten-free dough more successful is to let the finished dough rest in order to fully hydrate the flour. This pizza dough doesn’t primarily rely on the yeast for its rise (it has baking powder for leavening too), so this 30-minute rest is mostly to ensure all the starches in the flour are fully hydrated.
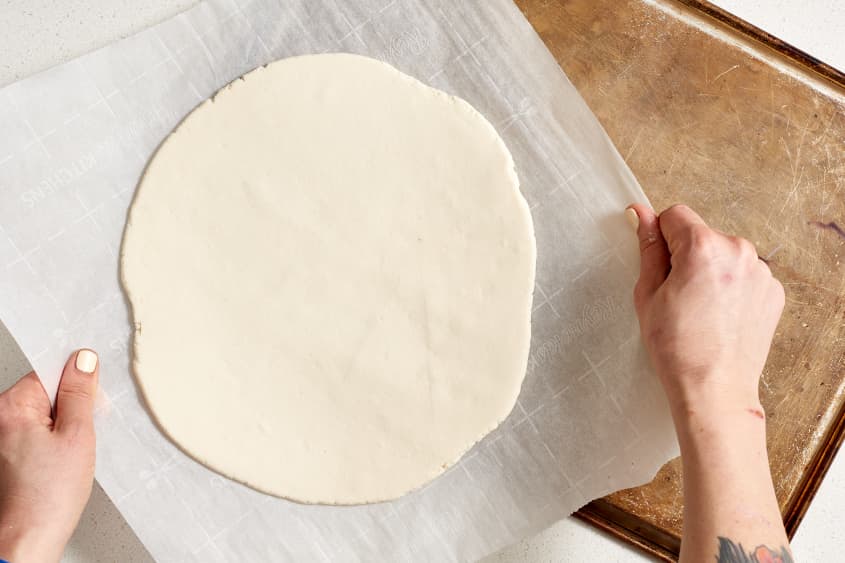
- Spread rather than roll. Since there is no gluten in this dough, it won’t stretch and shrink like regular pizza dough. Use your hands to pat the dough out into a thin even layer on a sheet of parchment.
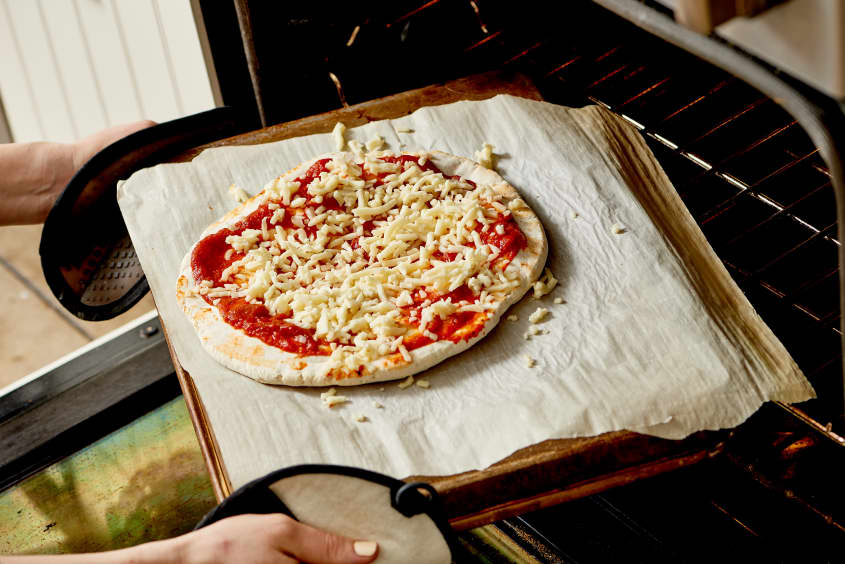
- Partially bake the crust before topping. The biggest issue with gluten-free pizza dough is that it can bake up gummy. Thats why it’s critical to partially bake the crust before topping it. This allows some moisture to escape from the dough before the sauce, cheese, and pepperoni can trap it inside the crust.
Topping and Serving Gluten-Free Pizza Crust
You can top this pizza dough with any of your favorite pizza toppings — there are no limits as long as you par-bake the crust before you top it. The first time you make this pizza, keep the toppings simple so you can learn how this dough bakes up. Since this dough is so easy to mix up and bake, we know you’ll be coming back to it for gluten-free variations on all of your favorite classic pizzas. Enjoy!


How To Make Gluten-Free Pizza Dough
A everyday gluten-free pizza crust you can top any way you like.
Makes 1 (10-inch) pizza
Nutritional Info
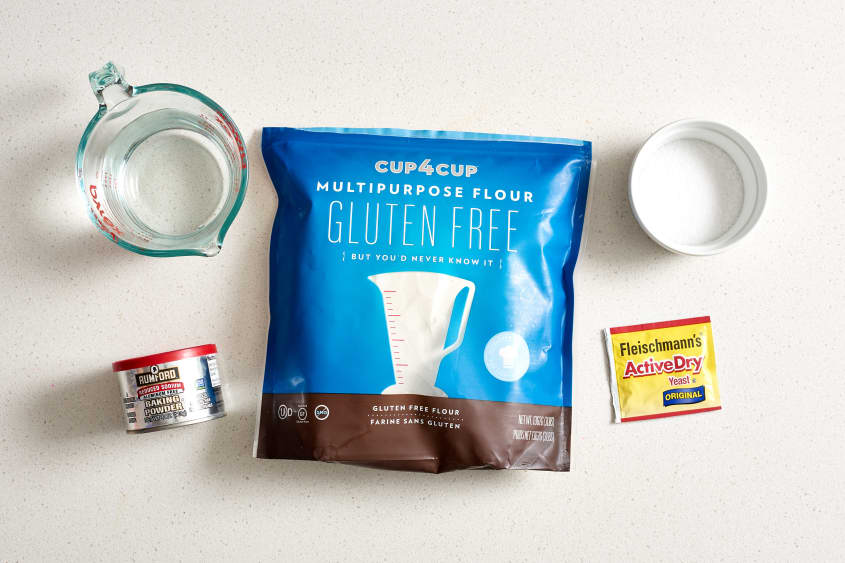
Ingredients
- 1 cup
warm water
- 2 teaspoons
active dry yeast
- 2 cups
Cup-4-Cup Gluten-Free Multi-Purpose Flour
- 1 1/2 teaspoons
salt
- 1/2 teaspoon
baking powder
Equipment
Mixing bowls
Measuring cups and spoons
Instructions
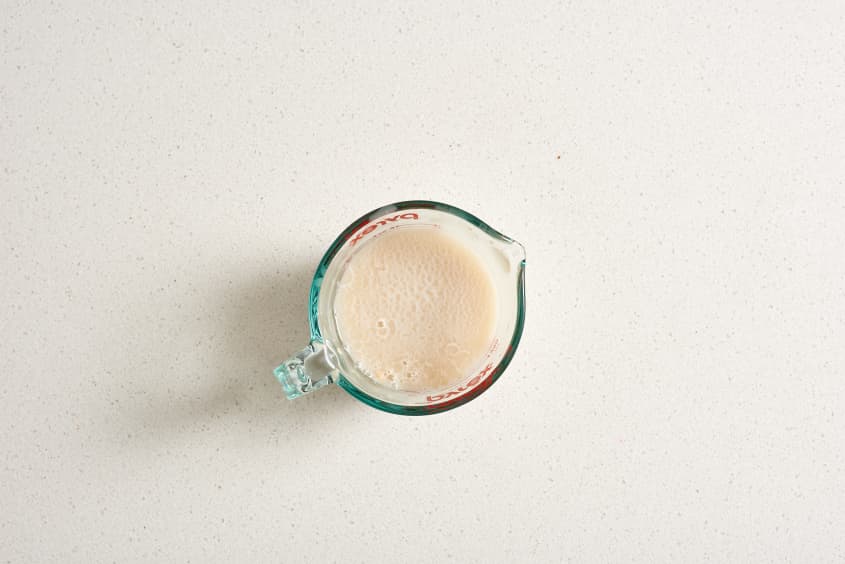
Proof the yeast. Add the yeast to the cup of warm water and allow the yeast to dissolve and become foamy, about 5 minutes.
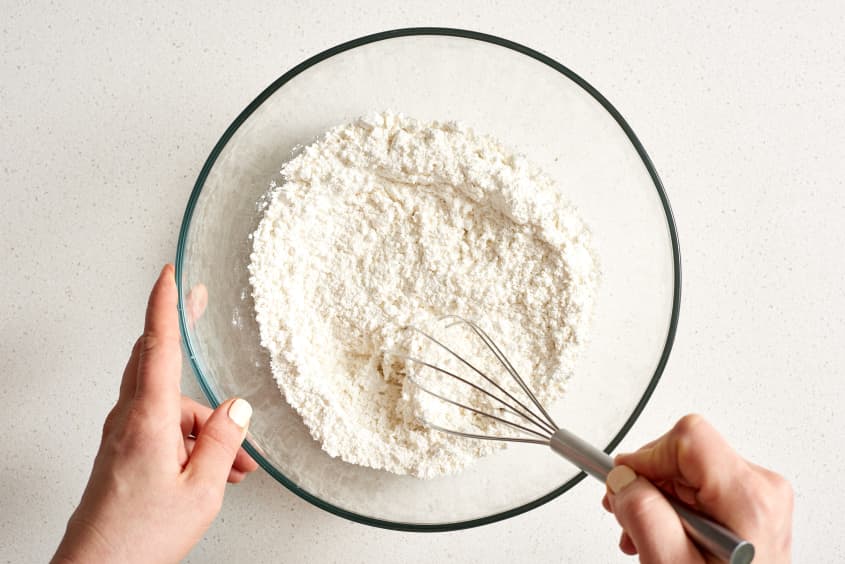
Whisk together the flour, baking powder, and salt. Whisk the gluten-free flour, baking powder, and salt together in a medium bowl.
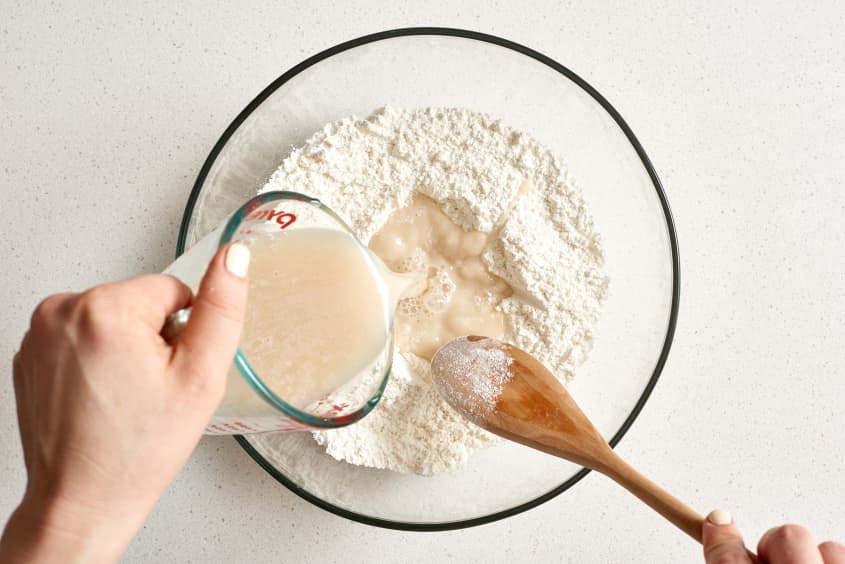
Make a well in the flour mixture and add the water. With a wooden spoon or spatula, make a well in the middle of the flour mixture. Add the yeast mixture and stir to combine.
Stir to form a smooth dough. Continue to stir the dough until smooth, about 5 minutes. At first the dough will be rough and shaggy; continue to stir until the dough is roughly the texture of Play-Doh.
Rise at room temperature for 30 minutes. Shape the dough into a smooth ball and return to the bowl. Cover the bowl with plastic wrap or a kitchen towel and let rise at room temperature for 30 minutes.
Heat the oven to 450°F. Arrange a rack in the bottom third of the oven, place a heavy baking sheet upside down on the rack, and heat to 450°F.
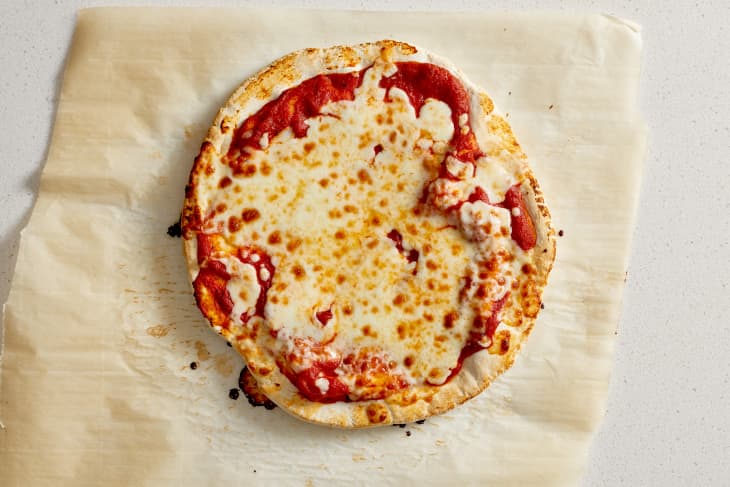
Press and parbake the crust for 8 to 10 minutes. Press the dough into a 10-inch circle on a piece of parchment paper, pressing the dough into a thin, even layer. Some cracking around the edges is expected. Slide the parchment with the dough on it onto the preheated baking sheet. Parbake the crust until the top is dry and the edges are just beginning to brown, 8 to 10 minutes.
Top the pizza and bake an additional 10 to 12 minutes. Remove the parbaked crust from the oven. Carefully spread with sauce, cheese, and additional toppings as desired. Return to the oven and bake until the crust is browned, 10 to 12 minutes more.
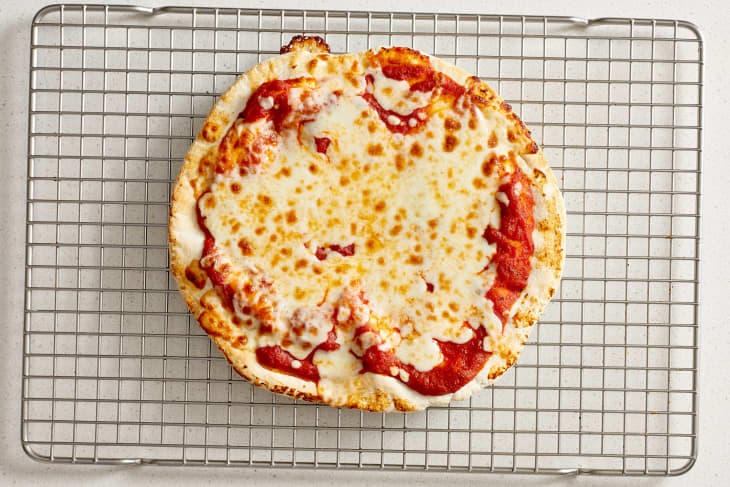
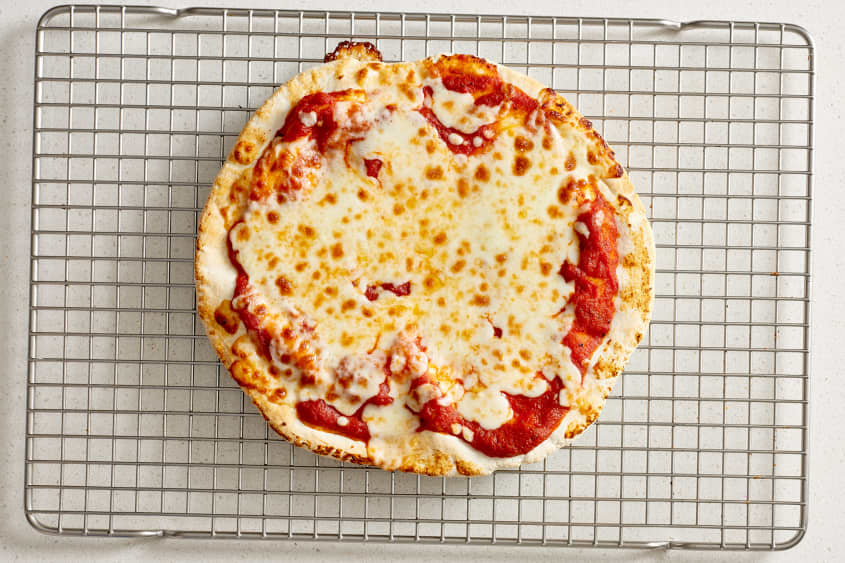
Remove from the oven and cool for 5 minutes before slicing and serving. Remove the pizza from the oven and use the parchment paper to slide the the pizza off the baking sheet and onto a cooling rack. Cool for 5 minutes before slicing and serving.
Recipe Notes
Storage: Leftovers can be stored in an airtight container in the refrigerator for up to 4 days.