
How to Make No-Churn Ice Cream With Just 2 Ingredients

Serves2 to 4
Makesabout 1 pint
Prep10 minutes
No-churn ice cream is made with only two ingredients: heavy cream and sweetened condensed milk. To make it even easier, it requires no stovetop cooking and can be made with just a hand mixer — or even, if you’re very industrious, a whisk and some upper-arm strength. No ice cream machine needed!
Taste-wise, it’s just as decadent and silky-smooth as any ice cream I’ve ever tried, homemade or otherwise. This step-by-step recipe is your quickest, easiest ticket to amazing no-churn ice cream made right at home.
Steps to Make No-Churn Ice Cream
- Pour condensed milk and your preferred flavoring (vanilla, mint, etc.) into a large bowl.
- Grab another large bowl, and using a hand mixer (or a whisk), whip the heavy cream until you can see peaks.
- Grab a spoonful of the heavy cream and mix it into the condensed milk.
- Combine the rest of the whipped cream mixture into the condensed milk.
- Put the mixture into a freezer-safe container and press a piece of wax paper to prevent ice crystals.
- Freeze for at least six hours and serve with your favorite toppings.
What ingredients do you need for no-churn ice cream?
- Heavy cream: You’ll need just two cups.
- One can of sweetened condensed milk. This actually contains two different ingredients — milk and sugar — which makes this recipe a cinch since you only need to pour one thing into the bowl.
What is the difference between no-churn ice cream and regular ice cream?
It helps to think of no-churn ice cream as a shortcut. With traditional ice cream, you have to make a sweetened base — usually a cooked mixture of heavy cream and sugar with eggs or cornstarch to help thicken it into a rich custard — which needs to be cooled, then churned in an ice cream maker before freezing. Churning incorporates air and breaks up ice crystals as they form, making the finished ice cream creamy and smooth rather than one icy block.
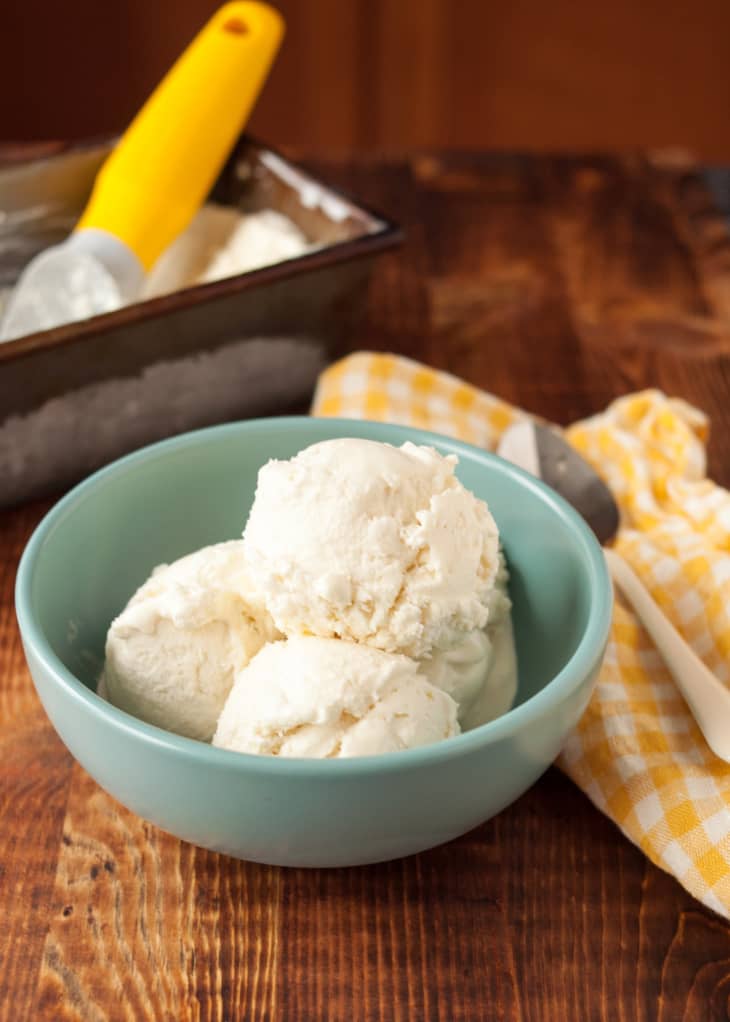
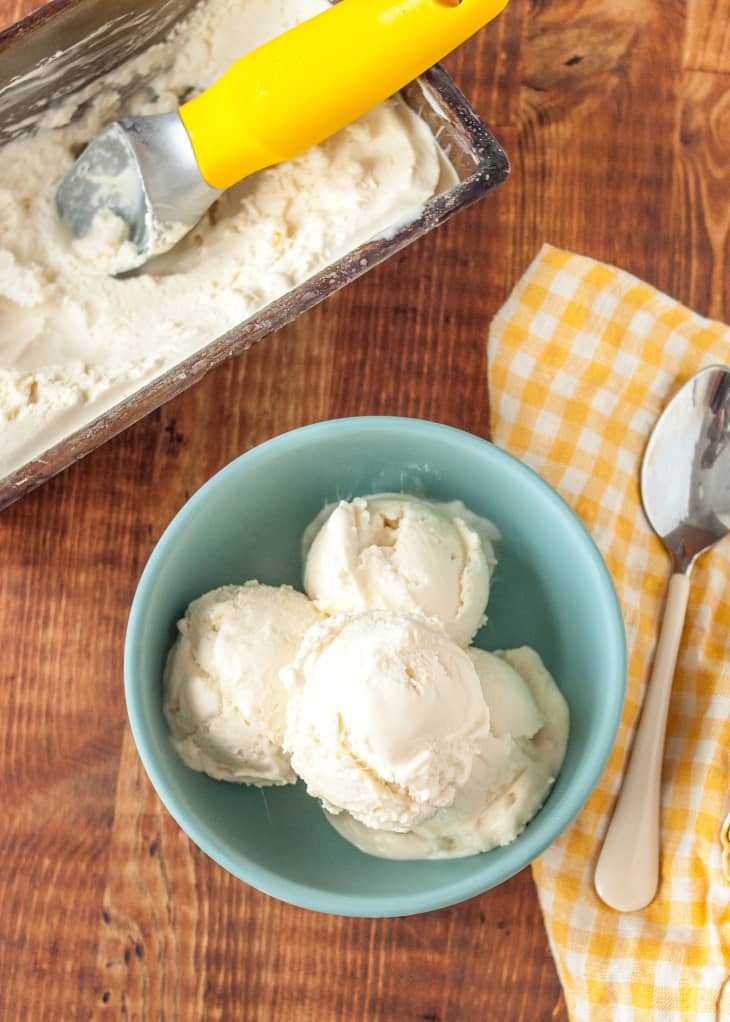
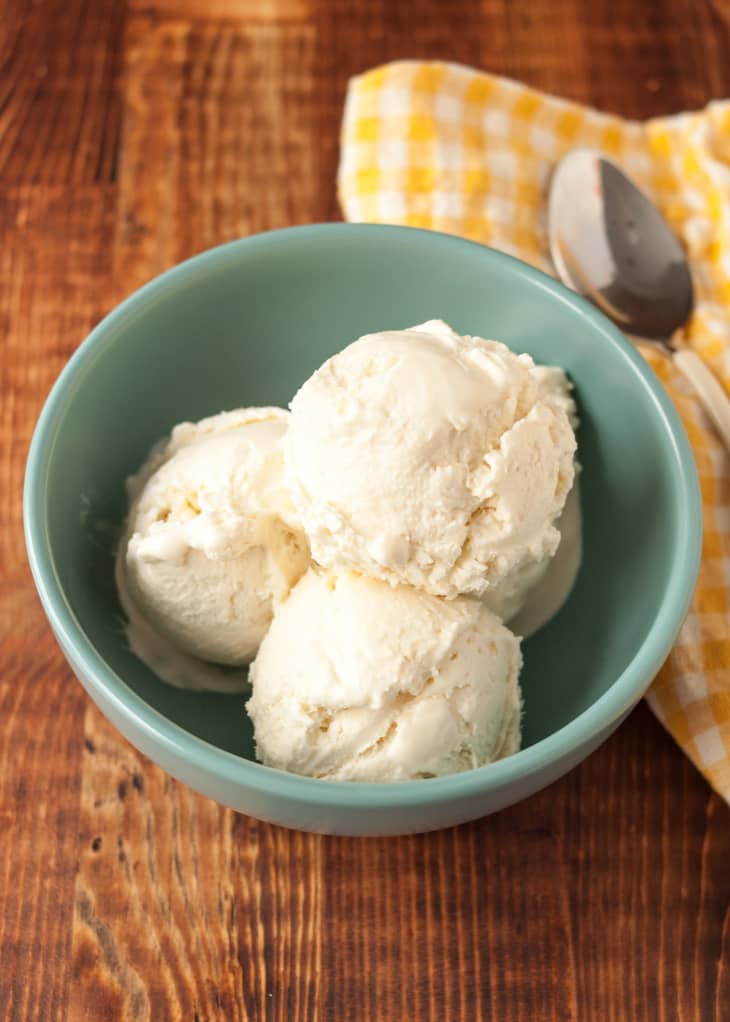
With no-churn ice cream, a can of sweetened condensed milk takes the place of the base and the whipped cream brings the airy, creamy texture. Fold the two together until they’re just barely combined and you get the exact flavor and texture of vanilla ice cream after freezing. It’s creamy, it’s scoopable, it melts on your tongue, and it’s fantastic in a sundae with a cherry on top.
How do you prevent ice crystals in no-churn ice cream?
You can prevent ice crystals in no-churn ice cream in two ways:
- Using a hand mixer to put more air into the mixture.
- Pressing a piece of wax paper against the ice cream before you put it in the freezer.
How to Make Other Flavors of No-Churn Ice Cream
Plain vanilla is fine and dandy, but by all means, let’s not stop there. This no-churn method can really be adapted to just about any ice cream flavor or recipe you’ve fallen in love with over the years. Here are some ideas to add flavor to your no-churn ice cream:
- Add mix-ins: Stir in nuts, fruit, caramel sauce, pumpkin puree, an ube swirl, or chocolate chips by layering them into the ice cream as you pour it into the freezer container.
- Steep ingredients: You can also flavor the ice cream itself by warming the cream and then steeping ingredients like fresh mint, coffee beans, and fresh ginger for a few minutes
- Make it chocolate: Make chocolate ice cream by stirring some chopped chocolate in the warm cream until it melts. Just be sure to completely chill the cream in the fridge before whipping it.
How To Make No-Churn Ice Cream
Prep time 10 minutes
Makes about 1 pint
Serves 2 to 4
Nutritional Info
Ingredients
- 1 (14-ounce) can
sweetened condensed milk
- 1 teaspoon
vanilla extract, almond extract, mint extract, or other flavoring (optional)
- 2 cups
cold heavy cream
Equipment
Measuring cups and spoon
Spatula
- 2
large bowls
Hand mixer, stand mixer, or immersion blender
8-inch loaf pan, 8x8-inch pan, pint container, or other freezer container
Wax paper
Instructions
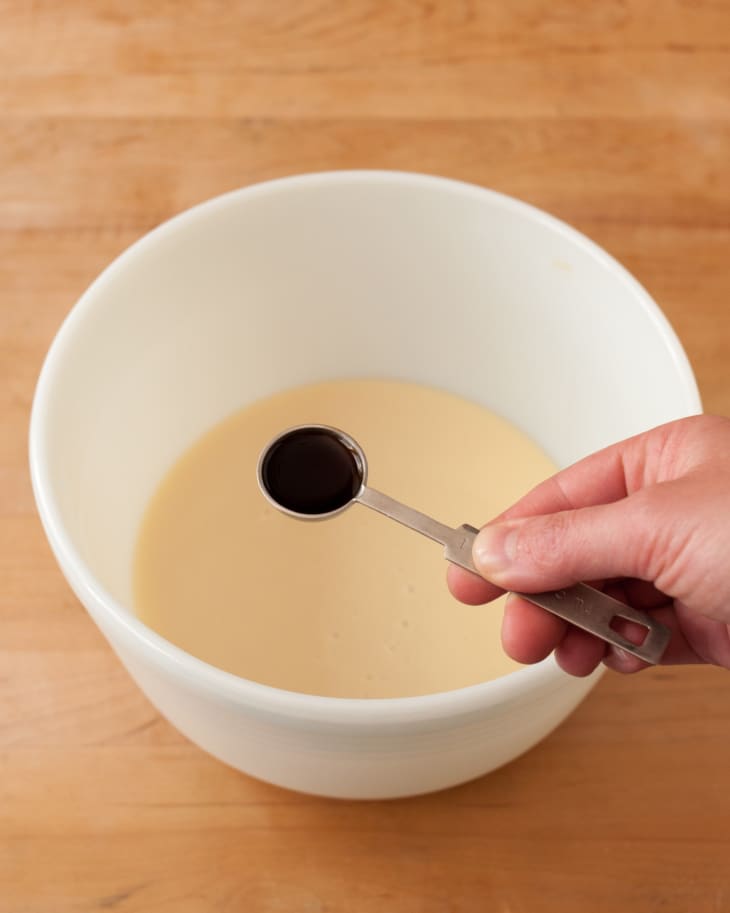
Pour the sweetened condensed milk into a large bowl.
Mix the vanilla extract, or other flavoring extract, into the condensed milk, if using. (See Recipe Notes for other flavoring ideas.)
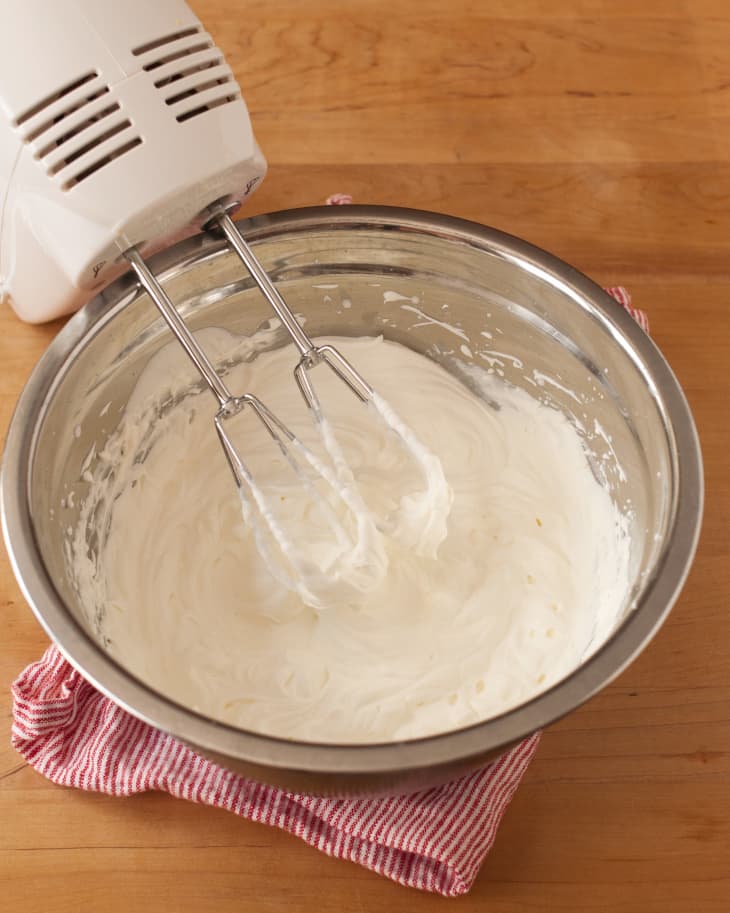
Whip the heavy cream. Pour the heavy cream into a mixing bowl or the bowl of a stand mixer. Use a hand mixer, stand mixer, or immersion blender to whip the cream until it holds stiff, billowy peaks, about 3 minutes.
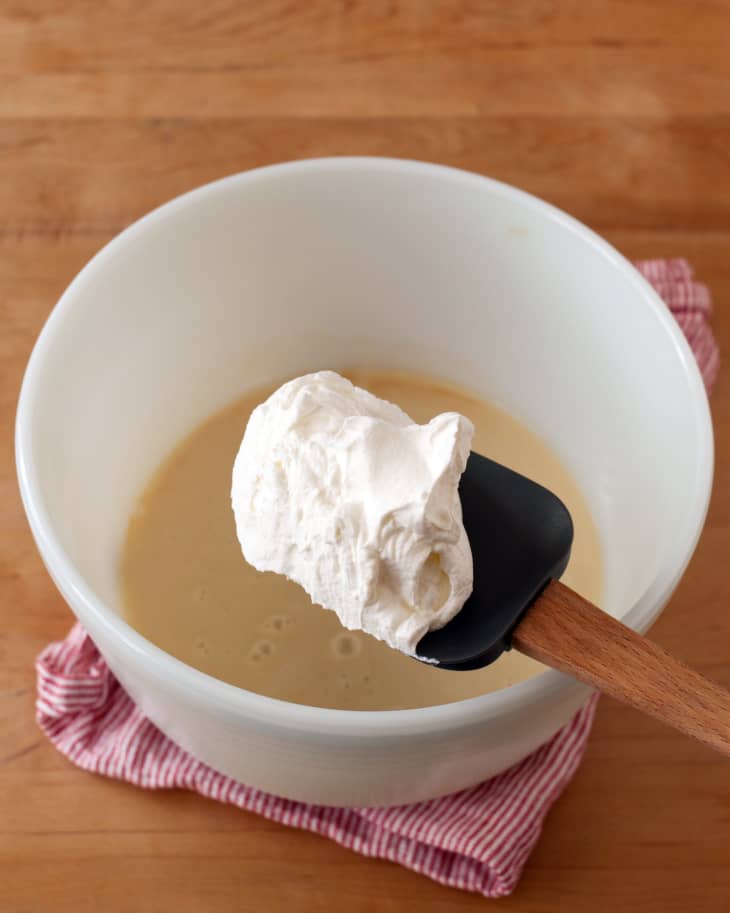
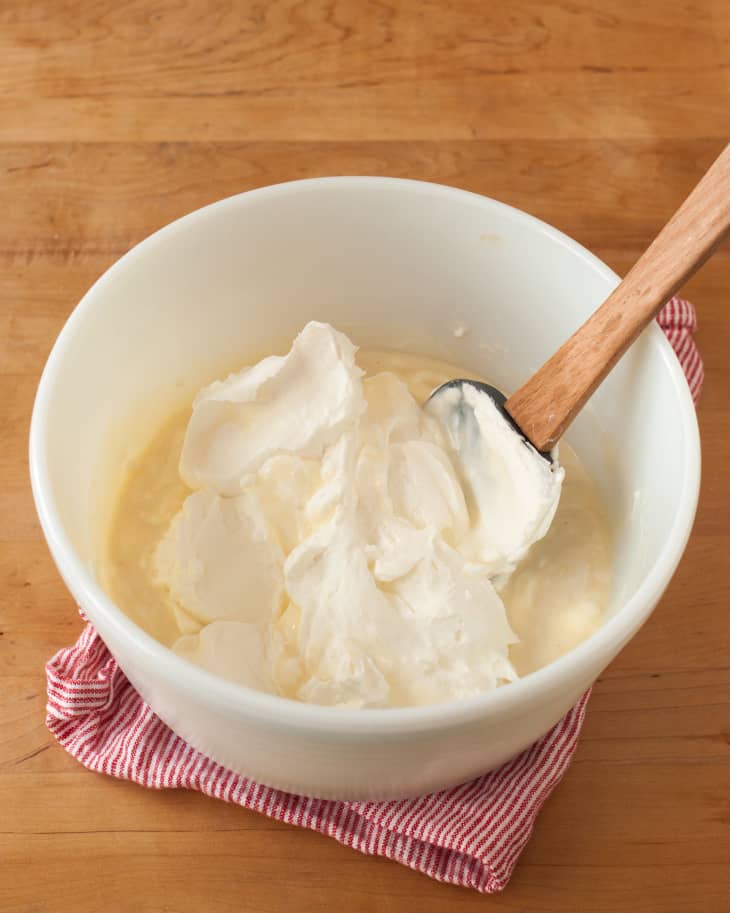
Lighten the condensed milk. Gently mix a scoop of the whipped cream into the condensed milk. This lightens the condensed milk and makes it easier to fold into the rest of the whipped cream.
Fold the whipped cream into the condensed milk. Transfer the rest of the whipped cream to the bowl with the condensed milk. Gently begin folding the whipped cream into the condensed milk. At first, it will look very lumpy. As you continue to fold, the mixture will smooth out and become soft and silky. Stop when you see just a few small lumps here and there — be careful not to deflate the mixture too much or over-mix.
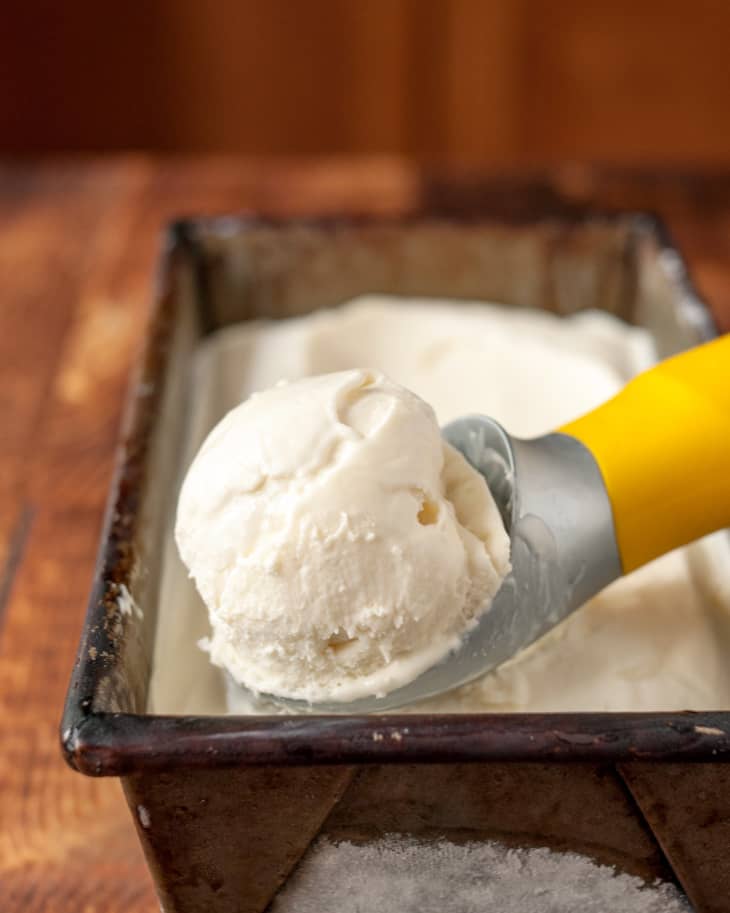
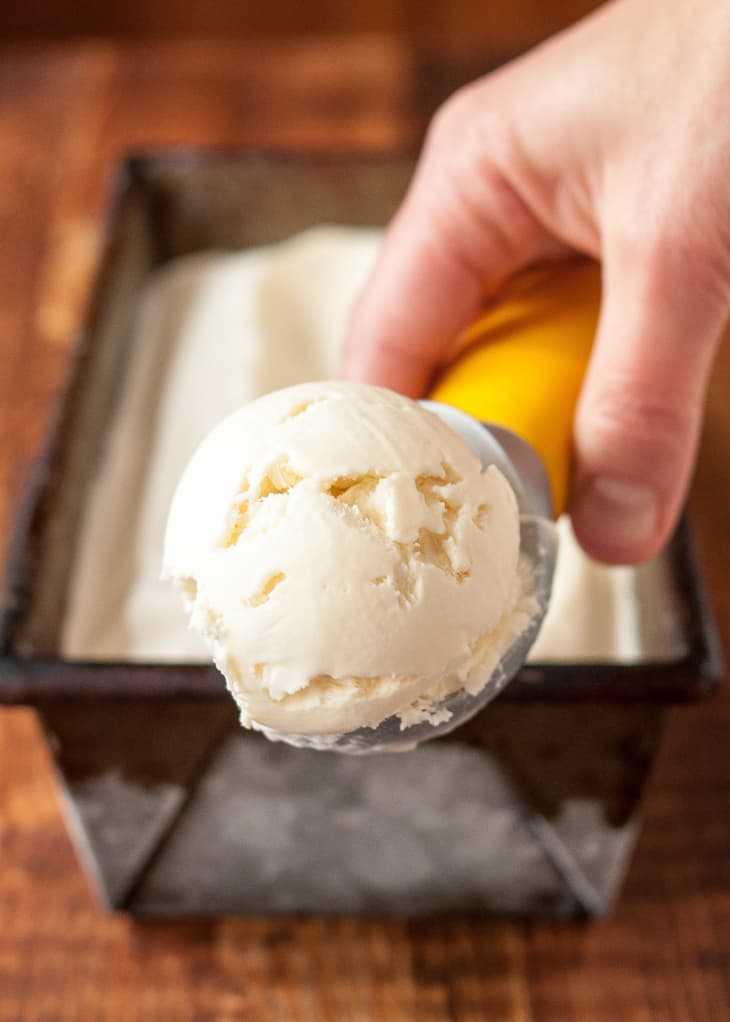
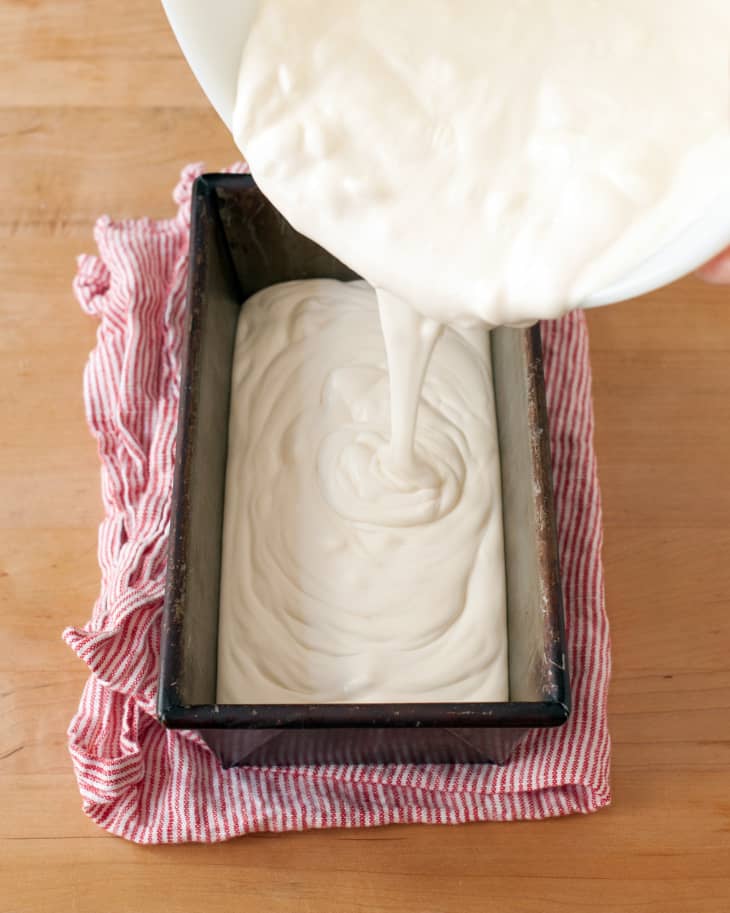
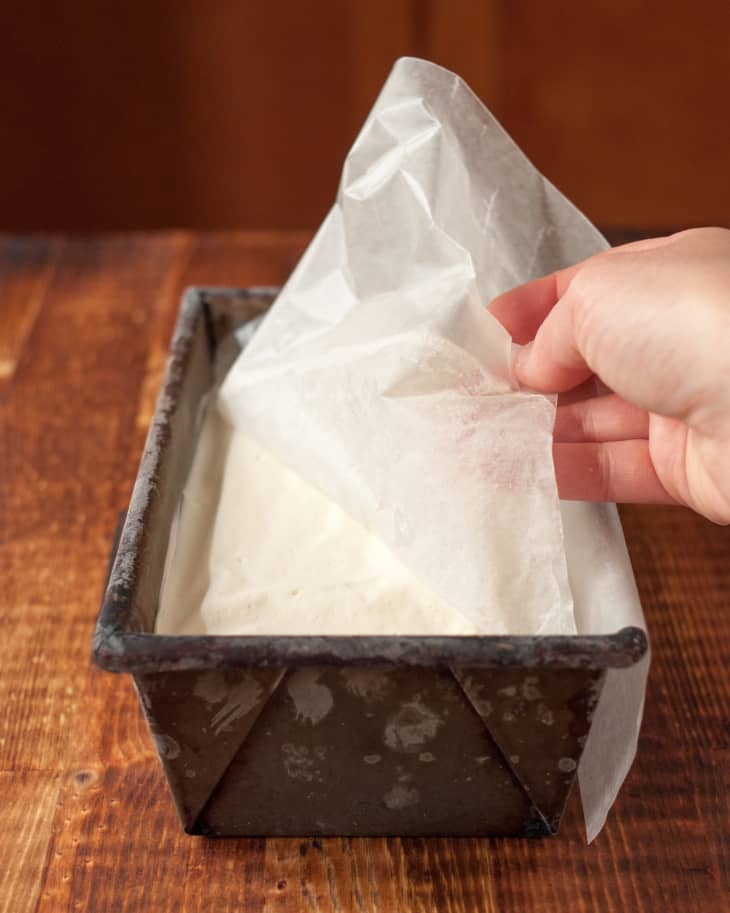
Transfer the ice cream base to a freezer container. Use a spatula to scrape all the ice cream base into your freezer container. Smooth the top, then press a piece of wax paper directly onto the surface to prevent ice crystals from forming.
Freeze for at least six hours, or up to 2 weeks. Freeze for at least 6 hours. The ice cream will become more firm the longer you let it freeze. For best texture and flavor, eat within two weeks.

Recipe Notes
Make flavored ice cream: To infuse your ice cream with flavor, warm the cream in a saucepan until you just start to see a few wisps of steam. Remove the pan from heat and add your flavoring ingredient. Let the milk infuse until it tastes good to you or until it's room temperature. Strain out the solids and refrigerate the cream until it's completely chilled again. Make the recipe as usual.
Favorite flavorings: cinnamon sticks, whole vanilla beans, lavender buds, coffee beans, cacao nibs, whole spices, fresh mint
Adding a mix-in: Lighter mix-ins, like chopped chocolate, can be gently folded into the base before being transferred to the freezer container. For heavier mix-ins, like caramel swirls, fruit mixtures, and candied nuts, transfer half of the prepared ice cream into the freezer container, sprinkle the mix-in over top, and then top with the remaining ice cream. Use a knife to swirl the mix-in into the ice cream.