
I Tried the Brown Bag Trick for Better Apple Pie (It Honestly Blew Me Away)
Maybe it’s happened to you, too: You pull your pie from the oven and it’s perfectly golden, but the fruit juices are still vigorously bubbling, indicating you need to bake it longer. So you pop it back in. When you return, the juices are still not reduced enough but the sugars on the crust are getting too dark. You scramble to cover the spots with foil, hoping it will buy you more time. But no matter how much you try, you still can’t get that fruit juice reduced enough, and now your crust is borderline burnt.
As a self-taught pie maker, it’s been quite a journey learning all the techniques for making perfect fruit pies. Nailing the two most important qualities — a perfectly golden crust and a filling that doesn’t spill out when you slice it — is truly a balancing act, because you have to bake the pie long enough to give the fruit and its juices time to reduce, but not so long that the crust burns. It’s especially tricky for anyone who likes to sprinkle raw sugar on the crust, because those sugars can caramelize quickly and unevenly, creating dark spots.
But what if I told you that you could bake your pie as long as you need without ever having to worry about burning your crust? And that you likely already have the tool you need in your kitchen? I hereby introduce you to the Paper Bag Apple Pie.
How to Make a Paper Bag Apple Pie
The Paper Bag Apple Pie originated from an Amish cookbook called The ABC’s of Paper Bag Cookery, and was later made famous by The Elegant Farmer in Mukwonago, Wisconsin. Their pie has become so popular, in fact, that they now ship nationwide! Unfortunately, the original version of this recipe is kept top-secret — so while there are many recipes on the internet, they’re all copycat versions.
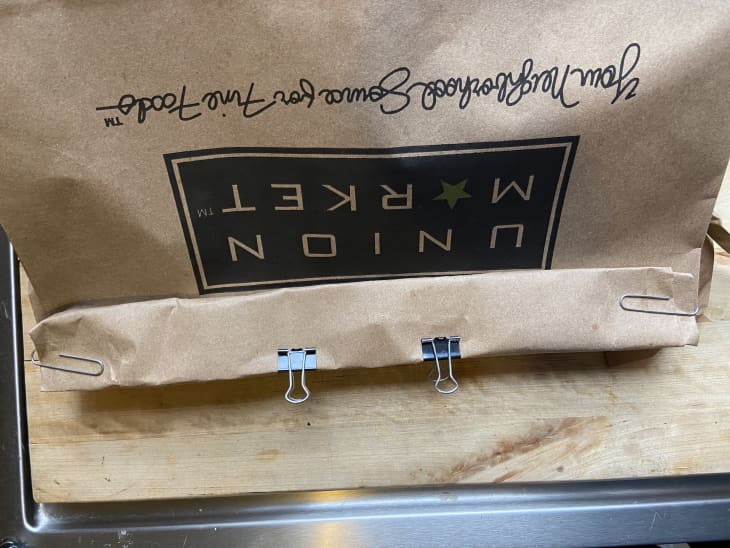
I decided to try Food Network’s version. For the first go-round, I made it exactly as written. The recipe doesn’t have an egg wash or sugar topping, so once I was done with my lattice, I opened the paper bag, pressed the seams out, placed the pie inside toward the back where the bag was widest, sealed the bag, and placed it on a sheet tray. I then baked the pie for one hour at 375°F.
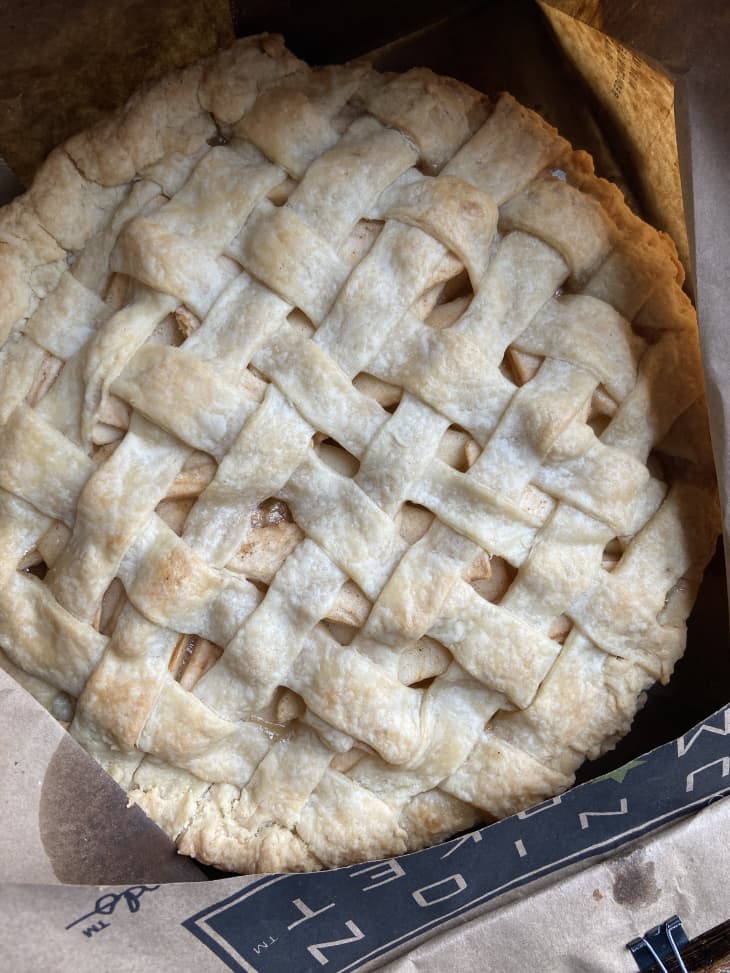
After an hour, I pulled the pie from the oven and cut out a circle over the pie. I then returned the pie to the oven for 15 minutes more, as instructed. What came out was a beautifully blonde crust. It was light and crisp — not clunky at all like some crusts can be. Plus, all the fruit juices that usually spill out and burn on the sheet tray were captured inside the bag, lessening the mess I had to clean.
It was then that I realized why my crust was blonder than usual — there wasn’t any egg wash or sugar on the crust! Those ingredients are what often makes the crust get dark too quickly — the ones you’re fighting when you make a pie, especially pies that need an hour or longer to bake. To really test this method, I knew I had to re-make the pie, this time adding an egg wash and a sprinkling of raw sugar. Could the bag slow the crust from burning? Or would the bag steam and melt the sugar in a way that wasn’t visually pleasing?
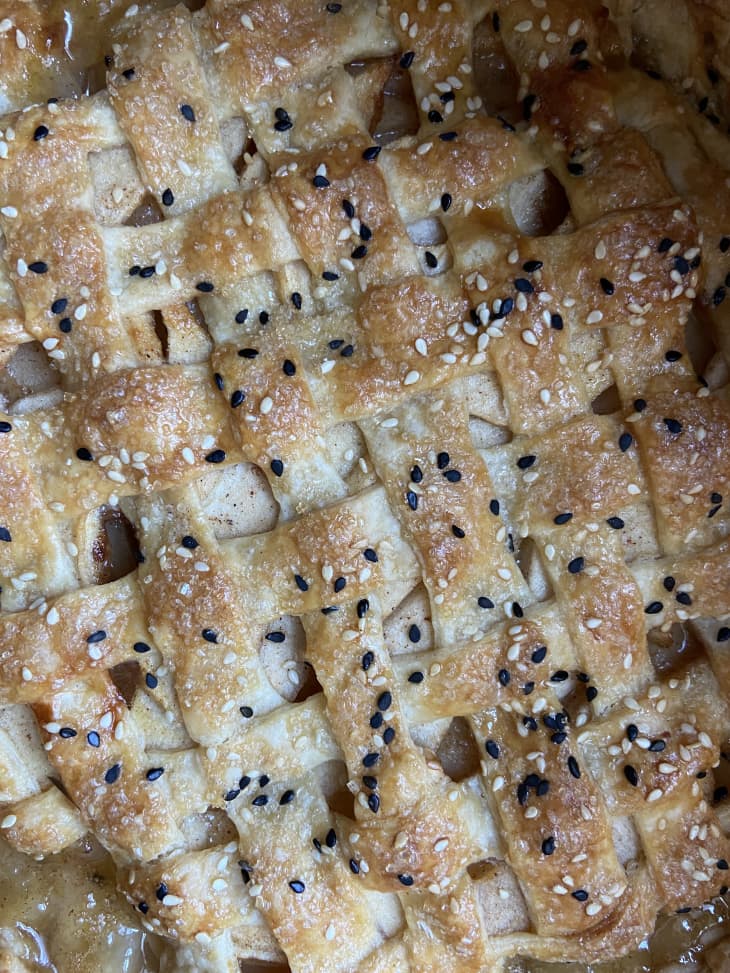
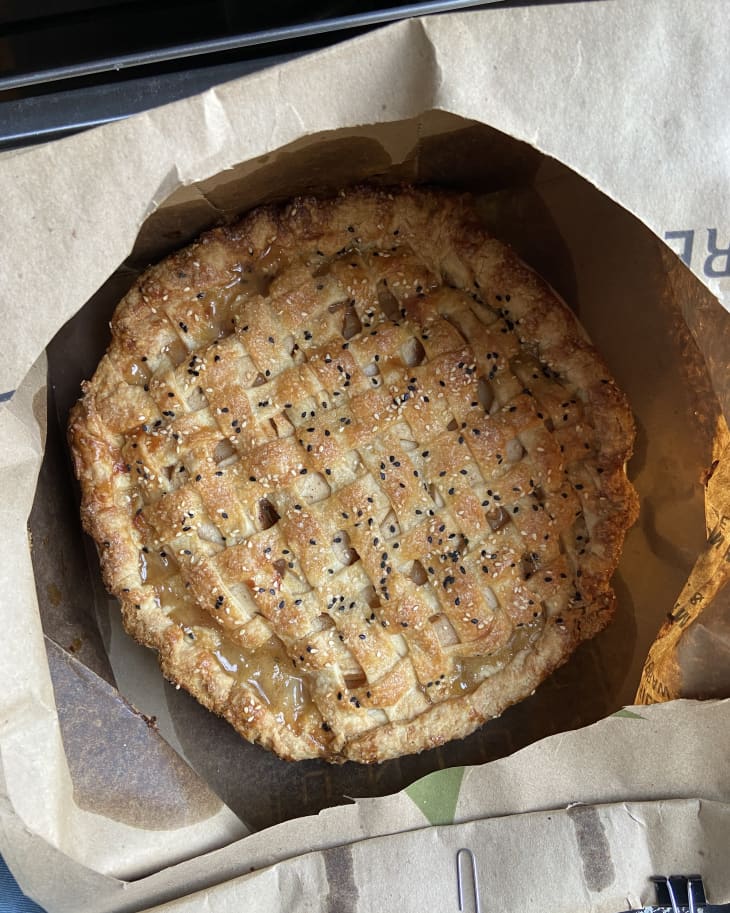
So I made the pie again with egg wash and sugar and followed the baking instructions exactly. When my pie emerged, it was beautiful and light golden-brown. It was actually a little too light for my liking, so I returned it to the oven until the crust was a deeper shade of golden-brown, but this time I didn’t have to worry that it would burn. There were no excess fruit juices and the pie was gorgeous. Once again the texture of the crust was light, crisp, and delicious.
I highly recommend using a paper bag to bake not only your apples pies, but any fruit pie! Strawberry pies, for example, can take up to an hour-and-half or more to bake. Using a paper bag is perfect for a pie with that long of a baking time. You’ll never have to worry about the crust getting too dark, and all your fruit juices will reduce beautifully. I like that the pie wasn’t in control of the process — but, rather, I was in control.
If You’re Making a Brown Bag Apple Pie, a Few Tips
- Watch out for the bag’s seams. Make sure the seams are popped out as much as possible — on the second bake the seams of the bag stuck to my crust. It was pretty easy to carefully remove it, but it might slightly mess up your pie crust, so this is a warning to the perfectionists.
- Use the best bag for the job. I actually read the Elegant Farmer has bags specially made for their pies. I imagine a plain, no-ink paper bag is better for this sort of thing, but for my test I used a brown paper bag from Union Market. There was a funky smell, likely from the ink, but none of that flavor seeped into my pie.
- Brush the crust with egg wash and top with sugar. For a picture-perfect, golden-brown crust, brush your crust with egg wash and sprinkle with sugar.