
Before & After: This Renter-Friendly IKEA Hack Transforms the “Dreaded Boob Light” for $67
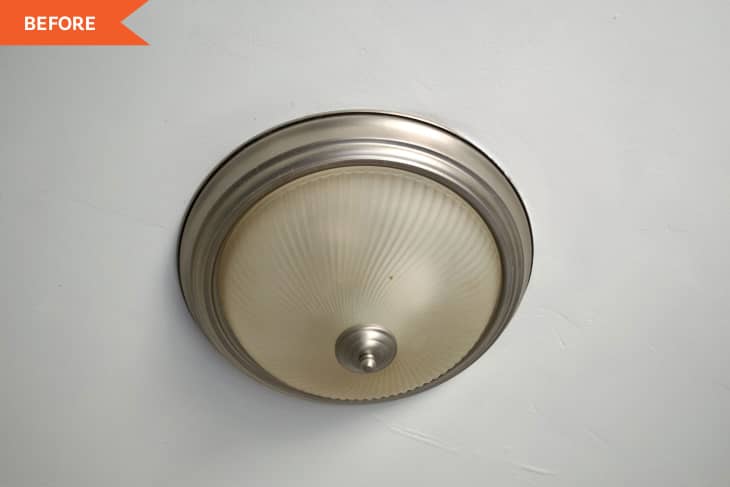
Ah, the boob light. Renters know it and do not love it. As far as flush mounts go, it’s probably the least stylish one: round with a singular finneal at the bottom, often with chrome edges and frosted glass.
One Apartment Therapy writer has scorned boob lights for their “unrepentant mediocrity” and offered hacks to disguise your boob light as opposed to getting rid of it altogether.
This one from blogger, DIYer, and thrifter Nat Manzocco is perhaps the most modern-looking, minimalistic one yet. Made from two IKEA bowls and some basic lamp components, it covers the flush mount in her apartment’s office space.
“The before was your standard-issue rental boob light: functional and unobtrusive, but generally sad-looking and vibe-killing,” she says of the overhead light in the office.
Because she didn’t have access to her apartment’s breaker box, swapping out the fixture would have been too much of a hassle, so Nat decided to come up with a solution that she could install and uninstall without getting the landlord involved.
Nat says she’d pretty much seen every boob-light hack on the internet already. They mostly consist of either throwing a drum shade on top, hanging fringe, arranging Capiz shells, and even putting a colander on it. That last one, she adds, is a real thing she saw on Pinterest.
“I did tons of research trying to come up with a more elegant redesign and eventually came across the socket adapter (or pendant adapter),” Nat says. “It’s a piece of lighting hardware that screws in like a lightbulb on one end and has a second socket on the other, essentially acting as an extension cord for your light.”
At the recommendation of an electrician friend, she first tested out the lighting components with a surge protector (you can also test on a GFCI outlet) and a lamp, and then she brought her plans to the ceiling.

To start, Nat installed extending hardware to the existing boob lamp to make it long enough to hold her new lighting components. Then she added her adapter, a new center pole, and new lamp socket that can point downward, thanks to the rerouting of the socket adapter.
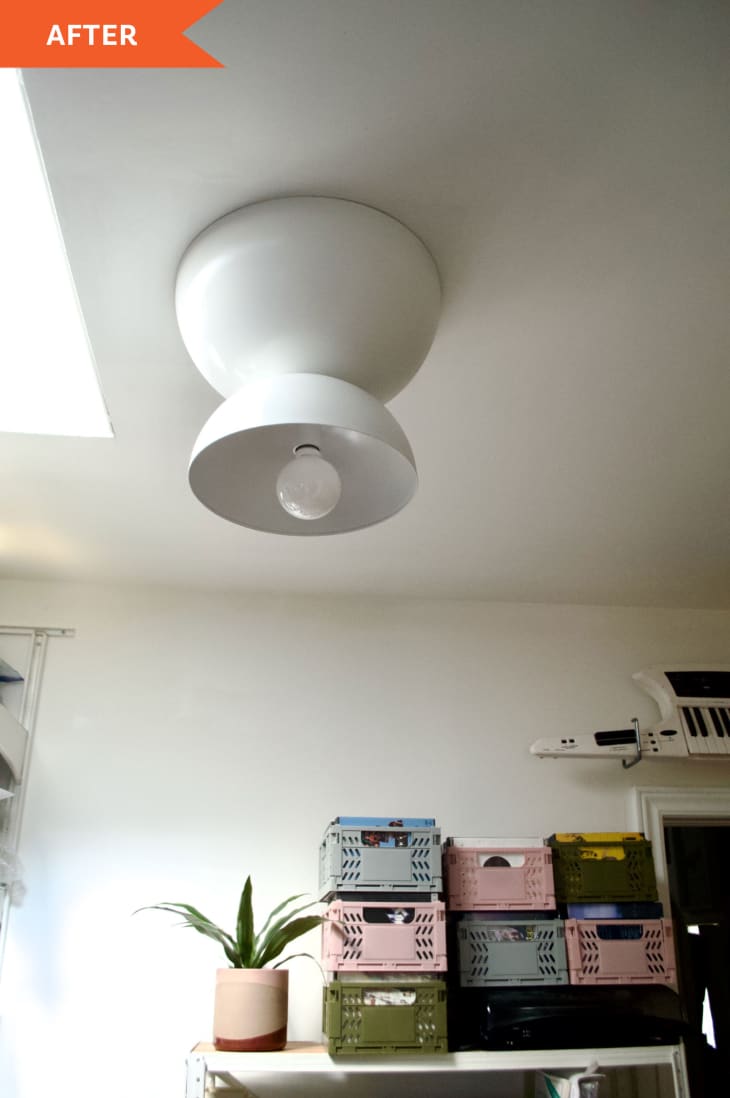
For the lamp shade, she drilled holes in the bottom of two BLANDA BLANK bowls from IKEA (14-inch and 8-inch), which required a metal drill bit. She spray painted her stainless steel bowls with white-gloss spray paint, then glued the flat sides together with epoxy.
Once dry, she threaded the bowls-turned-lampshade through the new center pole she’d installed, tightened them flush to the ceiling using locknuts, then screwed a round bulb into her new socket at the bottom of the fixture. She used plastic tubing to hide some of the extra wires inside the light. (You can watch the full install process here.)

The result is a contemporary, creative hourglass shape fixture that looks much more expensive than it was. (Nat’s materials cost about $85 CAD, or $67 USD.)
“I’m shocked at how not-like-a-DIY-project and not-like-a-boob-light this looks,” Nat says. “And I’m particularly thrilled that I was able to dig up a resource that has thus far been ignored by most of the DIY-sphere. Socket adapters: They’re a thing!”
As Nat’s redo proves to all of the renters and flush mount haters out there: “There is life after the boob light.”
Inspired? Submit your own project here.
This post originally appeared on Apartment Therapy. See it there: Before and After: A Renter-Friendly, $67 IKEA Hack Rescues a “Dreaded Boob Light”