
How to Make the Best Beer Can Chicken

Here's everything you need to knowto make beer can chicken — the best beer to use, how to prevent flare-ups, falling chickens, and the pefect beer-based sauce.
Serves4 to 6
Prep20 minutes
Cook55 minutes to 1 hour 5 minutes
Novelty aside, beer can chicken is the best, easiest way to cook a whole chicken on the grill without any special equipment. The beer from the can steams the chicken, resulting in a perfectly-cooked whole chicken — burnished to mahogany perfection — no flipping, rotisserie, or special pan required.
If you’ve ever pondered cooking beer can chicken on the grill but weren’t sure where to start, here’s everything you need to know to do it well: the best beer to use, how to prevent flare ups or falling chicken, and how to finish the chicken with a quick beer-based sauce.
What Makes This the Best Beer Can Chicken?
Maybe you’ve attempted beer can chicken before (possibly, like me, while already a few beers deep in college) and been wildly disappointed in a fully cooked but bland chicken. Or maybe you’ve had the whole endeavor tip over, extinguishing your charcoals or steaming the inside of your grill. The best beer can chicken really is equal parts seasoning: the right beer, a good dry brine — and technique: how to set up the grill, plus how to get the top-heavy chicken on and off seamlessly.

What Beer is Best for Beer Can Chicken?
I always say that for any recipe that has alcohol as an ingredient, use something you like to drink. Beer can chicken is no exception. The most popular choice is lager — something middle of the road, and not too hoppy or bitter. I have a deep abiding love affair with fruit-forward sours, so that’s what I reach for when grilling beer can chicken, both because I like to drink it and because the acidity works well with the grilled chicken. Feel free to reach for either a lager or a sour.
Everything You Need to Know For the Best Beer Can Chicken
Follow these tips, and you’ll be set up for success.
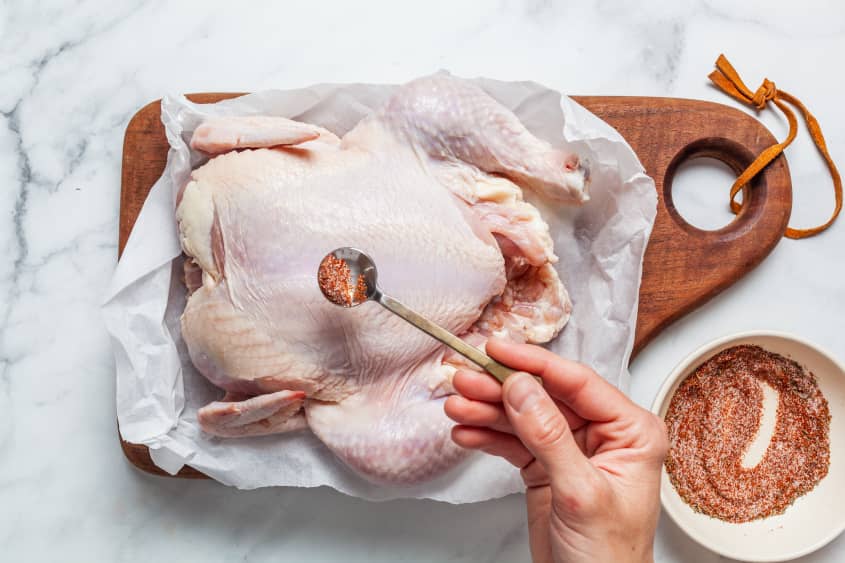
- Season the chicken well. Season the chicken inside and out with a dry rub of salt, paprika, thyme, and cumin.
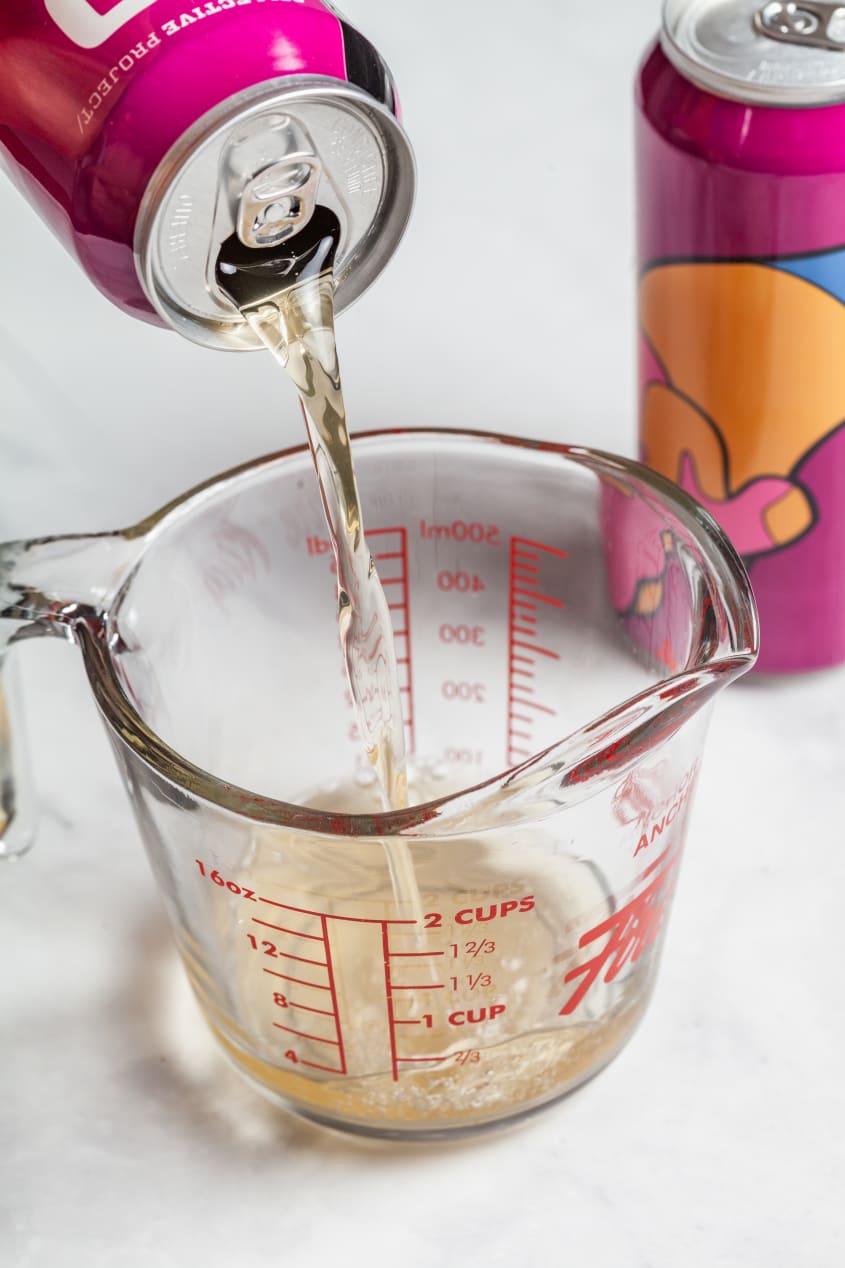
- Empty (or drink) half of the beer. You need some headspace in the can to create steam for cooking the inside of the chicken. You can reserve 1/4 cup for basting the chicken later, or just drink the poured off beer.
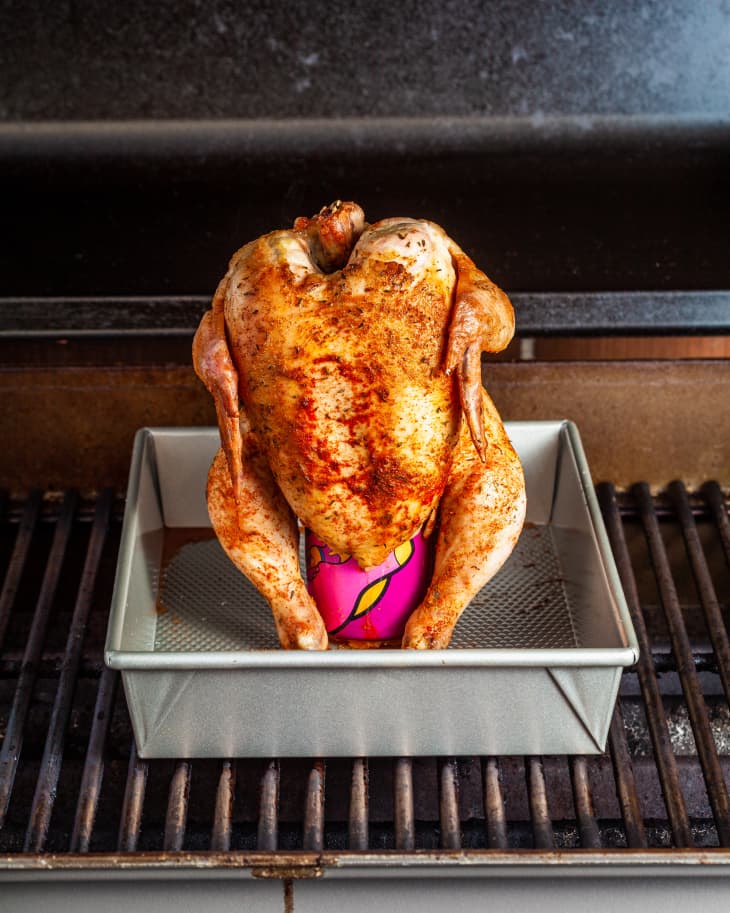
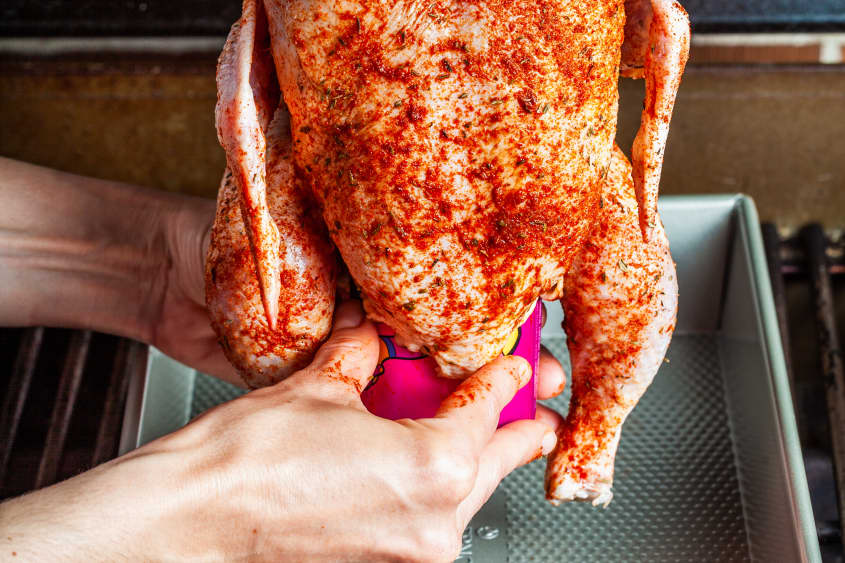
- Set your beer can chicken in a pan. You don’t need a fancy beer can chicken holder, just a simple 9×13 metal (or disposable foil) pan. Set the beer in this pan and the lower the chicken onto the beer — this will not only help you transfer the chicken from the kitchen to the grill without spilling, but it will also catch the chicken and the beer if things get topsy on the grill.
- Cook the chicken over indirect heat. Beer can chicken takes about an hour of total cook time — so you’re essentially setting your grill up to be an oven for slow roasting. Depending on your grill, this could mean setting all the coals to one side on your charcoal grill or lighting half of your gas grill burners to high while the others stay off. That reserved beer will come in handy for basting the chicken with an easy sauce towards the end of cooking.
How Do I Remove the Beer From the Chicken?
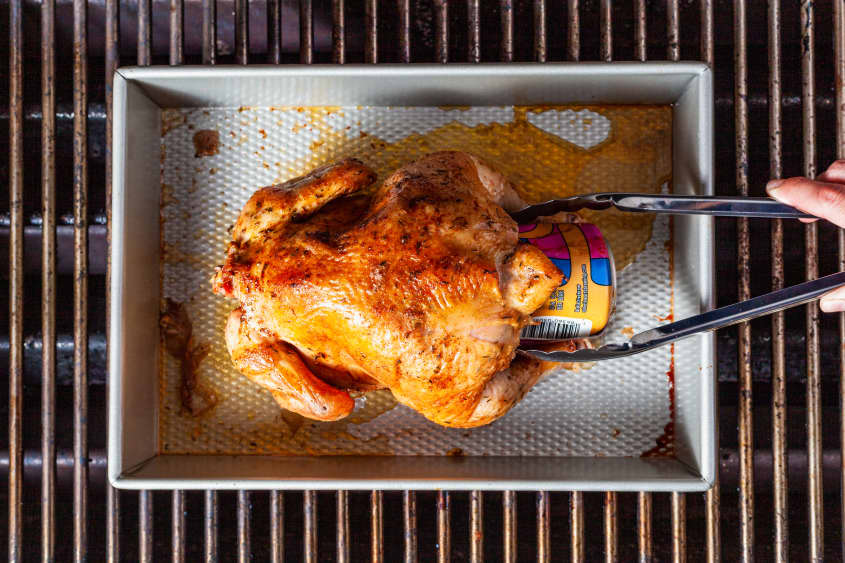
Kitchn’s Food Editor-at-Large Christine Gallary gave me the best bit of advice for removing the can from the finished beer can chicken, because it really is the hardest part of the whole thing. “Move the whole beer-can-in-the-chicken onto a cutting board to rest; Then have one person grasp the beer can with tongs to hold it in place while a second person grabs the chicken — use wadded up paper towels or a clean kitchen towel — and pulls it up off of the can.”
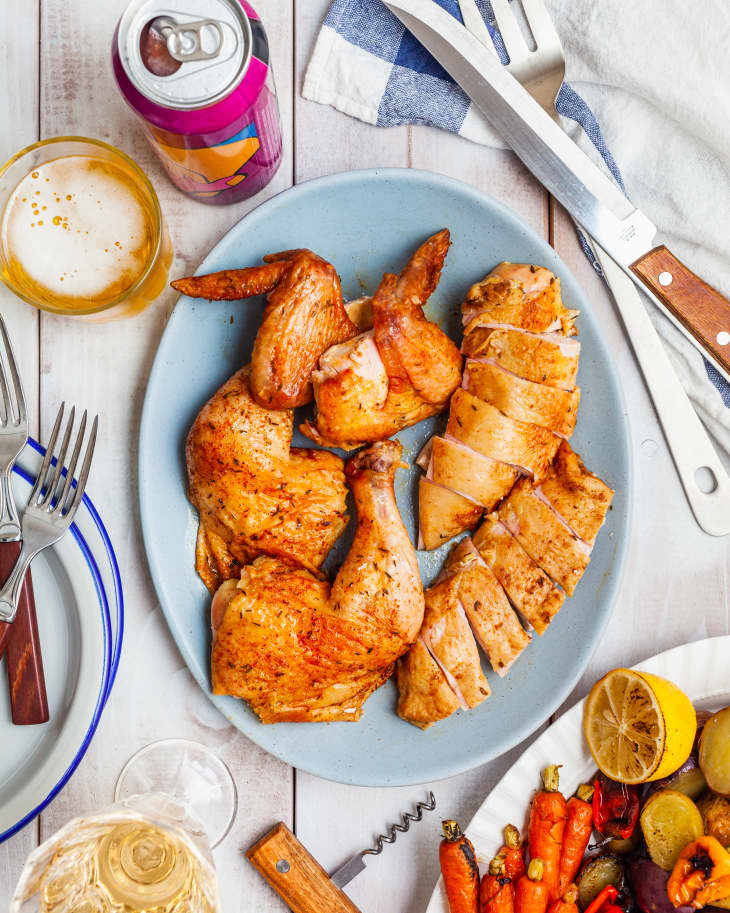
After resting, carve up the chicken and serve with, what else, more beer! Jokes aside, give your pan drippings a taste and feel free to serve the carved chicken with the drippings.


How To Make the Best Beer Can Chicken
Here's everything you need to knowto make beer can chicken — the best beer to use, how to prevent flare-ups, falling chickens, and the pefect beer-based sauce.
Prep time 20 minutes
Cook time 55 minutes to 1 hour 5 minutes
Serves 4 to 6
Nutritional Info
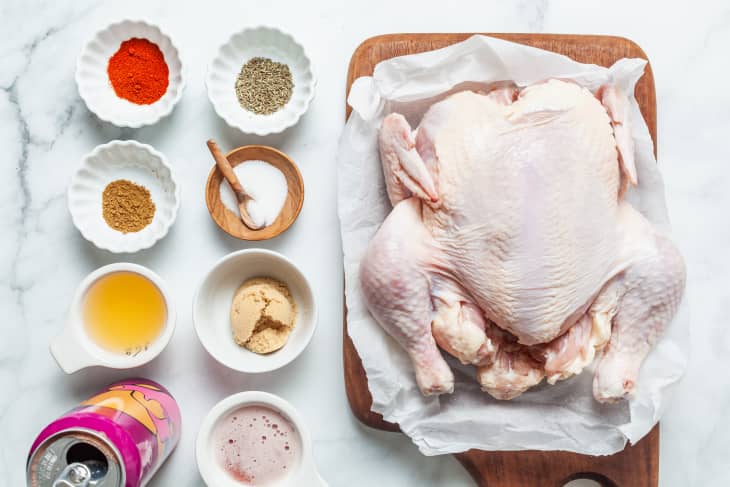
Ingredients
- 1 (12-ounce) can
lager or sour beer, divided
- 1 1/2 teaspoons
kosher salt
- 1 teaspoon
smoked paprika
- 1/2 teaspoon
dried thyme
- 1/2 teaspoon
ground cumin
- 1
(4 to 4 1/2) pound whole chicken
Optional sauce:
- 1/4 cup
beer, reserved from above
- 1/2 cup
apple cider vinegar
- 2 tablespoons
packed light brown sugar
Equipment
Gas or charcoal grill
Metal or aluminuim baking dish
Measuring cup and spoon
Instructions
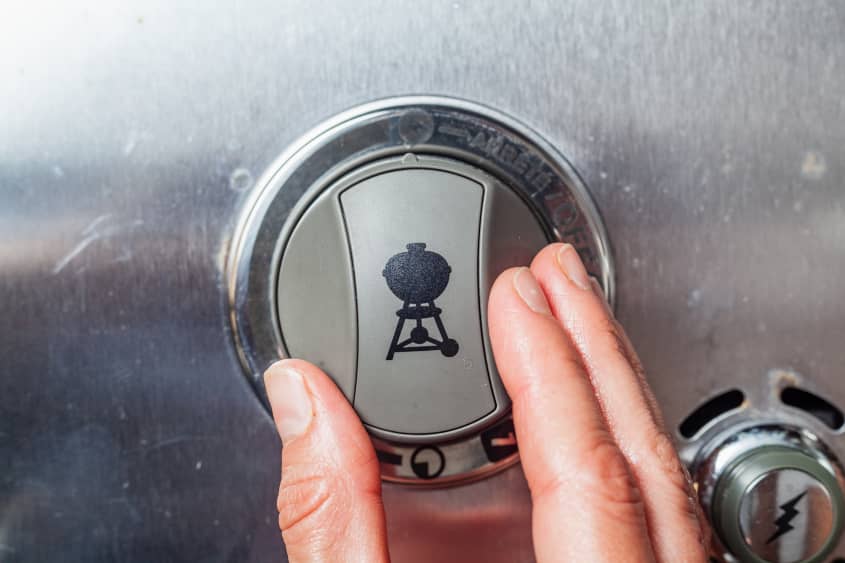
Heat an outdoor grill for high, indirect heat. Heat a gas grill by heating 2 out of 3 (or 3 out of 4) of the burners to high heat. Keep the remaining burners off. For a charcoal grill, light a full chimney of charcoal and arrange the coals on one side of the grill. Heat the grates and let the coals get white and ashy, about 15 minutes. Aim for an internal grill temperature of 425 to 450ºF.
Pour out about half of beer. Pour out or drink about half of the beer, reserving 1/4 cup if you plan to baste the chicken.
Season the chicken with a spice rub. Stir the salt, paprika, thyme, and cumin together in a small bowl. Pat the chicken dry with paper towels and sprinkle it inside and out with the spice mixture.
Prop the chicken on the beer can. Place the beer can inside a metal 9x13-inch baking pan. Lower the chicken leg-side down onto the beer until it is securely propped upright. If using a disposable foil pan, be careful when picking the pan up, as it may buckle: your best bet is to have a firm grip on the chicken with one hand while holding the foil pan with the other.
Grill for 35 minutes over indirect heat. Place the pan over indirect heat (over the turned-off burners or where there are no coals). Pour 1 cup of water into the pan. Cover and grill for 35 minutes. At this point, it will start to brown and look almost cooked through, even thought it is not.
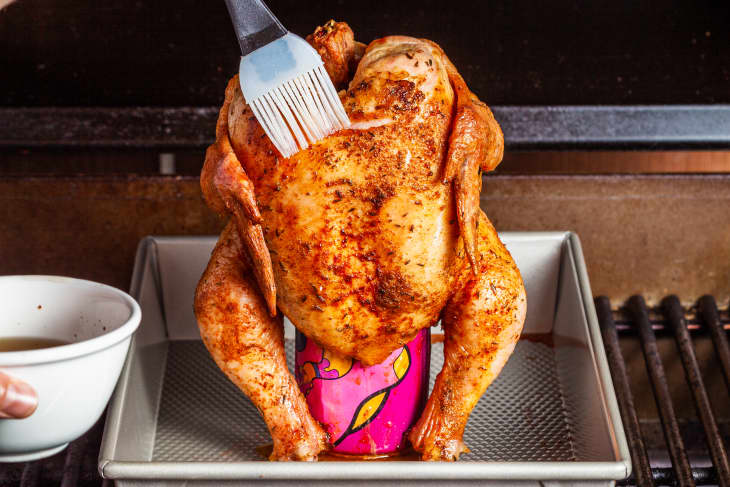
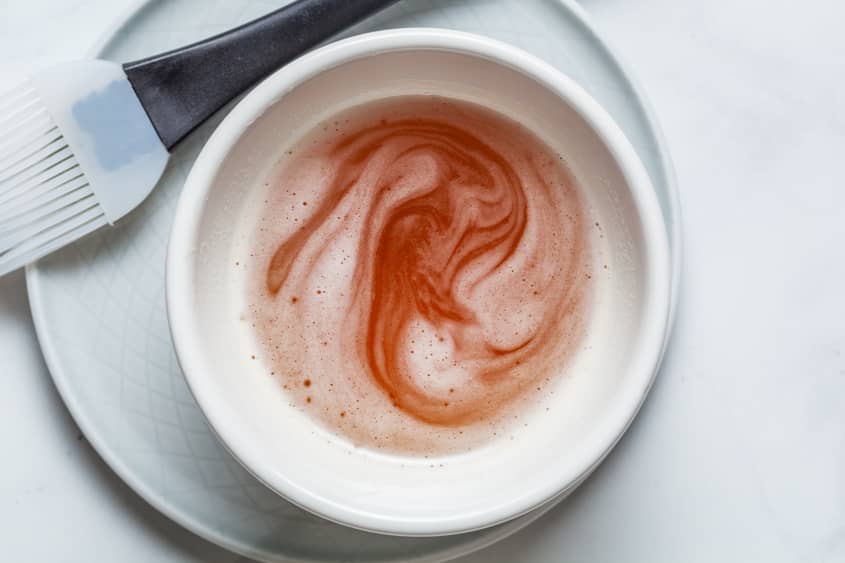
Make the optional basting sauce. Stir the reserved 1/4 cup beer, vinegar, and brown sugar together in a small bowl.
Baste and grill 25 to 35 minutes more. Baste the chicken with the sauce and continue to cook, covered, basting every 10 minutes, until the skin is deeply colored, crisp, and a probe thermometer in the deepest part of the thigh registers 165°F, 25 to 35 minutes more. Rotate the pan as needed so that the chicken browns evenly.
Rest, then carve the chicken. Remove the chicken and the pan with its drippings from the grill. (If you using a foil pan, slide the pan onto a baking sheet before moving it around. Let the chicken rest the chicken at least 10 minutes. To remove the chicken from the beer can, first move the chicken still on the can to a clean cutting board. Have one person have a firm grip on the can to hold it in place (careful, it's hot!) while a second person grasps the chicken with wadded paper towels or a kitchen towel and pulls it off the can. Carve and serve.
Recipe Notes
Make ahead: The chicken can be seasoned with the dry rub up to 2 days in advance and refrigerated.
Storage: Leftovers can be refrigerated in an airtight container up to 4 days.