
The Best Way to Organize Your Freezer
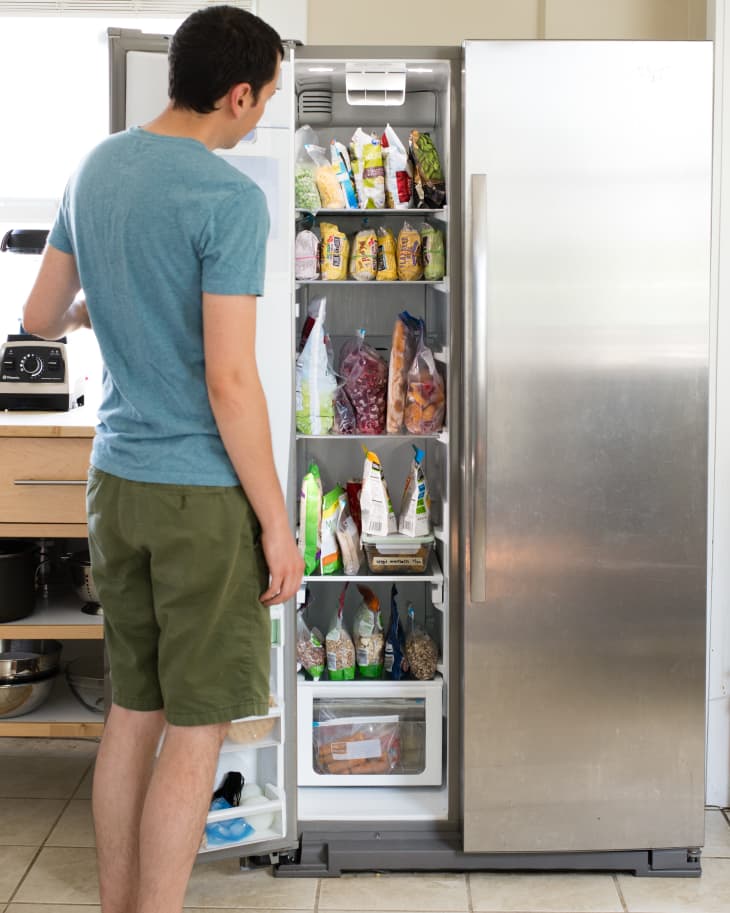
Have you ever had one of those oh-so-painful moments when you open the freezer and some heavy, unidentifiable object hurls out and lands on your toe? It’s brutal. I know I’m guilty of throwing things in there wherever I find space. Then, stuff either falls out all willy nilly or I get to enjoy the frustrating experience of trying to dig out and unearth something later.
Looking into an organized freezer, on the other hand, always puts me in a good mood — things are packed up correctly so they last longer and won’t go to waste, and I know exactly where everything is. Here are my seven tips for freezer organization that you can put into practice today. Hopefully you’ll be as happy as I am with the results!
1. Know what’s actually freezable.
As much as I wish all foods could be frozen, some just won’t survive the freezing process well. Fruits and vegetables with high moisture content (like lettuce and watermelon), dairy products (like yogurt), and fried foods are examples of things best kept out of the freezer.
The following are good candidates for freezing: pancakes, waffles, nuts, berries, muffins, stocks or broths, meats, fish, shrimp, chilis, and stews. You’re more likely to want to eat foods that survive the freezing process intact.
Read more: The Do-Not-Freeze-These-Foods List
2. Freeze in usable portions.
It might be tempting to just throw the whole value-pack of chicken pieces straight into the freezer, but you’ll regret this shortcut later when you only need a few pieces and the whole thing is one frozen mass.
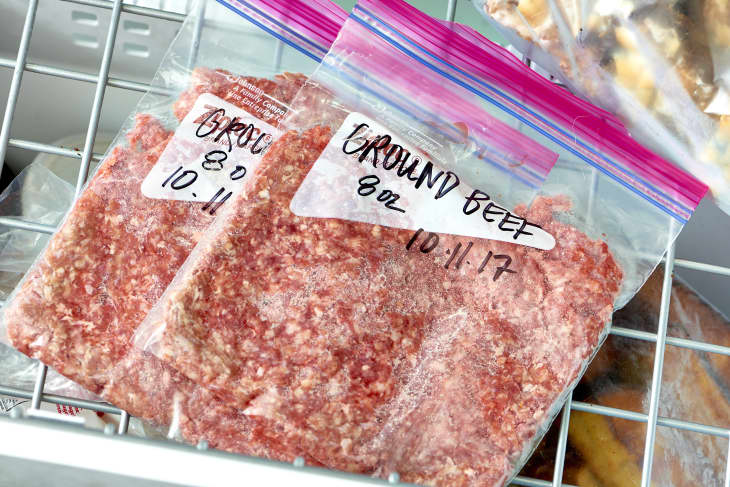
Instead, take the time to portion out ingredients into usable portions, like eight pieces of chicken or a half-pound of ground beef, and freeze each portion in a separate container or freezer bag. That way, you can just pull out what you need and thaw the right amount.
Another option is to freeze things in individual pieces first, then consolidate the frozen pieces into one bag or container. By doing this, the pieces won’t stick together and you can just grab the exact number of pieces you need.
3. Freeze things flat.
As much as possible, freeze things flat. Put that leftover chili in a freezer bag, seal, and lay the bag flat in the freezer until frozen. Flat things of an even thickness are easier to stack or organize upright in a container.
4. Choose the right containers.
Air circulating around frozen foods can lead to freezer burn, so your best bet is to find a container as close to the size of what you want to freeze as possible. If you’re using plastic bags, make sure you use thicker freezer ones, and press out as much air as possible before freezing. If you’re using foil, make sure foods are tightly double-wrapped. Doing these things mean you maximize freezer space and keep air out.
Read more: Choosing the Right Freezer Containers
5. Use organizers.
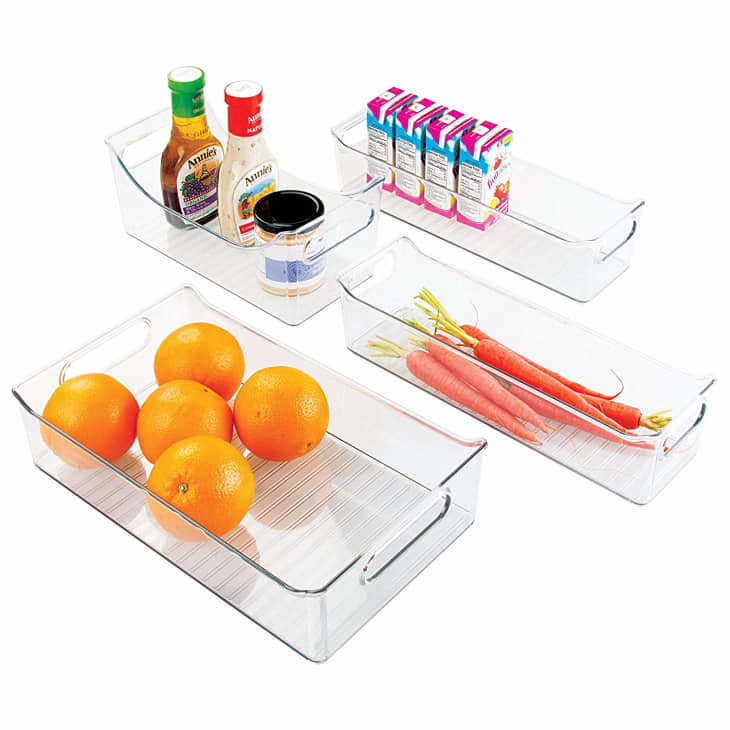
Freezers are usually vast open spaces with very little shelving. While frozen foods can stack on top of each other without damaging one another, that also means that the piles can grow unwieldy.
Invest in plastic tubs or organizers to keep things from falling out, and if you assign a category of food for each organizer, it’ll make finding exactly what you’re looking for easy!
Buy: mDesign Plastic Storage Bins, $30 for four
6. Don’t store ice cream in the door.
The door is the warmest place in the freezer, so don’t put high-fat items like ice cream there when it can run the risk of melting and refreezing. Save the door for things like for nuts and booze!
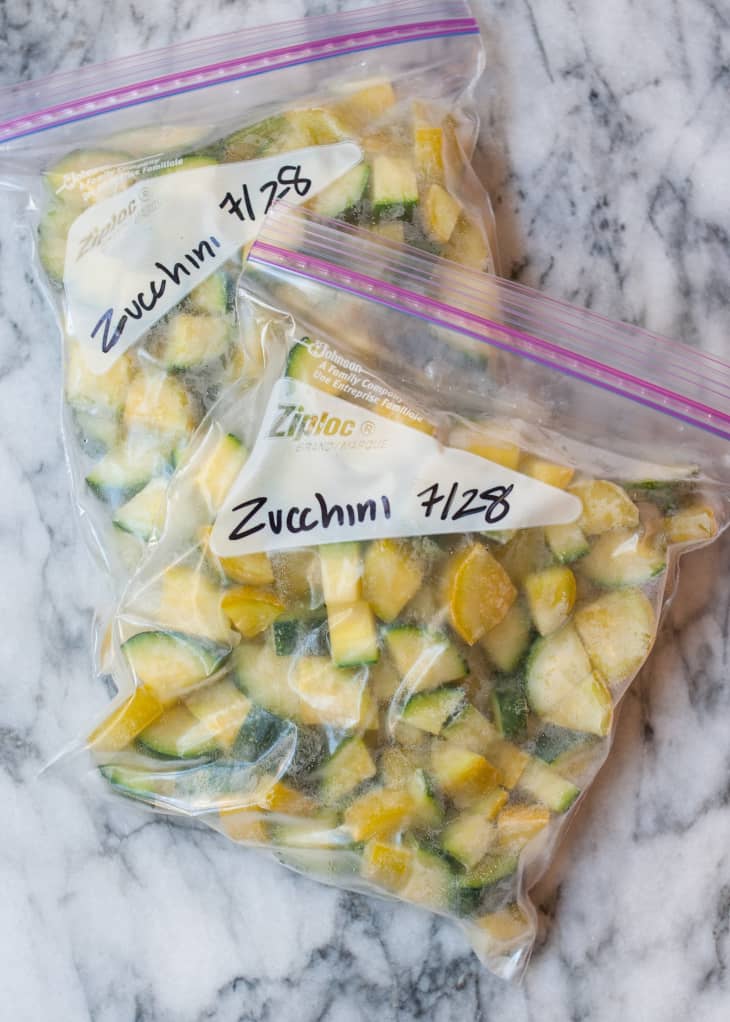
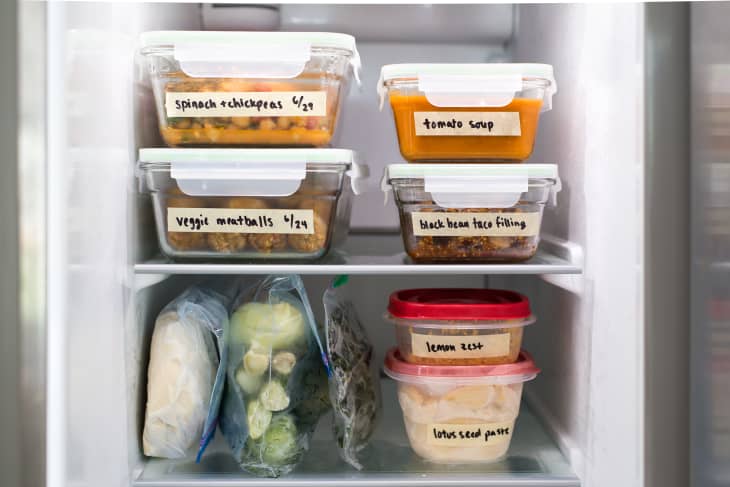
7. Label!
Taking the time to label and date foods means you’ll never have to guess what’s inside. It can be hard to identify stew from soup, and even opening up the container for a sniff test is hard since there won’t be much of an aroma. The last thing you want is to defrost the wrong thing, so label for your own sanity’s sake!
To take it one step further, measure or weigh what’s going into the freezer and write that amount on the label — perfect when you’re wondering if you have enough of something for a recipe.
Do you have any other freezer tips to share?