
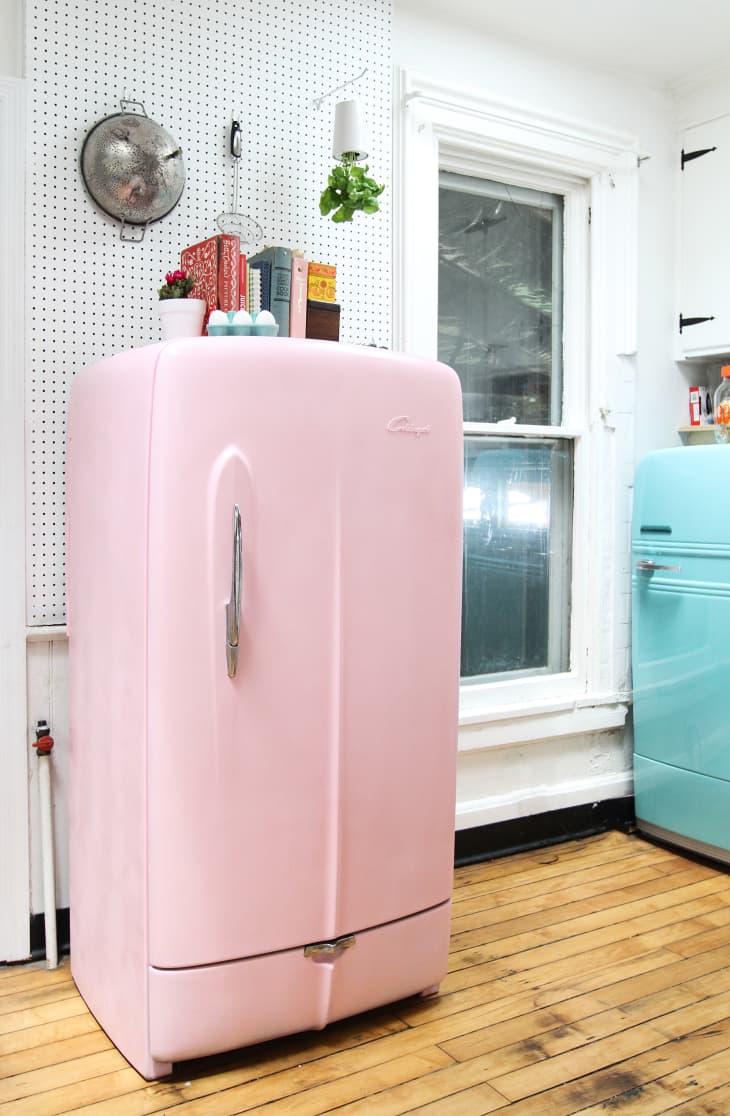
Wishing for a Colorful Smeg Fridge? Here’s How To Paint a Vintage Refrigerator Instead
Everyone loves the look of a vintage refrigerator — especially a colorful model. If you’re really lucky, you bring home a brand new Smeg, or Big Chill for your kitchen. But if you’re a purist, or on a slimmer budget, you make your dream of a colorful vintage refrigerator come true for much, much less by rolling up your sleeves and doin’ it yourself.
What You Need
Materials
- Quality spray paint (I used 6 cans of Rust-Oleum in Candy Pink)
- Quality primer (I used 2 cans)
- Crystal clear sealant
- Medium sanding sponge
- Fine sanding sponge
- 0000 Steel wool
- Painters tape
- Plastic sheeting
Instructions
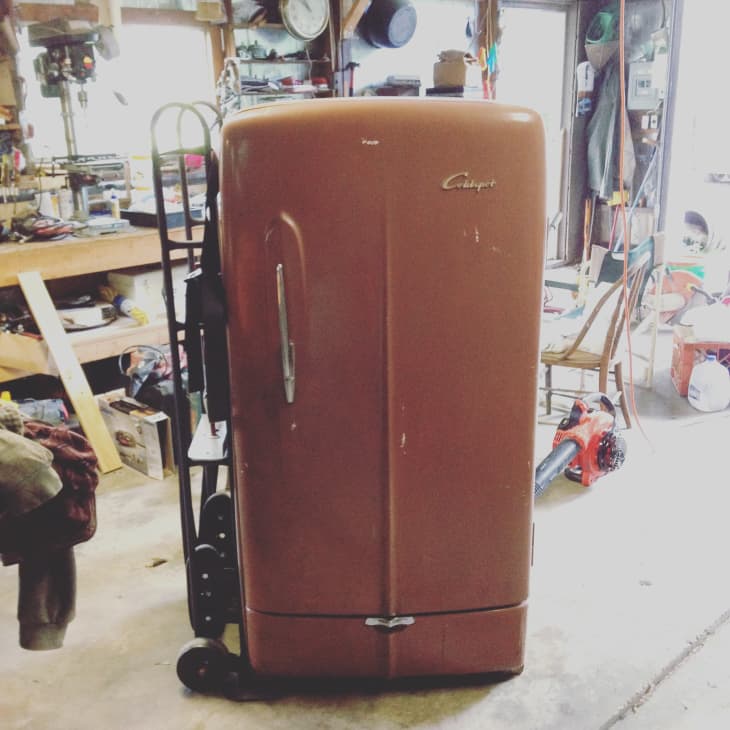
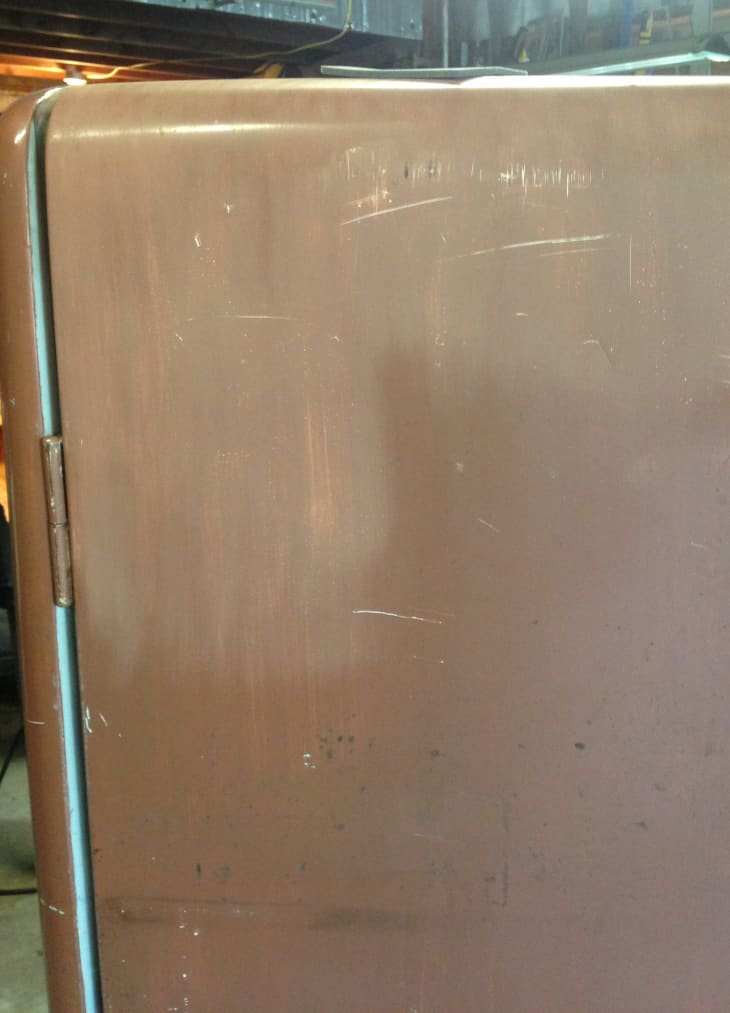
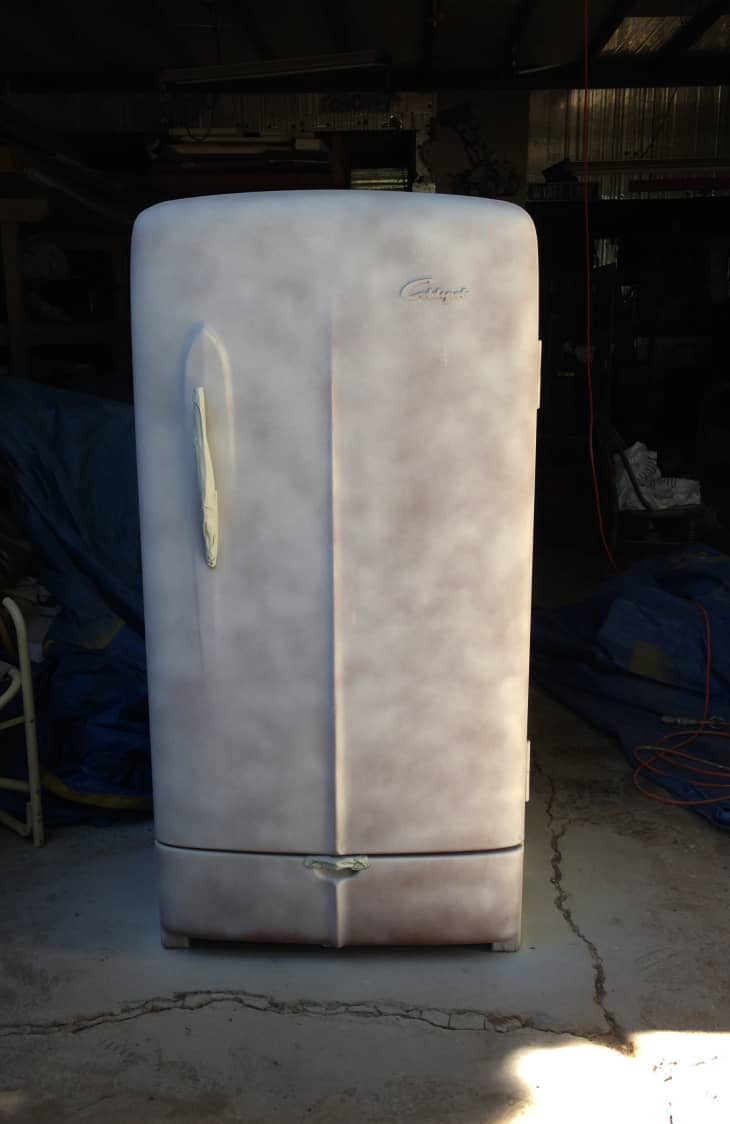
Before any painting, you’ll want to sand down the existing surface with a medium grit paper or sponge. Don’t try to remove the paint, just knock the gloss off the surface.
Dust the surface (use an air compressor to make things faster!) and wipe down with soap and water. Repeat this step as many times as necessary: you want an exceptionally clean surface before you start priming.
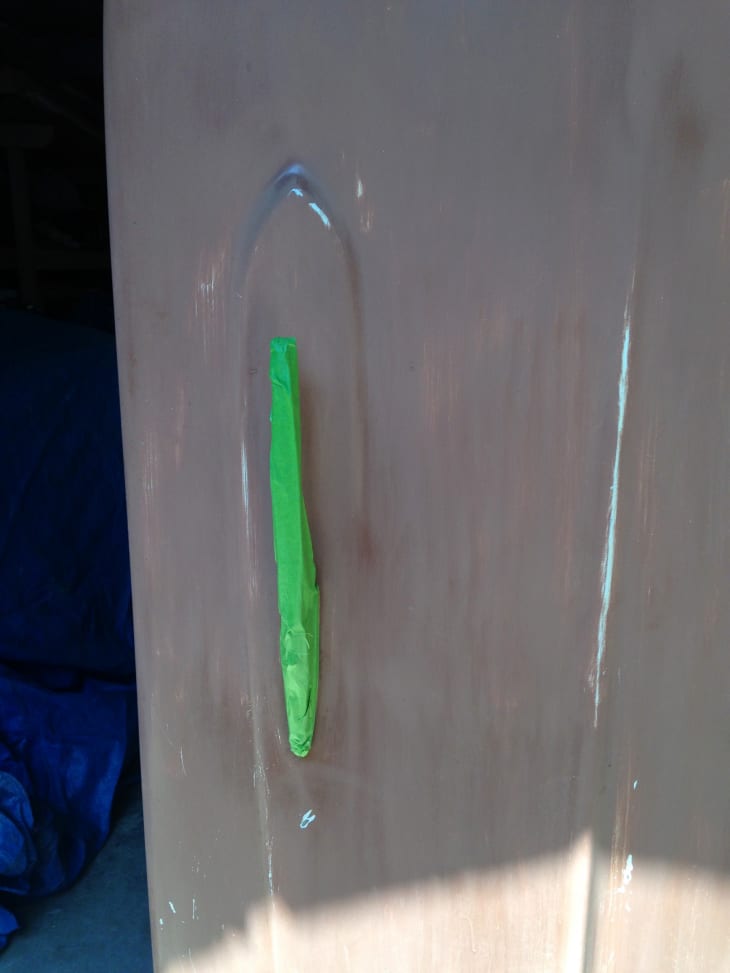
Using good painters tape (don’t be cheap, spring for the best stuff) and cover up any areas you don’t want to get paint on, including: door handles, hinges, or any rubber seals that are showing.
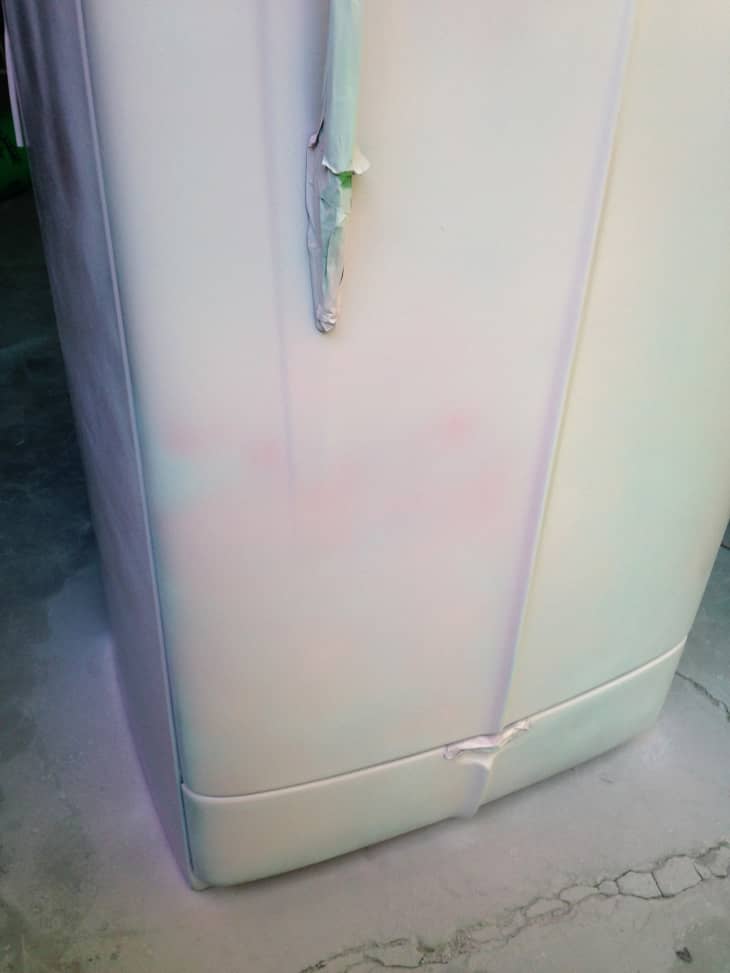
Cover the surface in primer using smooth, consistent strokes. The photo below shows the first coat of primer. I let the surface dry completely, worked over the surface with #0000 steel wool to get rid of any thick paint speckles, washed it well, let it dry, and then hit it again with primer.
After you completely cover the surface with primer and work down any bumps with your #0000 steel wool, start the fun part. Shake, shake, shake that can of paint (shake it like, really well…) spray it on a piece of wood to be sure it’s all coming out the same color and then begin to carefully paint the surface.
I cannot stress enough the importance of shaking the cans of spray paint before using. I shook my cans for at least one minute each (as recommended by the manufacturer) and still had issues with a darker pink sputtering out of the can as shown in the photo below. We immediately stopped painting once we noticed the discrepancy and shook each can for at least 5 minutes before using it.
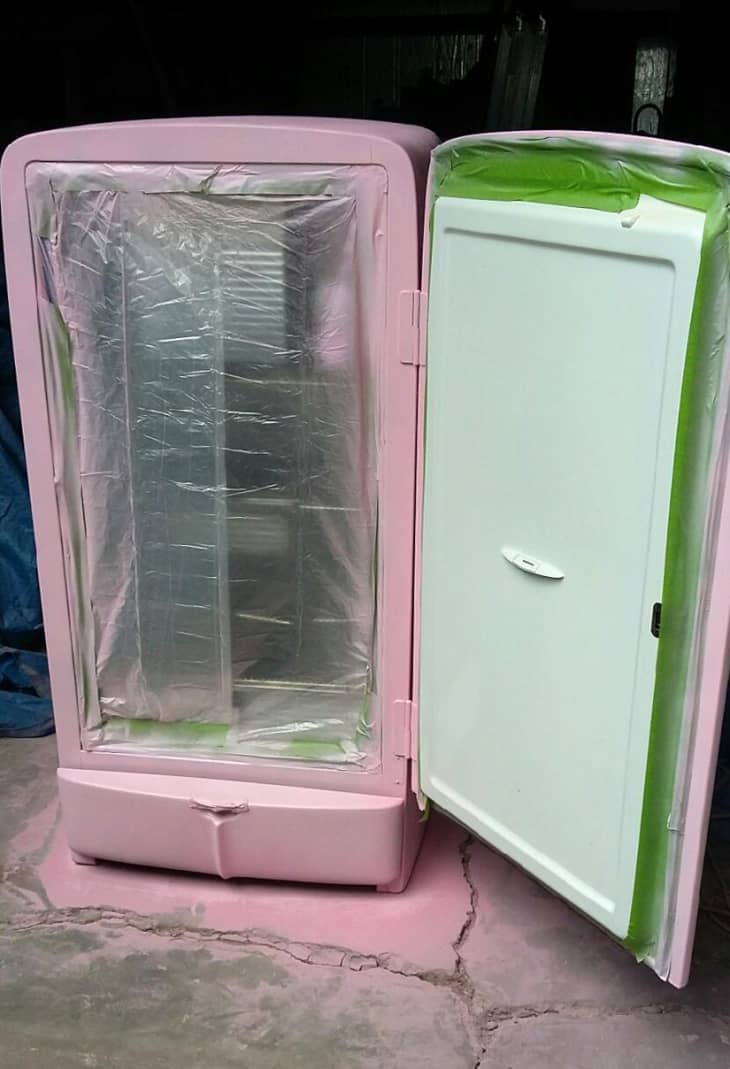
After covering the outside, open up the fridge, tape off the inside and spray the frame around the front of the door.
If for any reason your paint sputters out thick speckles you can work them out using #0000 steel wool. I highly recommend taking your time between coats and smoothing out any bumps you can find. Wash well after using the steel wool, and start painting again once everything has dried.
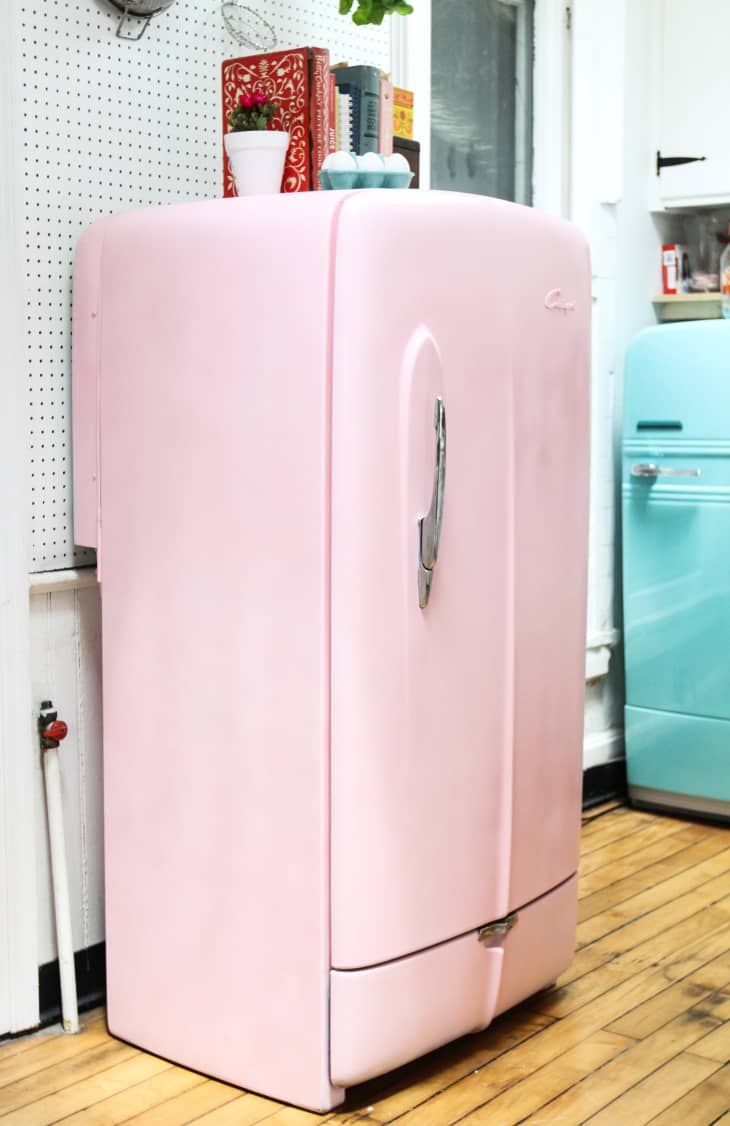
Finish up by sealing the paint with a crystal clear enamel sealant. Let the paint cure for at least three days before moving it back into your kitchen.
Have a really great DIY project or tutorial that you want to share with others? Let us know! We love checking out what you’re making these days, and learning from our readers. When you’re ready, click here to submit your project and photos.