
Recipe: Whole Wheat No-Knead Bread

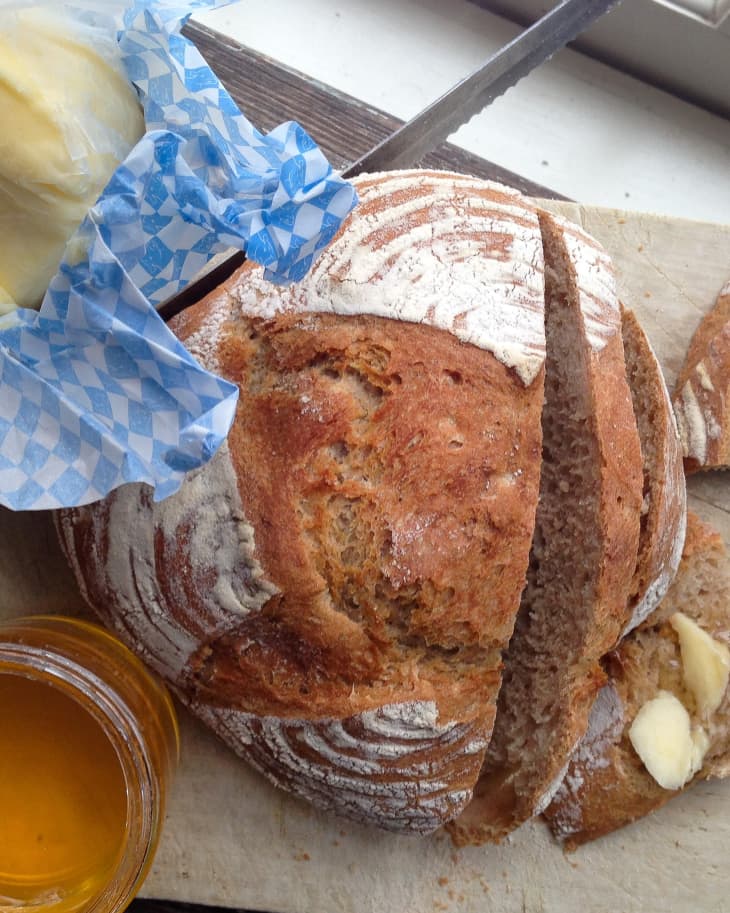
It’s true: Cookbook writers actually do cook from their own books. I keep copies of the books I’ve written at close reach in my kitchen, dog-eared and stained. One of the recipes I make over and over again is the Overnight No-Knead Bread from The Kitchn Cookbook. Between morning toast, school lunches, afternoon snacks, and mopping up the evening’s soup, we can easily blow through a few loaves of this every week.
Like many of the recipes in our book, this one has variations, and I love messing with the flour ratios. Whole wheat is the simplest, and today I’m sharing that recipe with you.
Home cooks everywhere owe a debt of gratitude to Jim Lahey for his incredible no-knead bread. This recipe swept across the internet like wildfire a few years back, and our posts on the topic always spur long conversations in the comment sections. The recipe we share here is a riff on Mr. Lahey’s original recipe, but incorporates all the tips and tricks we’ve picked up in the years since we first made it.
This bread can be adapted to almost any schedule. If you’re pressed for time, add a little more yeast to cut the rising time in half. Or follow the recipe as it is, but give yourself some extra time and throw the dough in the fridge until you’re ready to bake it.
→ Step-by-Step Instructions: How To Make No-Knead Bread
Whole Wheat No-Knead Bread
Makes 1 loaf
Nutritional Info
Ingredients
- 1 1/2 cups
water
- 1/4 teaspoon
active dry or instant yeast
- 2 cups
all-purpose flour
- 1 cup
whole-wheat flour
- 1 1/4 teaspoons
salt
Instructions
Mix the water and yeast in a large bowl and allow to stand until the yeast is dissolved, about 5 minutes. Add the flour and salt. Stir to form a very wet, shaggy dough. Make sure all the flour has been incorporated; the dough should feel sticky to the touch.
Cover the bowl and set it somewhere warm and away from kitchen traffic for 12 to 18 hours. After rising, the dough can be refrigerated for up to 3 days if you don’t have time to bake it right away.
Turn the dough out onto a lightly floured surface. Dust your hands with flour. Starting with the edge nearest you, lift up the dough and fold it over on itself. Next, pick up the edge furthest from you and fold it over the dough as well. Repeat with the edges to the left and right. The dough should hold together in a neat package. Sprinkle the top generously with flour and cover with a clean cotton dishtowel. Let the dough rise until doubled, about 2 hours (slightly longer if chilled from the fridge).
When you see that the dough has almost finish rising, place a 3 1/2-quart (or larger) Dutch oven or heavy pot with oven-safe lid in the oven and heat the oven to 475°F.
To bake the bread, very carefully remove the pot from the oven with oven mitts and remove the lid. Dust your hands with flour and scoop the dough from the counter. It’s ok if it sticks; a bench scraper can help transfer the dough. Drop the dough seams down into the Dutch oven. Be careful to avoid touching the hot sides of the pot with your hands.
Cover the pot and return it to the oven. Bake for 30 minutes. Remove the lid and continue baking for another 15 to 30 minutes, until the loaf turns a deep golden brown. Don’t be afraid to let it get really deep brown in spots. If you’re unsure if it has finished baking, you can also check that the internal temperature is 200°F on an instant-read thermometer.
Remove the loaf from the Dutch oven with heat-proof spatulas and potholders. Transfer to a wire rack to finish cooling. Wait to slice until the loaf has cooled to room temperature.
Recipe Notes
Try other flours, such as rye and spelt, in place of up to half the all-purpose flour.
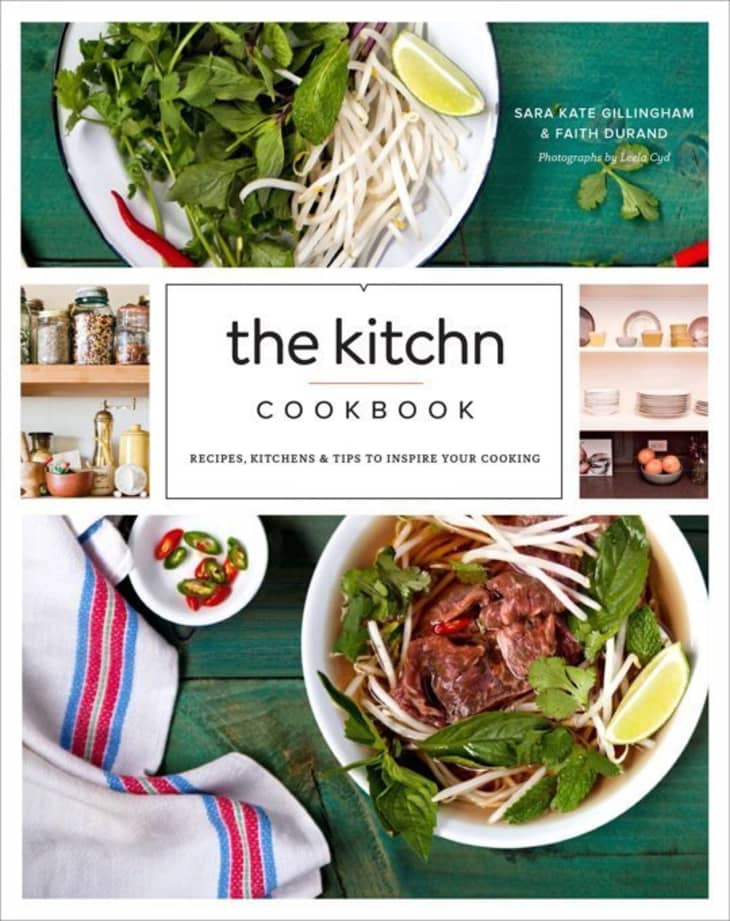
More About The Kitchn Cookbook
- Who’s it by? Sara Kate Gillingham (Founding Editor) & Faith Durand (Executive Editor), with plenty of collaboration from Emma Christensen, Cambria Bold, Anjali Prasertong, Dana Velden, Emily Ho, Nealey Dozier, and other contributors. It was a team effort, and we’re so grateful for everyone who brought the spirit of The Kitchn to this book — including readers!
- Who took the photos? Leela Cyd, whose lovely work appears here often!
- How many photos are there? Over 225.
- How many recipes are there? About 150.
- Have all the recipes appeared on The Kitchn already? Nope! Most of the recipes are brand-new, and we’re so proud of them. We did re-test and re-photograph a few absolute reader favorites, however, so all-star hits like Bacon-Wrapped Potato Bites, Monkey Bread, and Black Bean Edamame Burgers sit side-by-side with new classics like White Bean & Roasted Tomato Chili, Honey-Sriracha Popcorn, and Perfect Brownies 3 Ways.
- Besides recipes, what else is in the book? The recipes are only half of the book. The other half is a full guide to setting up your kitchen, smart tips for tools, stocking the pantry, and cooking basics — all with oodles of photos. The book wraps up with a Gathering: tips for throwing a simple supper party, with photos from Sara Kate’s own home.
- And real-life kitchens! Don’t forget tours — we visit 10 real-life kitchens and peek into the homes of cooks across the country.
This book is packed with so many good things, and we’re so grateful for all the hands that brought it to life! We hope that it finds a spot in your kitchen.