Recipe: Beginner Sourdough Sandwich Loaf

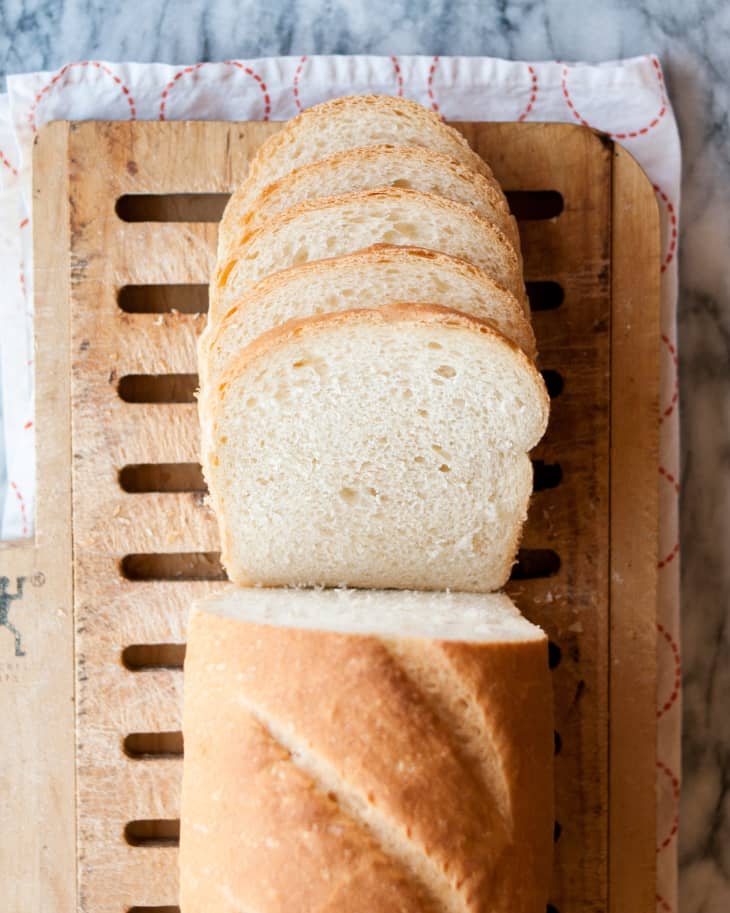
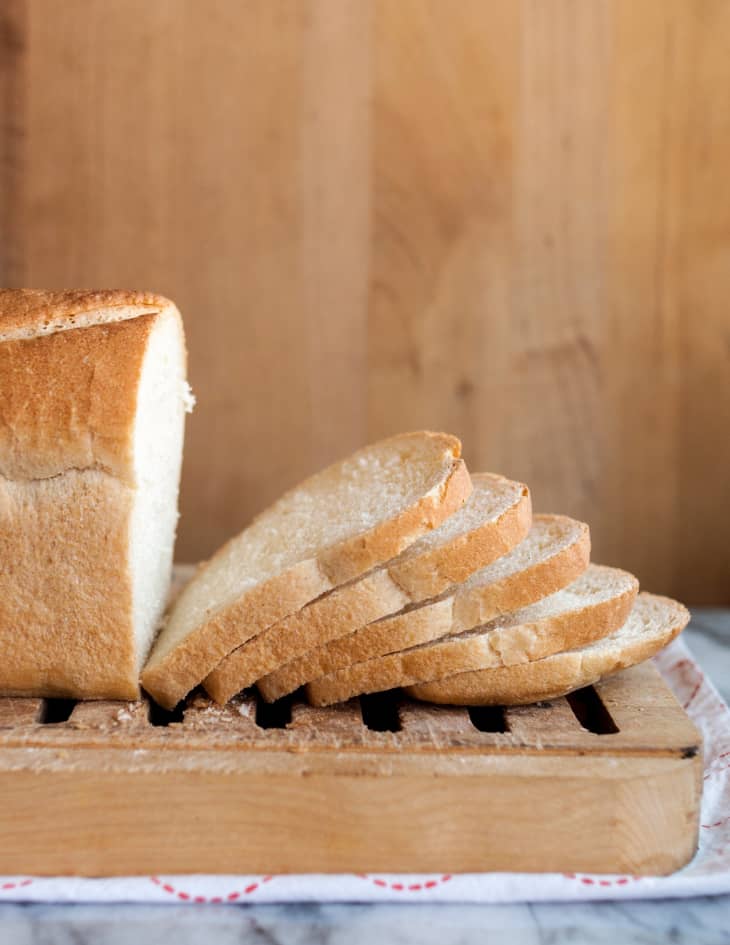
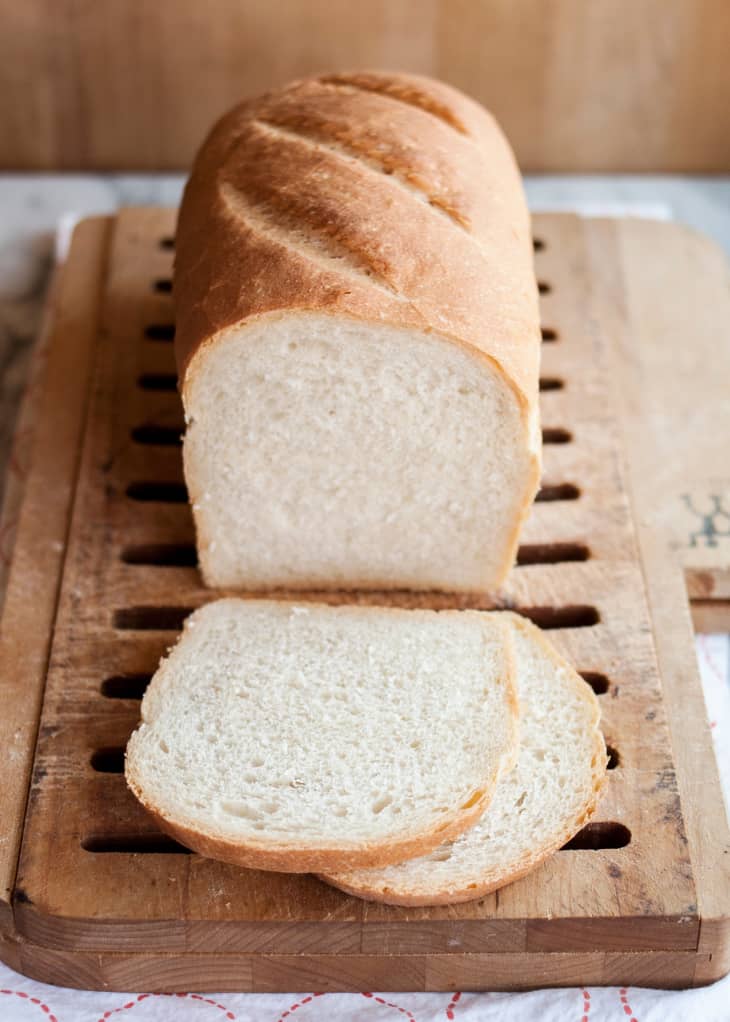
When you’re ready to take your new sourdough starter for a spin, I have just the recipe. Consider this beginner loaf a bridge between regular white sandwich bread and Tartine-style artisan loaves. It uses a few cups of your bubbly sourdough starter along with commercial yeast to add some extra insurance as you’re getting used to working with sourdough. This makes a soft and subtly tangy loaf that’s perfect for tuna fish sandwiches and jam-smeared toast alike.
How Sour Is My Sourdough?
Don’t worry if you make this loaf and find that your bread doesn’t taste as strongly sour as you expected. For one thing, some of those complex sour flavors are only developed over the long, slow fermentation of a fully-sourdough bread. Since we’re using some commercial yeast to speed things along in this recipe, we miss out on some of those flavors. Still, you can get close by giving your bread a slow-rise overnight in the fridge — I’ve noted in the recipe where you have the option to do this.
The flavor and sourness of your loaf will also depend a bit on your starter itself. Sourness is not a result of the wild yeast in the starter, but rather the build-up of acetic and lactic bacteria that are also living in the sourdough starter. If you are using your starter for the first time or refreshed it recently, it might not have quite the flavorful oomph! of a more mature starter. By contrast, if you’re using starter from a batch that’s gone a week or two without being refreshed, you’ll probably notice a stronger sour flavor.
I usually make this particular bread on the weekends when I refresh my sourdough starter and use the portion of the starter I’d otherwise be discarding. I’m not always in the mood (and don’t always have the time) to make a full sourdough loaf, so this one both uses up starter I’d otherwise be tossing and gives me fresh bread for the week.
Tester’s Notes:
This recipe has needed an update for a while now and I’m sorry that it’s taken me so long to get to it! Besides being a good stepping stone to baking full-on sourdough loaves without commercial yeast, I find that this recipe is perfect for those weekends when I need to use up some starter but don’t have the time or energy to make a true sourdough bread. I like to shape this bread into loaves for easy sandwiches, but you can certainly shape it into rounds if you’d like a more artisan-style bread.
If you originally encountered this recipe anytime between now and 2008 when I first posted it, I recommend printing it out again. The original recipe, written in my newbie food writer days, definitely had some issues. My apologies for that! Coming back to it now, I’ve tweaked the amounts of the ingredients, streamlined the steps, and added some better descriptions so you know what to expect.
This is still one of my favorite weekly loaves. It’s soft and tender with just a hint of that sourdough tang — just what I like in a good loaf of bread.
– Emma, February 2014
Beginner Sourdough Sandwich Loaf
Makes 2 loaves
Nutritional Info
Ingredients
- 1 1/4 cups
(10 ounces) water
- 1 1/2 teaspoons
yeast
- 2 cups
(16 ounces) ripe sourdough starter (See Recipe Notes)
- 4 to 4 1/2 cups
(18 to 20 1/4 ounces) all-purpose flour
- 1 tablespoon
kosher salt (or 1 scant tablespoon table salt)
Instructions
Combine the water and the yeast in the bowl of a stand mixer or in a large mixing bowl. Give the yeast a few minutes to dissolve completely. Stir in the sourdough starter until the starter is mostly dissolved (a few stringy bits are ok).
Add 4 cups of the flour and the salt, and stir to make a shaggy dough. With the dough hook attachment and your mixer on low speed, knead the dough for about 8 minutes. Alternatively, turn the dough out on a lightly floured counter and knead by hand. Add flour 1 tablespoon at a time as needed if the dough becomes sticky like bubble gum, but try to avoid adding too much. The dough is finished kneading when it comes together into a smooth ball that's slightly tacky to the touch and holds a ball-shape in your hand. (See more info: How to Tell When Dough is Kneaded.)
Clean out the mixing bowl, film it with a little oil, and return the dough to the bowl. Turn it a few times to coat with oil, then cover. Let the dough rise at warm room temperature until doubled in bulk, 1 1/2 to 2 hours.
Once risen, turn the dough out onto a lightly floured counter and divide it in two. Shape each half into rough balls and let them rest for 20 minutes. Meanwhile, grease two 8 1/2 x 4 1/2 loaf pans.
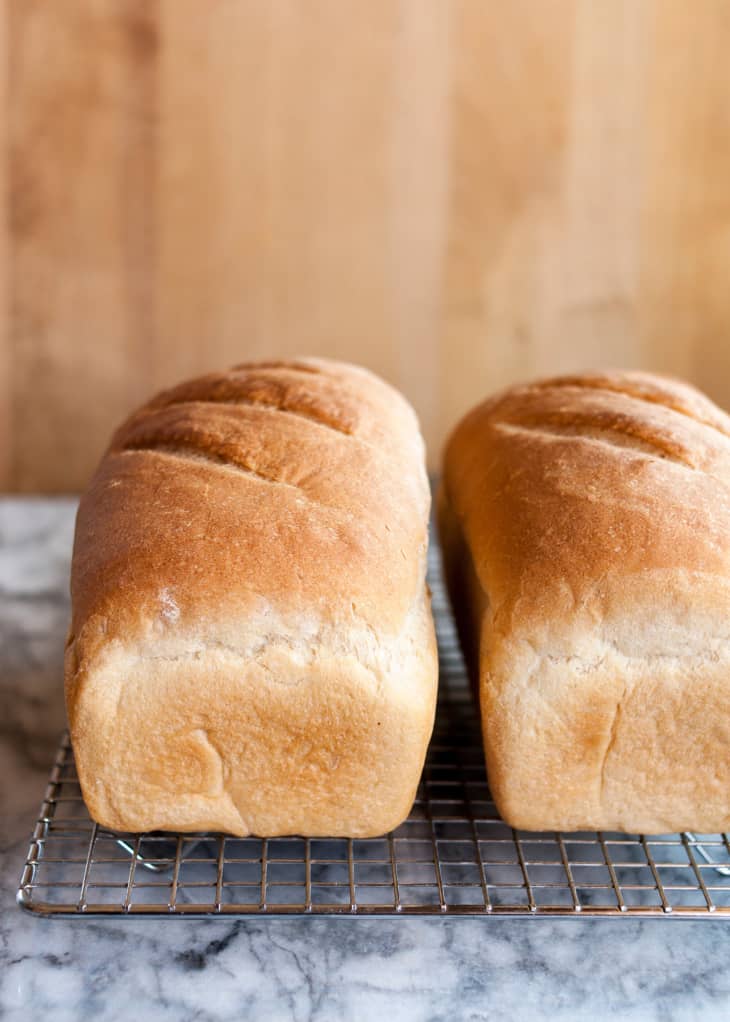
Shape each half into a sandwich loaf. (See more info: How to Shape a Sandwich Loaf.) Transfer the loaves to the loaf pans and cover loosely. Let the loaves rise until they're starting to puff over the rim of the pan, 1 to 1 1/2 hours. Alternatively, put your loaves in the refrigerator and let them rise slowly overnight.
When you see the loaves just starting to reach the rim of the loaf pans, begin preheating the oven to 450°F.
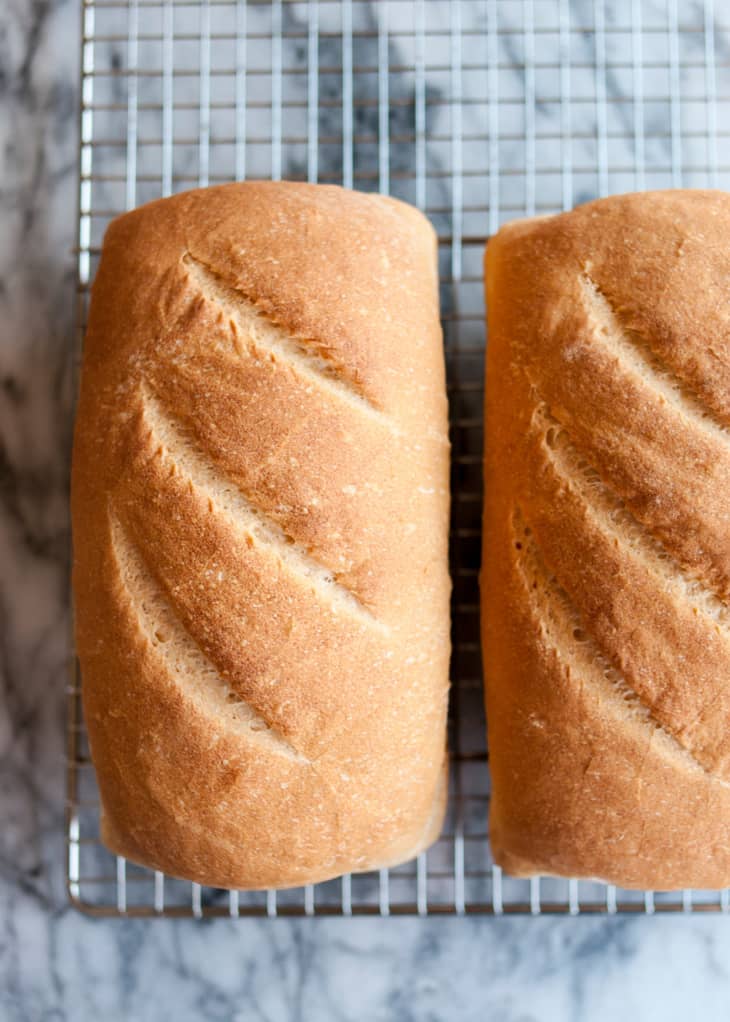
Slash the top of the loaves a few time with a serrated knife or baking lame, and slide them immediately into the oven. For a crispier crust, spritz the inside of the oven with water using a water spritzer before closing the oven. Bake for 10 minutes, then reduce the heat to 400°F. Continue baking for another 25 to 30 minutes, until the tops of the loaves are deep golden brown and the loaves sound hollow when tapped on the bottom. (Total baking time is 35 to 40 minutes.)
Shake the loaves out of the loaf pans and let them cool completely on a cooling rack.
Recipe Notes
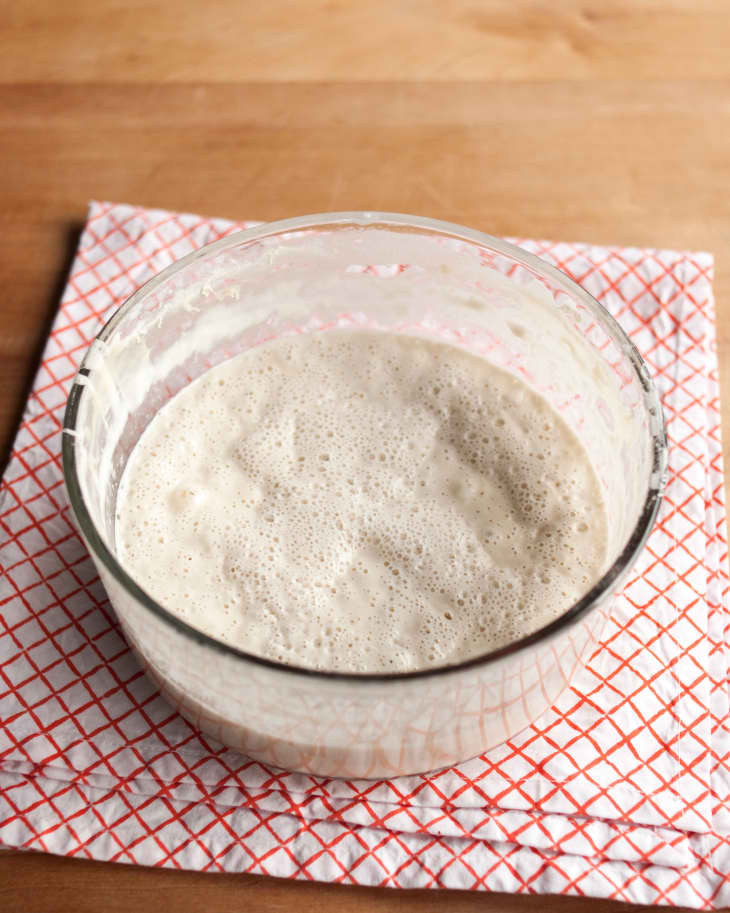
Make sure your starter is fully ripe before using. It should be bubbly and smell very sour.
You can use any amount of starter in this recipe up to 2 cups. If you're using less, make up the difference with equal parts flour and water by weight.
Whole Wheat and Whole Grain Loaves: You can swap up to 2 cups of the all-purpose flour in this recipe for whole wheat or another whole grain flour.
Round Artisan Loaves: Alternatively, shape this bread into round loaves and bake them either on a baking stone or inside a Dutch oven. If baking in a Dutch oven, preheat the Dutch oven with the oven and bake as usual, removing the lid in the last half hour of baking.
This post and recipe have been updated. Originally published April 17, 2008.