
Recipe: Grand Central Bakery’s Biscuit Jammers

In the past, I’ve had a troubled relationship with biscuits. My favorite baked good seemed just beyond my reach. Until now.
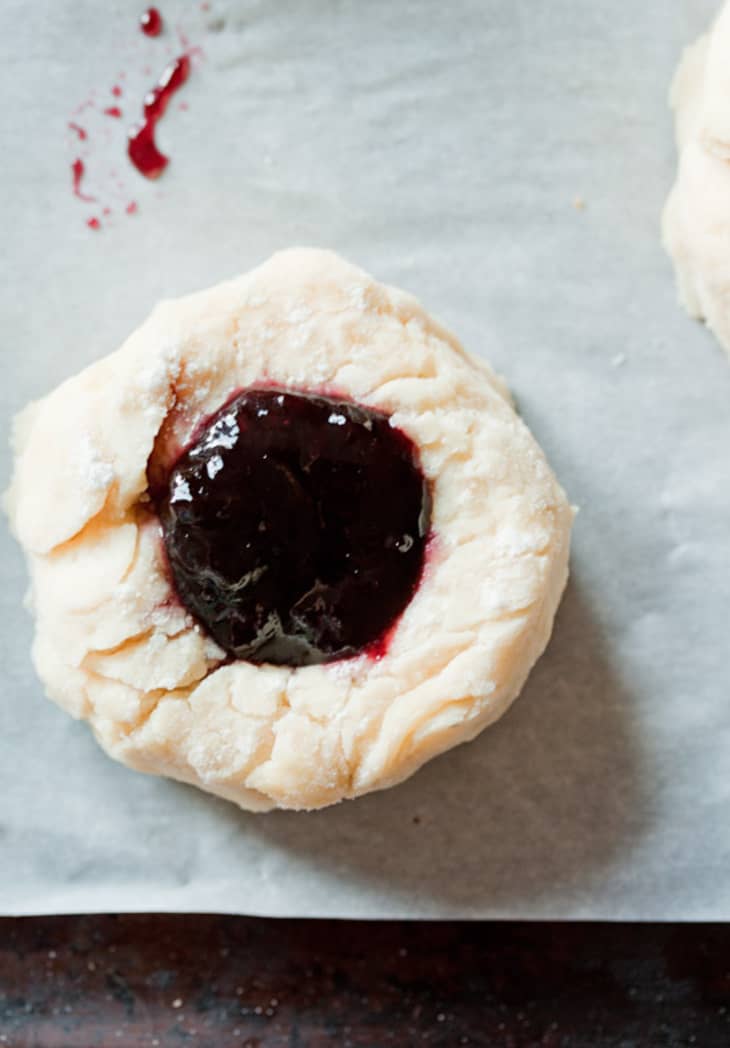
Folks, you were tempted by the photos of Piper Davis making these jam-filled biscuits, “jammers,” during her kitchen tour a while back and now I’m bringing you her pitch-perfect recipe. Your world will be forever changed for the better!
I’ve made biscuits frequently for this site and for my own personal enjoyment, I’ve sampled biscuits at most breakfast joints I come across (I find biscuits a great benchmark on which to judge a restaurant), and my Mississippi-raised mother and I discuss biscuit-ology at length about once per month. She has distilled the tenets of proper biscuit wisdom:
Biscuits have to be both fluffy and crusty. If they’re all fluffy, they’re rolls in disguise. Biscuits can’t be square. That’s a sign they’re mass produced. Biscuits have to have a little flour on the top and bottom. That means they were really kneaded and didn’t come out of a can. Biscuits can’t have sugar in them … at least where I come from. That’s for scones. Biscuits have so few ingredients, you should be able to make them from scratch every time.

With all this talk, you’d think I’d be a pro, but the truth is, I’ve experimented passionately with only so-so results. I was about to throw in the towel at this Holy Grail of a quest, leaving the fluffy, crusty, mysterious all-star biscuits to the professional grandmas and aunties, but then a miracle occurred: I got hooked up with Piper Davis, a celebrated Portland baker, and was invited to photograph her dreamy kitchen.
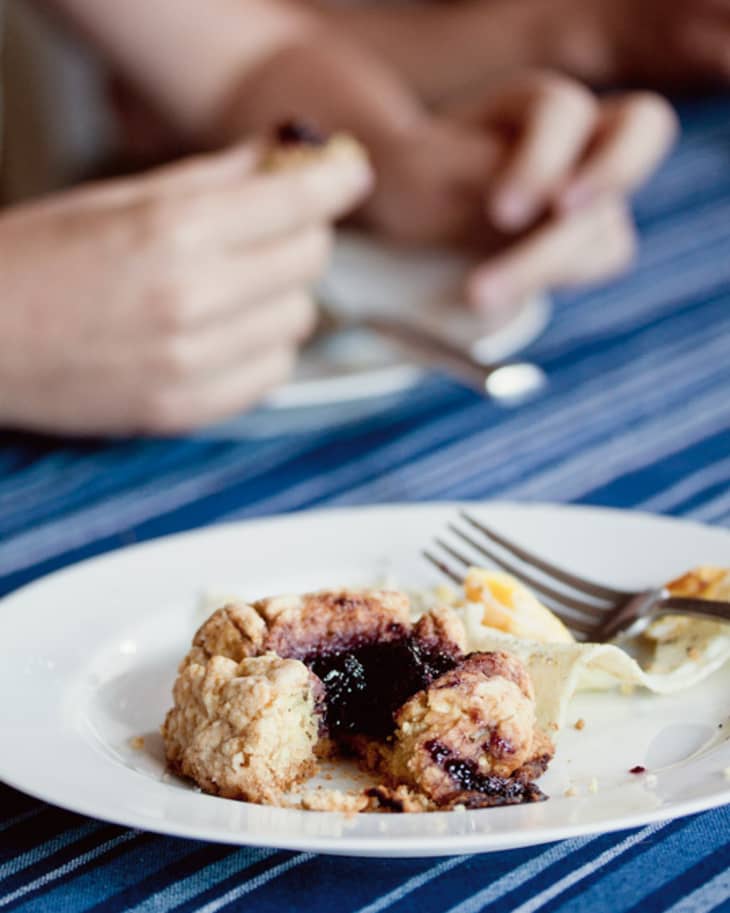
I knew good things were in store for me when she served me a mug of rich coffee with a splash of whipping cream swirled in and then asked if it would be alright if she made me some jammers, crusty biscuits with a dollop of jam cooked at the center.
I’m not sure how often a professional baked-good whisperer offers to make you your favorite thing in the whole wide world and then shows you how it’s done in her stunner of a kitchen, but it’s pretty rare in my book. In fact, this has never happened to me before or since. Thank you, Piper! It was the Halley’s Comet of biscuit experiences. So I looked and listened up good and I learned the biscuit swan song.
My mornings have been altered forever. I now separate my personal timeline into “before the jammers” and “after jammers.” When we dove into the crustiest, jammiest biscuits my mouth ever encountered, I totally lost it. My resolutions to make only smoothies and oats for breakfast vanished from my mind. Gravity stood still and I entered the buttery, nutty, salty, sweet biscuit dimension I’ve been looking for all these years. I was literally swimming in biscuit flavor. There are no more words.
Make the jammers. Follow Piper and Ellen’s explicit instructions (the first time, I tried to cheat and use almond milk in place of buttermilk — what’s wrong with me?) and you will know the way of the perfect biscuit.
Grand Central Bakery Biscuit Jammers
Makes 10 to 12 biscuits
Nutritional Info
Ingredients
- 4 cups
all-purpose flour
- 3 tablespoons
granulated sugar
- 2 teaspoons
baking powder
- 1 1/2 teaspoons
salt
- 1 teaspoon
baking soda
- 1 cup
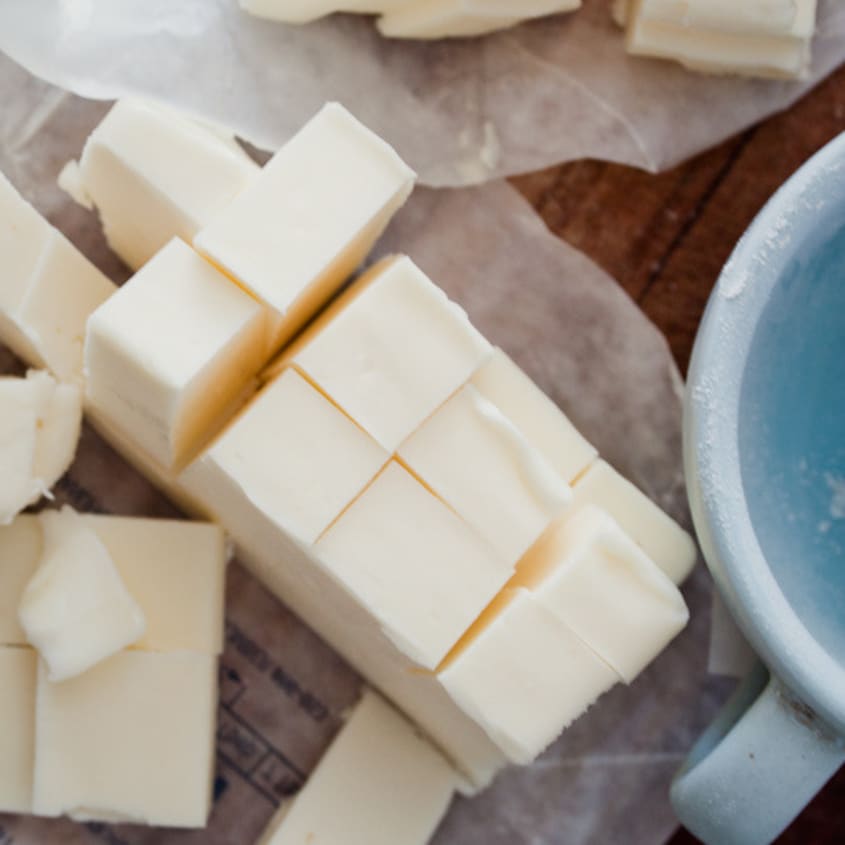
(2 sticks) cold, unsalted butter
- 1 1/4 to 1 1/2 cups
(10 to 12 fluid ounces) buttermilk
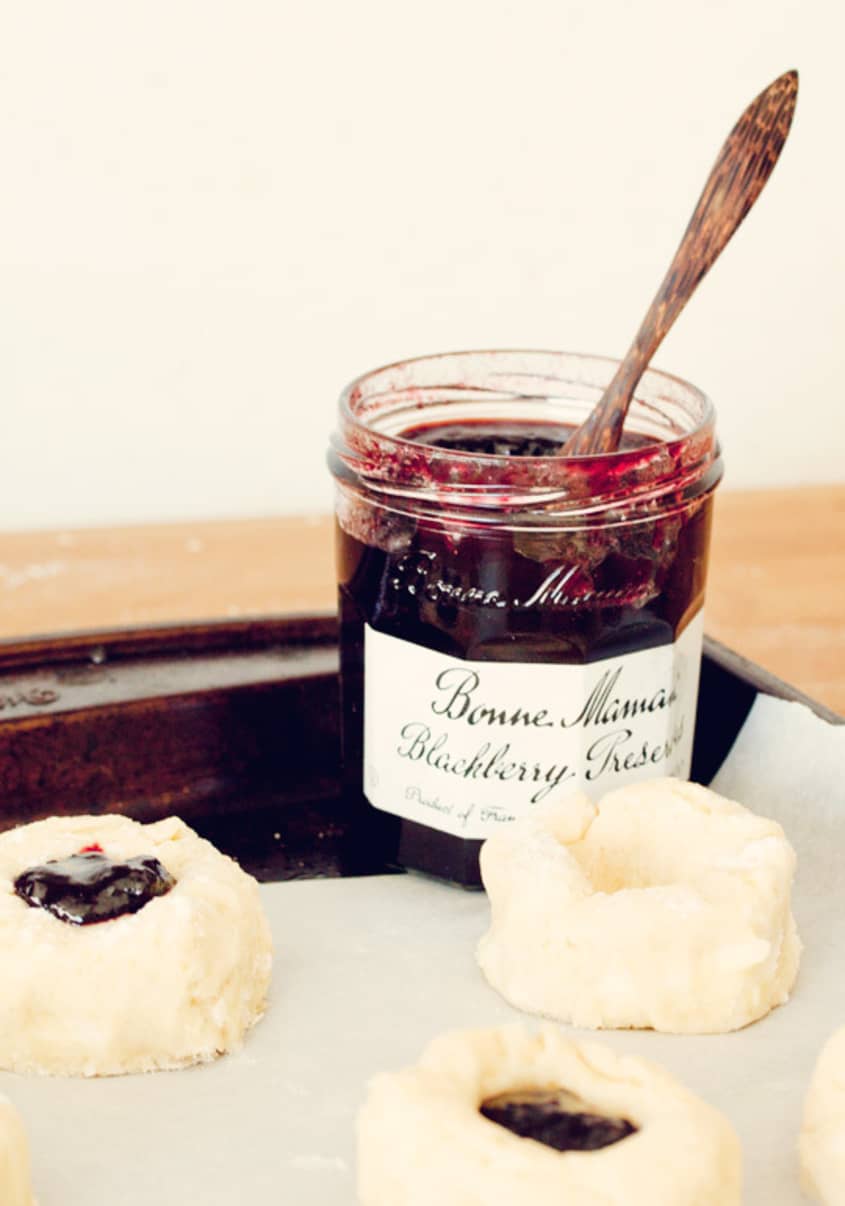
- 3/4 cup
good-quality preserves or jam
Instructions
Preheat the oven to 350°F. Lightly grease a baking sheet or line it with parchment paper. Measure the flour, sugar, baking powder, salt, and baking soda in a bowl with high sides, or the bowl of a stand mixer, and whisk to combine.
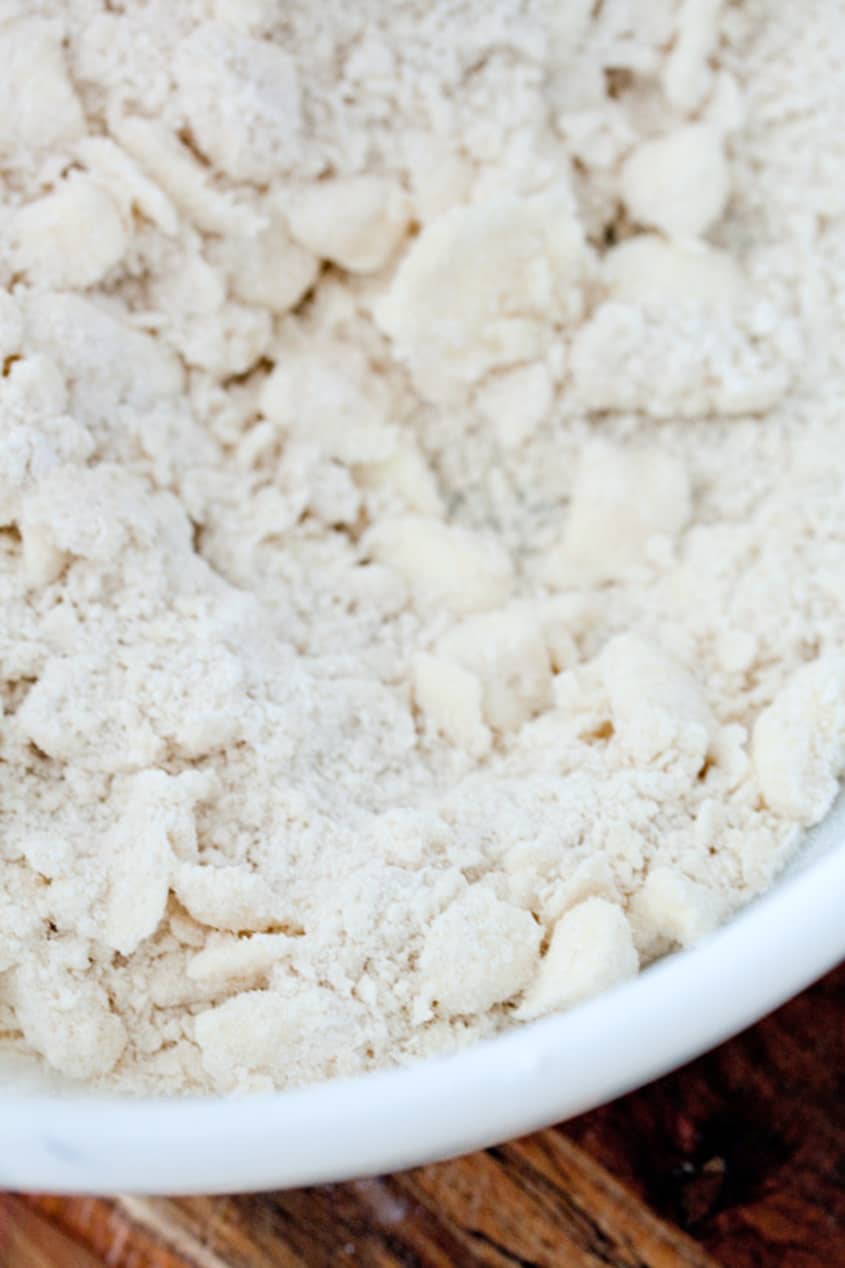
Dice the butter into 1/2-inch cubes. Use your hands or the paddle attachment of the stand mixer on low speed to blend the butter into the dry ingredients until the texture of the flour changes from silky to mealy. There should still be dime- to quarter-sized pieces of butter remaining. If you’re preparing the dough the night before, cover the bowl with plastic wrap and chill overnight; otherwise proceed with the recipe.
Make a well in the flour mixture and pour in 1 cup of the buttermilk in one addition. Gently mix the dough just until it comes together; it will look rough. Scrape the dough from the sides and bottom of the bowl, then add another 1/4 cup buttermilk and mix again to incorporate any floury scraps. The majority of the dough will come together on the paddle if you are using a stand mixer. Stop mixing while there are still visible chunks of butter and floury patches.
The dough should come out of the bowl in 2 to 3 large, messy clumps, leaving only some small scraps and flour around the sides of the bowl. If the dough is visibly dry and crumbly, add up to 1/4 cup more buttermilk, 1 tablespoon at a time, mixing no more than one rotation after each addition.
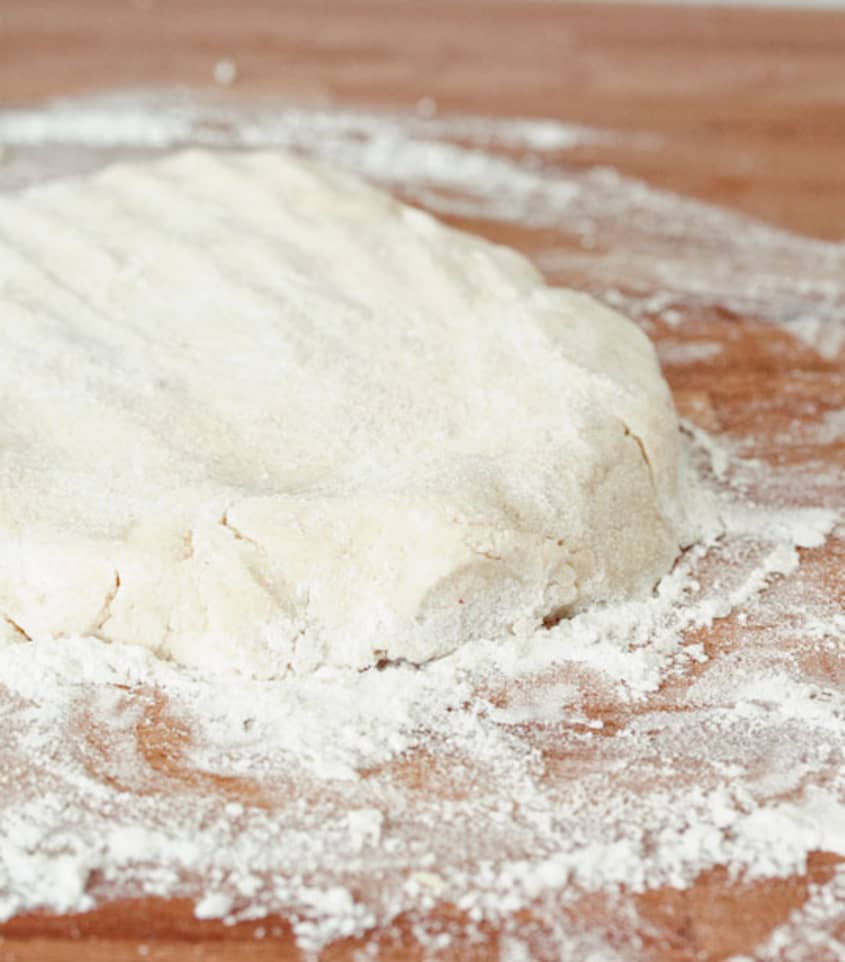
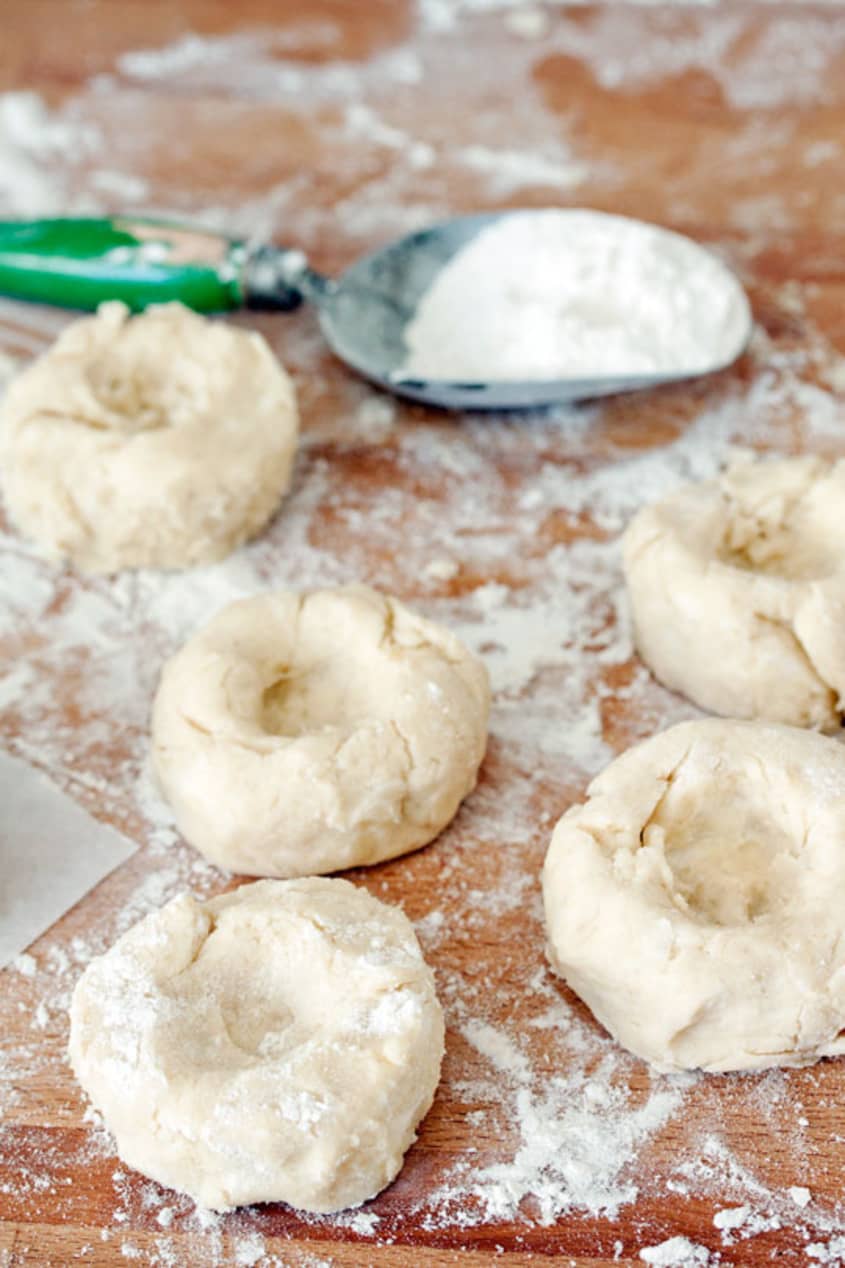
Turn the dough out onto a lightly floured surface. Use the heels and sides of your palms to gather the dough and gently pat it into an oblong shape 1 1/2 to 2 inches thick. It won’t look smooth or particularly cohesive; that’s okay. Use a biscuit cutter to cut the jammers into circles at least 2 1/2 inches in diameter. Layer the leftover scraps on top of one another and gently pat them out to a thickness of 1 1/2 to 2 inches and again cut into circles.
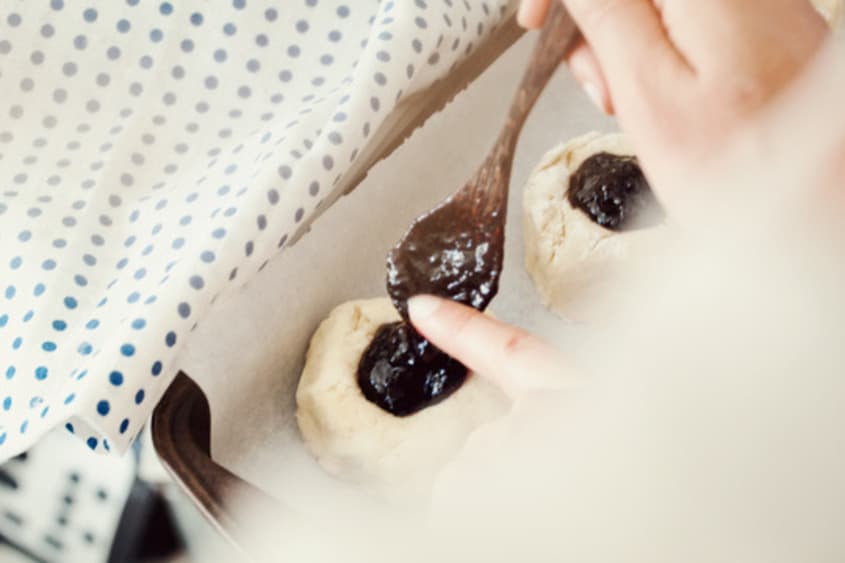
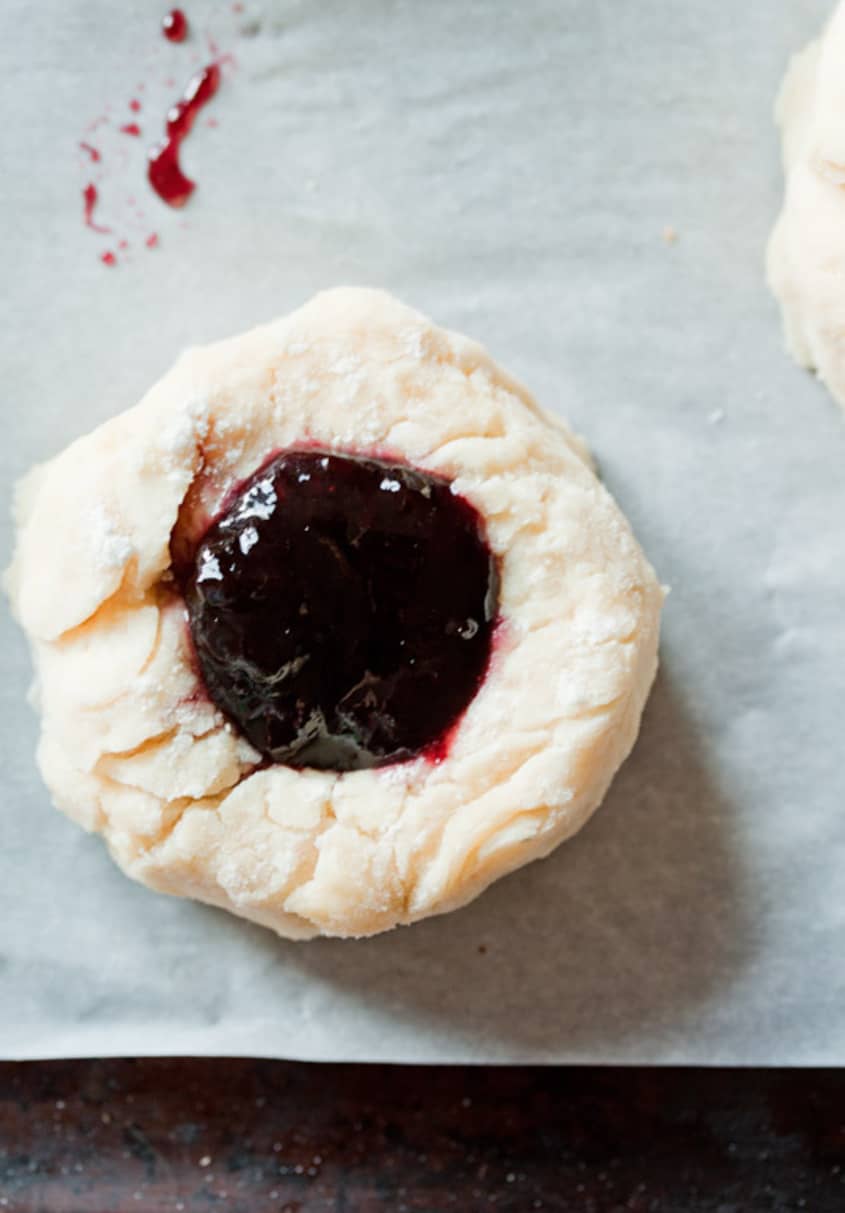
Use your thumb to make an indentation the size of a fifty-cent piece in the middle of each biscuit. While gently supporting the outside edge of the biscuit with your fingers, use your thumb to create a bulb-shaped hole that’s a bit wider at the bottom and that goes almost to the bottom of the biscuit (think "pinch pot"). Try to apply as little pressure as possible to the outside of the biscuit to avoid smashing the layers, which are the key to flaky jammers. Fill each indentation with 1 tablespoon of jam and put the jammers on the prepared baking sheet with 1 1/2 inches between them.
Bake for 35 to 40 minutes, rotating the pan halfway through the baking time. The jammers should be a deep golden brown.
Recipe Notes
This recipe was originally published August 2011.
Reprinted with permission from The Grand Grand Central Baking Book by Ellen Jackson and Piper Davis, copyright © 2009. Published by Ten Speed Press, an imprint of Random House LLC.