
How To Tie a Roast

Makes1 tied roast

Honestly, I bought my spool of kitchen twine for a craft project, not for tying up roasts. But having the spool on hand proved incredibly useful when an oddly shaped roast came home from the butcher. Tying a roast does more than just make the roast look tidier in the pan and on the plate, but not every roast needs to be tied. Here’s when and how to tie large roasts like pork loin and beef tenderloin roasts.


When and Why You Should Tie a Roast
Almost any kind of meat can be tied for a number of reasons. For example, stuffed or rolled chicken breasts are sometimes tied to hold in their filling while cooking. For our proposes, we’ll primarily be talking about tying large cuts of meat like pork loin, beef tenderloin, or prime ribs roasts. Here are three times when you’ll want to tie a roast and each of their benefits.
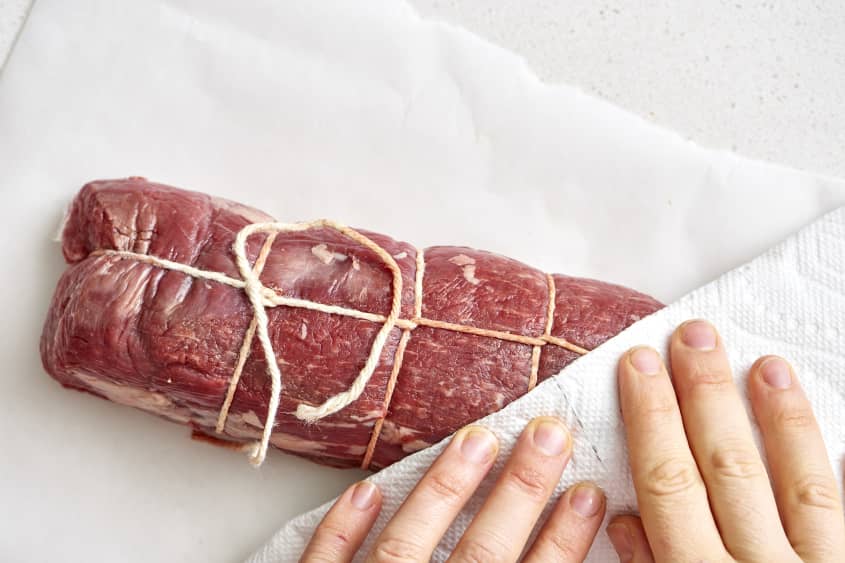
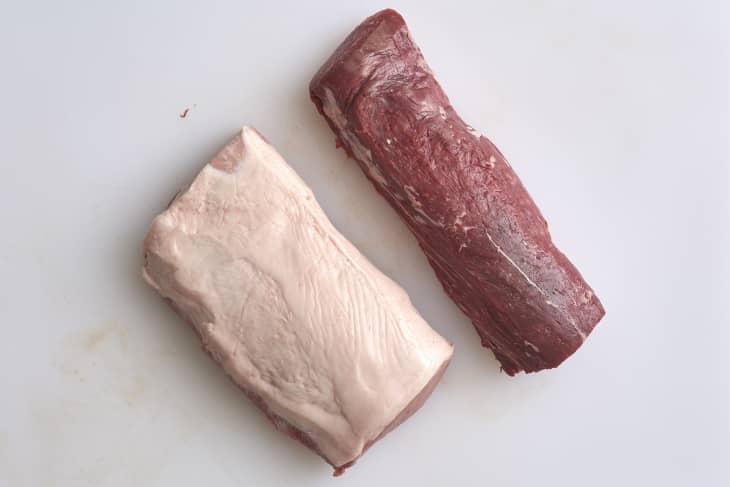
- Your roast is unevenly shaped: This happens most often with beef tenderloins, where the ends can be thinner. Folding the thinner end under the rest of the loin makes for a neater presentation and prevents the smaller ends from overcooking.
- When your roast is split and stuffed: Want to add rosemary and garlic to your pork roast? You can split it down the middle, stuff it, and tie the meat back together for roasting.
- For a perfectly cooked roast: Beyond just tying up a tail end, tying can be used for prime rib roasts where the rib bones are cut off the meat and tied under the roast to elevate the roast without a rack, making for a more evenly cooked roast.
What Twine Is Best for Roast?
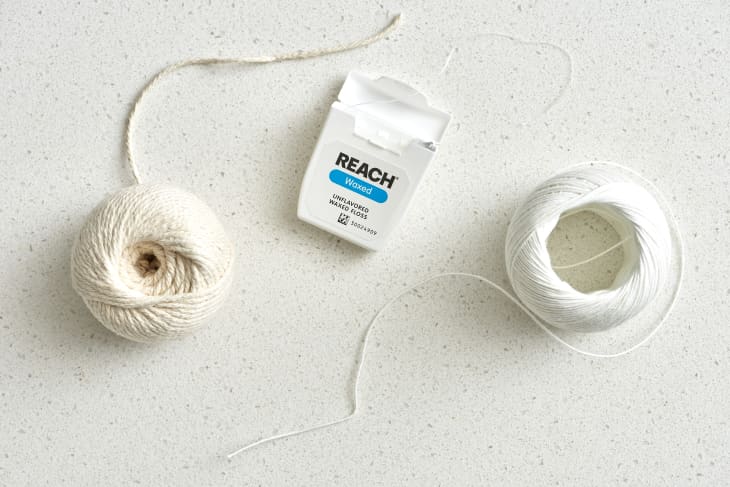
Adeptly named kitchen or butcher’s twine, this kind of twine is made of cotton and preferred by professionals for its ability to grip the meat. Linen twine is another acceptable option, but comes with a much higher price tag than its cotton counterpart. Skip the colored, synthetic, or poly twine. In a pinch, reach for unwaxed dental floss if you can’t find cotton or linen twine.

How to Tie a Roast
There are several methods for tying a roast, and while this classic butcher’s method takes a little more practice, it has many benefits. Since this method relies on a half hitch knot, you can easily adjust the tension of each loop without having to untie and re-tie several sections.
- Secure the twine. Make a slip knot on one end of the roast. This is the anchor for your twine. Using a slip knot to set the twine in place means you can adjust this knot’s placement and tension at any point during the tying.
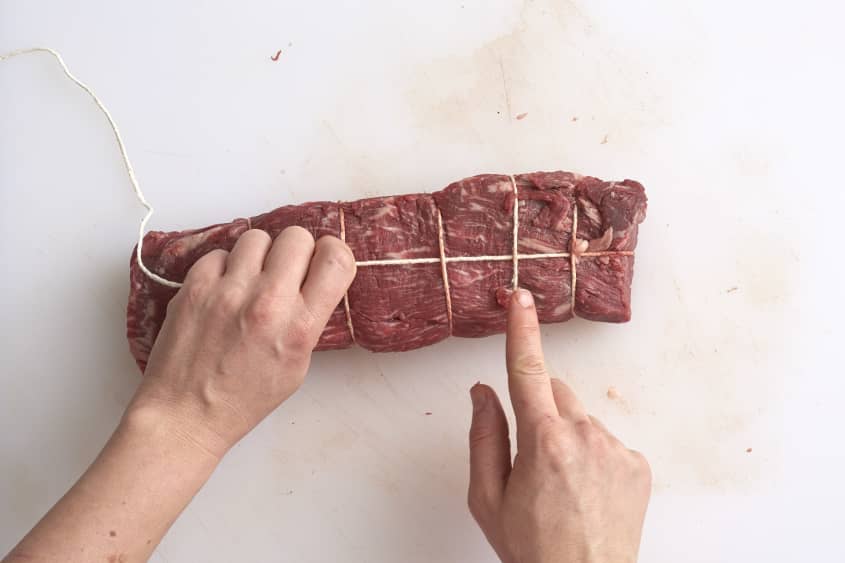
- Make a series of loops or half hitch knots to cover the roast. Here’s the real work of this technique: You’ll pull a length of twine out away from your anchor and create a large, loose loop. Slide this loop over the roast and shimmy it up about an inch from your anchor knot. Then repeat to the length of the roast.
- Tie the roast from end to end. Once your roast is tied around its width, run the twine down the length of the roast, securing it under the loops. Pull the twine so that it’s taut around the roast, but not too tight that it squishes the roast. Secure the twine at your anchor knot and trim any excess. Now it’s time to roast!
Use This Technique
You’ll primarily see recipes call for tying a roast when the meat being used is improved in any the tying, here we use tying to keep a beef tenderloin beautiful while it is browned and then covered in a salt dome.
How To Tie Any Roast: The Easiest, Simplest Method
Makes 1 tied roast
Nutritional Info
Ingredients
- A roast of any size, such as beef tenderloin
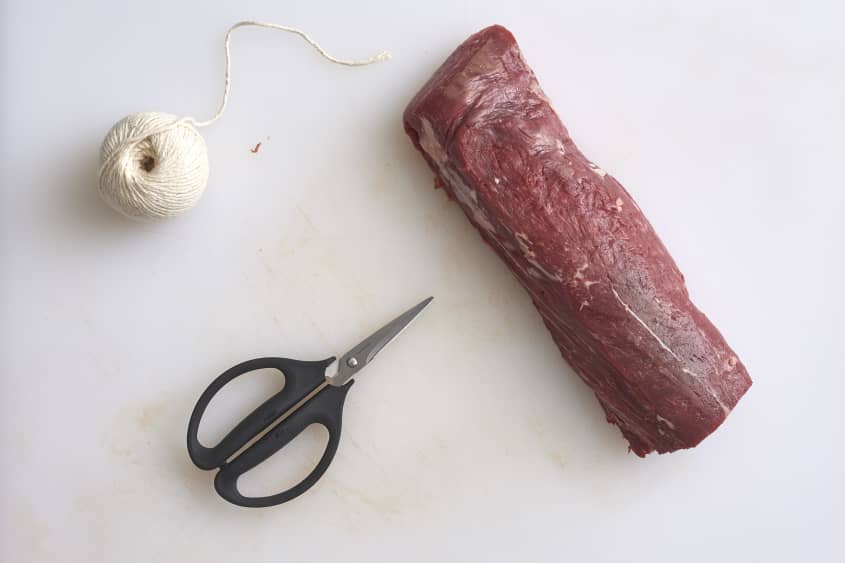
Equipment
- Kitchen or butcher's twine
- Scissors
Instructions
Set up a work station. Set the roast on a clean cutting board and cut 3 feet of twine.
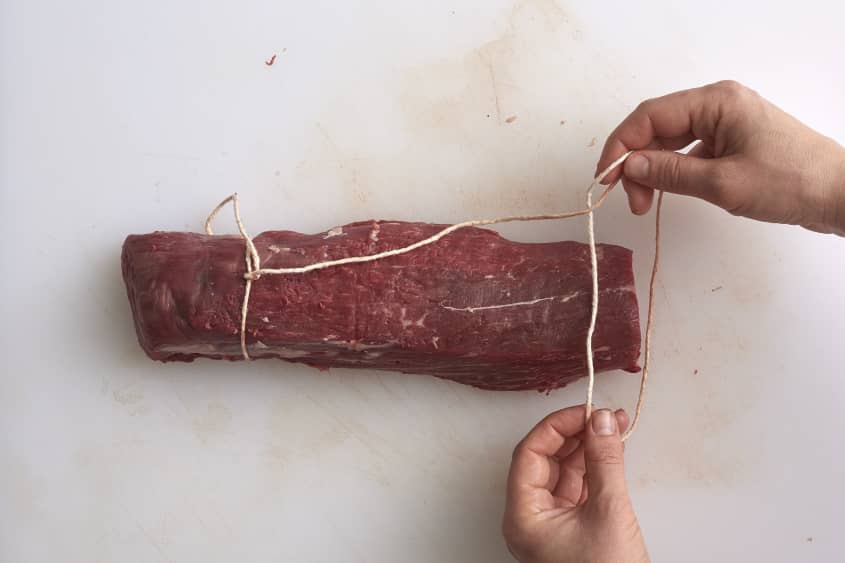
Secure the twine with a butcher's knot. Wrap the twine around one end of the roast and secure tightly with a square knot: Slide the twine under one end of the roast with the cut end at the bottom and the longer end coming over the top, making sure you have a good 3 to 4 inches of twine on the cut end. Bring the two ends together towards you. Make a loop with the cut end and cross it over to create a knot — the knot should easily slide to tighten.
Wrap the twine around the roast using a series of half hitch knots. Next, you're going to create a series of continuous or half hitch knots: The first is to simply pull a length of twine towards you and make a large open loop, slide this loop under the roast and shimmy it along the roast until it is about 1 inch from the first knot. Repeat until you have a series of loops down the roast and then pull to tighten. At this point you can easily manipulate the twine, moving the loops or the knot to make them as evenly spaced as possible.
Continue the twine around the other side of the roast and then tie to secure. Flip the roast over and access the loops from this side — again shimmy-ing the loops as needed to make them even. Wrap the long end of twine over the end of the roast and then pass it over and under the loops on the underside of the roast. Pull to tighten. Finally, wrap the end of the twine over the starting end of the roast and secure it with another knot where you started.