
How To Sear Meat Properly

Searing meat is 100% about building flavor. And oh, what flavor it is! When that meat hits a scorching hot pan, the surface instantly begins caramelizing. In your stew or braise or roast, this translates into the kind of deep, savory flavor that we crave on an almost a cellular level. This is the flavor that makes us want to lick our plates clean. No sear, no plate-licking good times. Here’s how to do it.
Searing meat might seem like an unnecessary and time-consuming step in a recipe. After all, you’re not actually cooking the meat here — that usually happens in the oven or as the stew simmers. You’re also not sealing in juices — that’s a myth. You’re not really doing much of anything, in fact — except building that sublime flavor.
How much can some caramelization action affect the flavor of your finished dish? Quite a lot. Imagine a steak that gets grilled over high heat: all those complex savory, nutty, deeply caramelized flavors! Now imagine a steak cooked over medium heat: grey and moist, tasting….utterly boring. That same flavor (or lack of flavor) is what we’re talking about in a braise or a soup.
I strongly feel that searing meat is worth the effort. It’s an extra bit of work that results in a huge pay off in the flavor of your finished dish.
Convinced? Not convinced? Let’s discuss in the comments. Meanwhile, here are some key pieces of advice to keep in mind:
Make sure your pan is hot
High temperatures are needed to get a truly caramelized, deep-brown sear on the surface of the meat. Use a stainless steel or a cast iron skillet for this kind of cooking; avoid nonstick skillets. Add a few teaspoons of vegetable oil (which has a higher smoke point) and set the pan over high heat. Pat the meat dry as the pan heats — this helps keep it from steaming instead of searing. When the oil starts to shimmer and smoke just slightly, you’re ready to add the meat.
Use a thin coating of oil
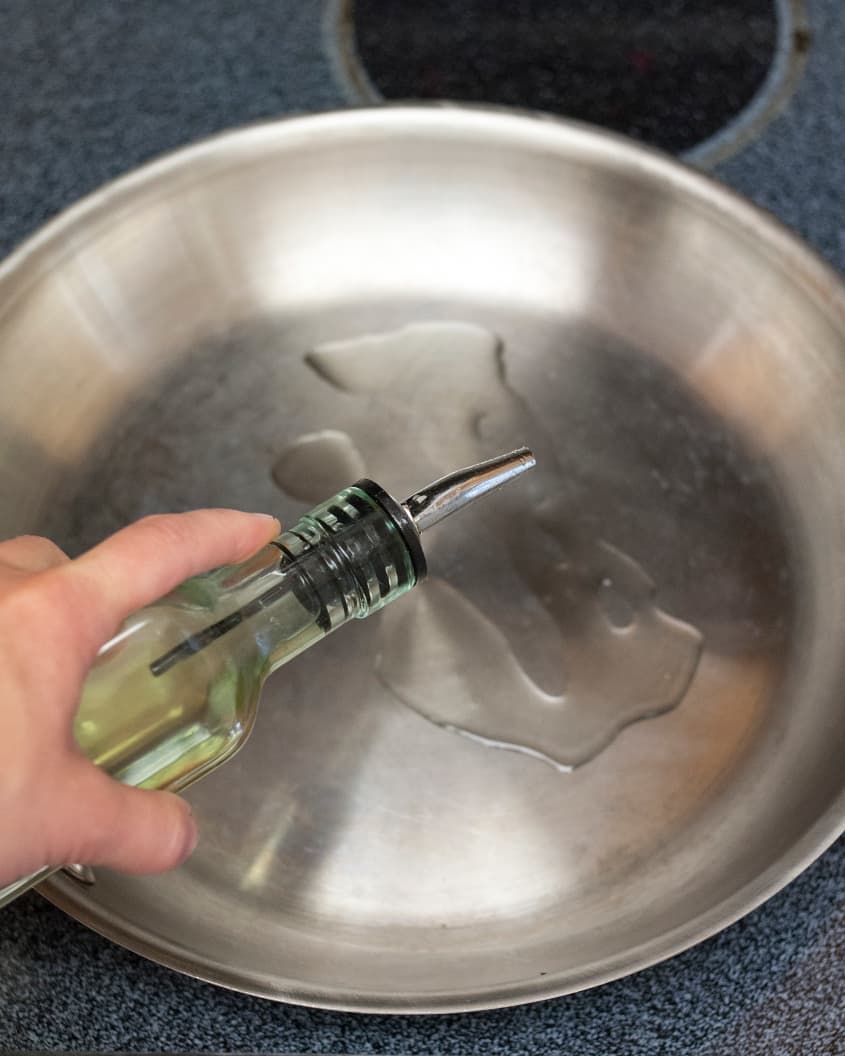
When searing, the oil is less of a cooking medium and more of a way to get uniform surface contact between the meat and the pan. This will give you a nice, even caramelization and prevent some spots from burning while other spots are still pale. As it’s heating, swirl the oil around to get a thin coating over the bottom of the pan.
Don’t crowd the pan
If you’re cooking one large piece of meat, make sure to use a pan large enough to hold it. If you’re cooking smaller pieces of meat, like for a stew, leave a few inches of space between the pieces of meat. This also ensures even cooking and prevents crowded meat from steaming instead of searing.
Resist the temptation to fuss
Once you’ve put the meat in the pan, let it be. I know how tempting it is to take a peak under the meat or move things around like we do for a sauté, but try to resist! Meat needs a few minutes of uninterrupted contact to properly sear — it will actually stick to the bottom of the pan at first and then release naturally when seared. After a few minutes, shake the pan. If the meat releases from the pan, it’s ready to be flipped to another side.
Once you’ve seared all sides of the meat, you’re ready to transfer the meat to your braise, put it in the oven to roast, or continue with whatever cooking method your dish calls for.
How To Sear Meat
Nutritional Info
Ingredients
- Beef , pork, lamb, chicken or any other meat
- Vegetable oil
- 1 cup red or white wine, broth, or water, to deglaze the pan
Equipment
- Heavy-bottomed stainless steal or cast iron skillet
- Tongs
- Stiff spatula
Instructions
Choose the right pan: To properly sear meat, a stainless steel or cast iron skillet are the best. These can be heated to very high heat and help sear the meat evenly and rapidly. Enamel-lined pans and Dutch ovens can be used, but err for slightly lower heat as the enamel can crack. Do not use non-stick pans for searing.
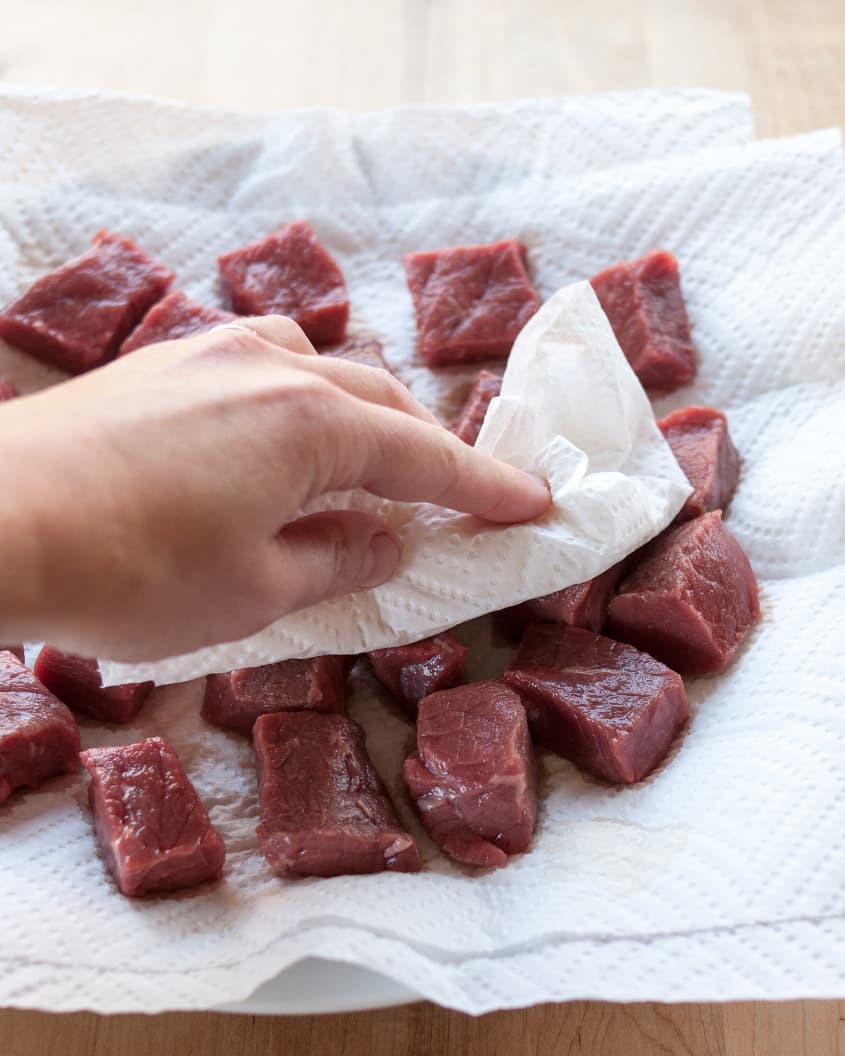
Prepare the meat: Prepare the meat in the manner you're planning to cook it — chop large cuts of meat into bite-sized pieces for a stew, tie up a roast with twine, and so on.
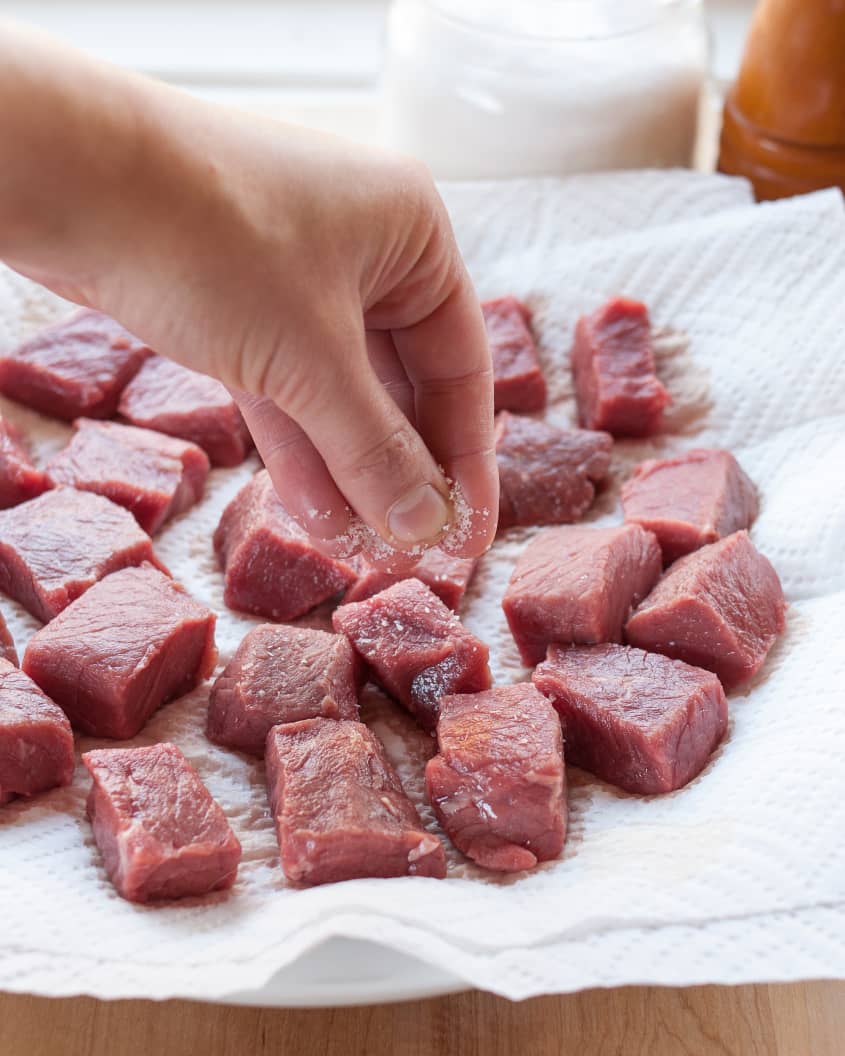
Pat the meat dry: Pat the meat dry with paper towels. This improves the contact between the pan and the meat and creates less steam during cooking.
Season with salt and pepper: Just before cooking, sprinkle the meat with salt and pepper. Wait to do this until you're ready to actually put the meat in the pan, otherwise the salt draws moisture out of the meat and you'll need to pat it dry again.
Heat the skillet to medium-high: Set the skillet over medium-high to high heat. After you've seared a few batches, you'll know how high you can push it with your particular stove and your particular skillet. (On my electric stove, I start at medium-high and end up adjusting to down a few notches as the pan gets hot.)
Coat the pan with oil: Coat the pan with enough vegetable oil to film the bottom of the pan. When it shimmers and flows smoothly, it's ready.
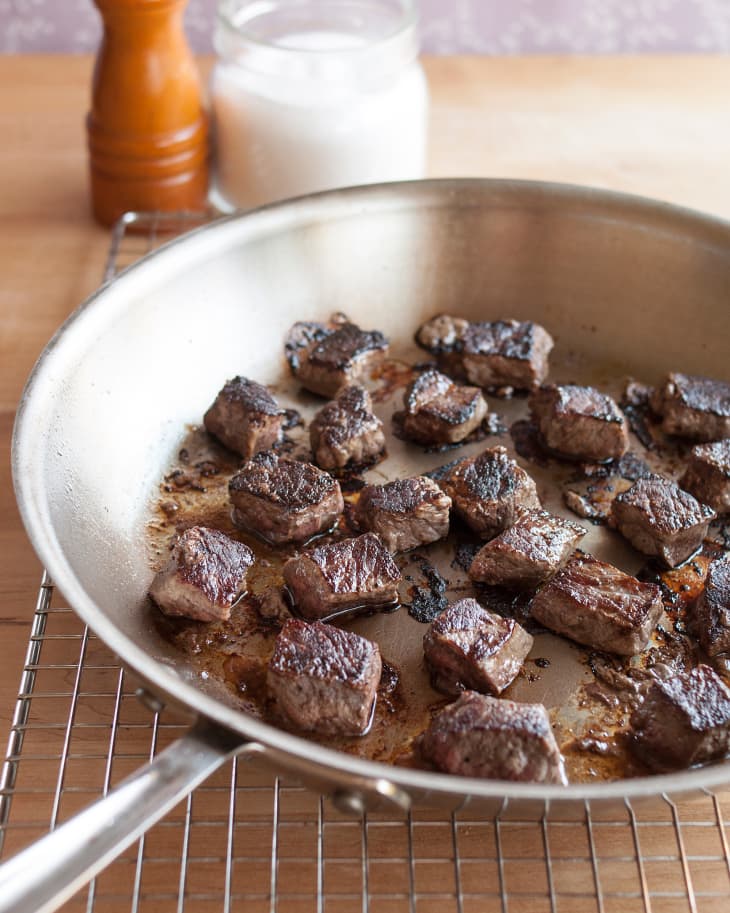
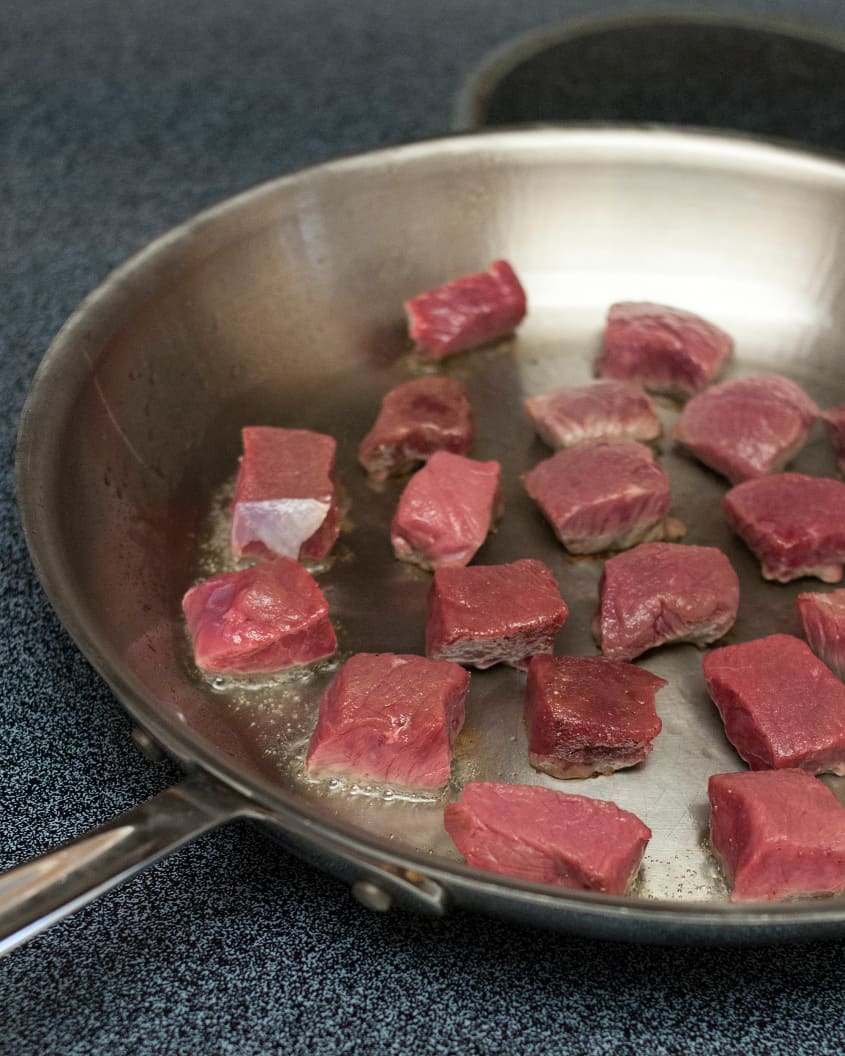
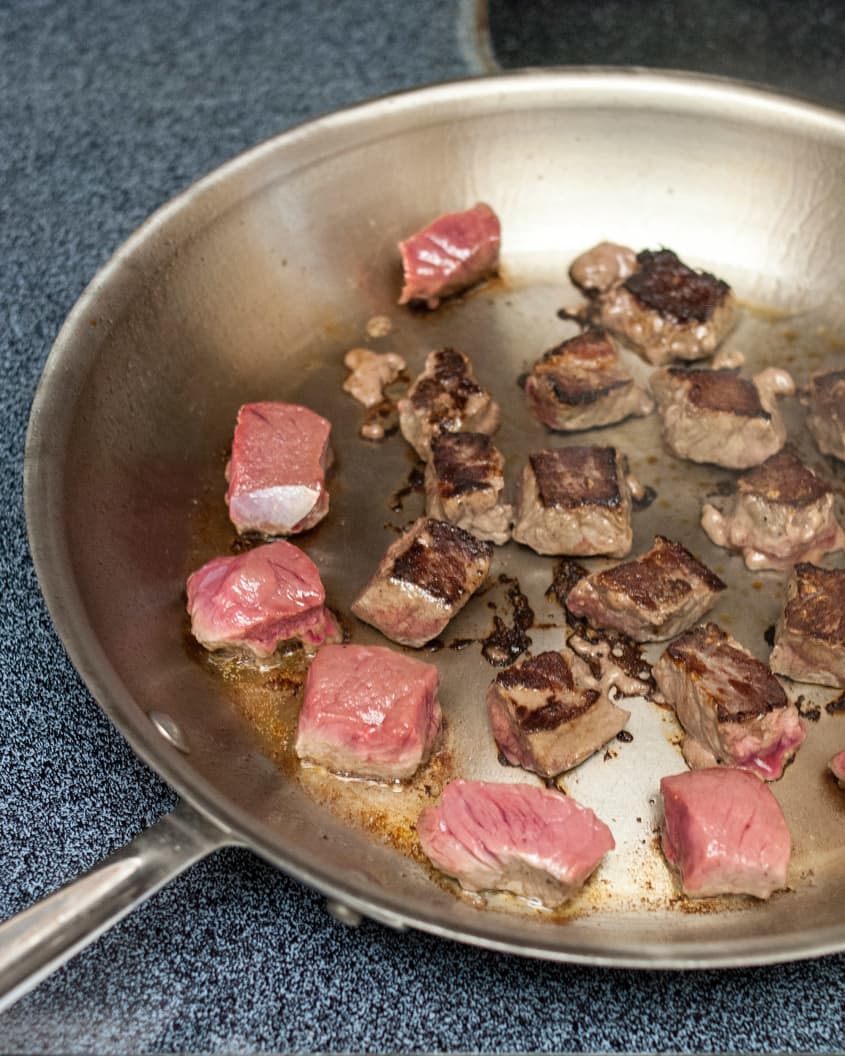
Add the meat to the pan: Gently set the roast or pieces of meat in the pan. The meat should sizzle on contact and become "glued" to the bottom of the pan. If you are cooking pieces of meat, arrange them in a single layer an inch or so apart; cook in batches if necessary.
Let the meat sear without moving: For the first minute or two, do not move the meat. Do not try to pry it off the pan; just let it sizzle.
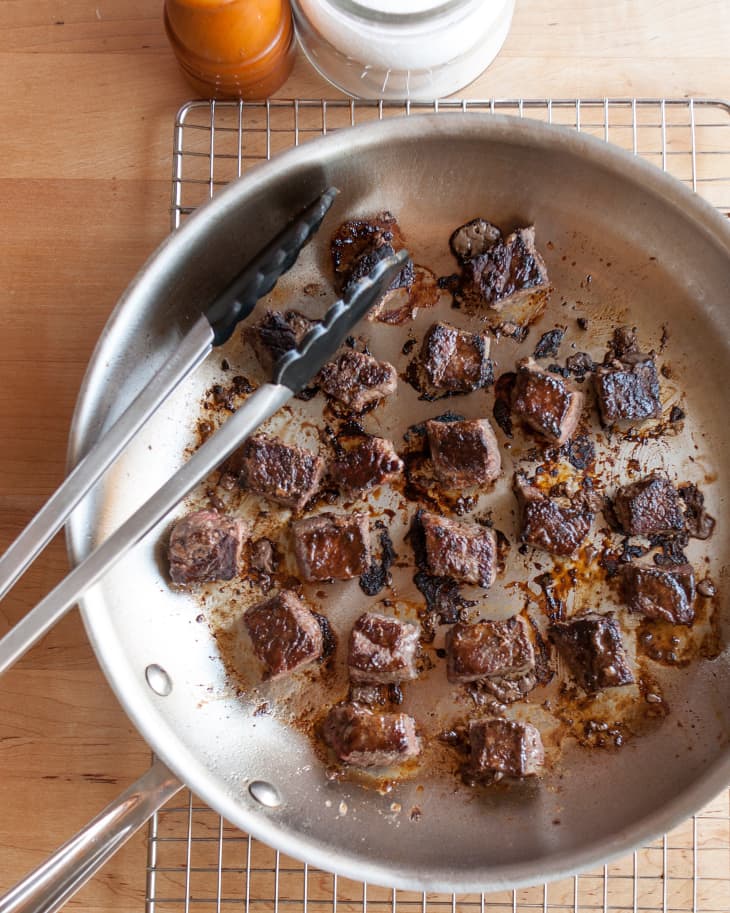
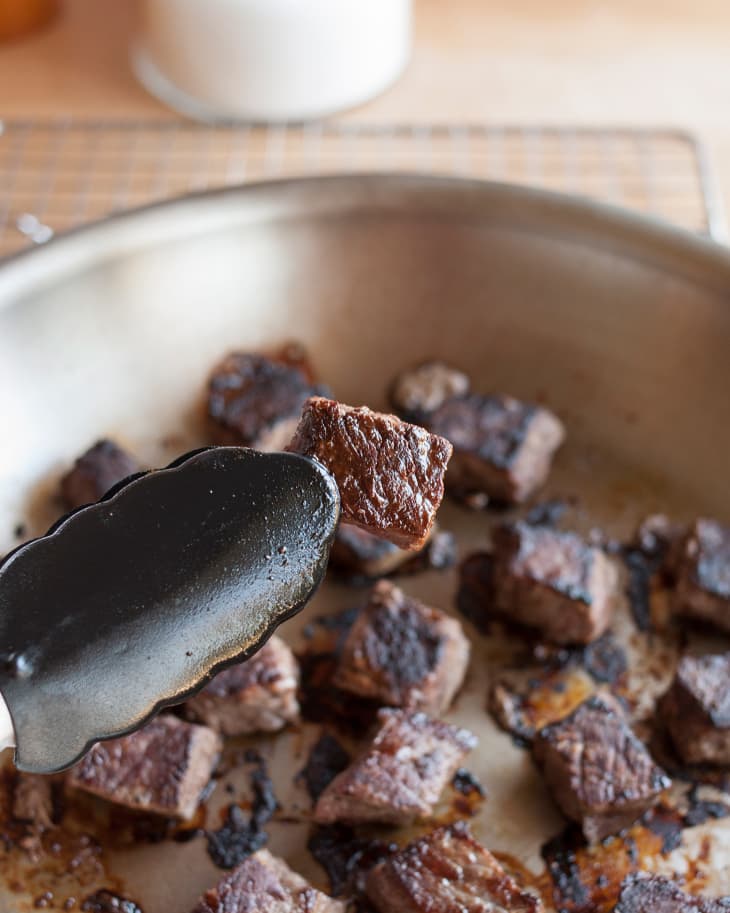
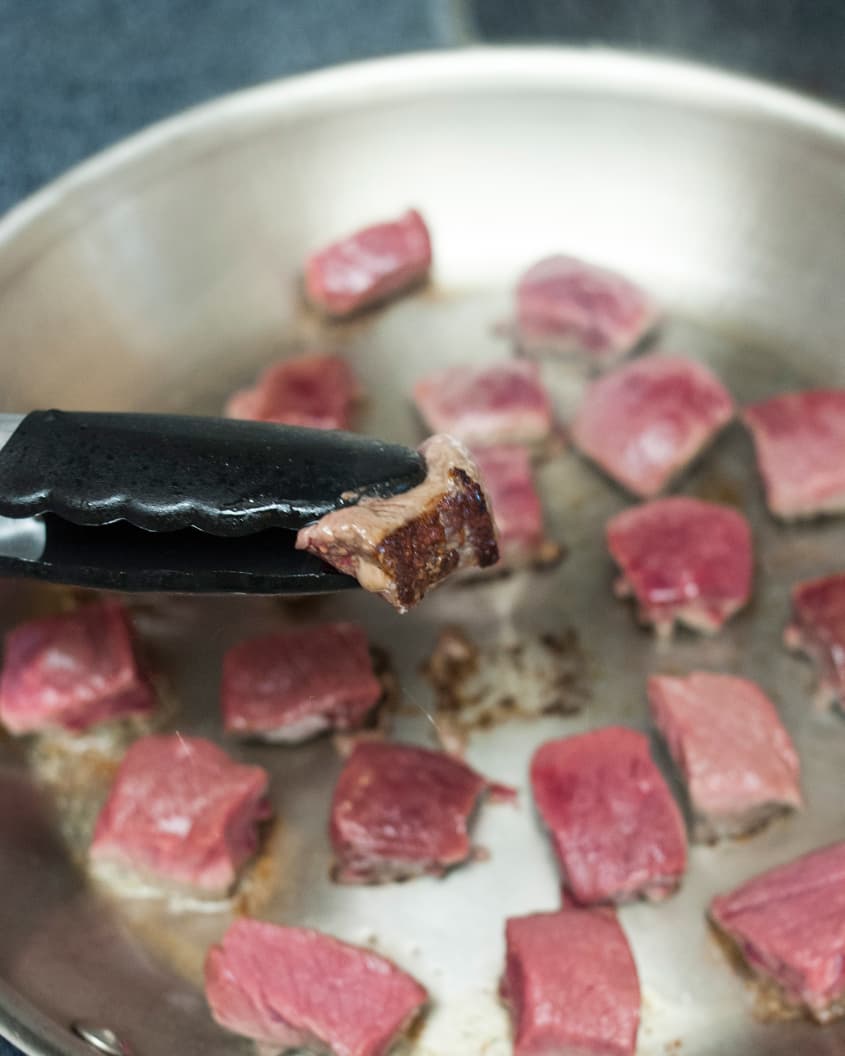
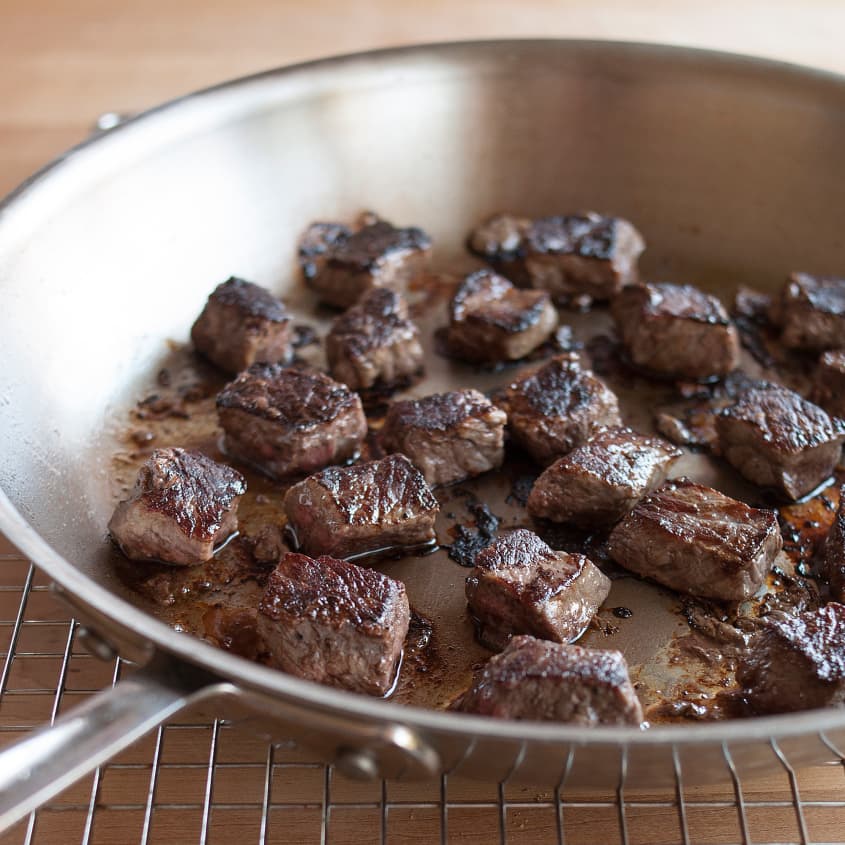
Flip the meat: Once the first side has completely seared, it will release easily from the pan. Shake the pan gently every so often to see if it has released. When it does, flip the meat (or pieces of meat) to the other side. The seared surface should be caramelized dark brown. → If the glaze on the bottom of the pan starts looking very dry or you smell the odor of burning, lower the heat and add a little more oil to the pan.
Continue searing the meat: Again, do not move the meat as the second side sears. It will release easily when it has seared. If you are cooking a roast, continue to cook on all sides. For smaller pieces of meat, cook the sides if desired, or transfer them to a clean plate and continue searing the remaining meat in batches; deglaze the pan between batches (see below) and add more oil as necessary.
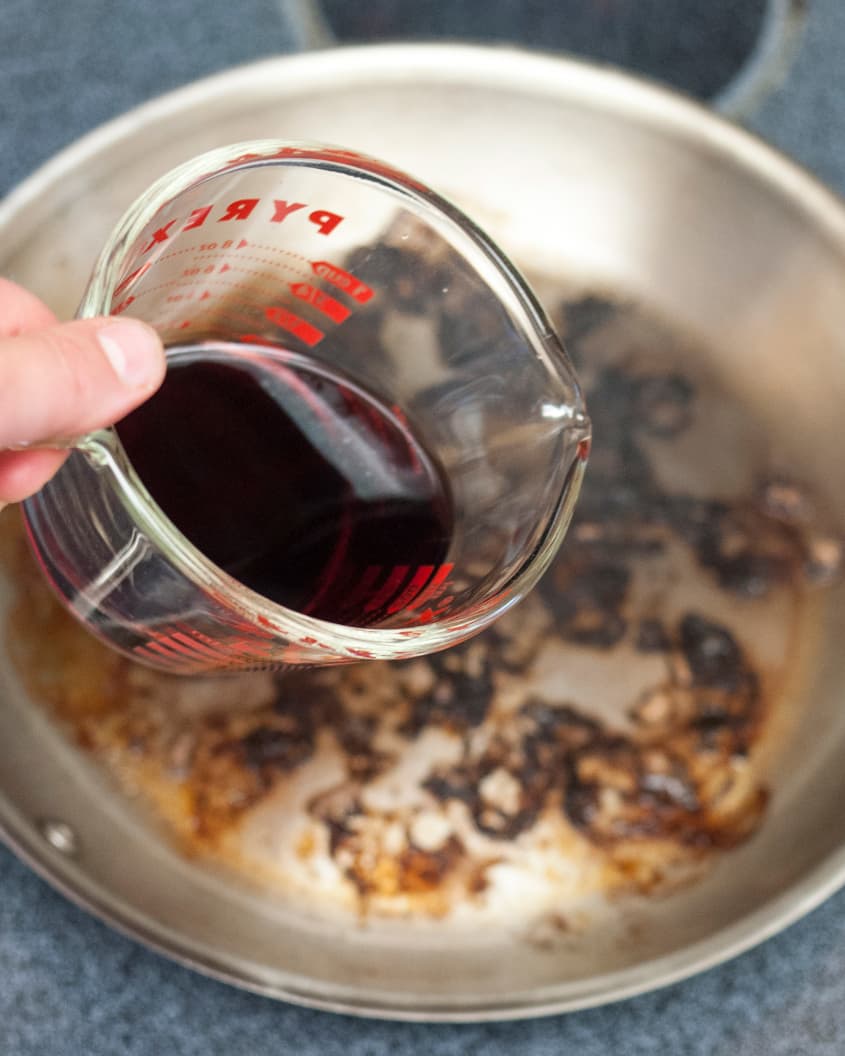
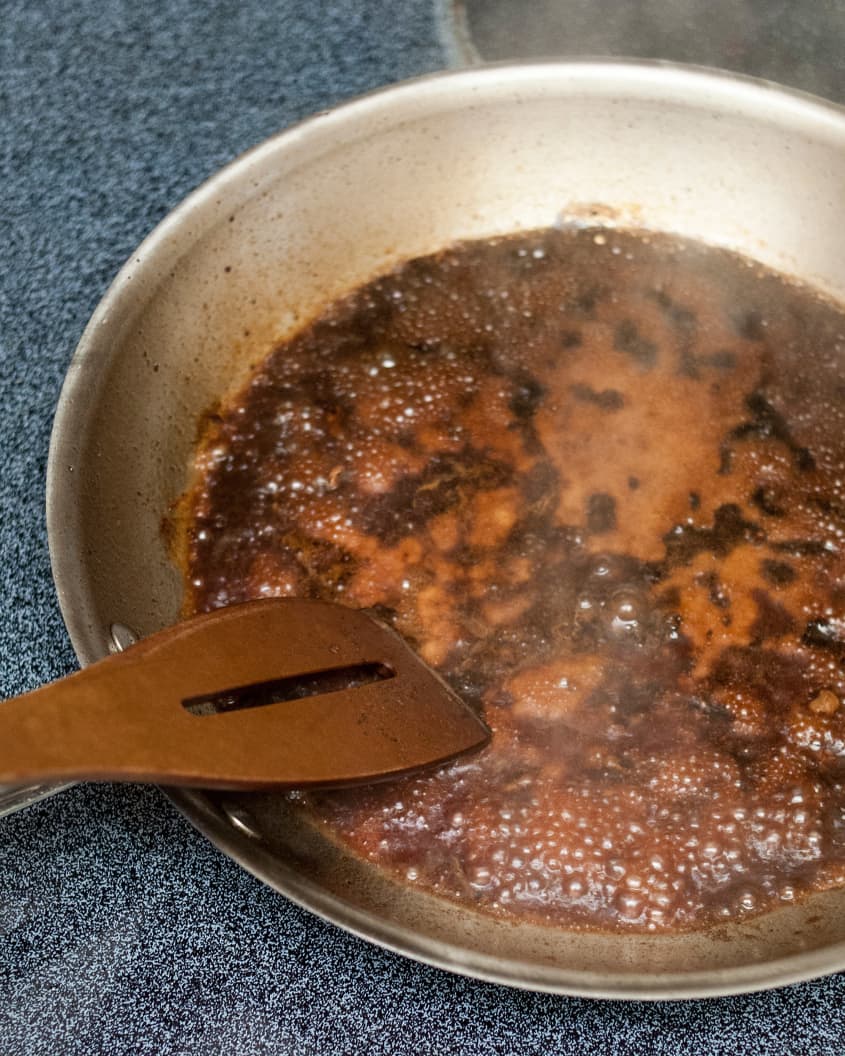
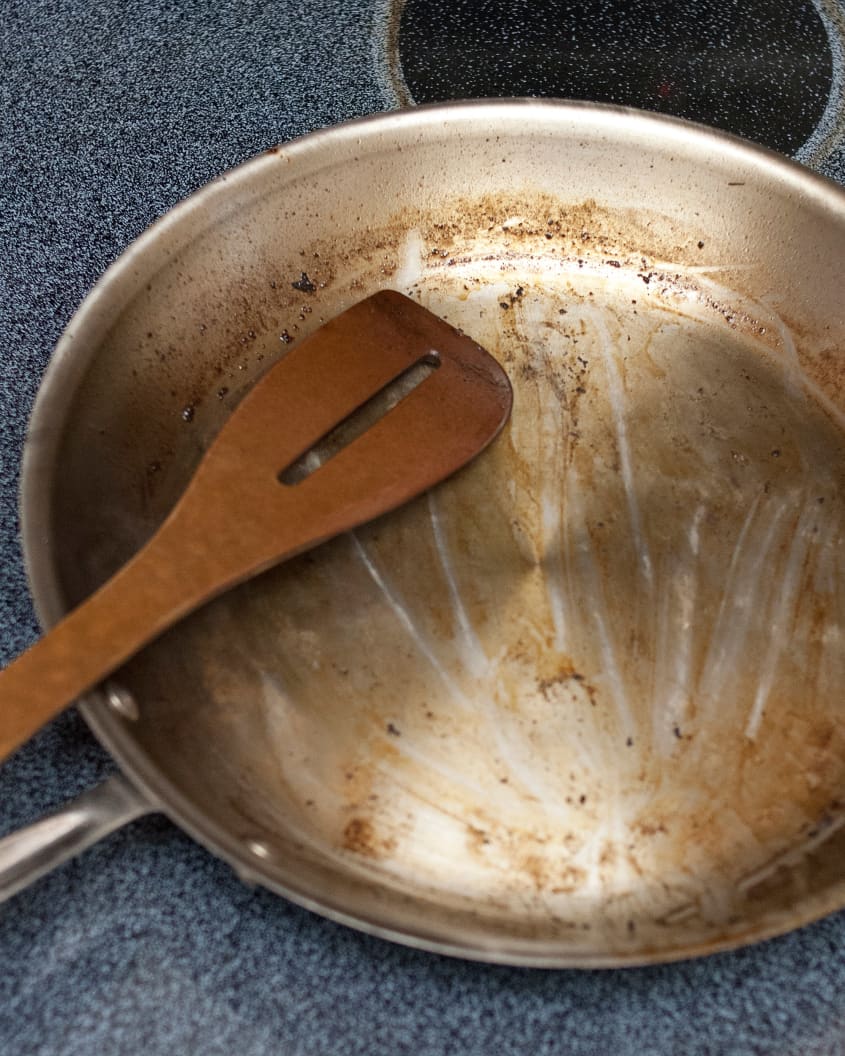
Deglaze the pan: As the meat sears, a sticky brown glaze will start to build up on the bottom of the pan — this is called the "fond." Once you have finished searing, transfer all the meat to a clean plate and pour 1 cup of wine, broth, or water into the pan. It should bubble and boil immediately and start dissolving the glaze. Scrape the bottom of the pan to work up any tough bits. If you're making a stew or braise, add this liquid to the rest of the liquid being used in the recipe. If you're making steaks or other quick-cooking meat dish, this liquid can be reduced even further to make a pan-sauce to drizzle over the top of the finished dish.
Want more smart tutorials for getting things done around the home?
See more How To posts
We’re looking for great examples of your own household intelligence too!
Submit your own tutorials or ideas here!
(Images: Emma Christensen)