
How To Peel Shallots
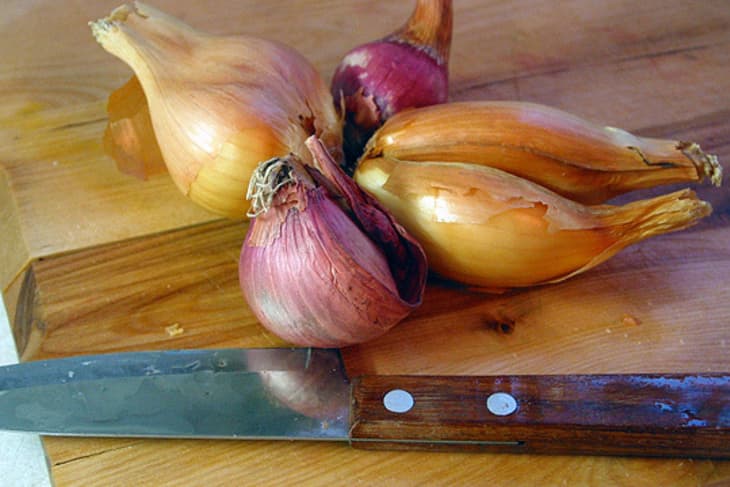
We love cooking with shallots. Their sweet, mild flavor is a great asset in many dishes, especially uncooked salads and slaws that need some onion. But we really don’t enjoy peeling shallots. They’re trickier even than garlic; their papery skins are stubborn and sticky, and often wind around multiple cloves deep into the shallot itself.
Here’s one way to make peeling shallots a little easier.

This process may be a little bit too much for when you just want one or two shallots; it’s probably worth it to just hack them up. But when you want to keep them more intact, or when you need over a dozen (as in a recipe we’re sharing later today), this method is helpful.
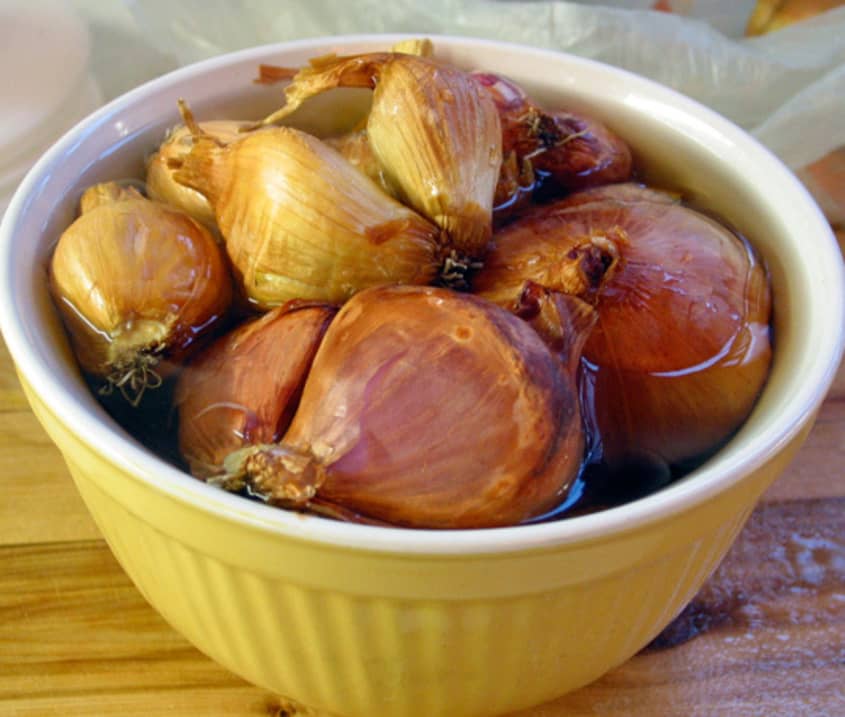
1. Soak the shallots in boiling water. – Soak for 2-3 minutes, or until the outer skins are softening. It’s easiest if you separate the shallots into their individual cloves first.
2. Rinse under cold water. – Stop the shallots from cooking by running them under cold water.
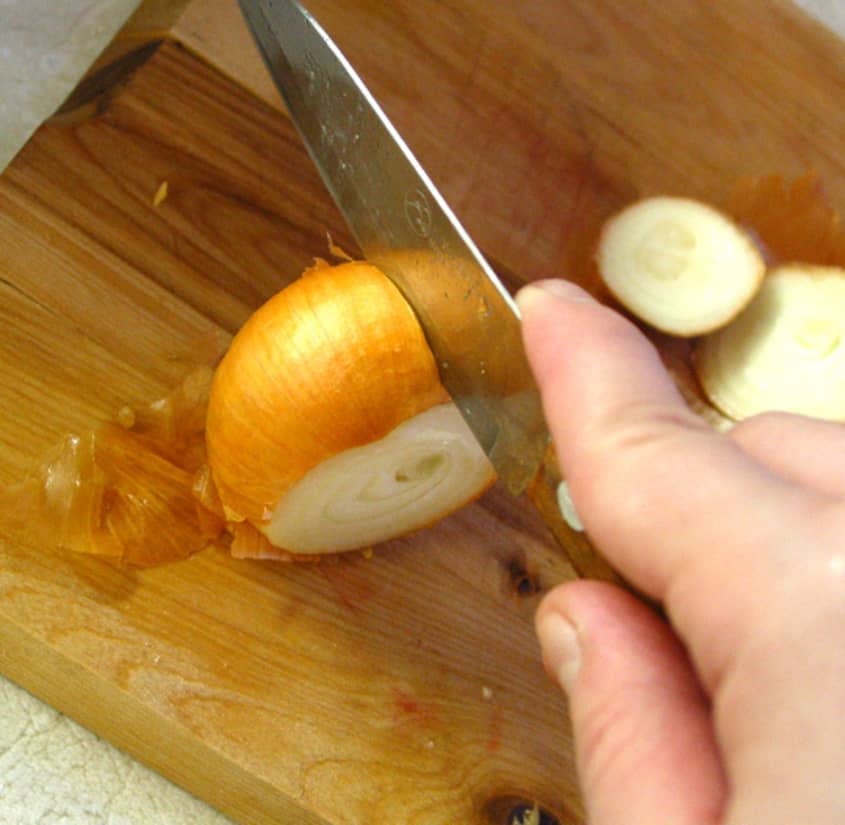
3. Trim. Cut off the top and root ends.
At this point, you can squeeze the shallots and try to slip off their skins, which should be loosened by the soaking. If you’re going to cut them in half anyway, though, here’s one more shortcut.
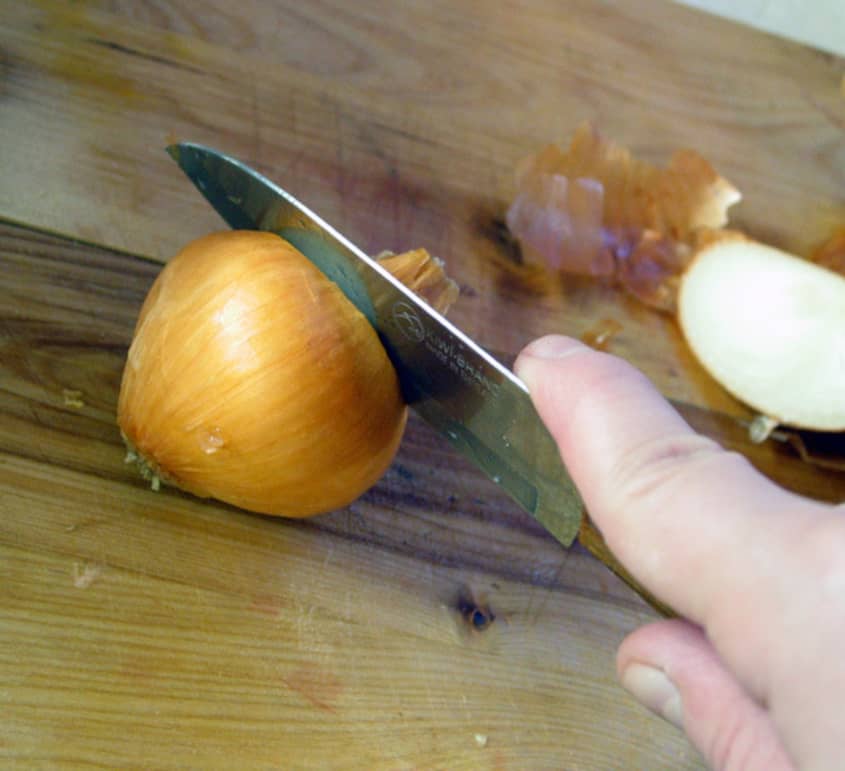
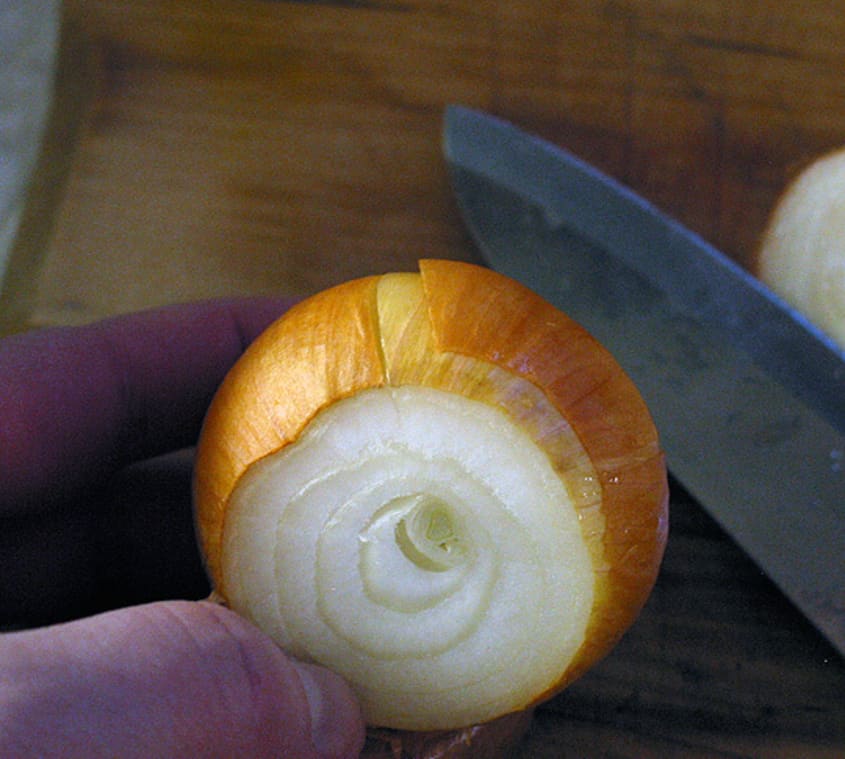
4. Make a very shallow cut in the top layer. This should go through no more than one layer of the shallot.
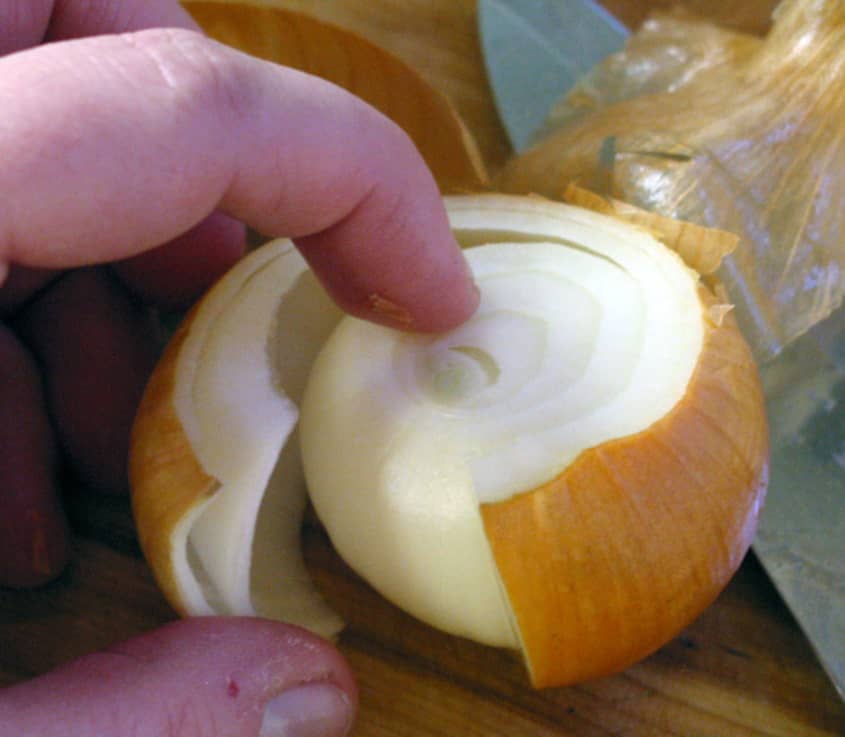
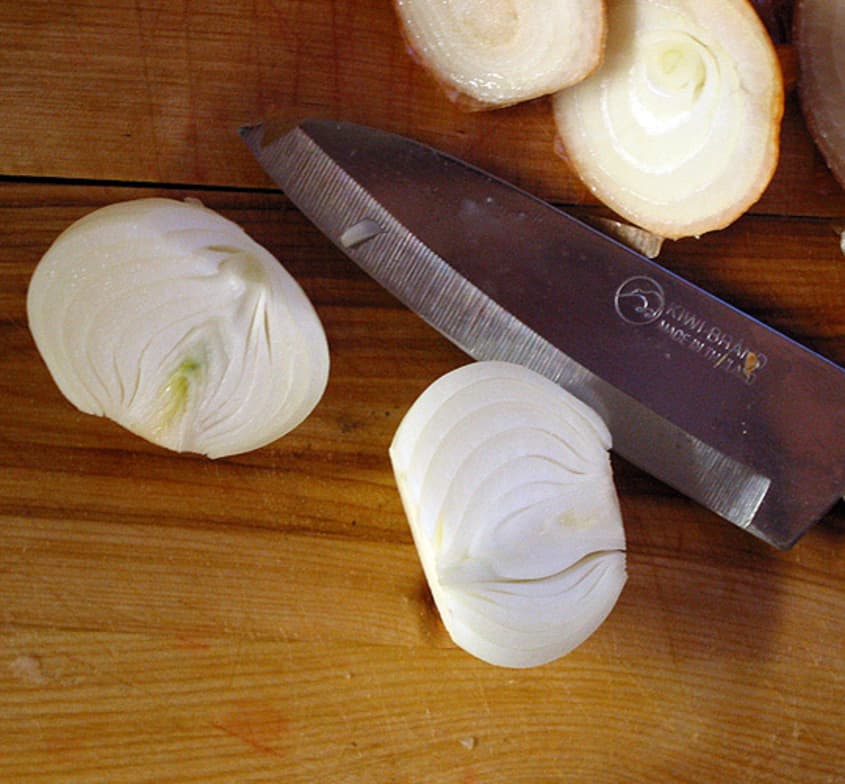
5. Peel away the top layer of the shallot and the skin. Skinless shallot! Proceed with halving or mincing.
Do you have any good tips for peeling or cutting shallots?
Related: How To Dice An Onion: The Video
Want more smart tutorials for getting things done around the home?
See all of our Home Hacks tutorials

We’re looking for great examples of your own household intelligence too!
Submit your own Home Hacks tutorial or idea here!
Republished from article originally posted January 27, 2009.
(Images: Faith Durand)