
How To Make Quick & Easy Kale Chips

When we first posted about kale chips back in 2008, they were still somewhat of a novelty. Now you can purchase kale chips in bags at your gas station’s mini-mart — or at least you can here in California! But those pre-made chips can be really expensive and the quality isn’t always that high. Besides, it’s really easy to make your own, so we thought we would revisit our old kale chip recipe with a complete step-by-step guide and some new tips we’ve learned.

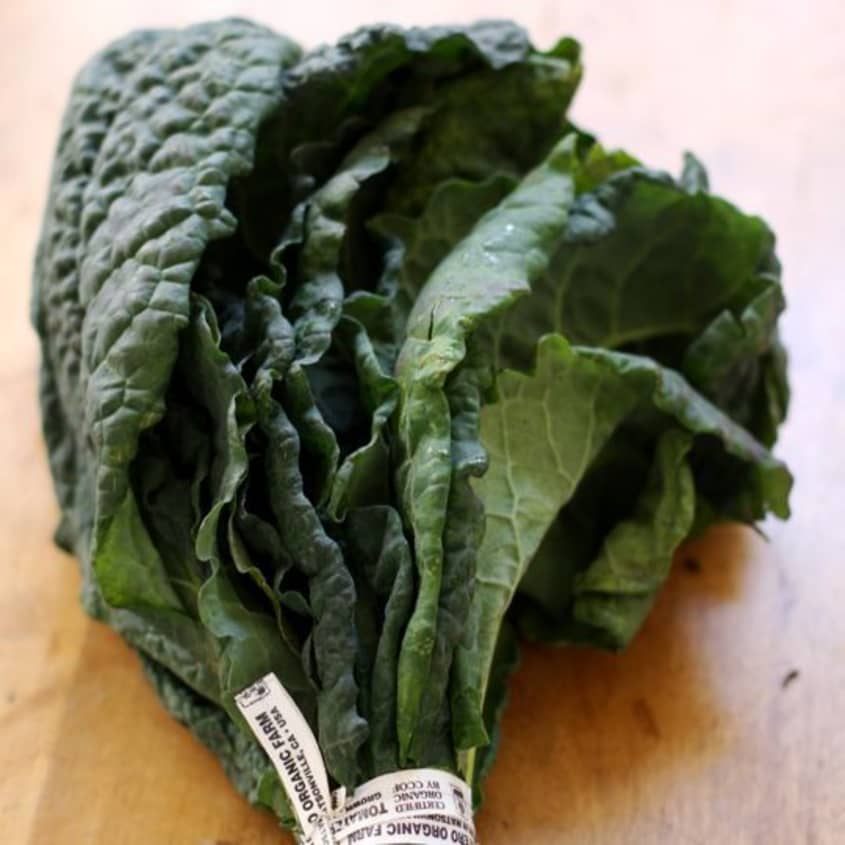
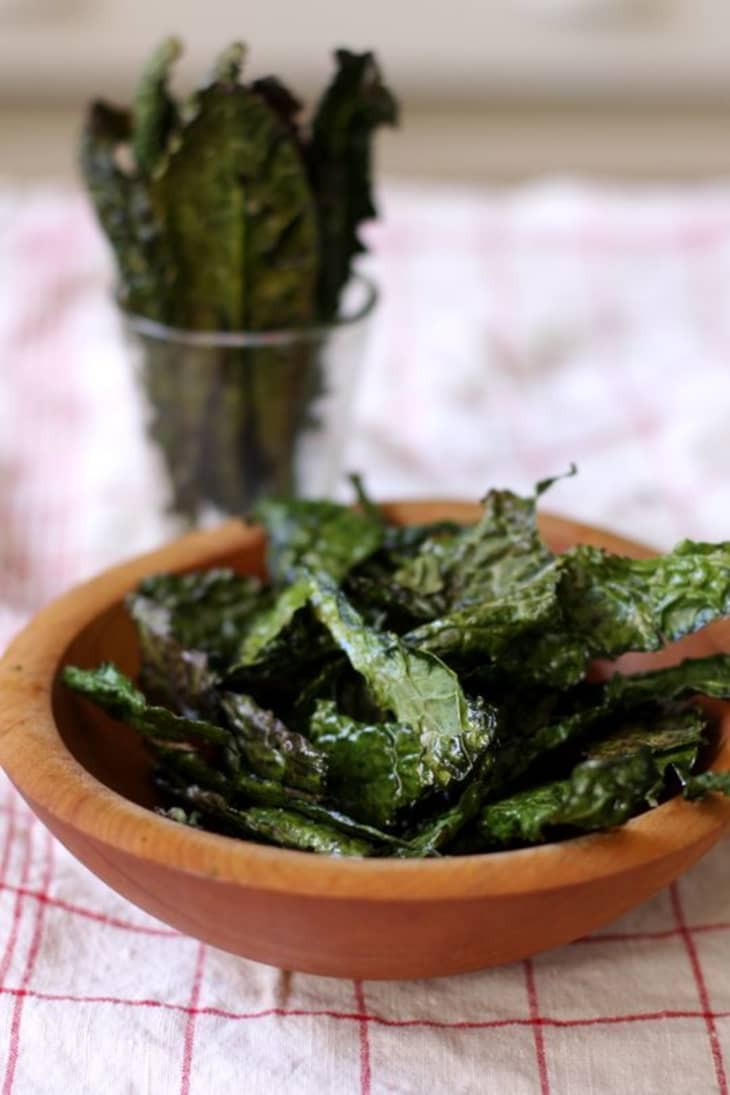
You can use any kale for kale chips, but I prefer dino kale (also known as black, Tuscan, or Lacinato kale) because of its deep, earthy flavor and hearty, crinkled leaves. Red kale makes bright, pretty chips, too. You can also do a mix of different kales, but be sure to bake them separately as they may cook at different speeds.
It is also fashionable to add flavor your kale chips these days. Some people add a fine dusting of cumin, chili flakes, or smoked paprika before baking. All this is fine, just be sure that your flavoring is dry. If you want to add a wet flavoring, like Stephanie did in her Vegan, Cheesy Kale Chip recipe, you will need to bake them longer and at a lower temperature to crisp everything up without burning. The same is true of vinegar, another popular addition which can be lightly sprinkled on before baking.
Speaking of burning: it’s very easy to do with kale chips. It just takes an extra minute to go from crisp and perfect to browned and bitter. If you feel you’re very close to browning your chips, remove them from the oven and then immediately transfer them to a cooling rack or paper towel as they will continue to bake on the hot baking sheet.
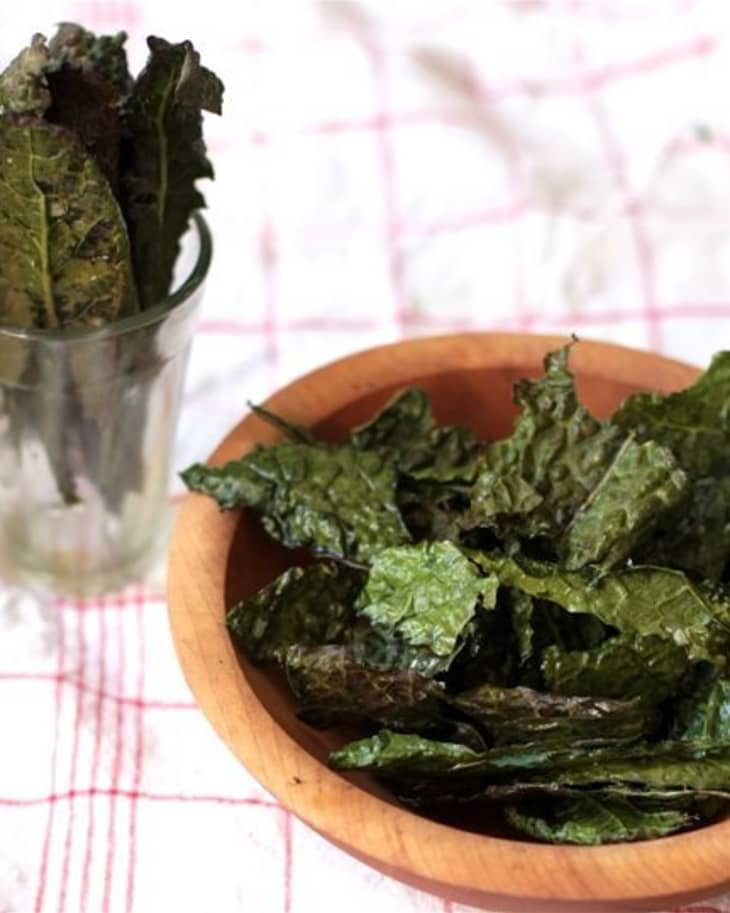
Kale chips make a great snack and are a clever way to get a bunch of leafy greens into your belly! Children love them, too. It’s true that they are made with oil and salt, but a minimum amount is used and when you compare the amounts with potato chips, the difference is enormous. In my experience, the kind of oil isn’t that big of a deal as far as flavor goes, so I usually use my everyday olive oil. I once used a premium olive oil that had a touch of lemon and garlic flavor in it, and man, that was good and with no extra work to boot!
How To Make Kale Chips
Nutritional Info
Ingredients
- 1
bunch of fresh kale
Olive oil
Salt
Equipment
Cutting board
Large sharp knife (optional)
Baking sheets
Oil mister (optional)
Instructions
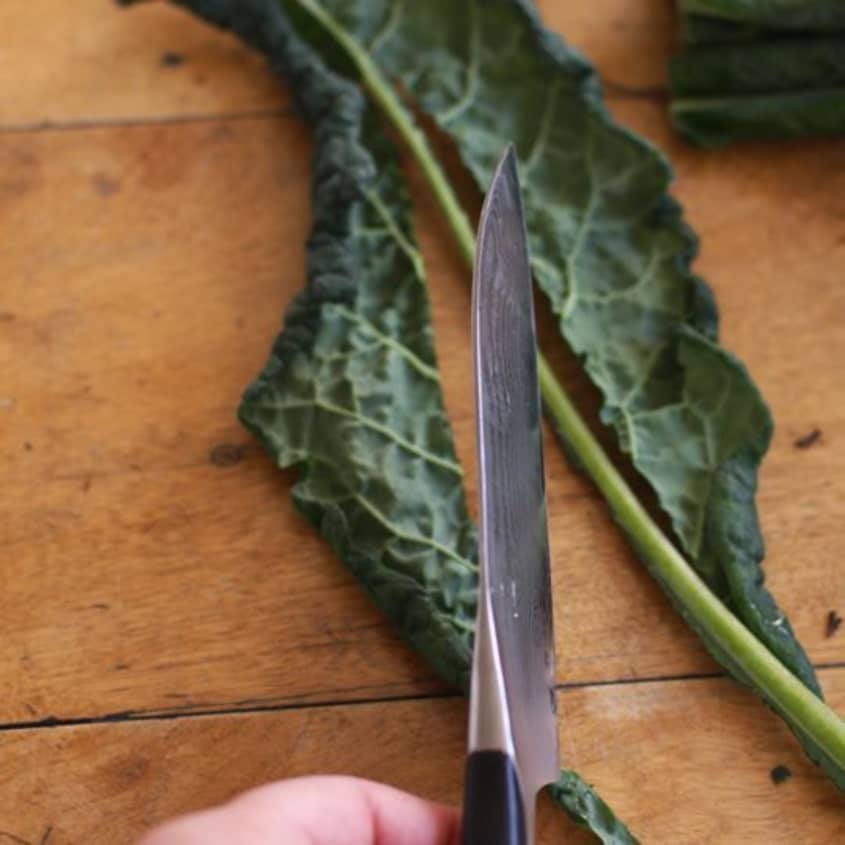
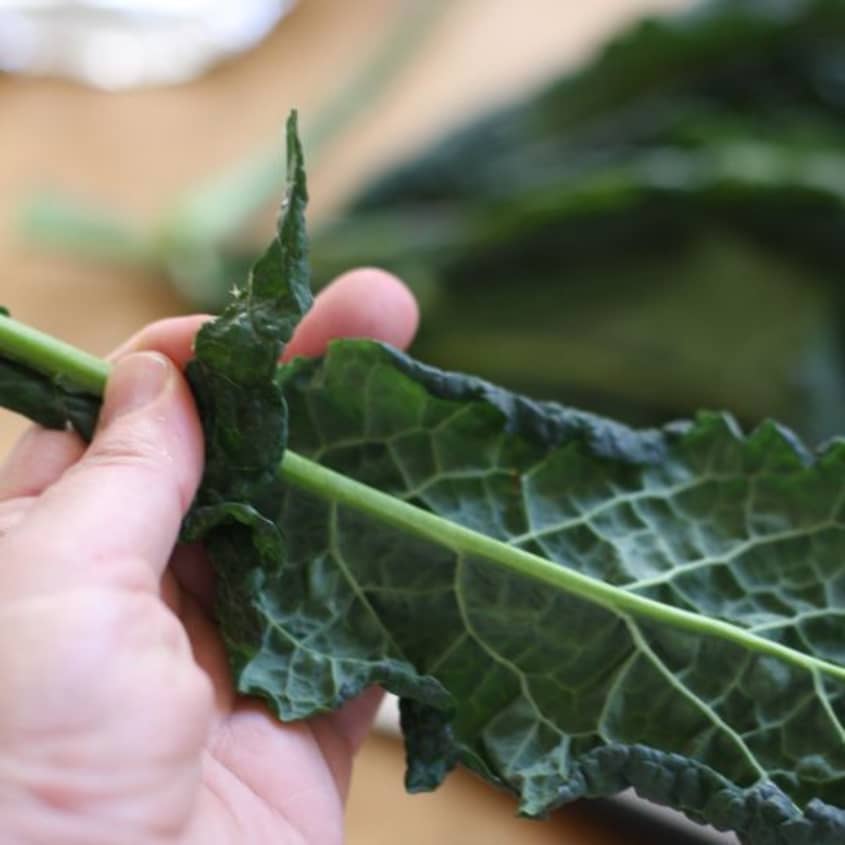
Preheat oven and prep kale. Preheat your oven to 300°F. Remove the center stem by slicing along either side of the stem with your knife, cutting them in half while removing the stem. Alternatively, you can strip the leaves from the stalk using your hands.
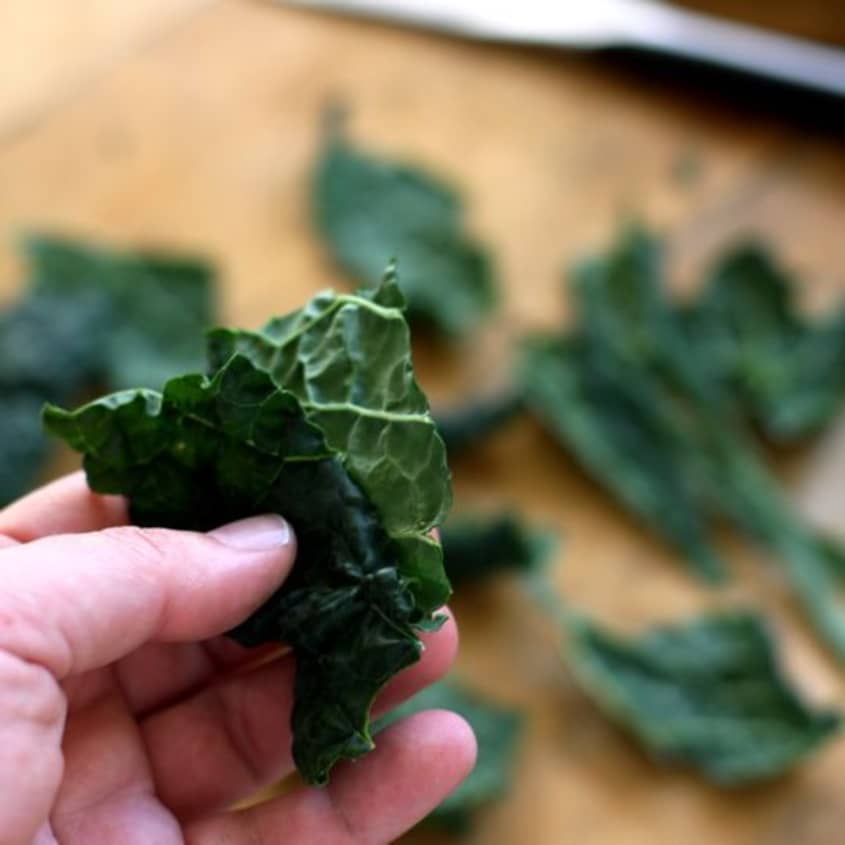
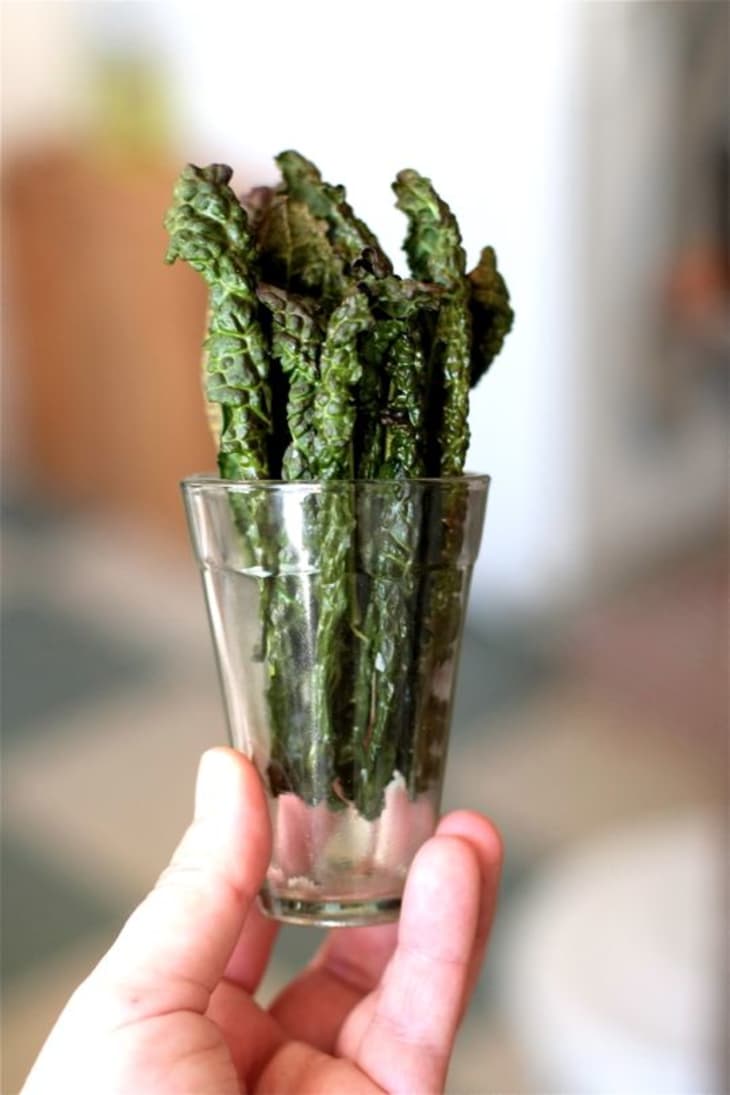
Tear the kale into pieces. Tear your kale into rough, 3-inch pieces. The kale will shrink when it bakes, so don't tear it too small. Alternative: If you have a bunch of kale that has small leaves, you can leave them whole for a dramatic presentation. I have found that the lower third of the tough stalk will still need to be carefully cut away, but you can leave the rest of the leaf intact.
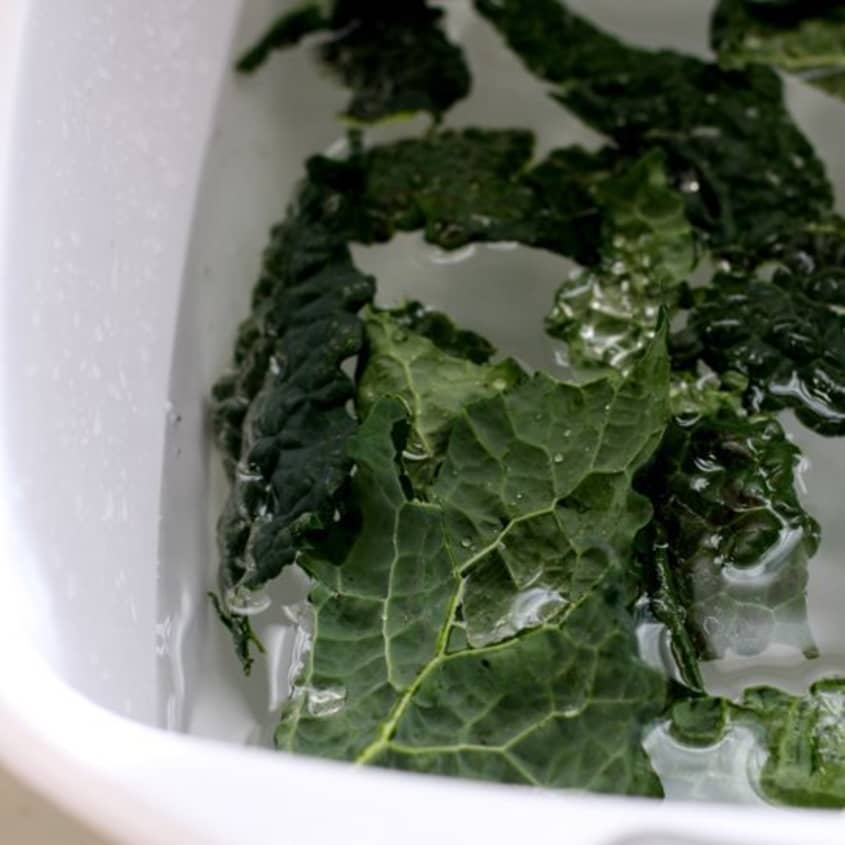
Wash the kale. Wash your kale in a tub full of water, allowing any dirt and sand to sink to the bottom and scooping the washed kale off the top.
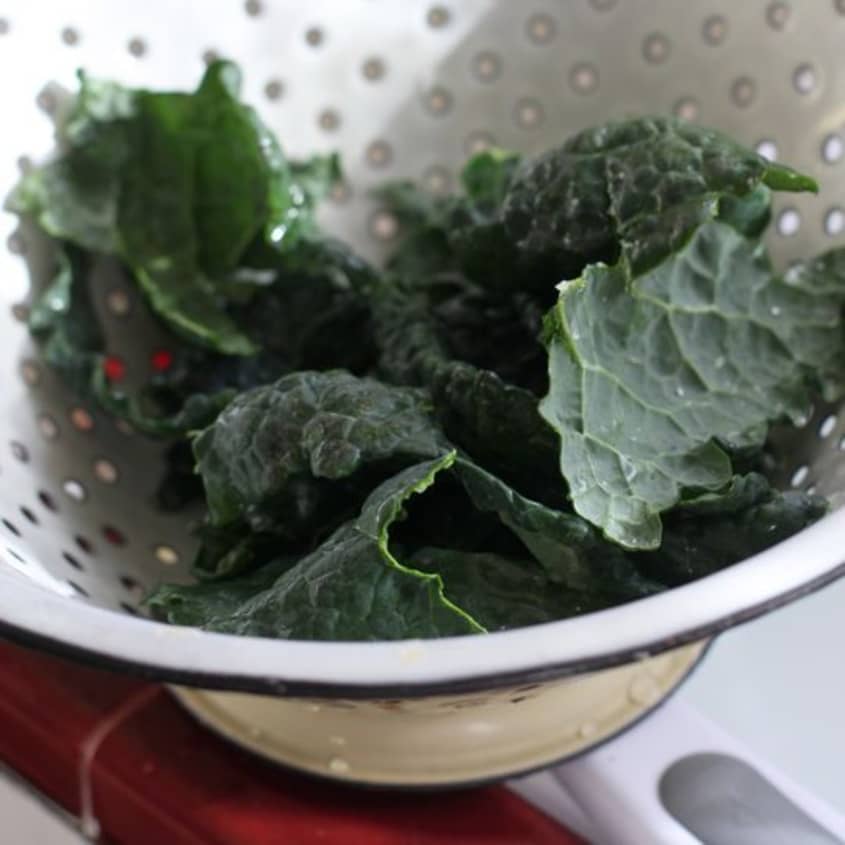
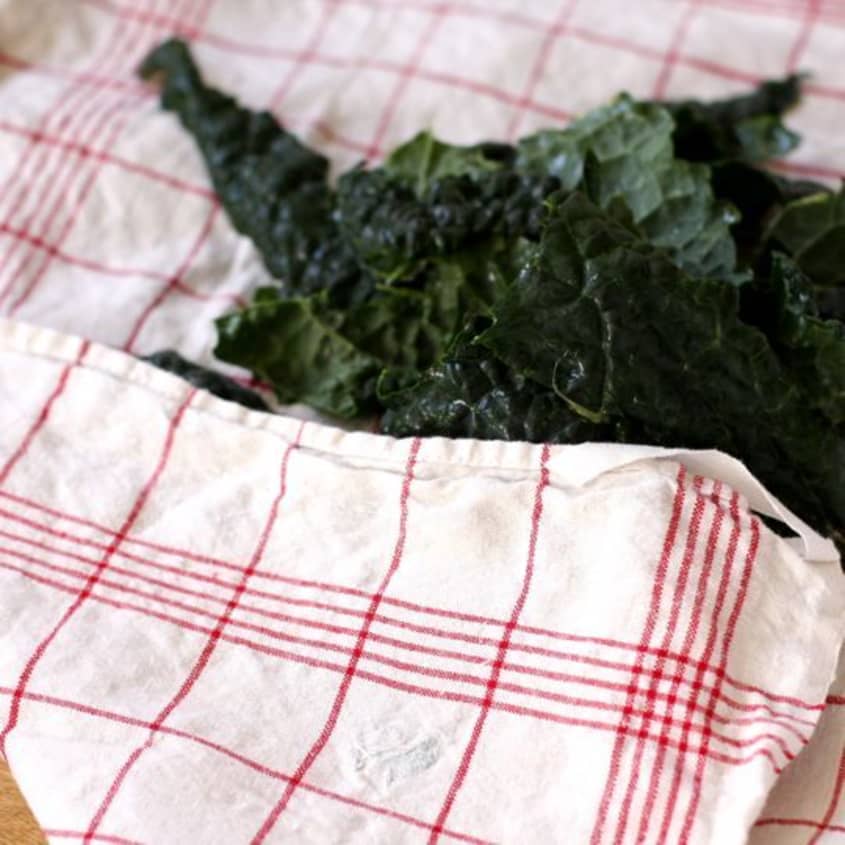
Dry the kale. Now we come to one of the most important parts of baking kale chips. You must thoroughly dry your kale or the chips will steam rather than crisp in the oven. If you have a salad spinner, use it. Or drain the kale in a colander. Either way, the kale will still be a little damp so spread out on a clean kitchen towel, cover with another towel and pat dry.
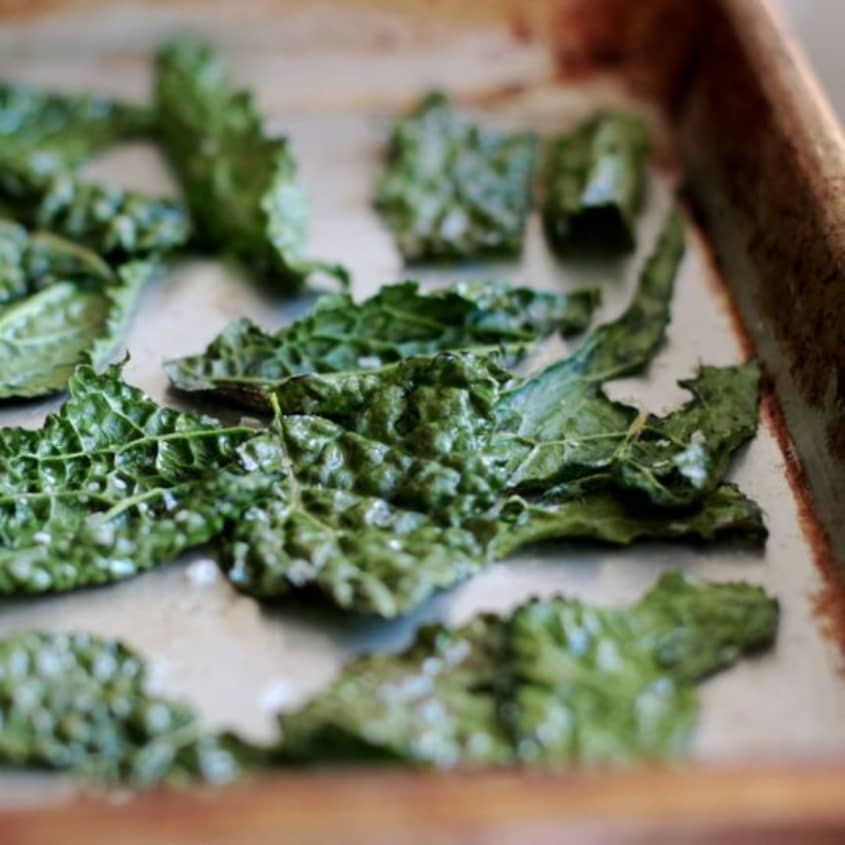
Place kale on baking sheets. This is the second most important step. The kale should be placed in one layer on the sheets. Do not let the kale pieces overlap too much or the kale will steam and not crisp up.
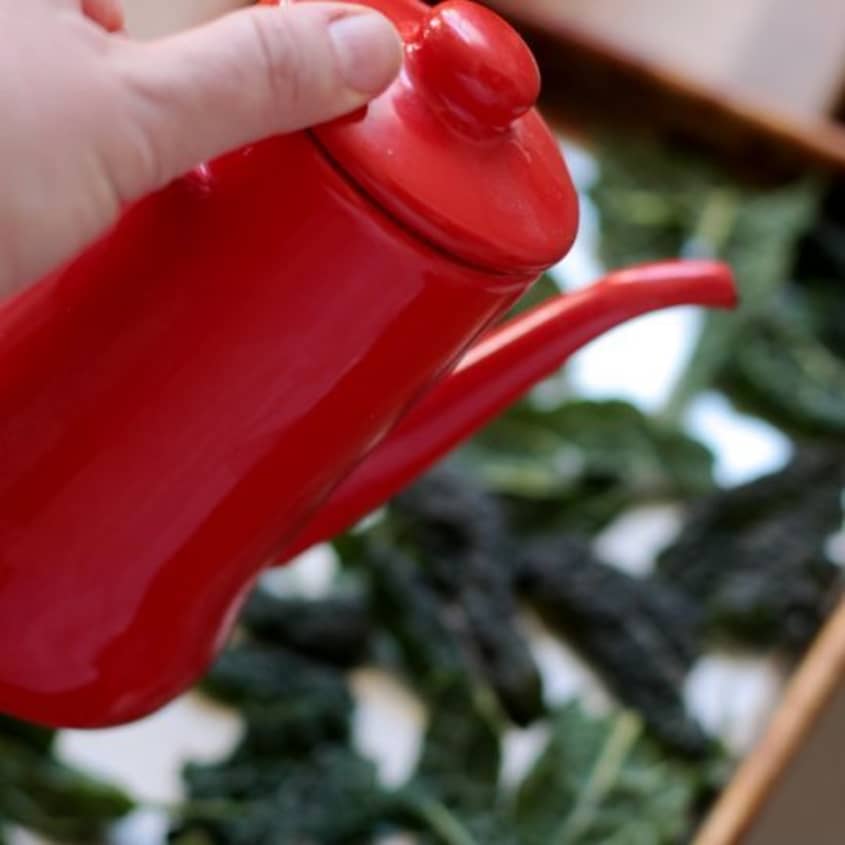
Oil and salt the kale. Drizzle on a little oil. How much oil you use will depend on how much kale you have and how big your baking sheets are. Start with a little bit and add more if needed. This is also a good time to use an oil mister, if you have one. Using you hands, gently toss the kale and lightly rub the oil into each piece. If you need a little more oil, add it now. Redistribute the kale back to a single layer. Sprinkle on salt and any additional flavorings.
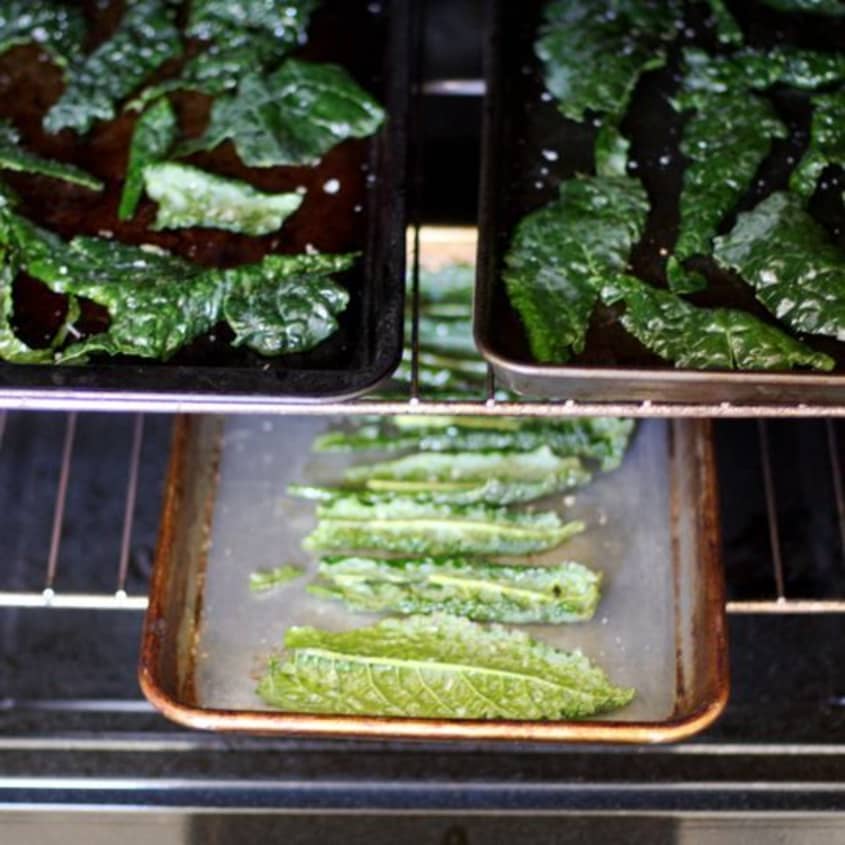
Bake the chips until crisp. Place trays in the oven. Bake for 5 minutes, then rotate trays as the thin pieces of kale will quickly brown in your oven's hot spots. Check again after 3 minutes. You will hear the kale sizzling from the oil. Carefully pick up or nudge a chip. You want them to be crisp but not browned.
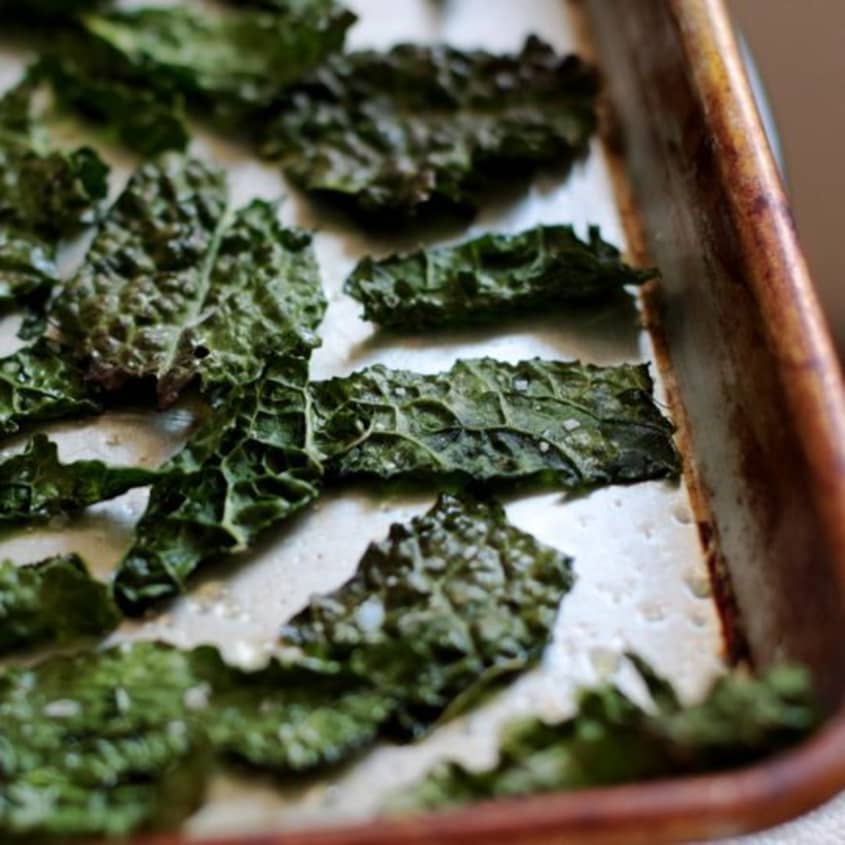
Cool the chips. Remove from the oven and let cool on the tray (unless you feel they are about to turn brown, in which case you should transfer them immediately to a rack or paper towels to cool.) Do not pile them up while they are still hot or they will steam and wilt.
Enjoy! I find that kale chips are best eaten within a few hours of baking but they will do OK for a day or so if well sealed in a plastic bag or airtight container.
Want more smart tutorials for getting things done around the home?
We’re looking for great examples of your own household intelligence too!
(Images: Dana Velden)