
How To Make Homemade Tortellini

If you feel like you’ve mastered Pasta 101: Make Pasta from Scratch, then it’s time to graduate to Pasta 201: Tortellini Edition. In today’s class, you will learn the fine art of rolling, stuffing, and shaping these fetching little dumplings, all for the eventual goal of serving them to your adoring fans. No matter how tricky these tortellini look right now, I guarantee you will feel like a serious pasta-making pro once you step up to the pasta roller and turn out your first tray.
What is Tortellini Made With?
Tortellini is generally made with either round pasta wrappers or square pasta wrappers. In either case, make sure to roll your dough as thin as possible (usually #6 or #7 on a KitchenAid pasta roller attachment), and then proceed with cutting the shapes. If you make round-shaped tortellini, you can gather and re-roll the scraps as long as they still squish together and haven’t dried out too much. Personally, I like to make square-shaped tortellini as it’s all-around less fuss. Both methods are described below.
There are a few general things to keep in mind when it comes to making tortellini:
Tortellini-Making Tips for Success:
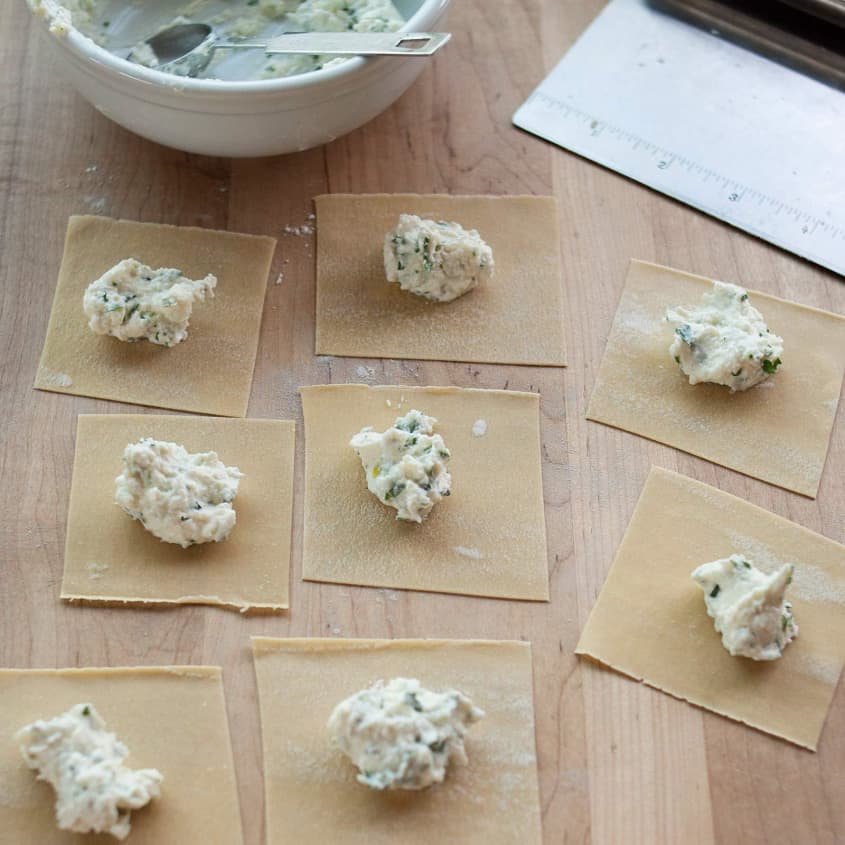
- Don’t over-stuff your pasta: This gets tempting because, hey, half of what we love about tortellini is the soft and tasty filling, right? But more often than not, over-stuffing makes it tricky to seal the tortellini and leads to dumplings that burst in the cooking pot. Stick to about 1 teaspoon of filling for a 3″ pasta wrapper.
- Keep the pasta covered: Pasts dries out surprisingly quickly if left uncovered, which makes it difficult to work with and prone to tearing. Keep both the remaining pieces of dough, the rolled out sheets of pasta, and the shaped tortellini covered with a piece of plastic wrap or a clean dish towel.
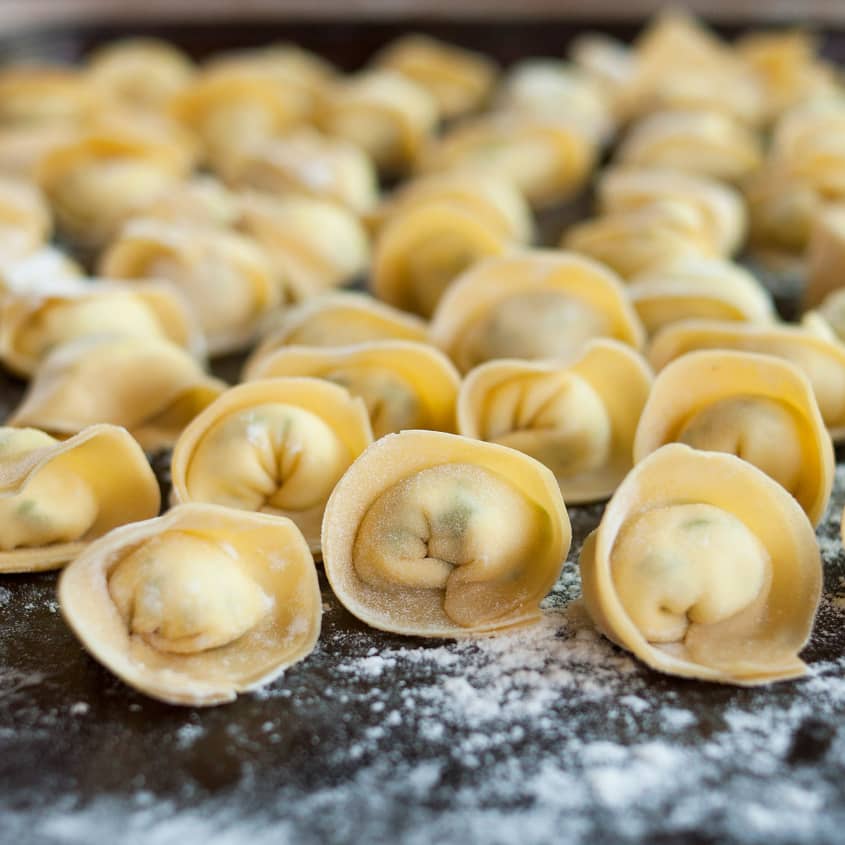
- Use ample flour: Ironically for something that dries out so quickly, the shaped tortellini love to stick to the tray and to each other. Be sure to keep both the tray and the tortellini dusted with a good amount of flour and don’t let the tortellini touch once you’ve shaped them.
- Give yourself enough time: Making tortellini is definitely not hard, but it takes time. Give yourself at least a few hours to make an entire batch — and rope a few friends or family members into helping if you can! Tortellini freezes beautifully, so I’ll usually make it several days before I want to serve it and keep it frozen until it’s time to party.
With these things in mind, I think you’re ready to jump in!
Have you ever made tortellini before? What are your tips? Any favorite fillings to share?

How to Make Homemade Tortellini from Scratch
Makes 2 pounds
Nutritional Info
Ingredients
- 1
batch prepared 3-Egg Pasta Dough
- 2 to 3 cups
prepared filling (see Recipe Notes)
All-purpose flour, for dusting
Equipment
Pasta roller
Sharp knife and/or 3" round cookie cutter
Teaspoon measure
Bowl of water
Sheet pans
Instructions
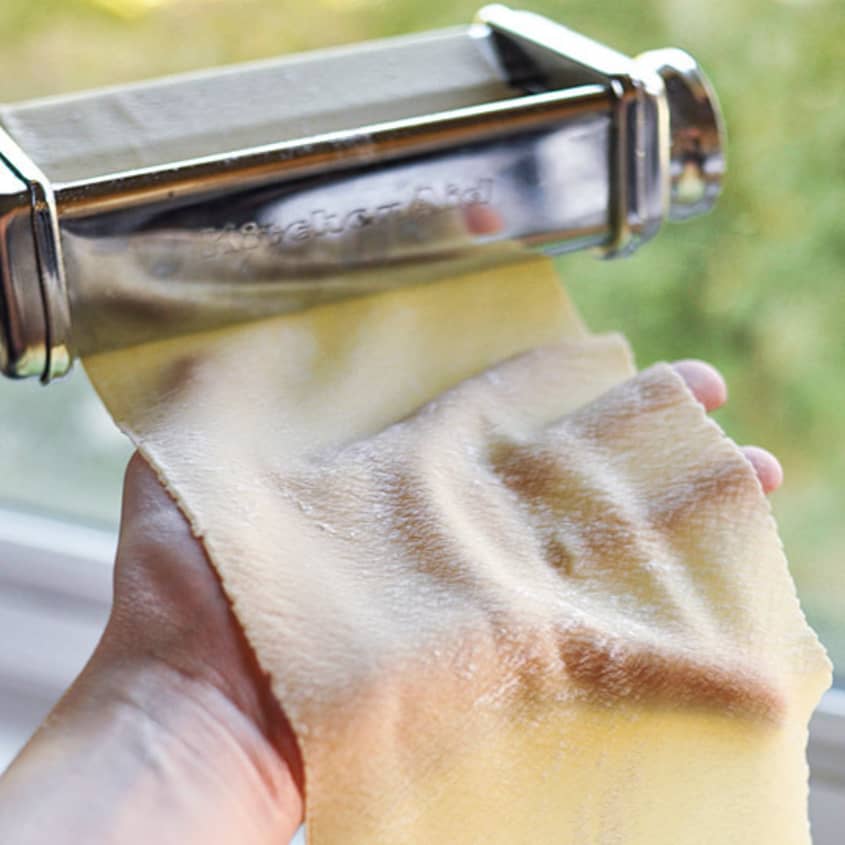
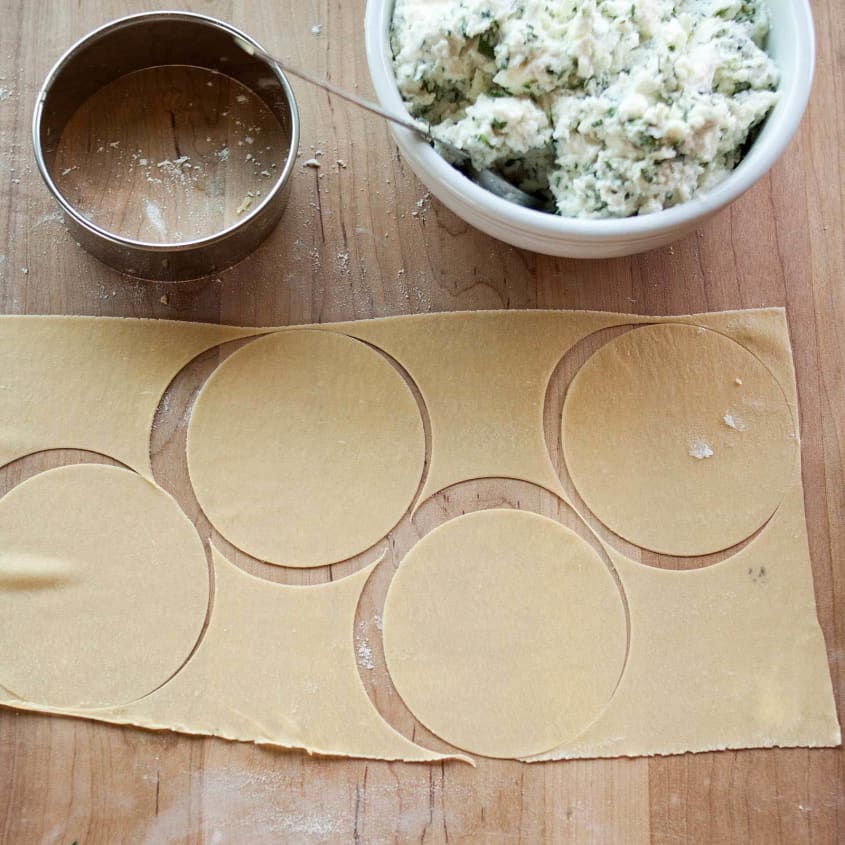
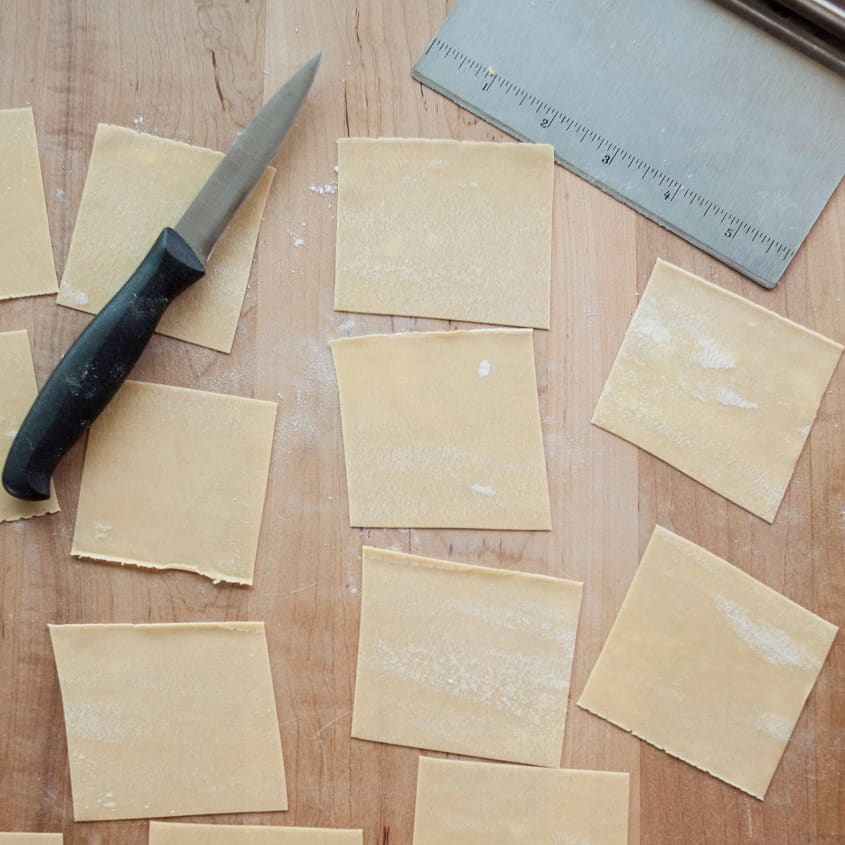
Roll out the pasta into sheets. Divide the pasta dough into quarters. Work with one piece at a time and keep the other pieces covered. Run the dough through a pasta roller on progressively thinner settings until you have a sheet of paper-thin pasta. (Setting #6 on a KitchenAide pasta roller attachment.)
→ For more detailed instructions on making and rolling pasta dough, see How to Make Fresh Pasta from Scratch
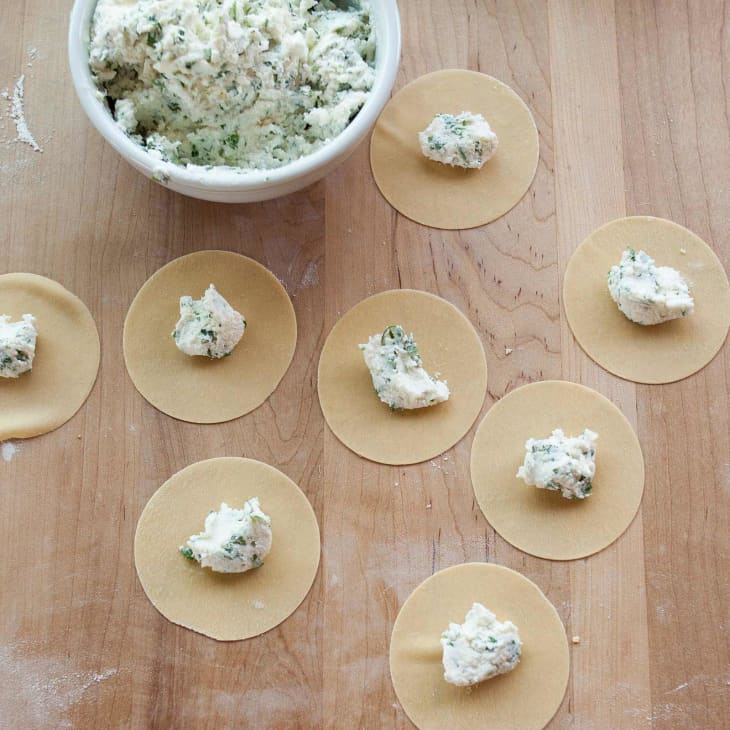
Shaping round tortellini: Cut the sheet into rounds using a 3" round cutter, spacing the rounds as close together as possible. Gather the scraps into a ball and put them with the remaining pieces of dough to re-roll later.
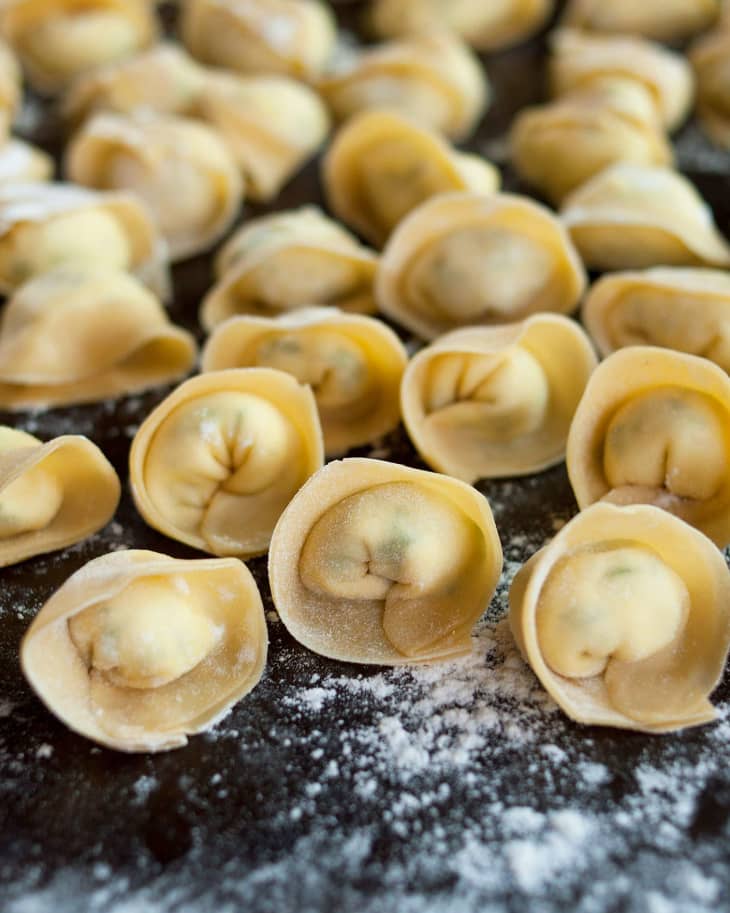
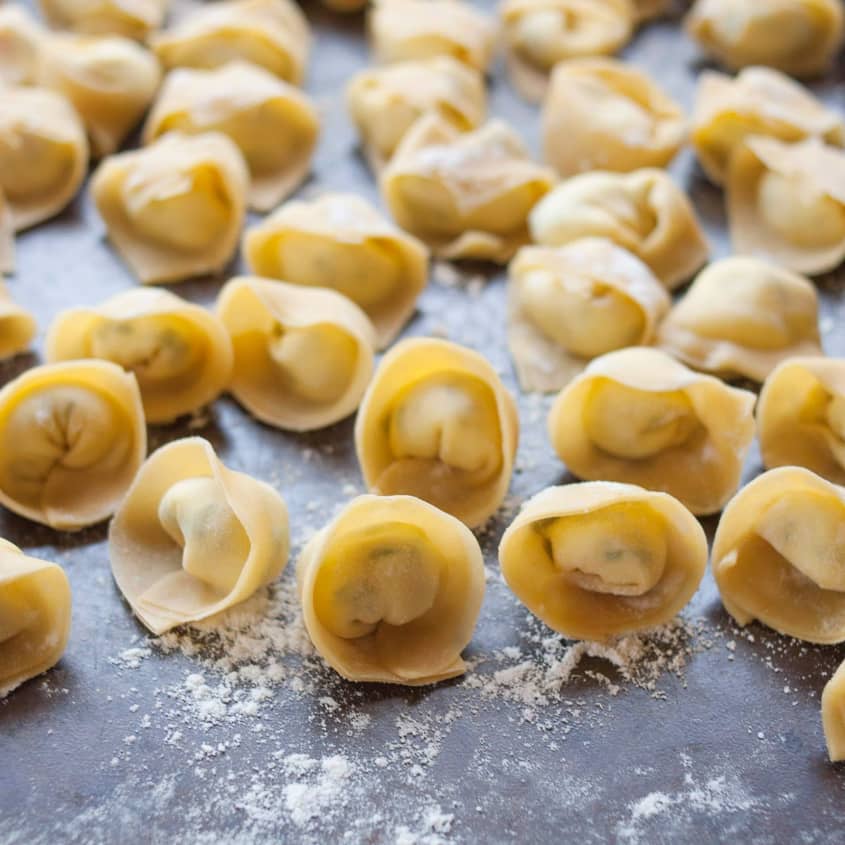
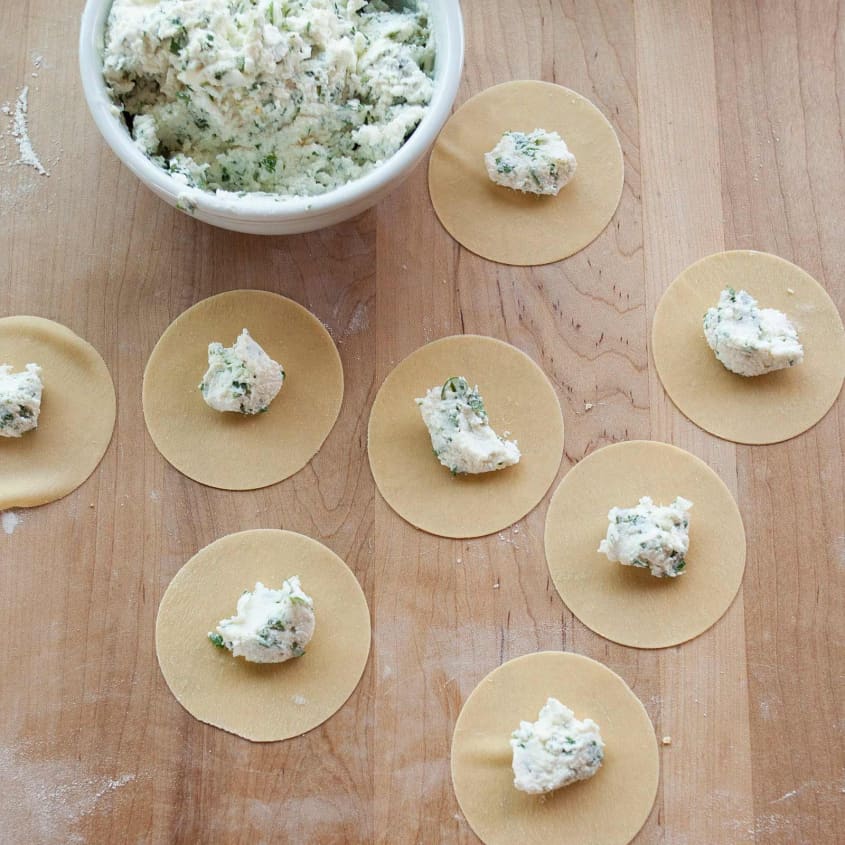
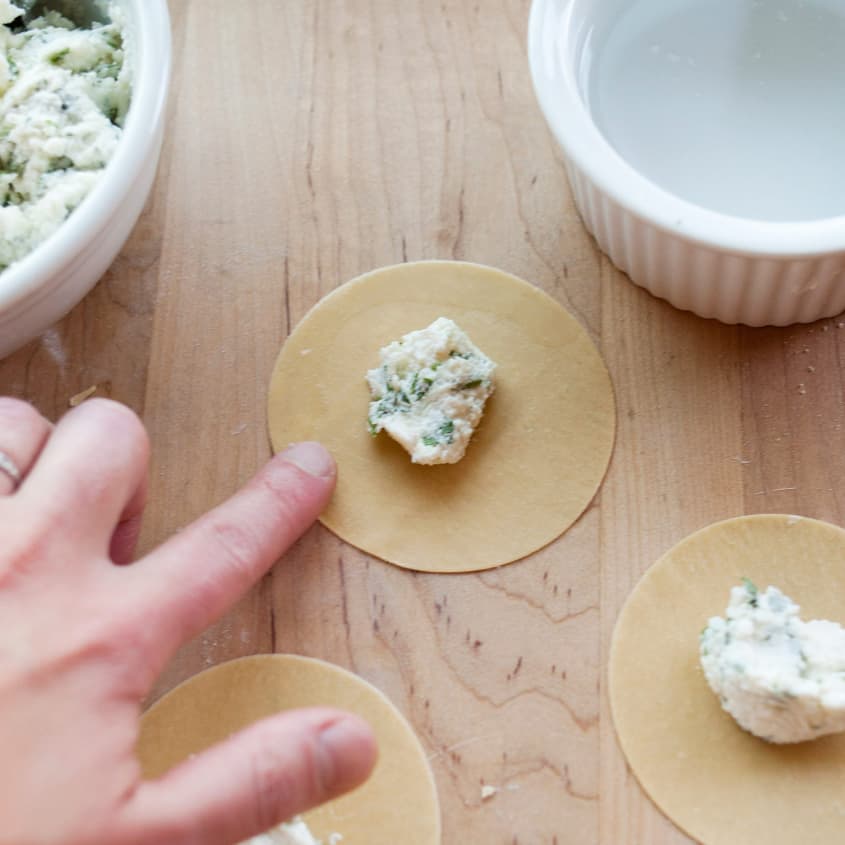
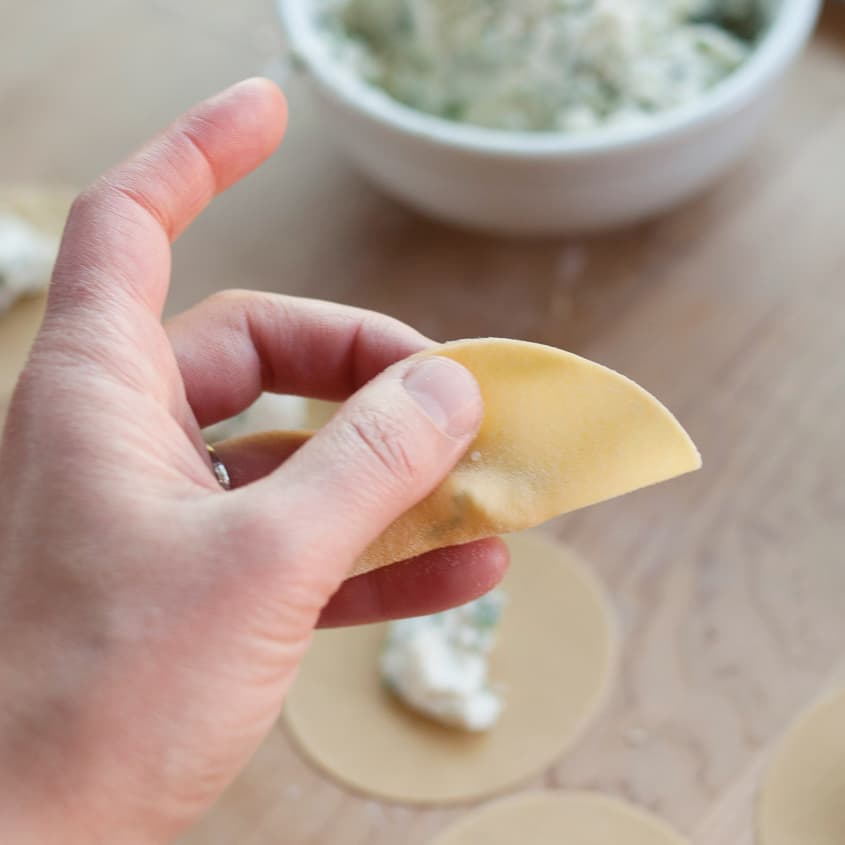
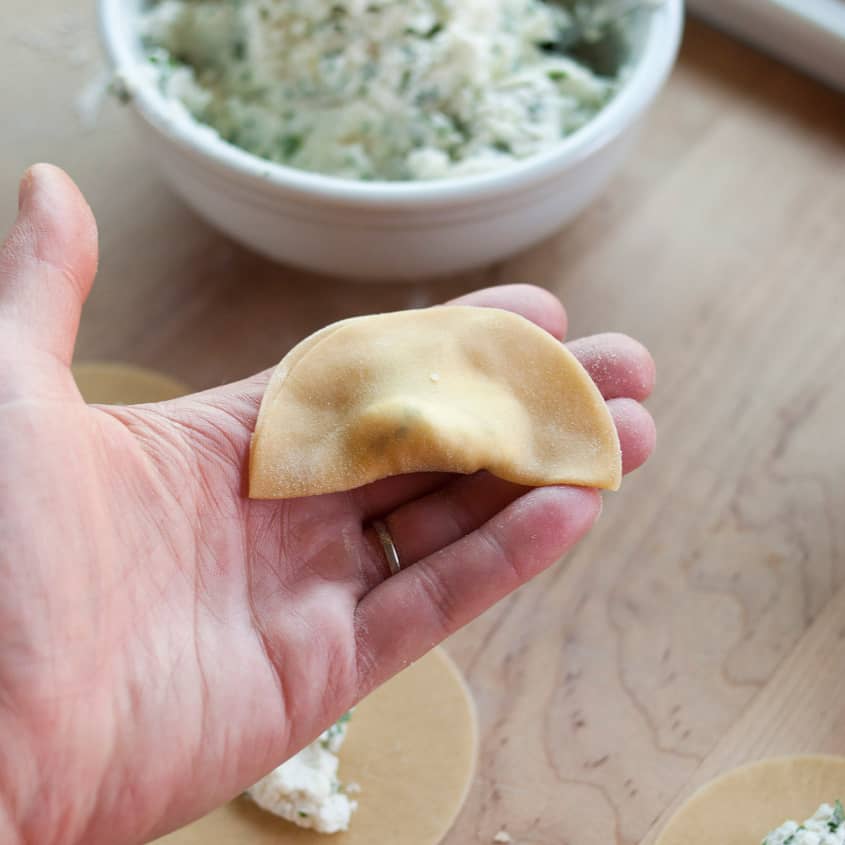
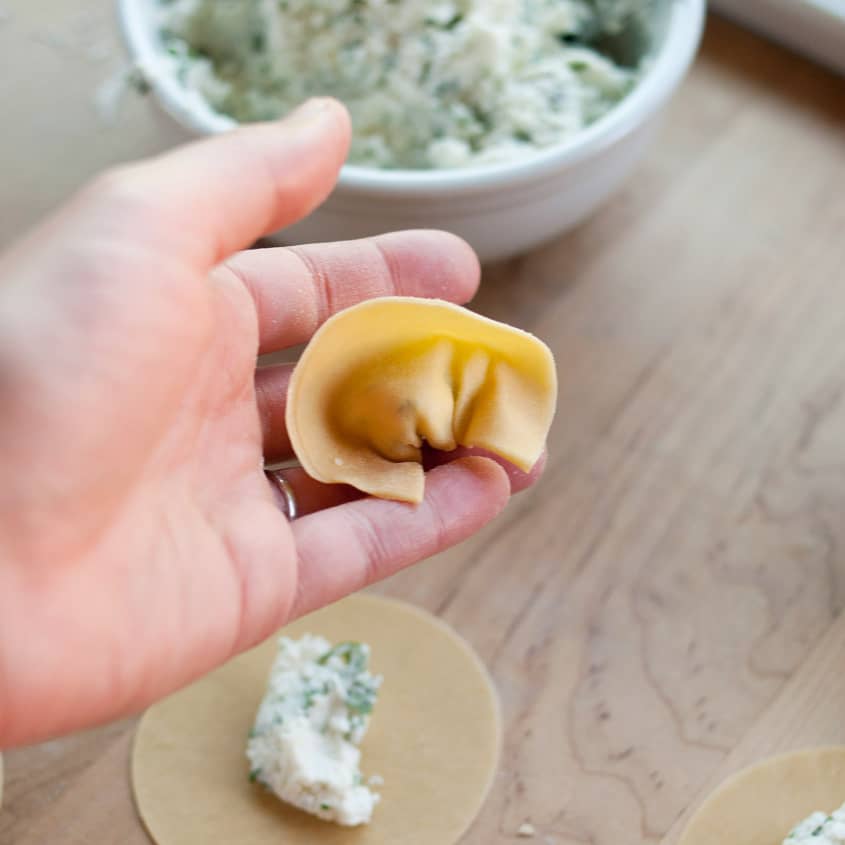
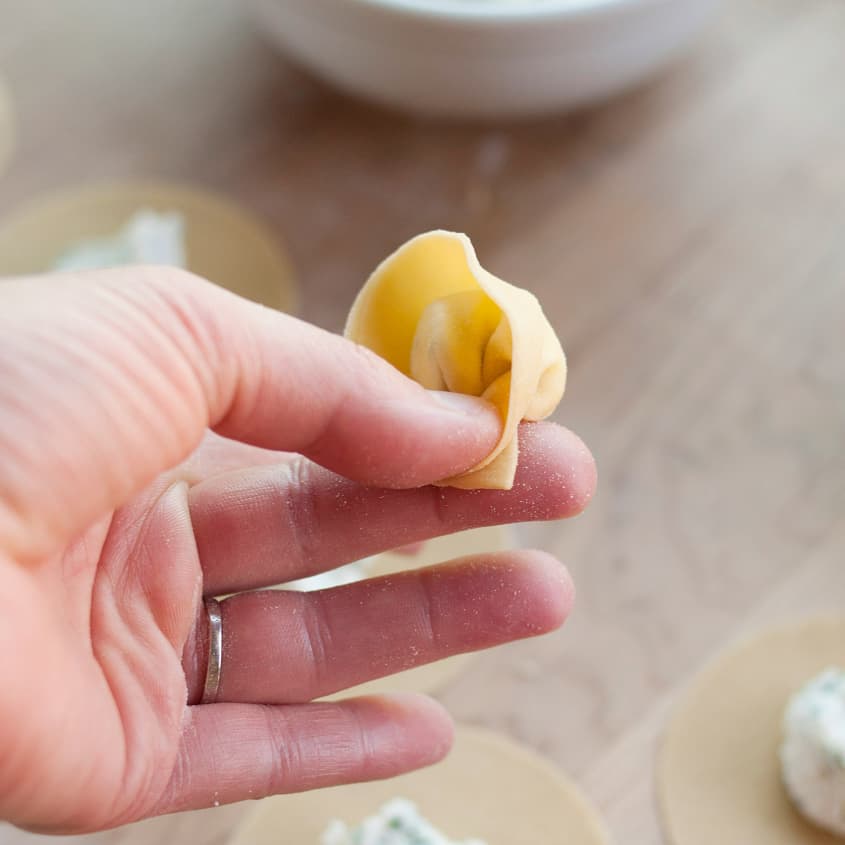
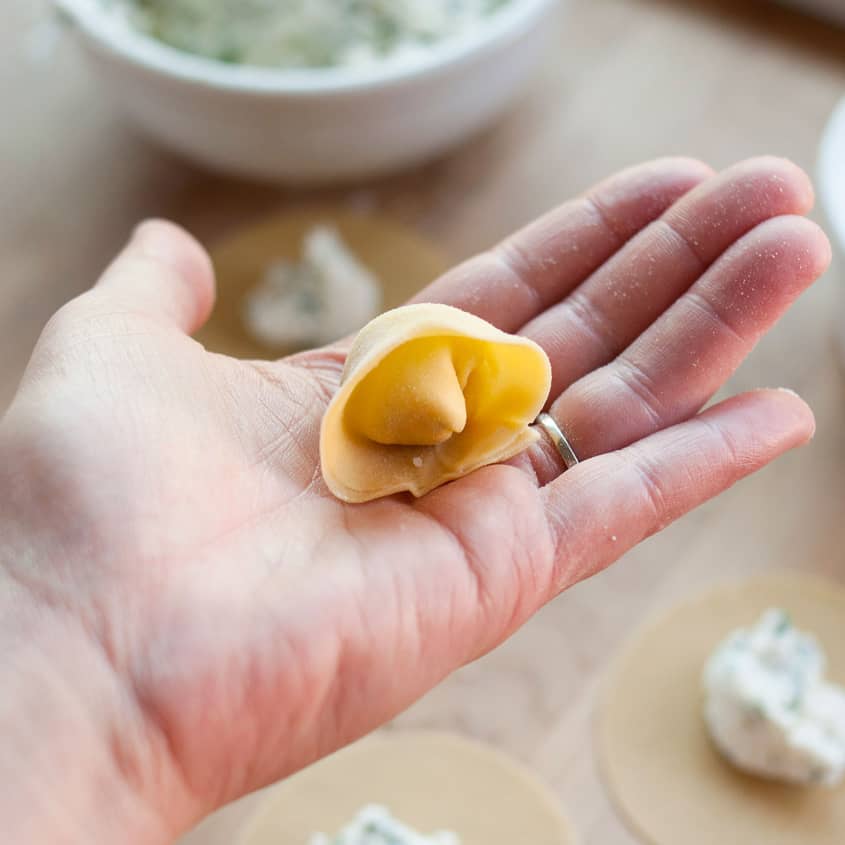
Place 1 teaspoon of filling in the middle of each round of pasta. Dip your finger in the bowl of water and run it along the edge of the round to moisten. Fold the dough over to form a half moon, then draw the two corners together to form a rounded bonnet-shape. Press tightly to seal. Toss with flour, set aside on well-floured baking sheet, and cover. Repeat with remaining pieces of dough, re-rolling the scraps.
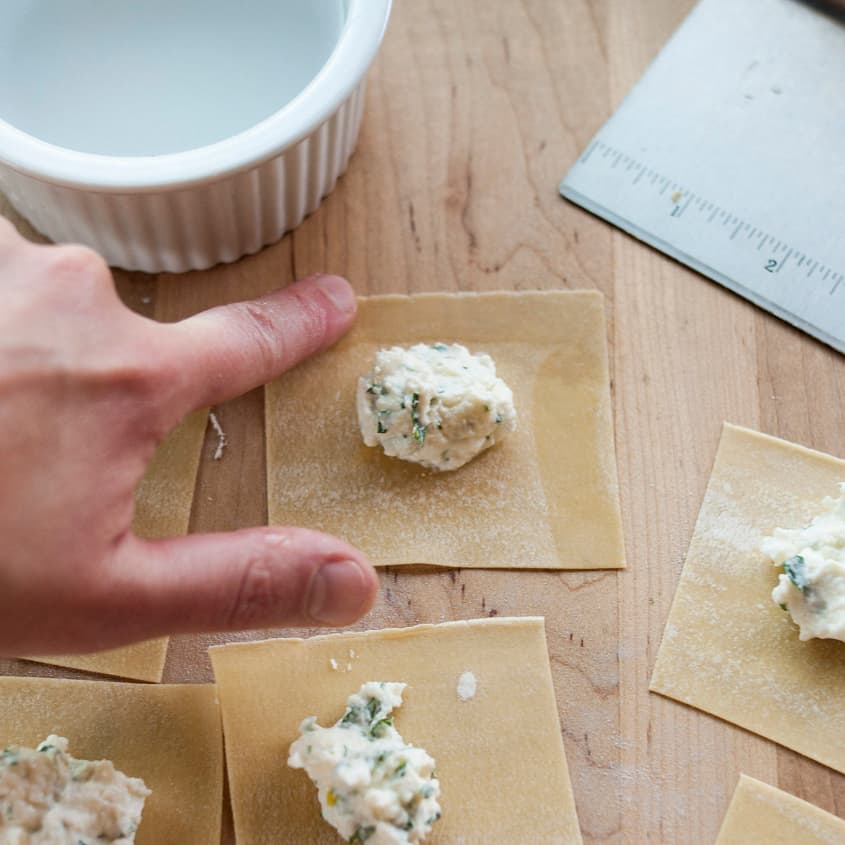
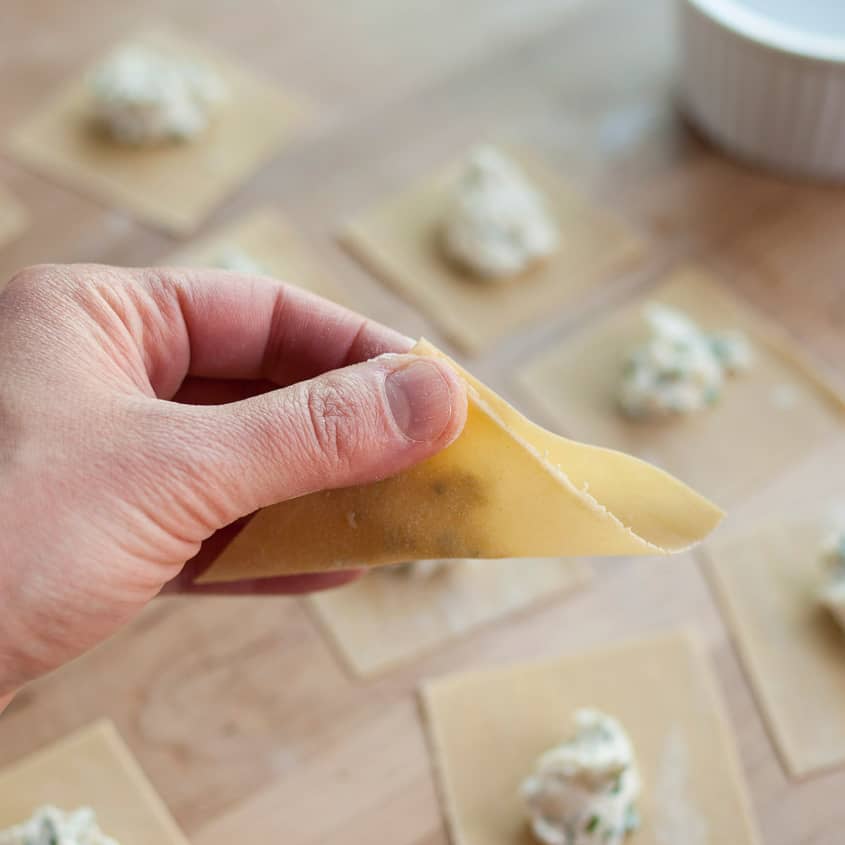
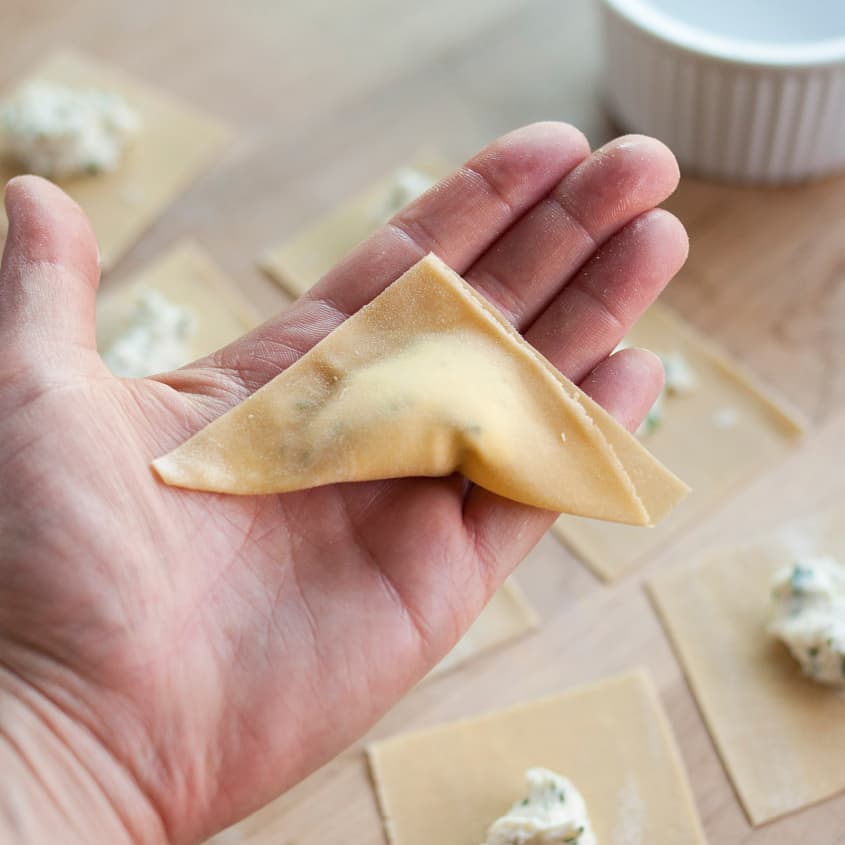
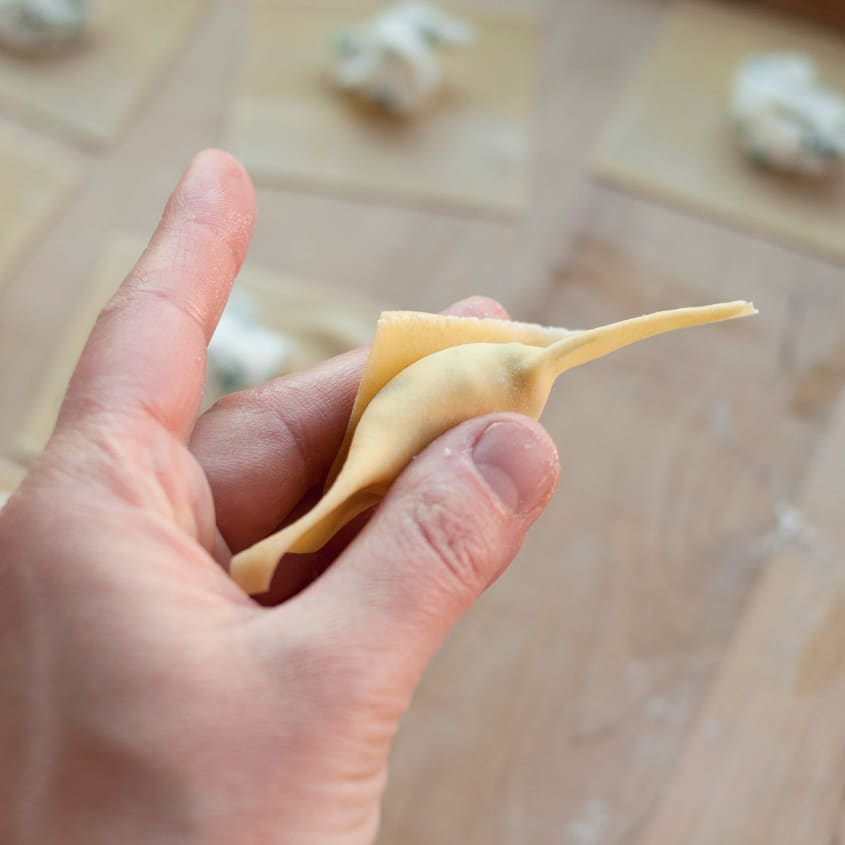
Shaping square tortellinis: Cut the sheet of pasta into squares roughly 3-inches by 3-inches. Place 1 teaspoon of filling in the middle of each square of pasta. Dip your finger in the bowl and run it along two edges of the square. Fold the square into a triangle, pressing the top together and then working your way along the sides.
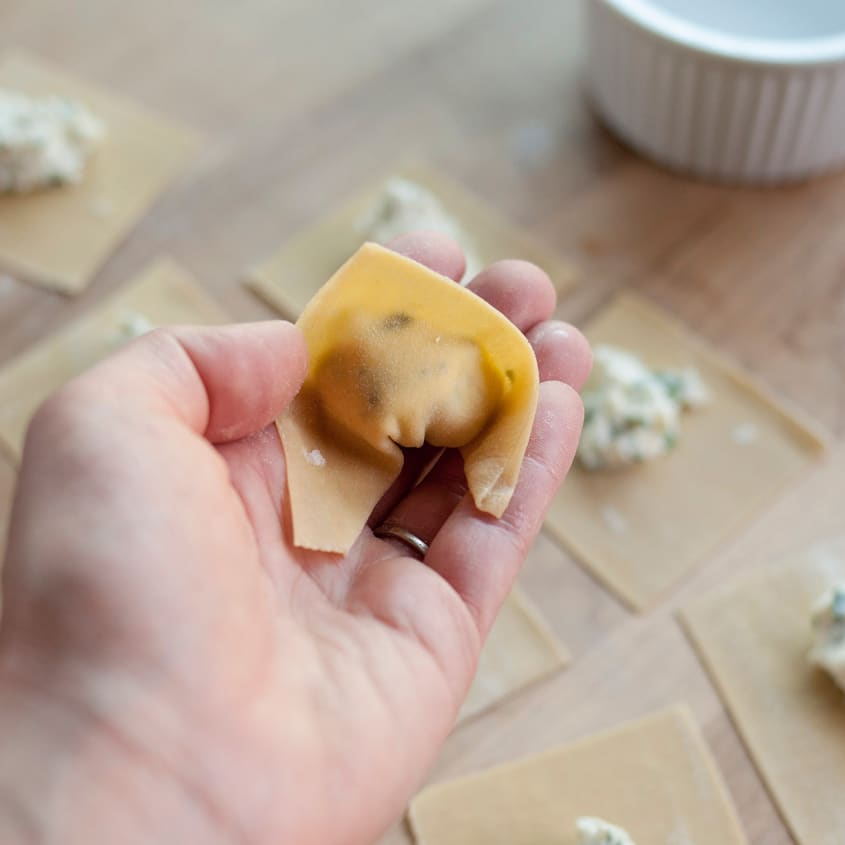
Square Tortellini #1: Draw the bottom two corners of the triangle together to form a kerchief shape. Press tightly to seal. Toss with flour, set aside on well-floured baking sheet, and cover. Repeat with remaining pieces of dough.
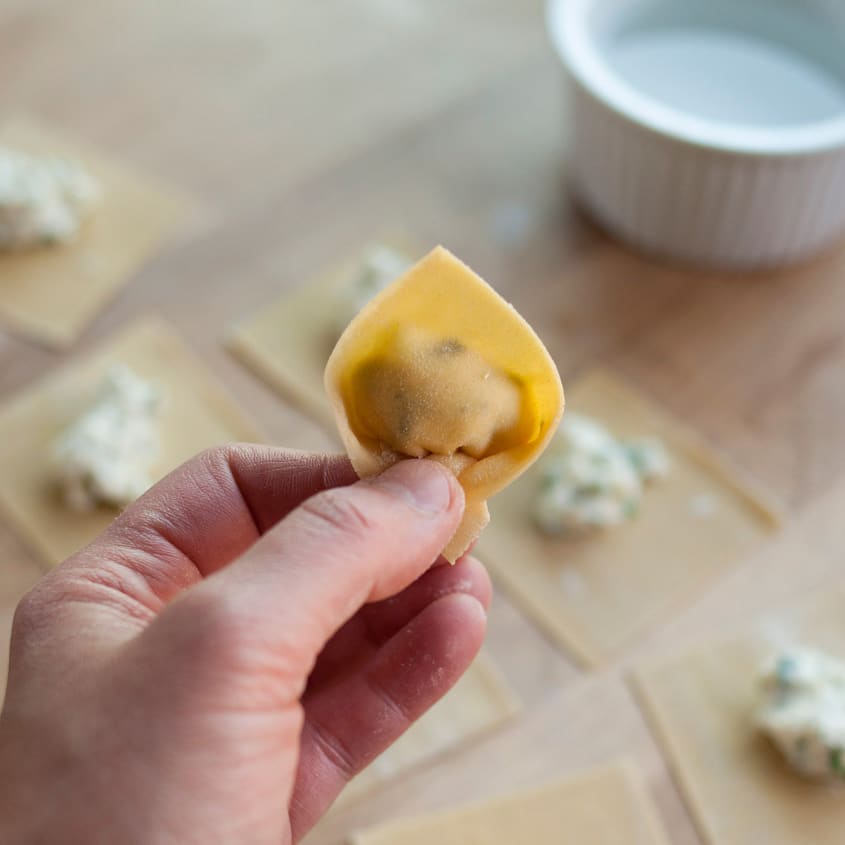
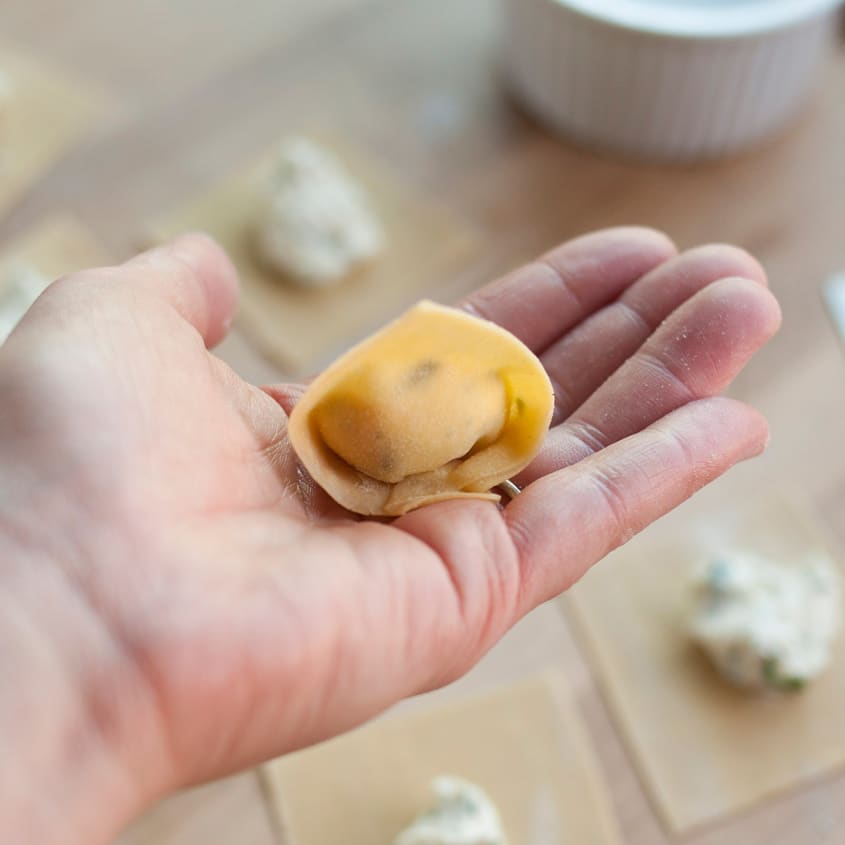
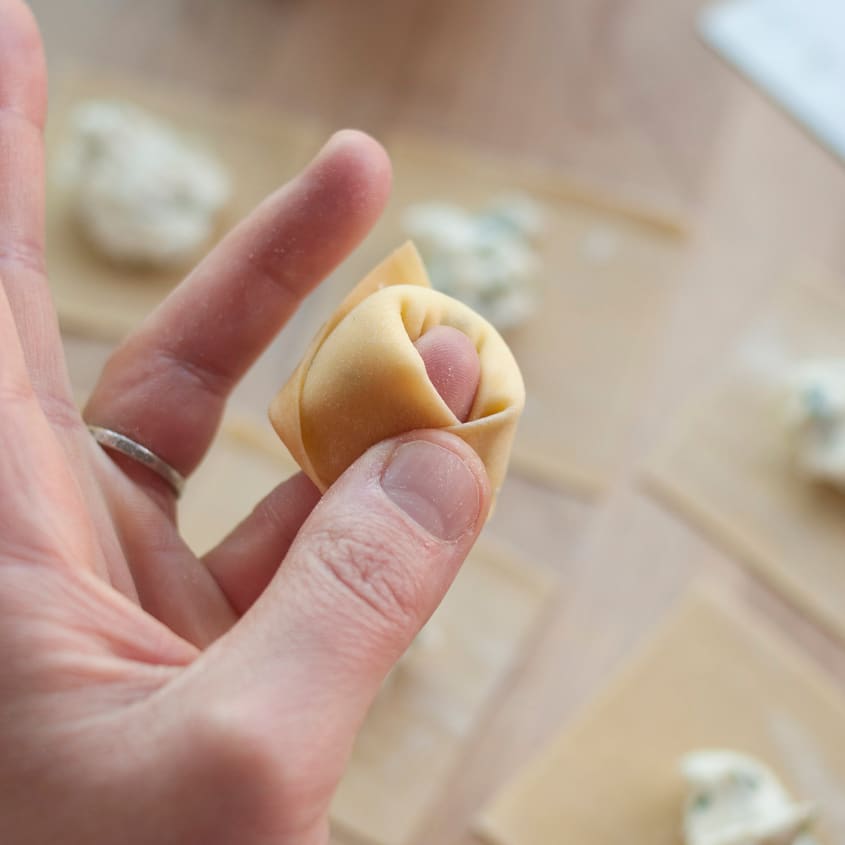
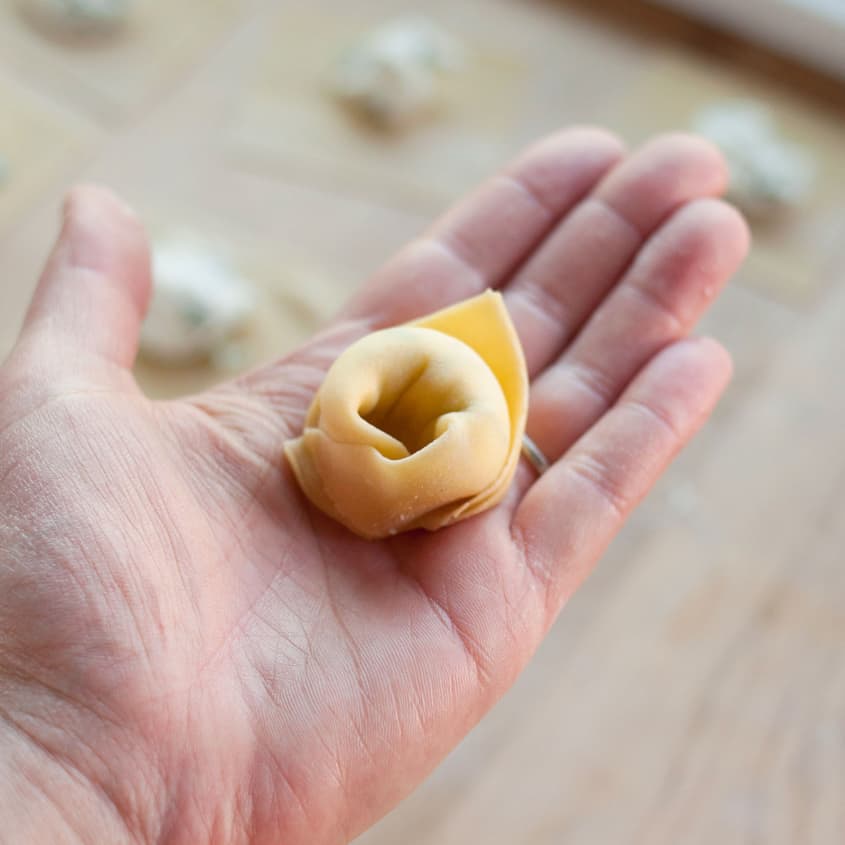
Square Tortellini #2: Fold the pocket of filling upward toward the peak of the triangle. Set the pocket of filling against the nail of your pinky finger and wrap the two corners around your finger. Press tightly to seal. Toss with flour, set aside on well-floured baking sheet, and cover. Repeat with remaining pieces of dough.
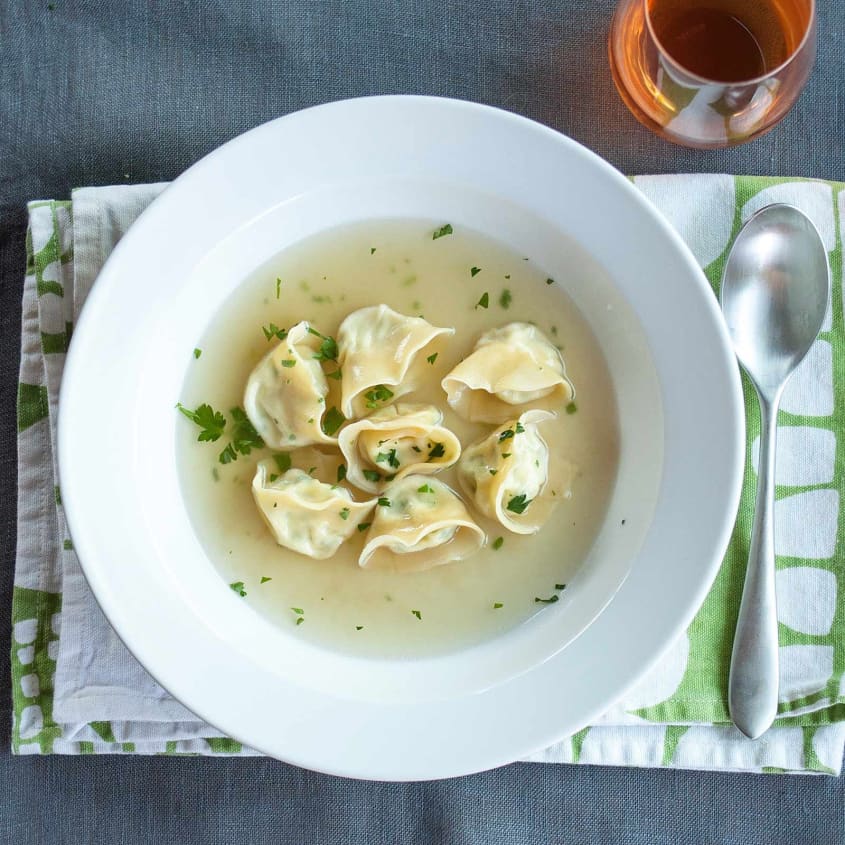
Cooking the tortellini: Bring a large pot of water to a boil and add a tablespoon or two of salt. Lower the tortellini into the water a few at a time with a slotted spoon. Stir the pot occasionally to prevent the tortellini from sticking to the pot or each other. Cook until all the tortellini have bobbed to the surface of the water, about 5 minutes. Taste one to check for doneness.
Freezing the tortellini: If not cooking the tortellini immediately, freeze them on a sheet pan and transfer to a freezer-safe container once solid. Tortellini will keep for about 3 months. Cook directly from the freezer, but increase the cooking time by a minute or two.
Recipe Notes
Tortellini Filling Options: Tortellini can be filled with anything from plain ricotta cheese to cooked sausage. There are no rules here! If you're experimenting with making tortellini without a recipe, start with 2 cups (20 ounces) ricotta as your base and add other cheese, cooked meats, herbs, or seasonings to taste. If including meat, cook the meat before filling the tortellini.
Basic Tortellini Filling and Recipe (Pictured): Three-Cheese Tortellini in Parmesan Broth
Want more smart tutorials for getting things done around the home?
See more How To posts
We’re looking for great examples of your own household intelligence too!
Submit your own tutorials or ideas here!
(Images: Emma Christensen)