
How To Make Mallomar Cookies at Home

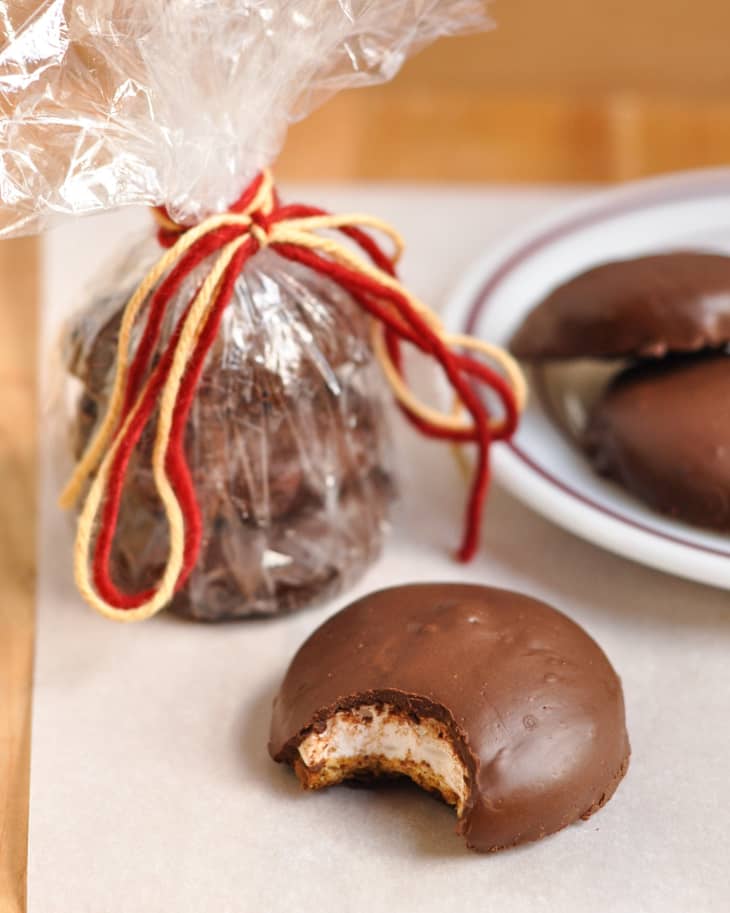
Mallomars. The name alone is almost enough to trigger a blissful sugar coma. This confection of graham cracker and marshmallow, dipped in chocolate, is a seasonal item from Nabisco and only available in the colder chocolate-friendly winter months. Which means that those of us who need a mid-year fix are forced to look elsewhere for sugary satisfaction — like our kitchens.
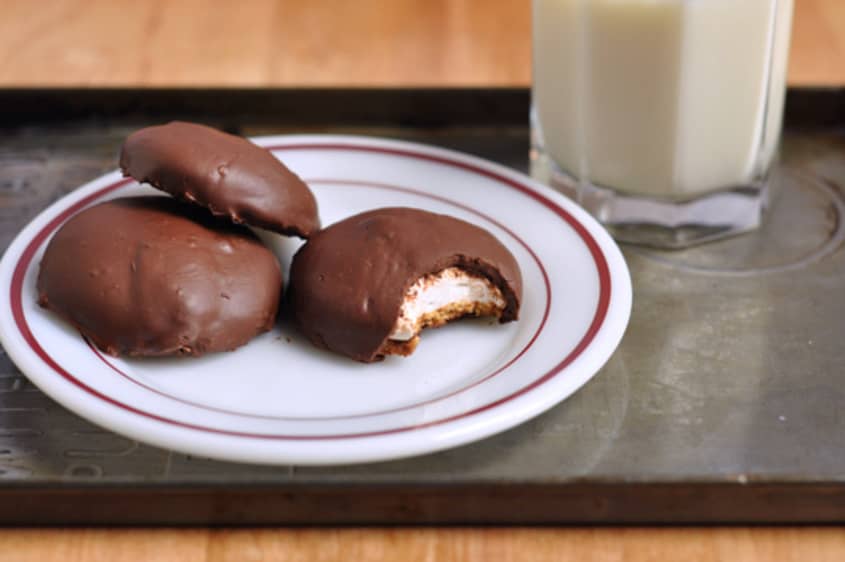

This was a super fun project, but it’s also not for the faint of heart! The mallomars are made in three separate steps: 1) make the graham crackers, 2) top with marshmallows, and 3) dip in chocolate. I separated this out into three days, but it could certainly be done in one dedicated weekend afternoon. Just keep in mind that the marshmallows need to cure for several hours before being dipped.
How To Make Homemade Mallomars What You Need
Nutritional Info
Ingredients
- 1 recipe graham crackers
We used this Martha Stewart recipe, but cut the recipe in half. You can also use this one from The Kitchn.
- 1 recipe vanilla marshmallows
We used another Martha Stewart favorite.
- 2 1/2 pounds
dark chocolate
- 1
Shortening or edible paraffin wax to thin the chocolate (Optional)
Equipment
- 1
Rolling pin
- 1
Round cookie cutter — we used one with a 2-inch diameter
- 1
Piping bag
- 1
806 (1/2-inch) round pastry tip or one similar to this size
- 1
2-pronged dipping fork or a regular dinner fork
- 1
Offset spatula or butter knife
Instructions
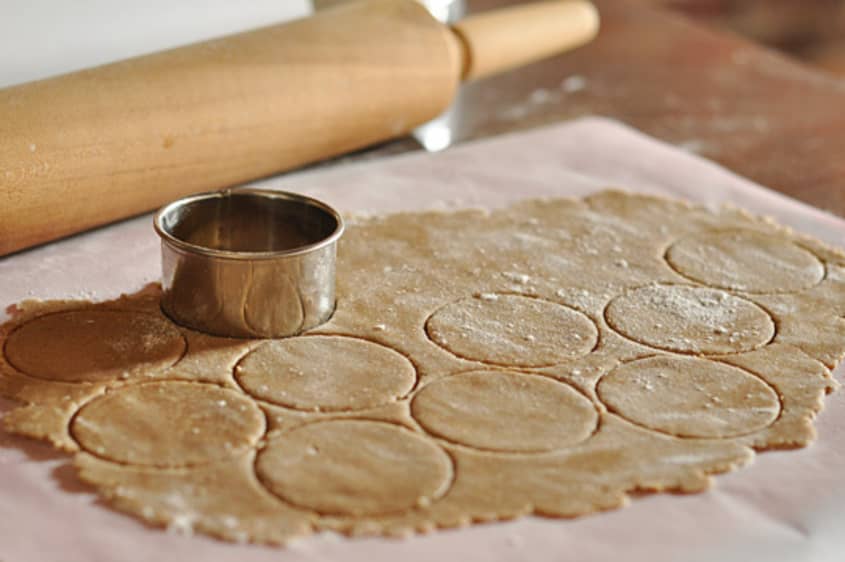
Prepare the Graham Crackers
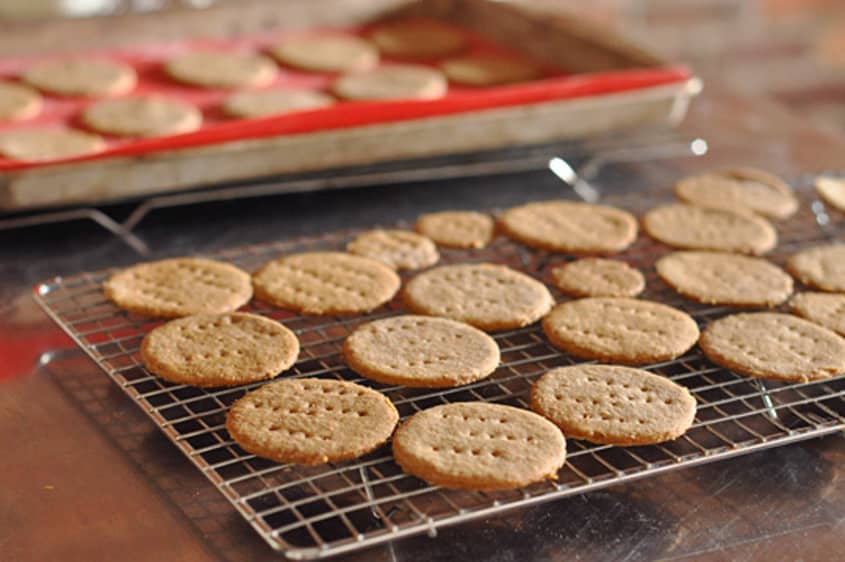
Prepare the graham cracker dough and roll it out 1/8-1/4 inch thick. Use the cookie cutter to punch out circles and transfer to a cookie sheet. The scraps can be re-rolled to make more cookies. Bake and cool as directed. (The Martha Stewart recipe we used made 35 cookie rounds.)
Top Graham Crackers with Marshmallow
The marshmallow batter will start to set in about 20 minutes, so it's important to have everything you need set out before hand and then work fairly quickly once the batter is made.
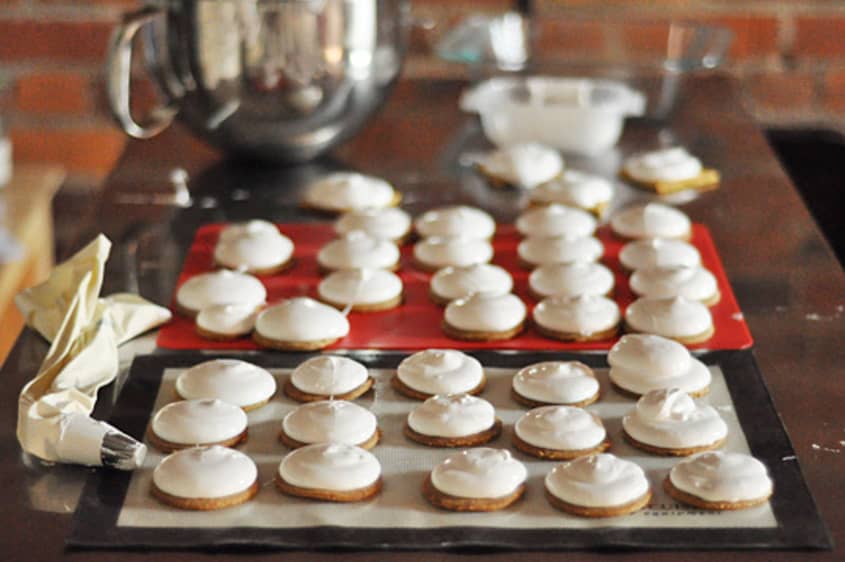
Set the graham crackers out on baking sheets. The marshmallows have to cure for several hours before you can dip them, so the baking sheets allow you to move them if you need counter space. They also keep the mess contained! I found it useful to line the baking sheets with silpats to help keep the graham crackers from skidding as I topped them with marshmallow. Set a cup of water near your work station to clean off sticky fingers.
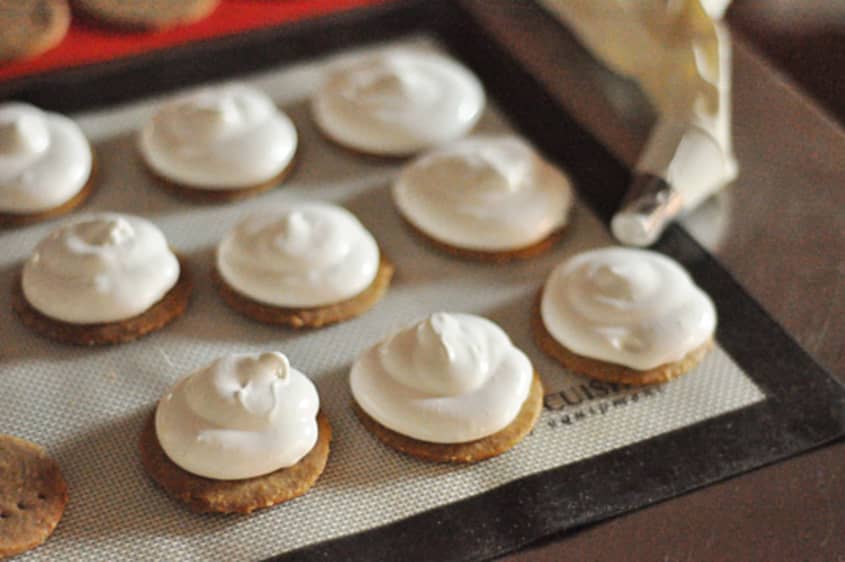
Prepare the marshmallow batter as directed in your recipe. Fit your pastry bag with the round pastry tip and fill it partway with marshmallow batter. Twist the top of the pastry bag closed and squeeze out extra air.
Hold the bag perpendicular and position the tip of the pastry bag about an inch over the surface of the cookie. Pipe a mound of marshmallow onto each round, stopping just before the marshmallow reaches the edge of the cookie. The marshmallow will spread a bit as it sets to fill in the edges. Sometimes the marshmallow batter has trouble "letting go" of the cookie, so it helps to dip your fingers in the cup of water and pinch off the top before moving onto the next cookie.
The first marshmallows piped tend to spread more, so use the first few as your practice cookies to get a feel for the rhythm. I hit a sweet spot about 10 minutes in where the marshmallow batter had set enough that it was no longer drippy, but wasn't yet hard to squeeze. It also took me three refills of the pastry bag to use up all the batter and top all the cookies.
Once all the marshmallows are piped, let them sit at room temperature for at least four hours in order to properly set.
Dip the Mallomars
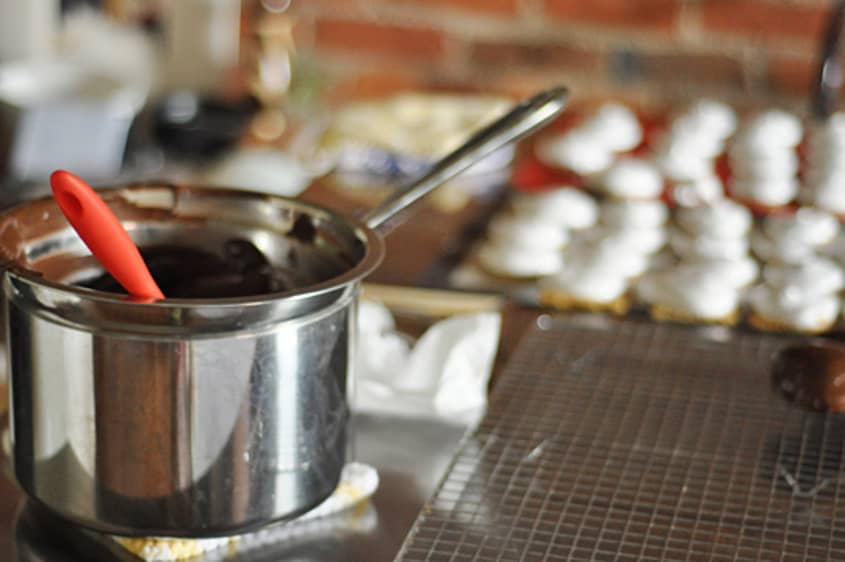
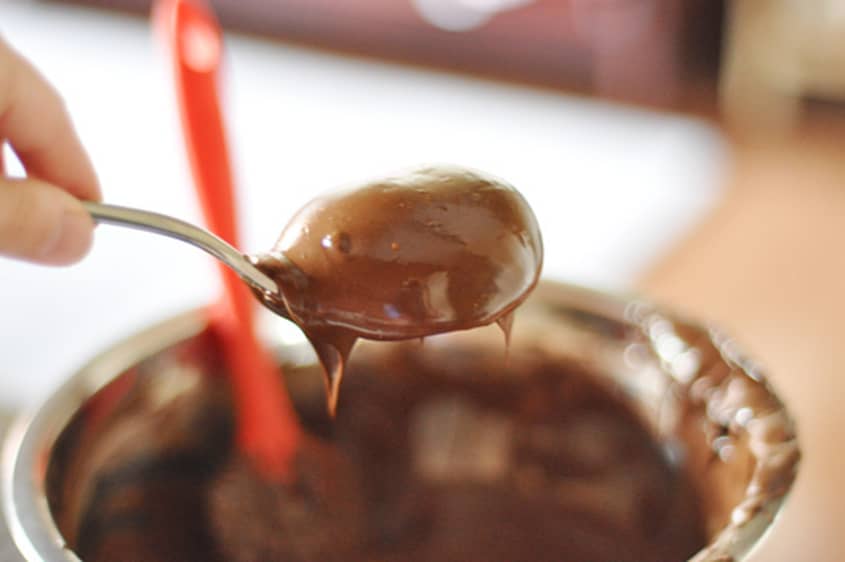
For this amount of chocolate, I find it easiest to melt the chocolate over a double-broiler instead of in the microwave. This is easily done by filling a sauce pan with a few inches of water and setting a metal bowl on top. Make sure the bowl doesn't touch the surface of the water. Set this over medium heat, bring the water to a simmer, and melt the chocolate. If using, add the shortening or edible wax a little at a time until the chocolate is as thin as you'd like it.
Once the chocolate is melted, remove the pan from heat and set it on an oven mitt - the warm water in the bottom will help keep the chocolate warm and melted while you dip.
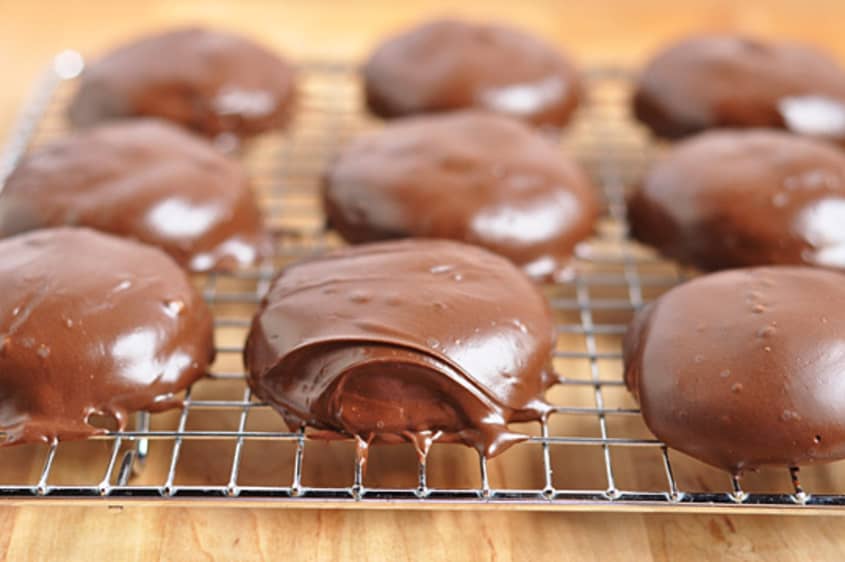
Working with one mallomar at a time, drop the mallomar into the chocolate marshmallow-side first. Use a dipping fork (or just a regular fork), flip the mallomar over so it's coated on all sides. Lift the mallomar from the bowl, shake it gently to remove the excess chocolate, and use the offset spatula (or butter knife) to scrape the excess from the bottom. This gets messy, so just roll with it and clean up the chocolate splatters later!
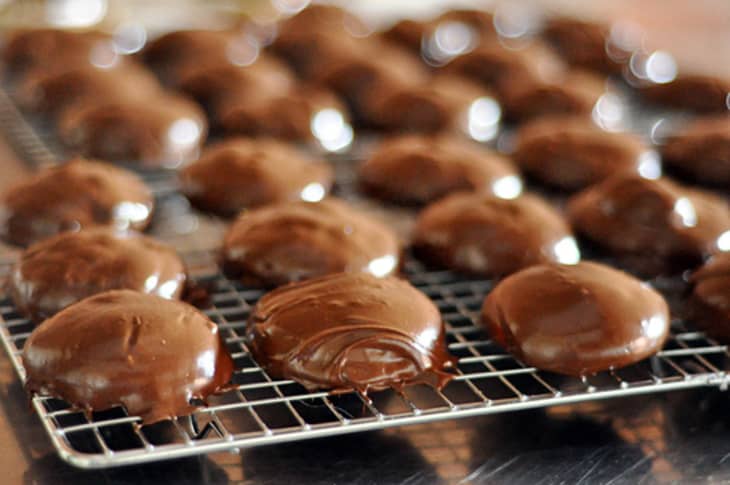
Transfer the mallomar to a wire cooling rack sprayed with nonstick coating or a piece of wax paper, using the offset spatula to help slide it off the fork. Repeat with the remaining mallomars, re-melting the chocolate as necessary. Allow the chocolate to set until firm. If it's a very warm day, you may need to refrigerate your mallomars to get them to set.
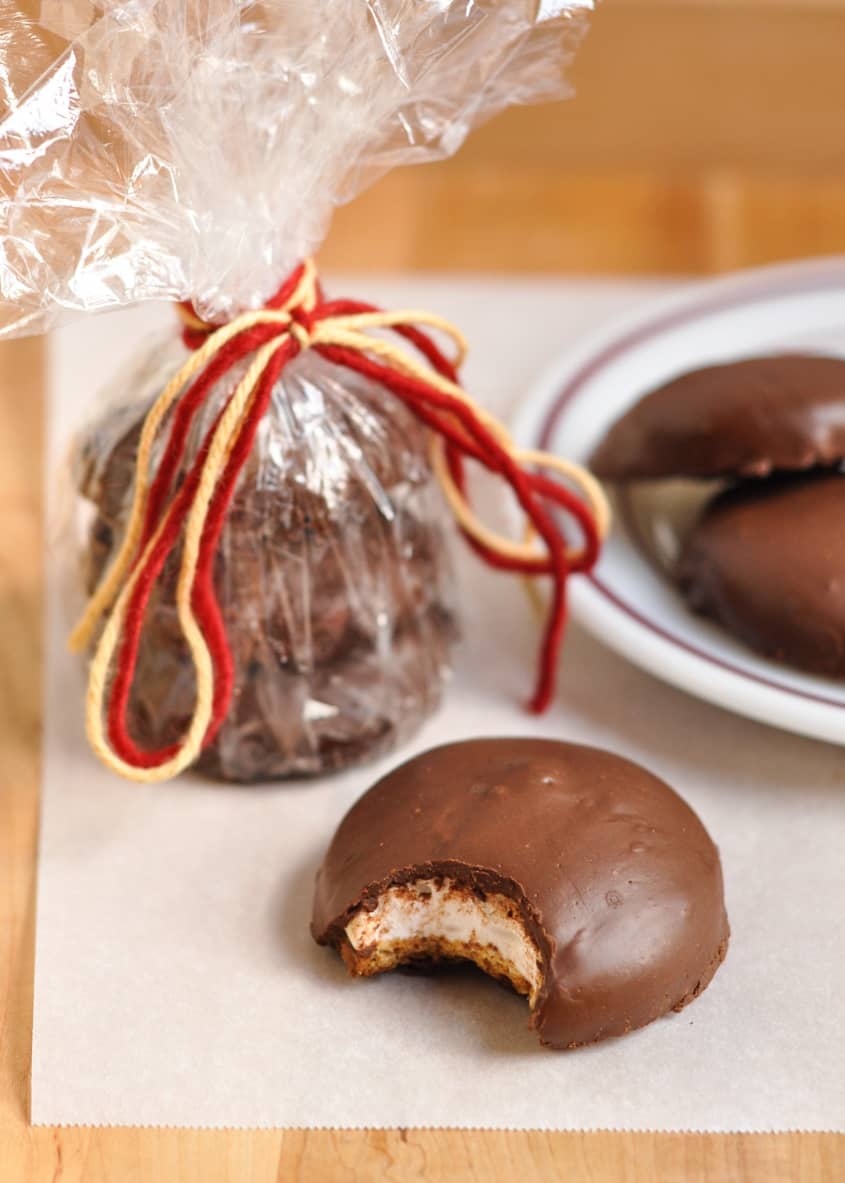
Store Mallomars
Mallomars will keep for several weeks (if they're not eaten first!). Store them in an airtight container between layers of wax paper. If it's very warm in your house or if the chocolate is starting to melt, keep the mallomars in the refrigerator. Let them warm before eating.
Recipe Notes
To make mallomars with a shiny coating, temper the chocolate before beginning to dip.
• There may be some truth to the myth that mallomars are only made in the winter for quality purposes. On a hot humid day, the cookies quickly stale, the marshmallow is (even more) difficult to work with, and the chocolate has trouble setting. If you can, pick a cooler day to make these - or jack up the AC for a few hours!
• After some trial and error, it definitely works best to let the coated mallomars dry on top of wax paper, rather than wire racks as we originally assumed (and photographed!). The wax paper is easier to peel off without loosing any of the chocolate.
• You can certainly use store-bought graham crackers instead of making your own. I made a few of these and found them a little large for a single sitting, but definitely still tasty!
Want more smart tutorials for getting things done around the home?
We’re looking for great examples of your own household intelligence too!