
How To Cure Corned Beef (In Time for St. Patrick’s Day)
St. Patrick’s Day is coming up, and we’ve decided to take it (and Meat/Un-Meat Month) as inspiration for A Project. We’ve always been interested in curing our own meat, and corned beef seems like the perfect place to start. In fact, we’ve talked about home-curing corned beef a lot, but this year we’re really doing it!
There’s plenty of time between now and St. Patrick’s to cure your own corned beef. Would you like to follow along with us? Here’s what you’ll need, if you decide to embark on this little project with us.
What is corned beef?
Corned beef is a cut of meat — usually brisket — that is cured, or pickled, with a dry rub or in a seasoned brine. This seasoned beef is usually then boiled or cooked over low heat for a long time, and the resulting meat should be very tender. It’s served in a classic Reuben sandwich with rye bread, or in a classic St. Patrick’s Day Irish dinner with boiled cabbage and potatoes. If you smoke a side of corned beef, instead of boiling it, you end up with pastrami.
Why is it called corned beef? Where’s the corn?
The word “corned” refers to the large grains of salt traditionally used to preserve the meat.
How do you cure corned beef?
Curing beef is fairly simple: You rub the beef with spices and salt and let it sit in the fridge for a long time. Or you make a brine with salt and seasonings, and marinate the beef, also in the refrigerator. I chose the brine method for this particular episode of corned beef-curing. The salt and seasonings are straightforward: mustard, cinnamon, nutmeg, black pepper.
What’s the catch?
There is one tricky part, though. See, beef preserved in this way will not retain its customary (and appetizing) red color all on its own. It will fade into a rather dingy gray. It will taste just like normal corned beef or preserved beef, but it will look gray. To prevent this, butchers and home meat-curers generally add a small amount of preservative to keep the red color. This has varied over the years: a long time ago, saltpetre was used (also an ingredient in gunpowder). This is also known as potassium nitrate. Now it’s more customary to use sodium nitrite and sodium nitrate. Sodium nitrite also prevents the growth of botulism and other bacteria. But excessive consumption of nitrites has been linked to various health problems, including cancer, so it’s best to really limit your intake of meats preserved in this way.
For this particular project, however, I was fine with using sodium nitrite/nitrate to preserve color and make traditional corned beef. We eat preserved meats and other processed foods very rarely in our household, so a homemade splurge didn’t seem to be too much of a problem.
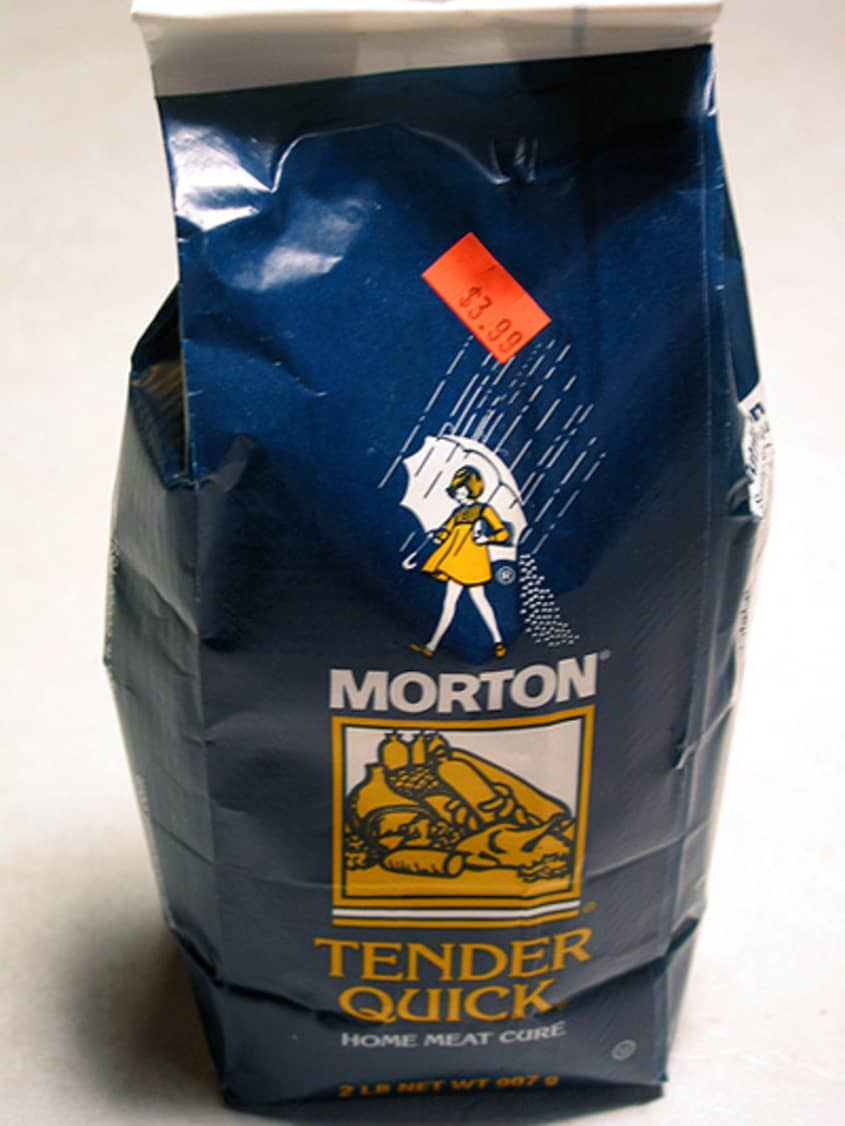
The problem, it turned out, was finding these preservatives for sale. I will skip the morning of calling butchers and chemists, and just tell you the best way to do this. Order this product from the web, or look for it in your local specialty grocer:
• Morton Tender Quick – A curing salt that includes sodium nitrate and nitrite, as well as salt. This product should be used INSTEAD of salt in any curing recipe you choose.
The Morton product seemed to be much more available than the other options we found. But, like I said earlier, it’s fine to skip the preservative entirely. Just know that you’ll end up with slightly gray beef.
Get started curing!
Once you’ve decided whether to use a preservative or not, and once you’ve secured it if you are going to use it, here’s the easy part. Actually curing the beef.
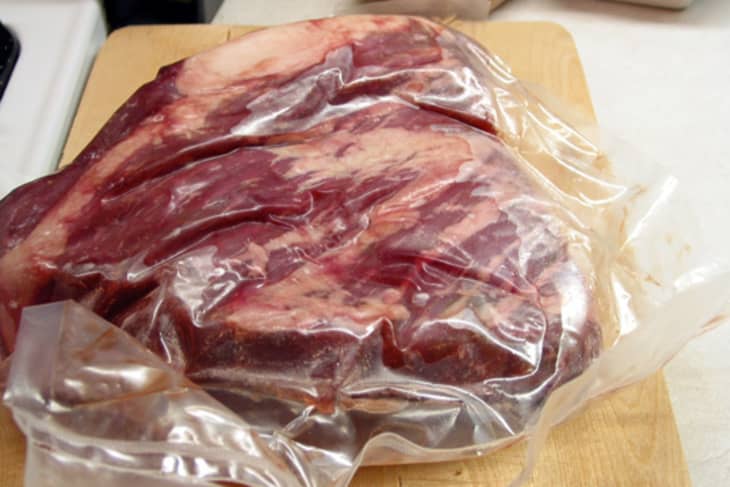
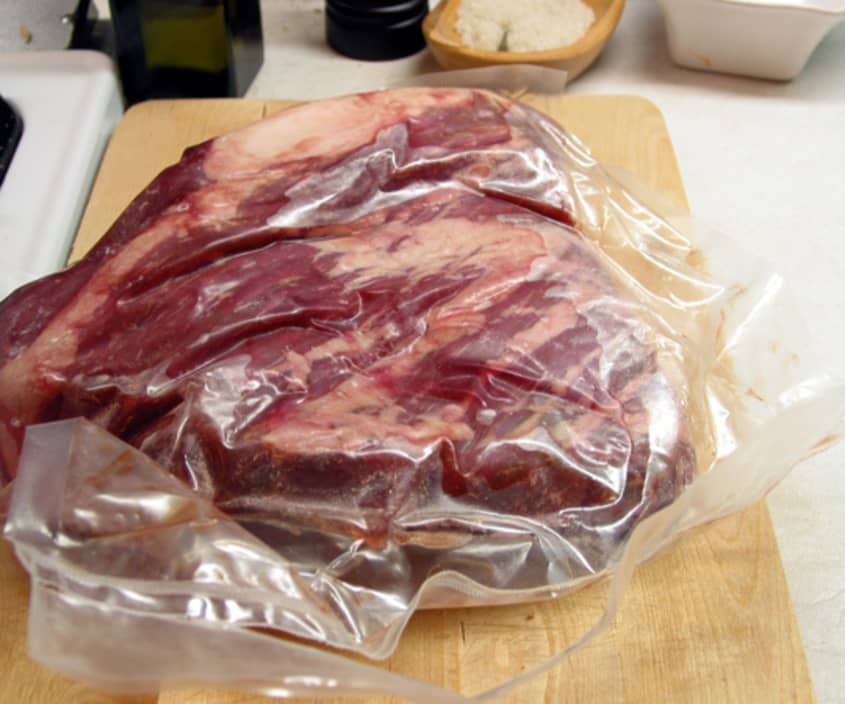
The Meat
For the meat, only use the best, please. Most recipes call for at least four pounds of brisket. I used a three pound brisket from my local butcher shop. This shop raises their own lamb, beef, pork, and goat, and I feel very comfortable purchasing from them. In fact, they are the only place I buy beef.
The Recipe
Once you have your beef, it’s time to make the brine! This is a recipe adapted from Alton Brown’s corned beef recipe, with adjustments for the Morton product and my own tastes.
2 quarts water
2 cups Morton Tender Quick
3/4 cup brown sugar
1 tablespoon cinnamon
1 teaspoon black mustard seeds
2 teaspoons black peppercorns
1 teaspoon whole cloves
15 whole juniper berries
1/2 teaspoon ground ginger
Several trays of ice
3-5 pound beef brisket, cut into two pieces
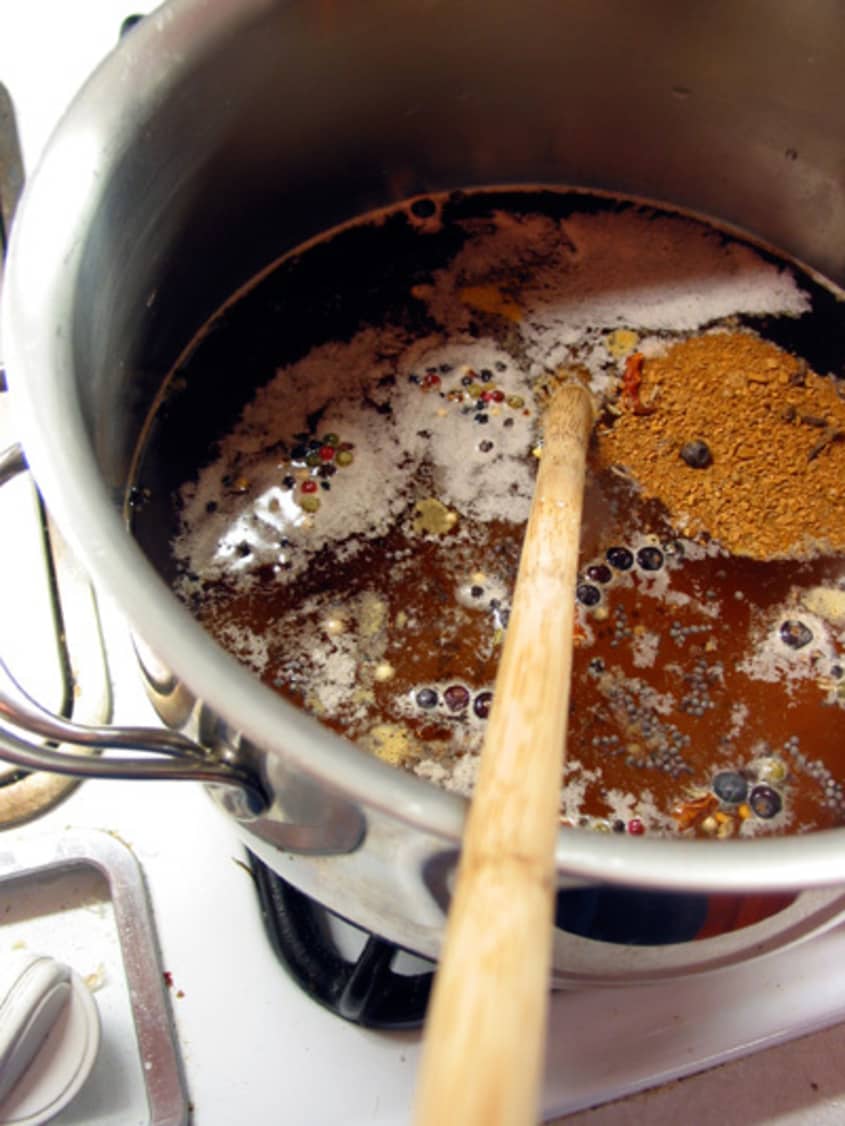
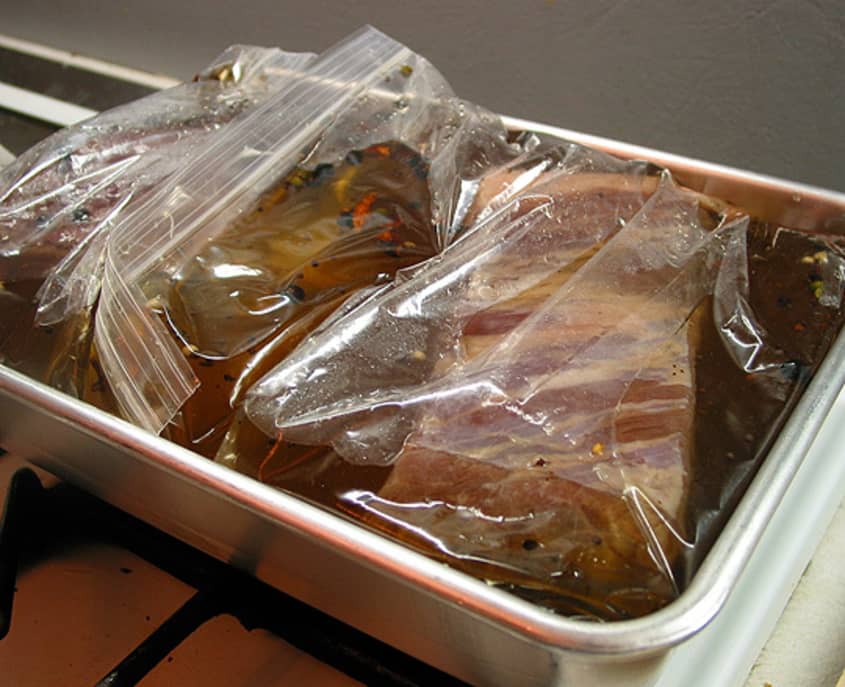
Heat the water with the Tender Quick, sugar, and all the spices. Cook over medium heat, stirring constantly, until the sugar and Tender Quick are dissolved. Remove from the heat and add the ice. Stir until the ice has melted. Place each brisket into a separate 1-gallon freezer bag and add the cooled brine, half to each bag. Seal and lay in a baking pan. Put away in the fridge. Each day, massage the bags and make sure the meat is covered with brine.
That’s it! Very simple. My brisket is currently curing in the fridge and I’ll bring you updates as it sits. Recipes vary as to curing time, but cutting the brisket into two pieces shortens the time it needs to cure. 7-10 days seems to be average, and I plan on cooking mine in about a week — the night before St. Patrick’s.
Want to follow along? You have time! Or, if you’ve cured your own corned beef, tell us how it went.
Related: Corned Beef Four Ways