
How To Make Chicken Stock in a Stovetop Pressure Cooker

Making chicken stock is one of the top reasons why many people own and love their pressure cooker. Not only will a pressure cooker help you make a big pot of stock in just about one hour, but it will also likely taste richer and more fully flavored than the slow-simmered version, too. Read on for our favorite way to make chicken stock in the pressure cooker.
Bones Plus Meat
One of the more satisfying aspects of making chicken stock is its economy, since stock is a fantastic way to use up leftover bones and trimmings. Just store them in a heavy-duty plastic bag the freezer until you have about three pounds’ worth. That said, the meat of the chicken does add extra flavor, so it’s a good idea to pop in a whole, raw drumstick or two (drumsticks are dark meat and dark meat has more flavor).
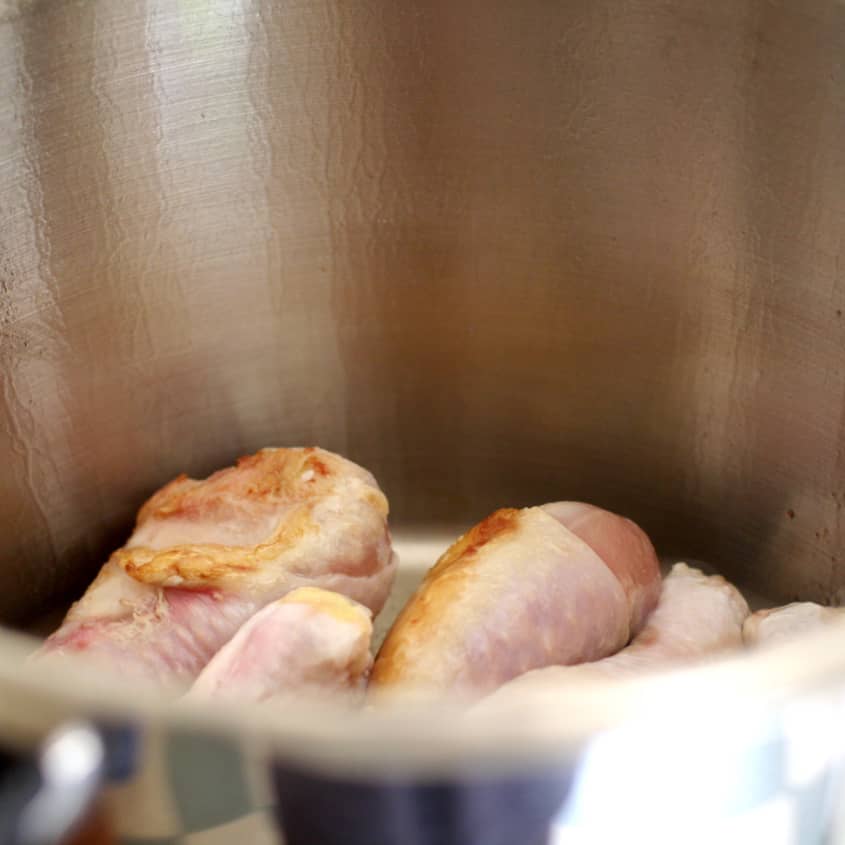
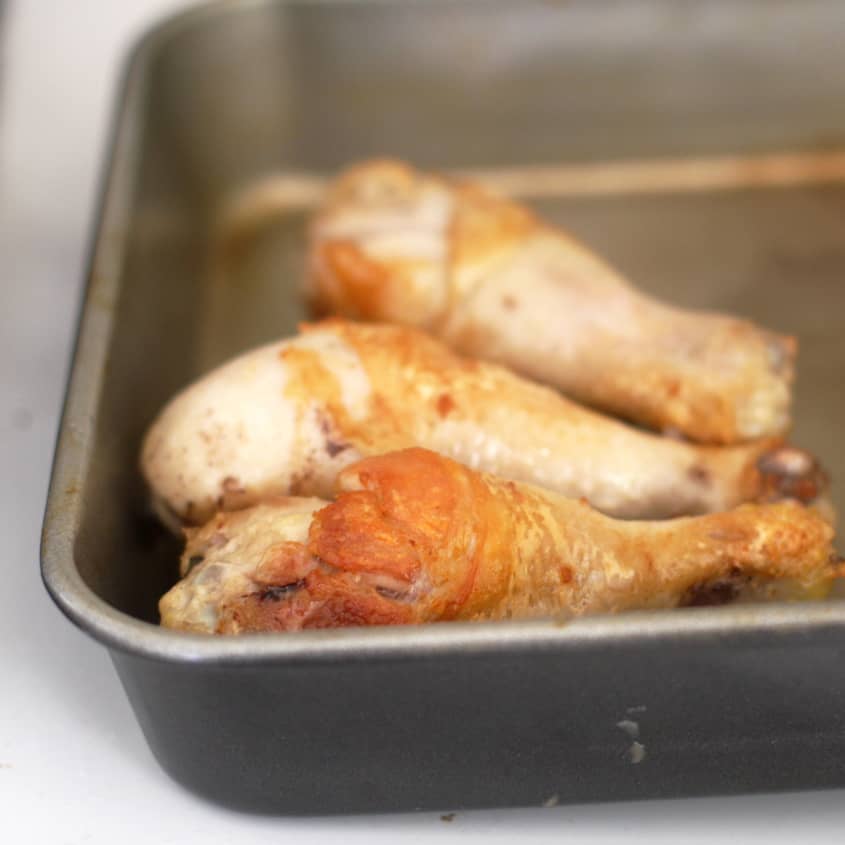
I like to brown any uncooked chicken pieces for my stock to add additional depth of flavor and color. (Note: Apparently, the Maillard Reaction can occur in the pressure cooker despite the fact that it is a super-moist environment. This is due to the fact that the pressure cooker can raise the boiling temperature above 212°F and into the range where the Maillard Reaction can occur. Because of this, some people skip the browning process altogether and I have noted it as optional step on the recipe.)

Adding Aromatics
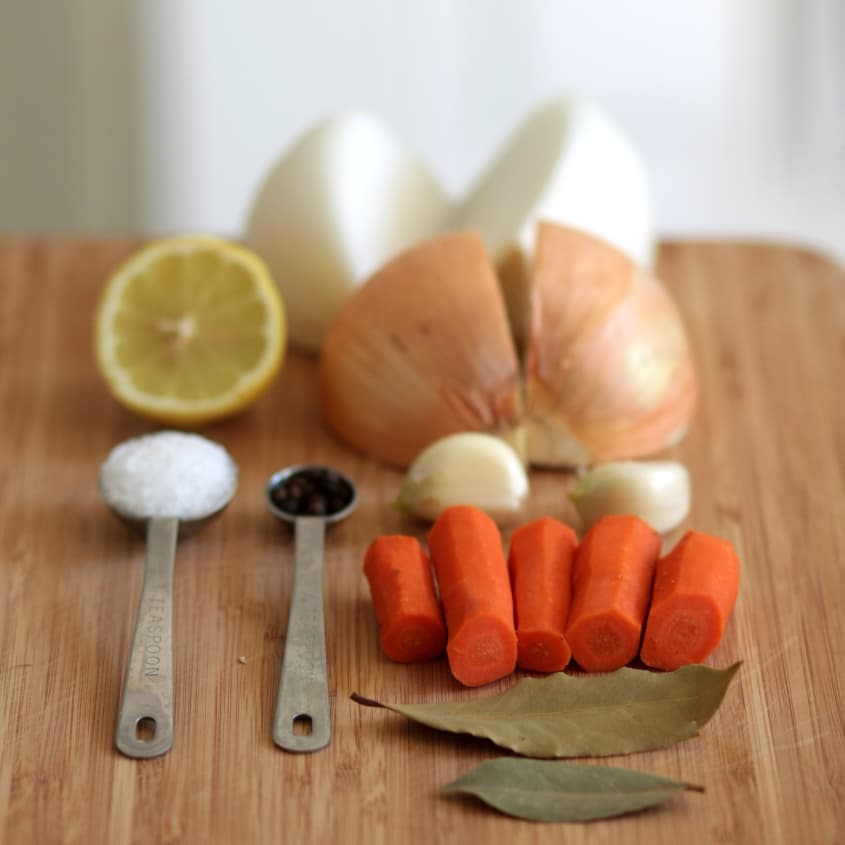
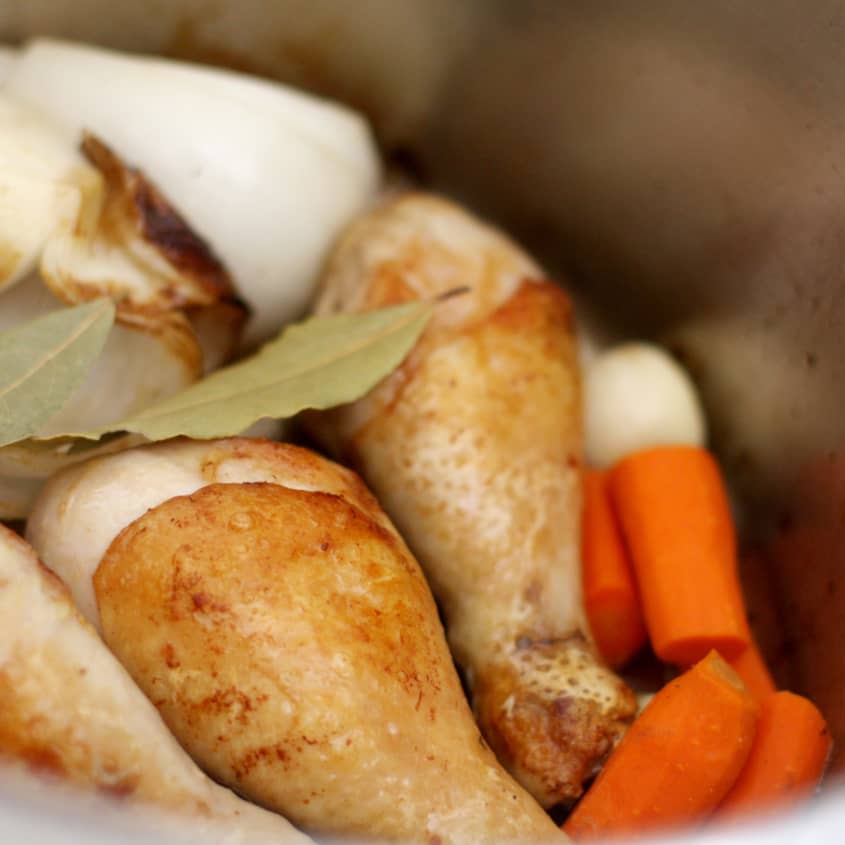
When I make stock, I tend to keep it as simple as possible, as often I am making a big batch for the freezer and I want it to be versatile. The aromatics in this recipe can’t be detected on their own, but taken all together, they offer a supporting role to the chicken. This recipe includes carrot and onion, but not celery (I find that celery flavor just disappears in the pressure cooker). The garlic is optional, but I like it for its mellow sweetness. The peppercorns add a little savory punch, and I drop in a few bay leaves for their subtle aroma. The lemon is there to balance out the sweetness a little, and a bit of salt pulls everything together.
Do not cut the vegetables into small pieces, as they might disintegrate and cause a cloudy stock. The pressure cooker can handle larger chunks of vegetables, so just quarter the onion and cut the carrot into large three- to four-inch chunks. The garlic can stay whole — just smash it slightly.
One thing to note here is that while I’m calling this a stock, in strict classic French cuisine terms, it’s actually a seasoned broth. In a home cooking (that is, non-restaurant) environment, the terms are fairly interchangeable, and I find that a fully flavored broth is more versatile for our kind of cooking.
Know the Terms: What’s the Difference? Stock vs. Broth
Is Organic Necessary?
I only use sustainably-raised meat these days, so the question of organic is moot for me. But if you’re inclined to buy the cheapest factory-raised chickens you can, I would advise you to be careful here. When making stocks, you are boiling the essence out of your ingredients — even more so with pressure cooked stocks since pressure cooking brings liquid way over the temperature for boiling (212°F), usually as high as 250°F.
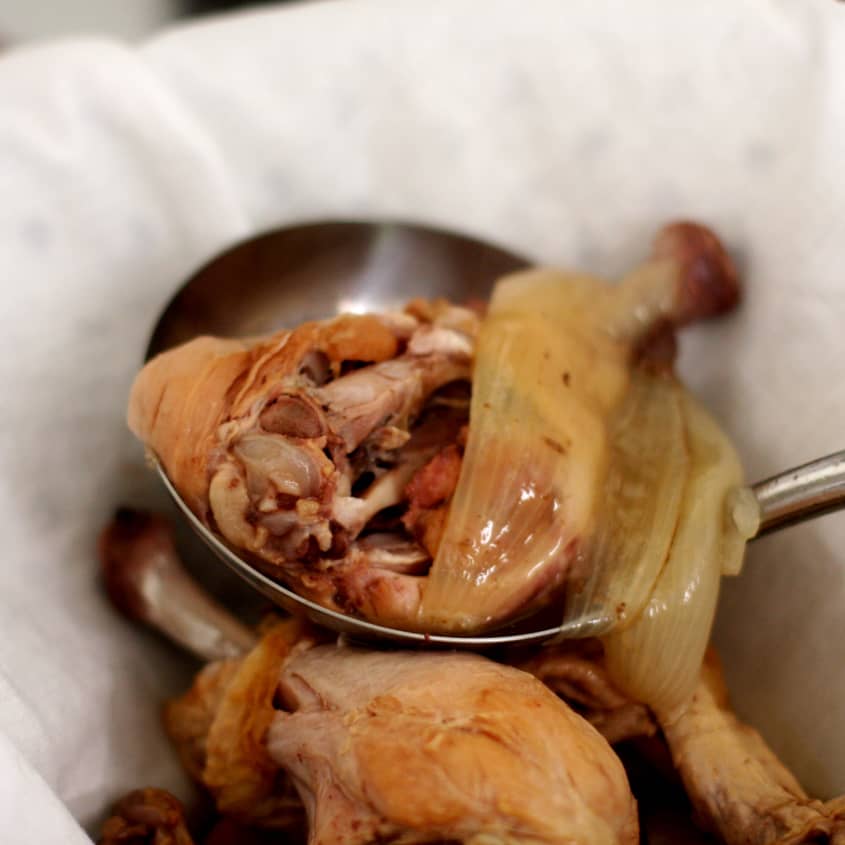
Here’s a little exercise: after making pressure cooked chicken stock, take a close look at the bones. They will likely be soft and crumbling, close to being dissolved. Now, after seeing that, don’t you want the healthiest, most chemical-free chicken you can get? (This goes for your vegetables as well!) If price is a concern, keep an eye out for sales and freeze until needed.
More on the Economics
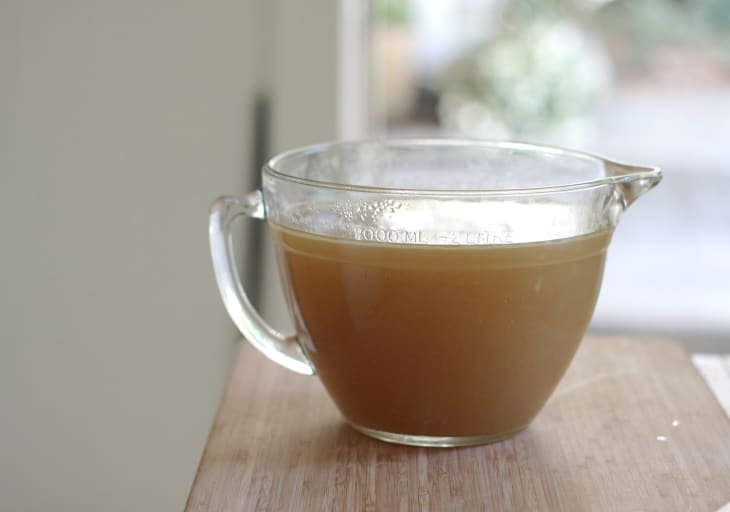
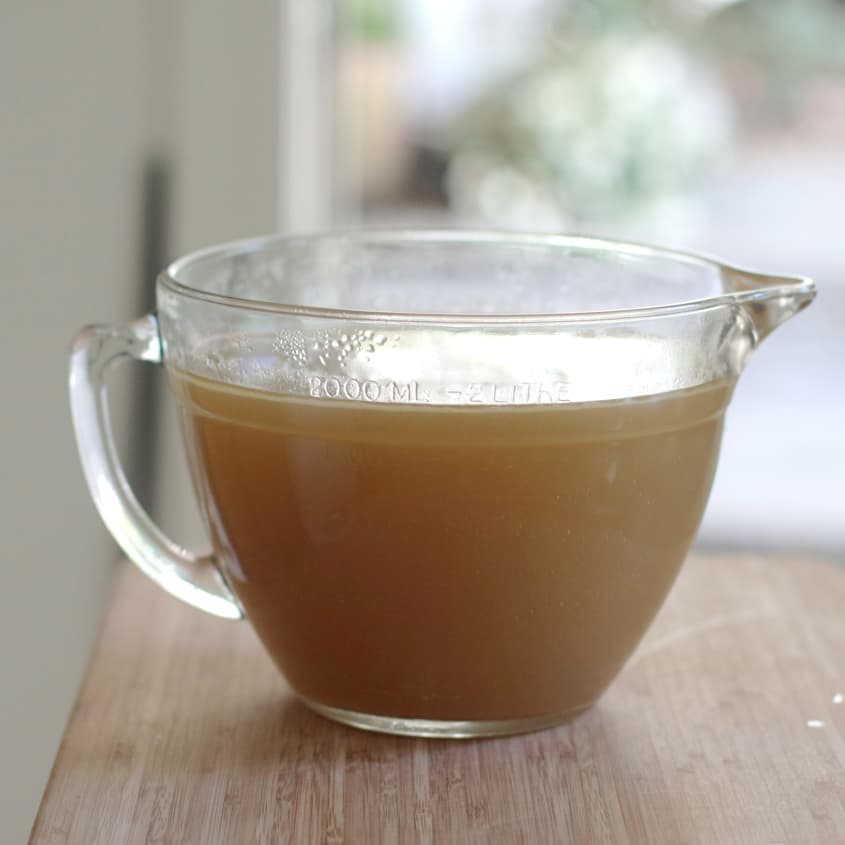
Since I didn’t have any chicken bones and scraps saved up to make my broth for this post, I purchased three pounds of good, organic chicken drumsticks at Whole Foods, which were on sale for about $2 per pound. I got 3 quarts of broth from this batch, meaning I now have a freezer full of delicious, organic chicken broth for a little over $2 a quart. That’s more economical, more delicious, and way more sustainable than any canned or boxed broth I can purchase in the store. When you include straining, ladling, and clean up, I would say the whole process took about 1 1/2 hours, with more than half of it hands off while the pressure cooker was doing its work.
The Pressure Cooker Variations
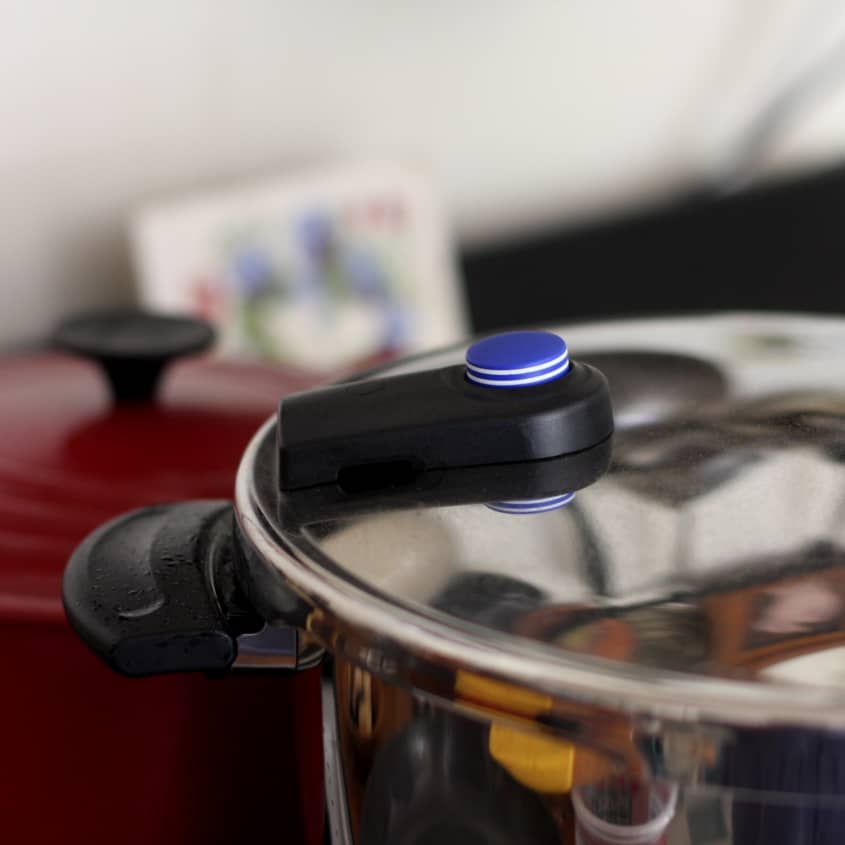
I used my large 8.5-quart Fissler pressure cooker for this recipe as I wanted to make a lot of stock to store in my freezer. You can make this with a smaller pressure cooker but it will take roughly the same amount of time to make the smaller quantity (maybe a little less to bring up to high pressure and to release the pressure after cooking). See the Recipes Notes for adjusting the amount to make 2 quarts in a 6-quart pressure cooker. If you have an electric pressure cooker, simply consult your manual and adjust the directions to suit your particular make and model.


How To Make Chicken Stock in the Pressure Cooker
Makes 3 quarts
Nutritional Info
Ingredients
- 1 tablespoon
oil (for optional browning)
- 3 pounds
chicken parts, including a drumstick or two, if possible
- 1
medium-sized yellow onion, trimmed and quartered but not peeled
- 12 cups
water
- 2
large cloves garlic, lightly smashed
- 1
large carrot, unpeeled but well scrubbed and cut into 3-inch chunks
- 2 tablespoons
lemon juice
- 1 teaspoon
salt
- 1/4 teaspoon
whole black peppercorns
- 2
bay leaves
Equipment
Knife and cutting board
Measuring cups and spoons
8-quart pressure cooker
Sieve or colander
Large bowl or pot
Cheesecloth
Storage containers
Instructions
Brown the chicken (optional): Heat the oil in the pot of your pressure cooker over medium heat. Add the raw chicken in a single layer and cook until lightly golden on all sides. All the chicken may not fit into the pot, so remove pieces as they are done, replacing them with a fresh raw piece. Note: You are not trying to cook the chicken all the way through; you are just browning the skin. You do not have to brown any already cooked chicken, such as leftovers from a carcass.
Brown the onion (optional): As you remove the browned chicken pieces from the pot, replace them with the onion quarters to brown them slightly. Adjust the heat to avoid burning any bits left on the bottom of the pot. Again, you do not want to cook the onions all the way through but just brown them.
Add the water and remaining aromatics: When the onions are browned, add a few cups of the water (careful, the water may splatter slightly) and scrape up any browned bits from the bottom of the pan. Add the browned chicken, remaining water, garlic, carrots, lemon, salt, peppercorns, and bay leaves.
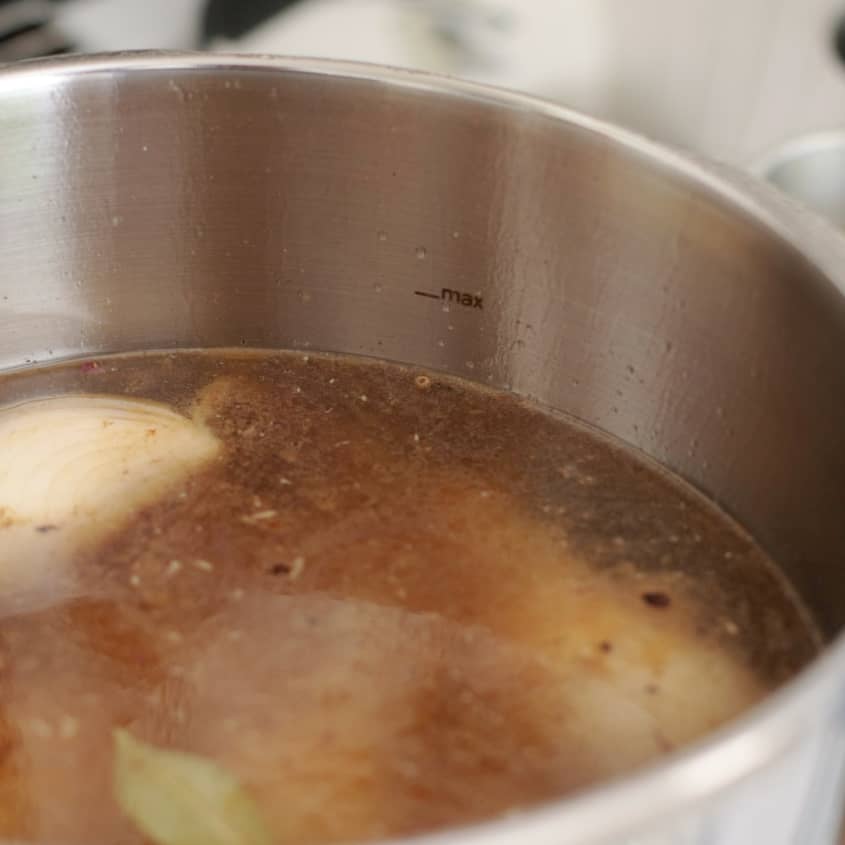
Pressure-cook the stock: Cover and secure the lid. Raise the heat to high and bring the pot up to full pressure. This may take about 15 minutes. When your pot indicates that it's at full pressure, lower the heat to maintain pressure and start timing. Cook for 45 minutes.
Naturally release the pressure: After 45 minutes, turn off the burner and allow the pot to release pressure naturally. This will take about 15 minutes.
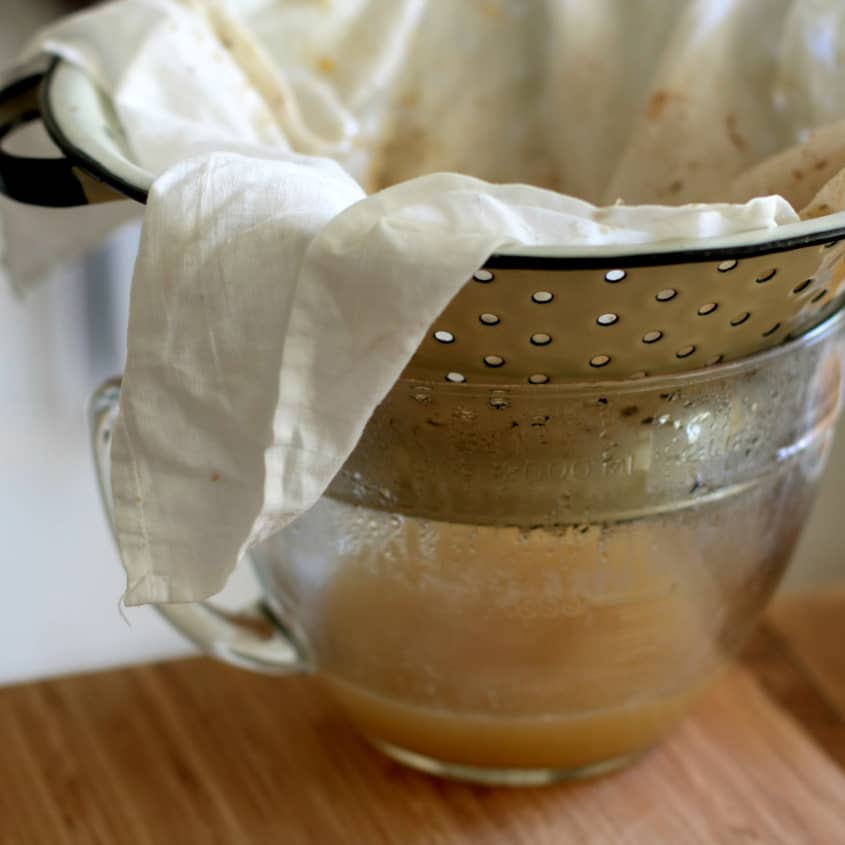
Strain the stock: Place the sieve or colander over a large bowl and line with cheesecloth. Carefully ladle the stock into the colander and strain. Discard the solids.
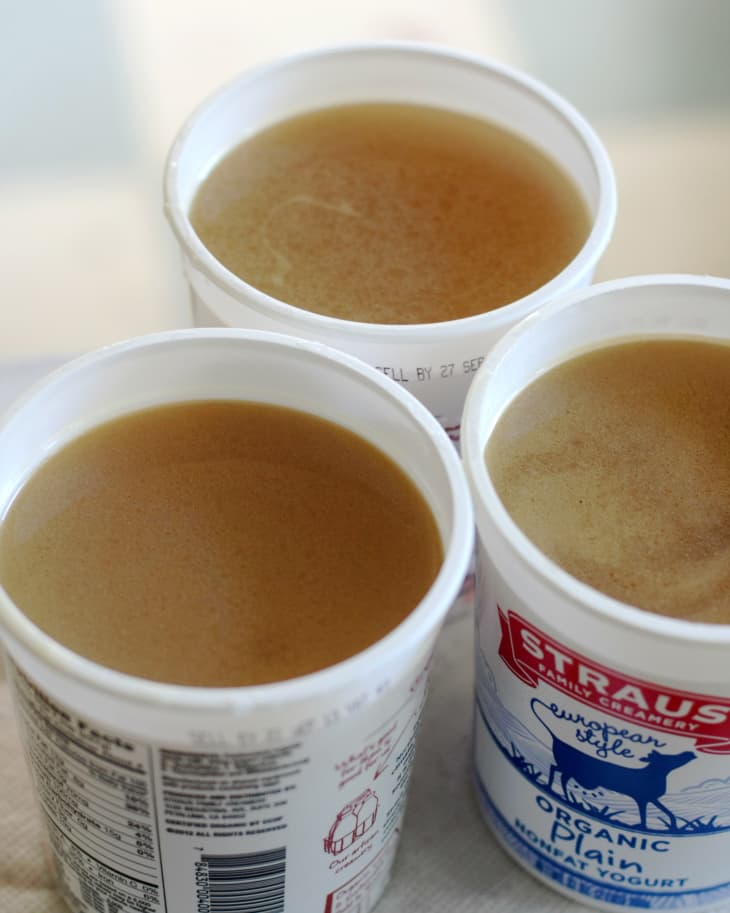
Cool, package and freeze the stock: Allow the stock to cool and then ladle it into storage containers. Label and freeze.
Recipe Notes
- I used my Fissler 8.5-quart pressure cooker for this recipe. If you have a smaller (6-quart) cooker, you can reduce the chicken to 2 pounds and the water to 8 cups. You can be a little more casual about the aromatics and just use a smaller carrot and onion, maybe one large clove of garlic, a little less salt and peppercorns, etc.
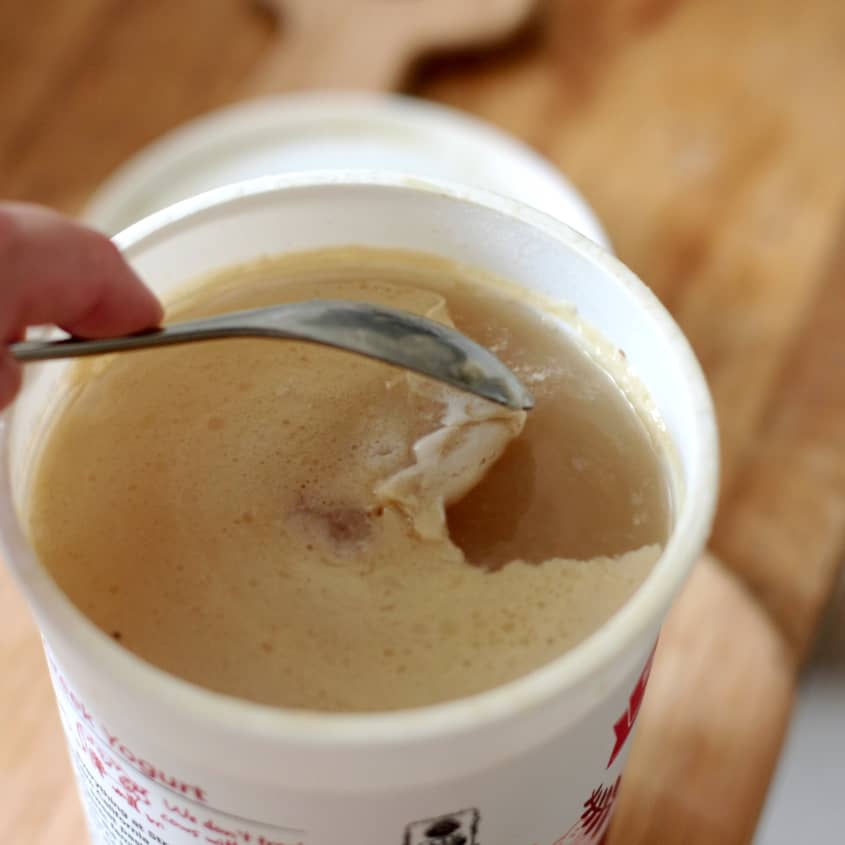
- I usually don't skim the fat from my chicken stock as it is gold in my household! If I'm using a recipe that calls for a leaner chicken stock, I simply remove the layer of fat that has risen to the top of the carton about half way though the thawing process. Usually at this point, the fat is solid but not frozen, and it can be easily lifted off. If I'm not using it immediately, I store the chicken fat in the refrigerator where it will keep for several days.
Want more smart tutorials for getting things done around the home?
See more How To posts
We’re looking for great examples of your own household intelligence too!
Submit your own tutorials or ideas here!
(Images: Dana Velden)