
How To Make Baklava

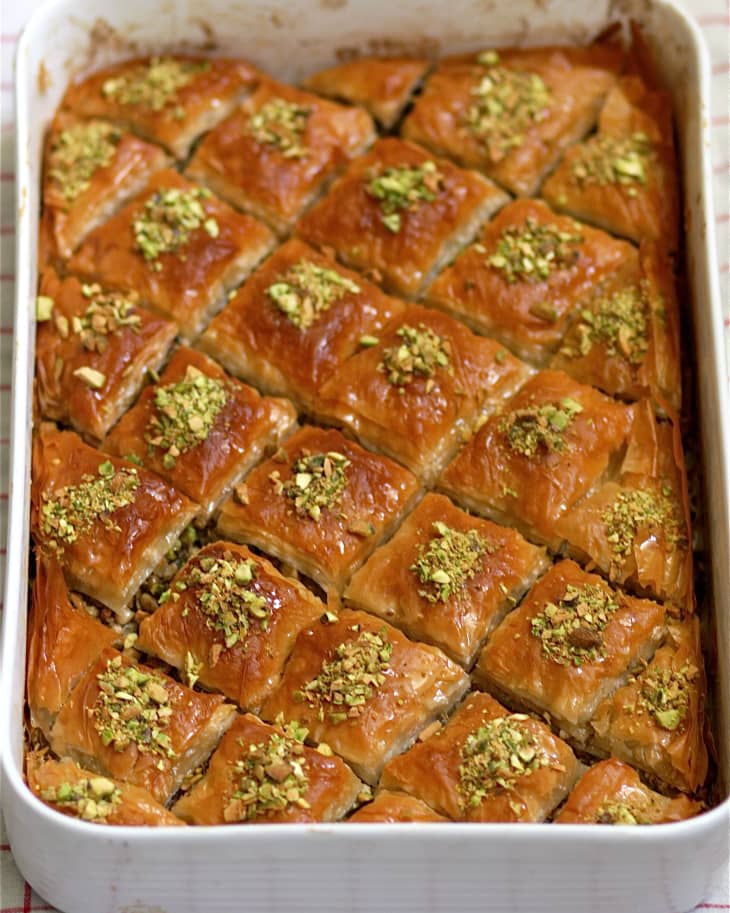
Baklava is one of those desserts that has a reputation for difficulty, but is actually surprisingly easy to make. I suspect this is because working with phyllo dough always seems tricky, but if you follow a few very simple tips, it’s really not — and the results are irresistible. Read on for how to make a pan of sticky, sweet, buttery, flaky, nutty baklava!
Steps to Make Baklava
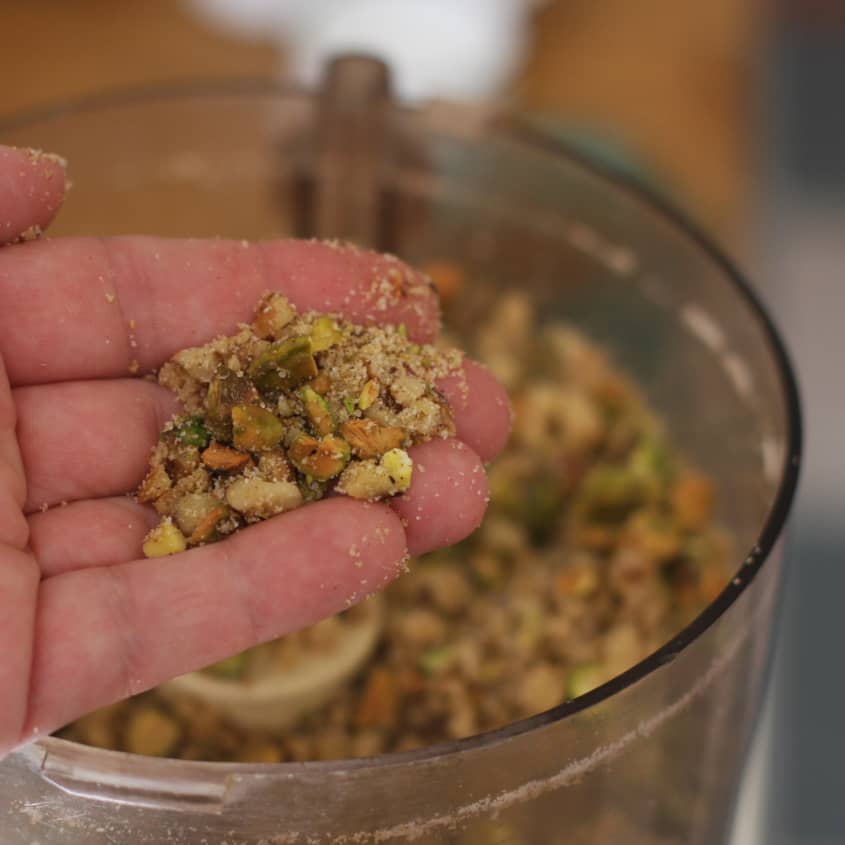
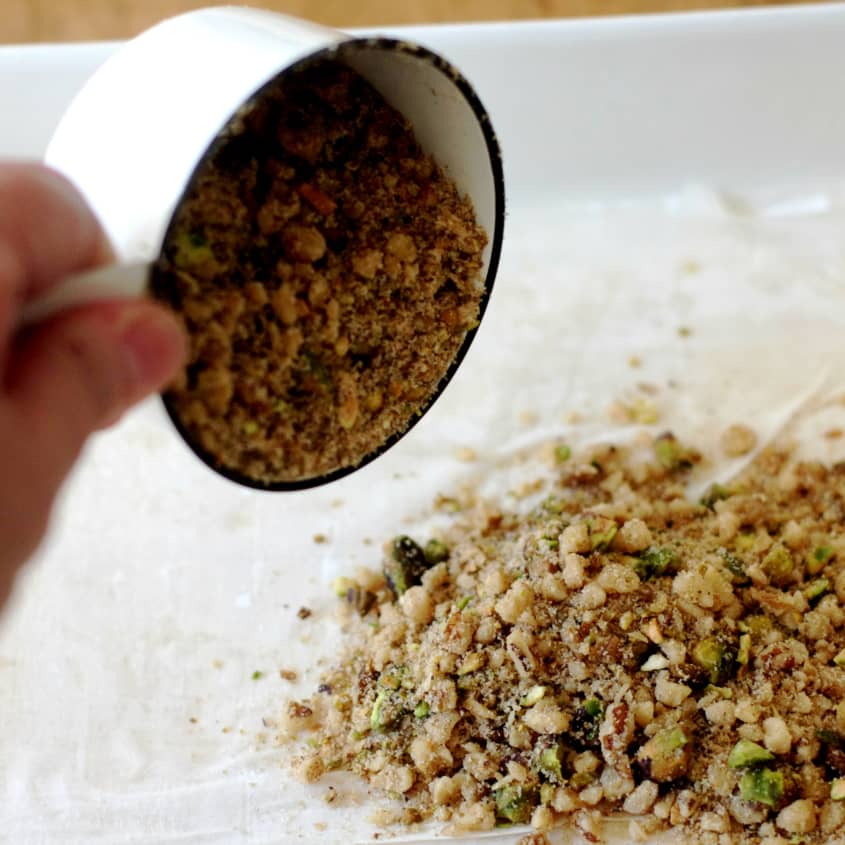
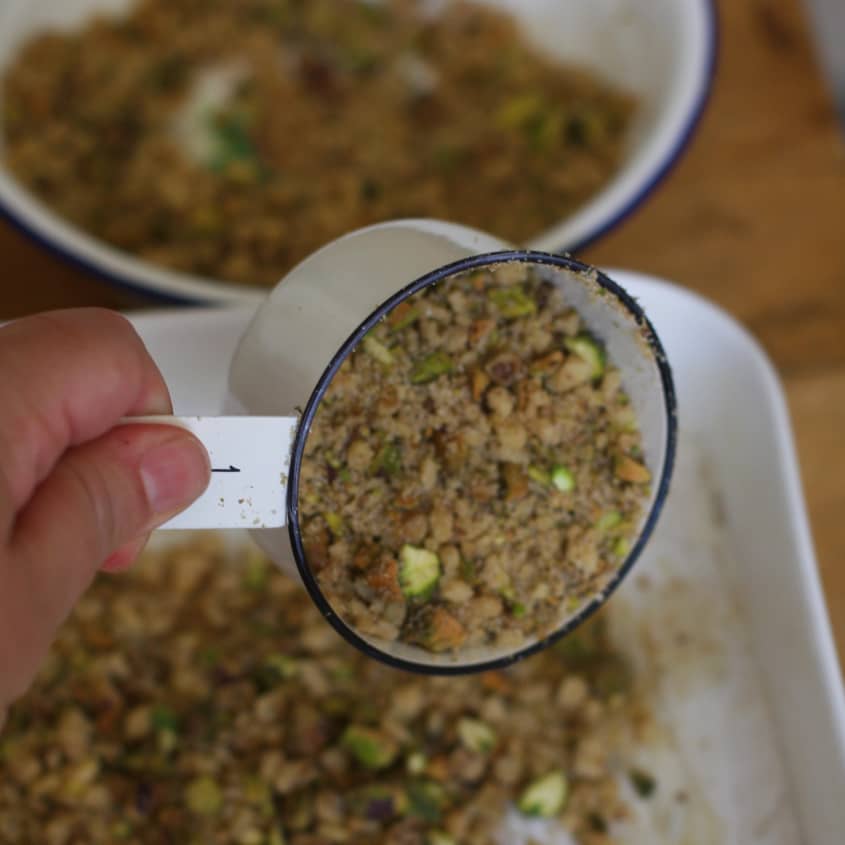
- Make the nut filling. Pulse walnuts and pistachios a few times to break up the nuts, but do not chop them too fine or into a powder.
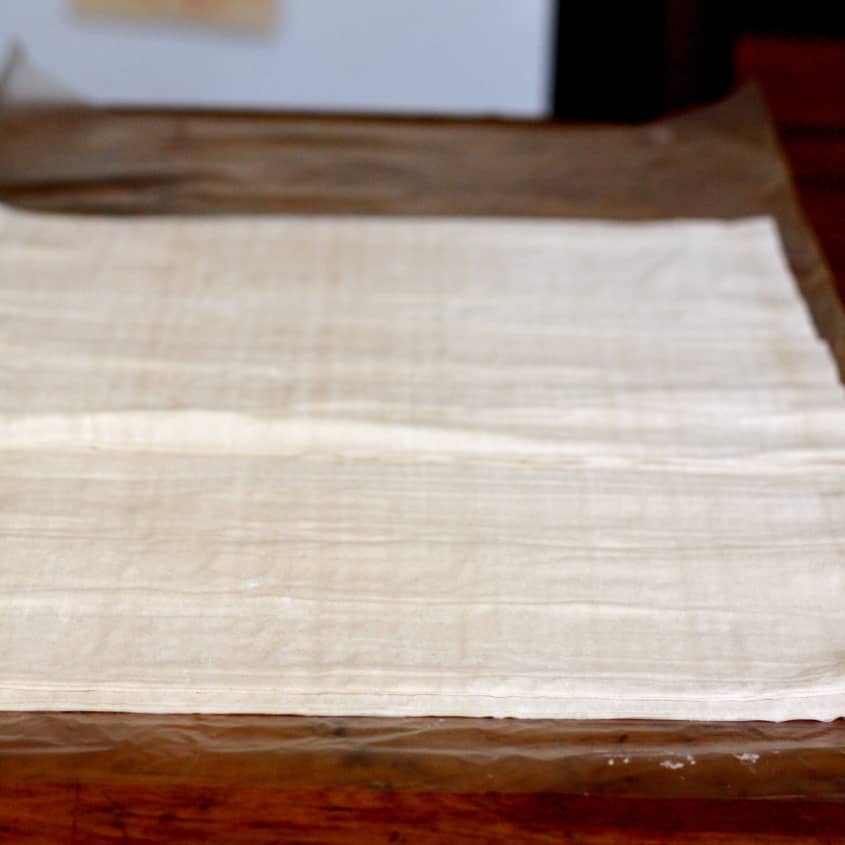
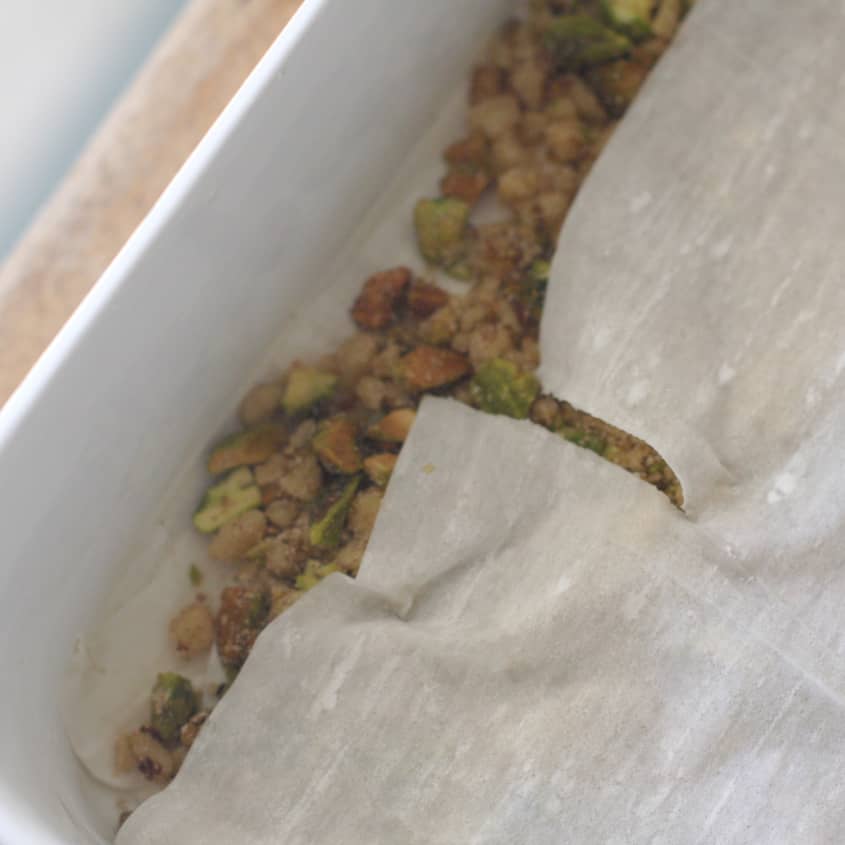
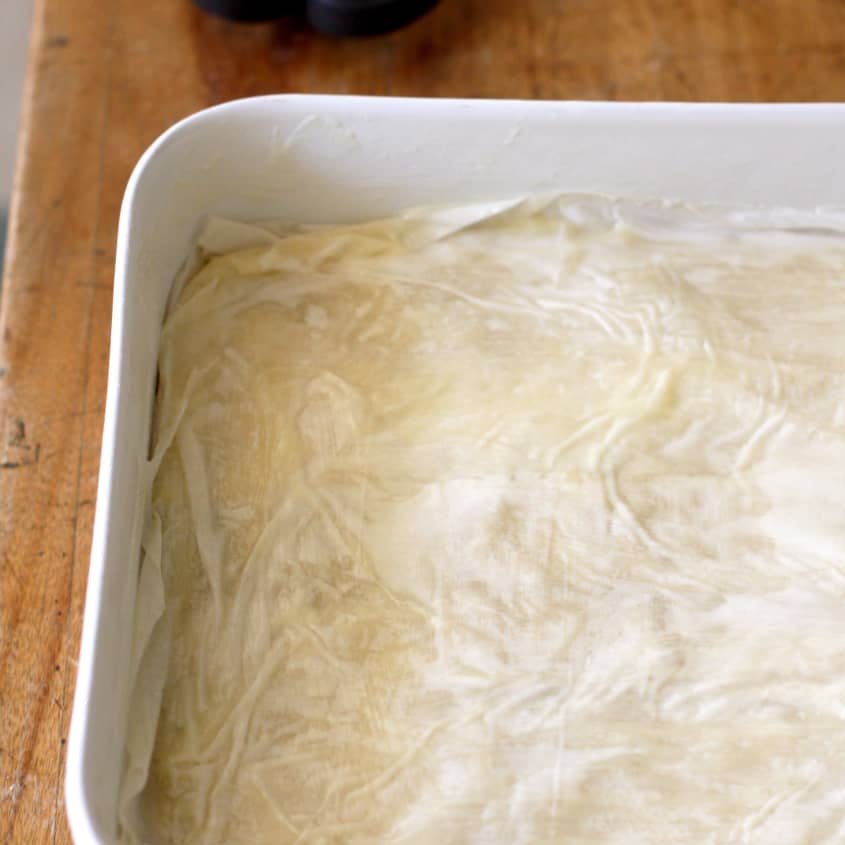
- Spread, trim, and butter layer of phyllo dough. Unwrap the phyllo sheets, trim them to match the dimensions of your pan, and brush a thin layer of butter.
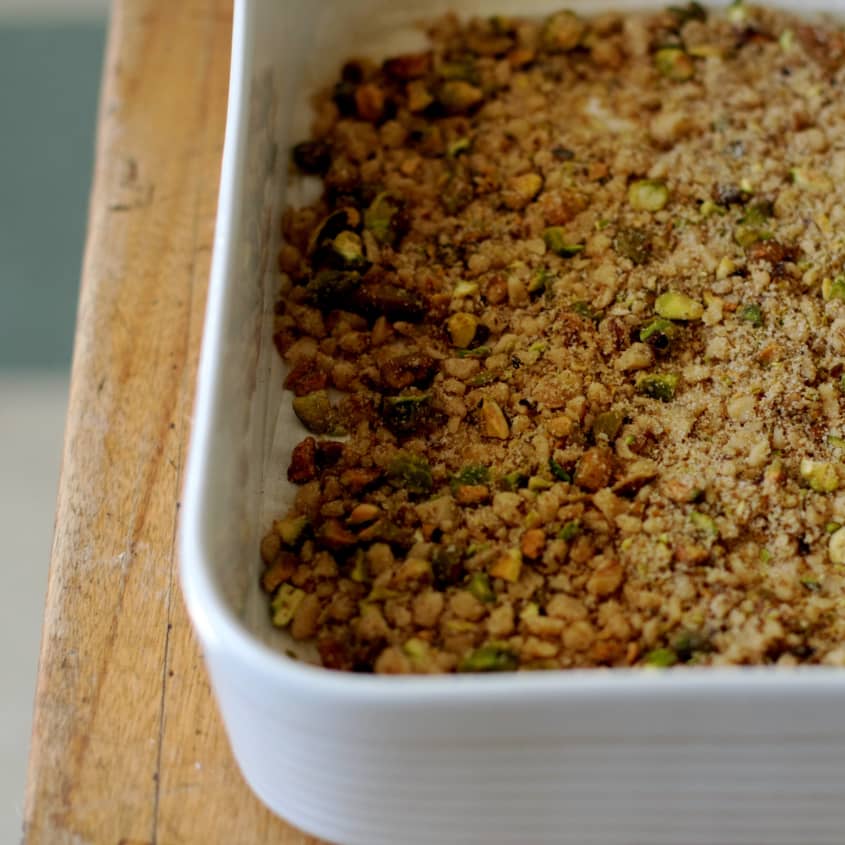
- Add a layer of nuts. Be sure to spread them all the way to the edges.
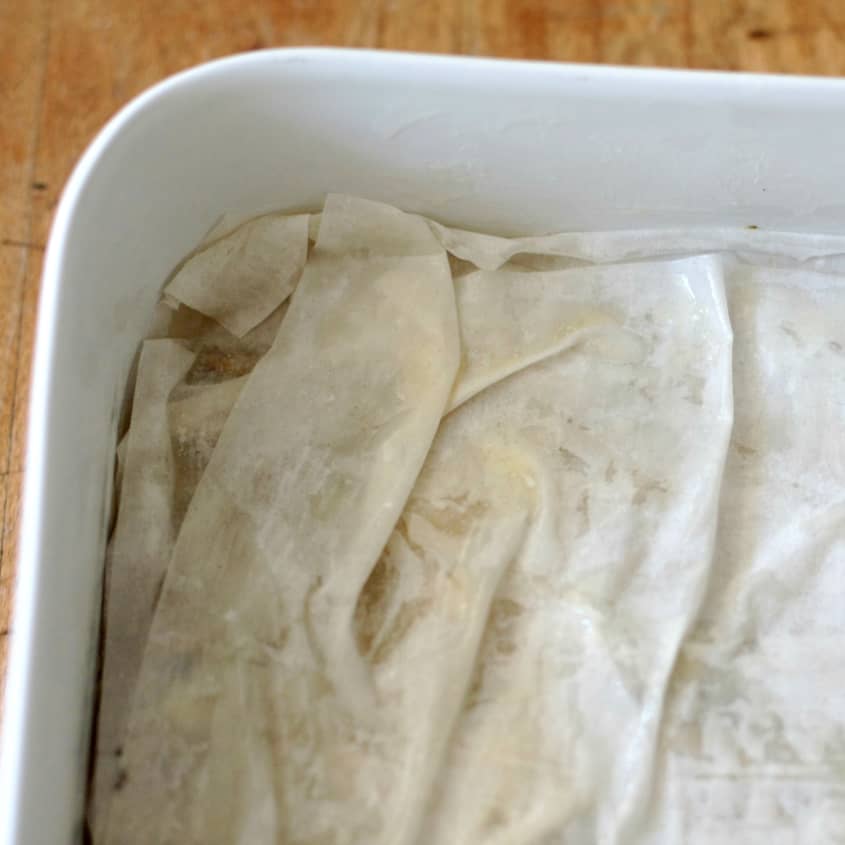
- Repeat with another layer of phyllo, then a layer of nuts, and a top with a layer of phyllo.
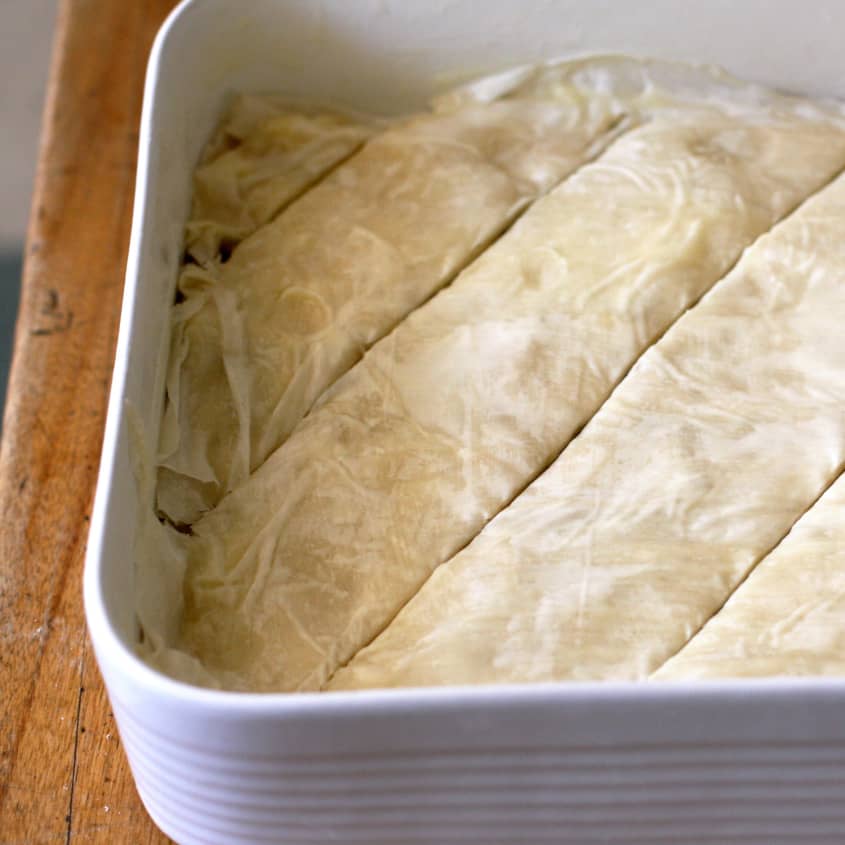
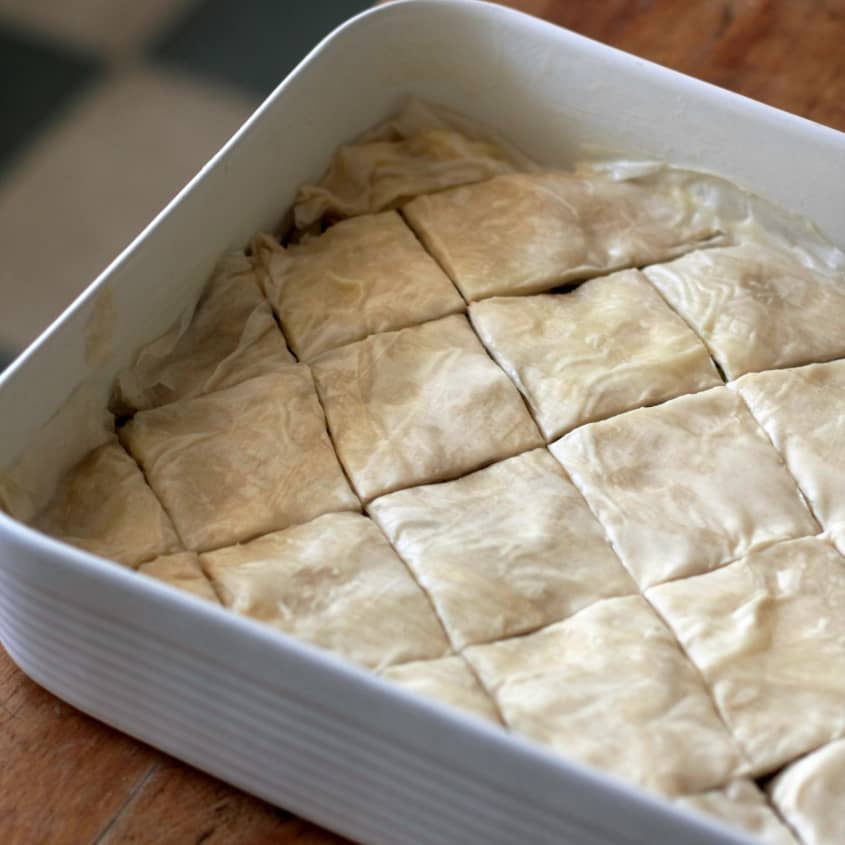
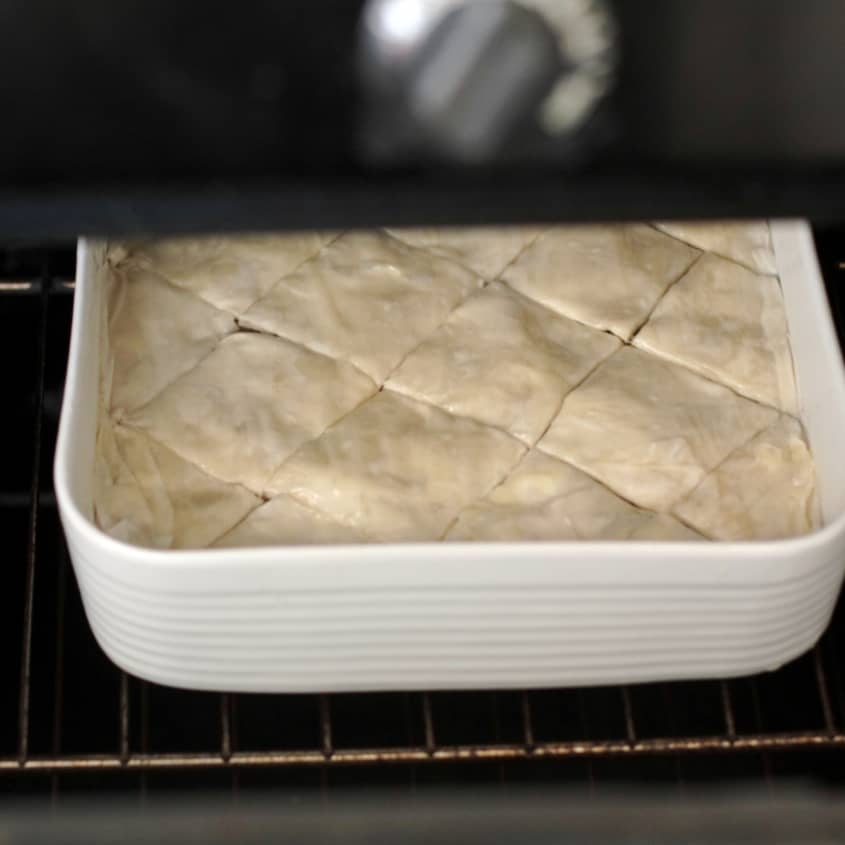
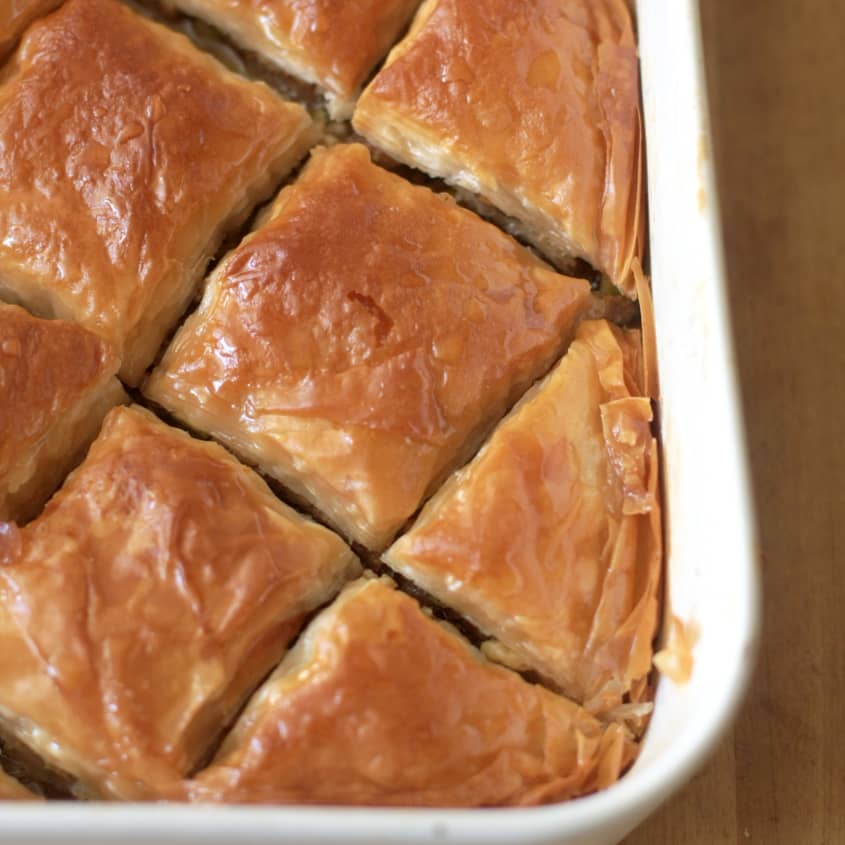
- Cut and bake. Using a very sharp knife, cut the baklava on the diagonal. Place pan in the oven and bake it for 45 minutes.
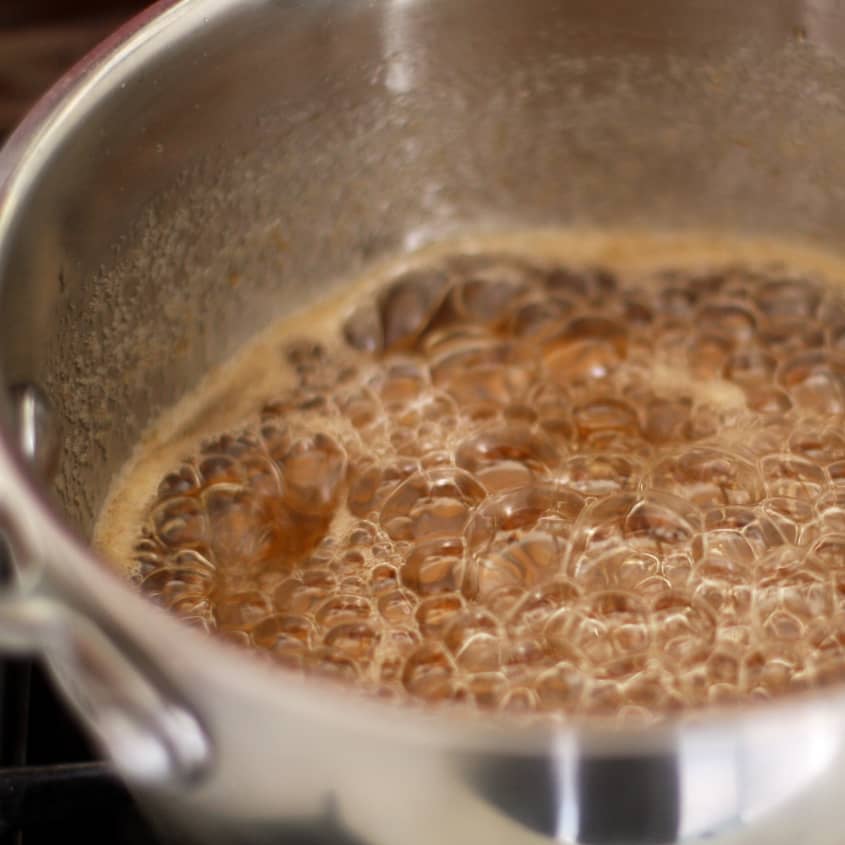
- Prepare syrup. Combine sugar, water, and honey in a saucepan and bring to a boil.
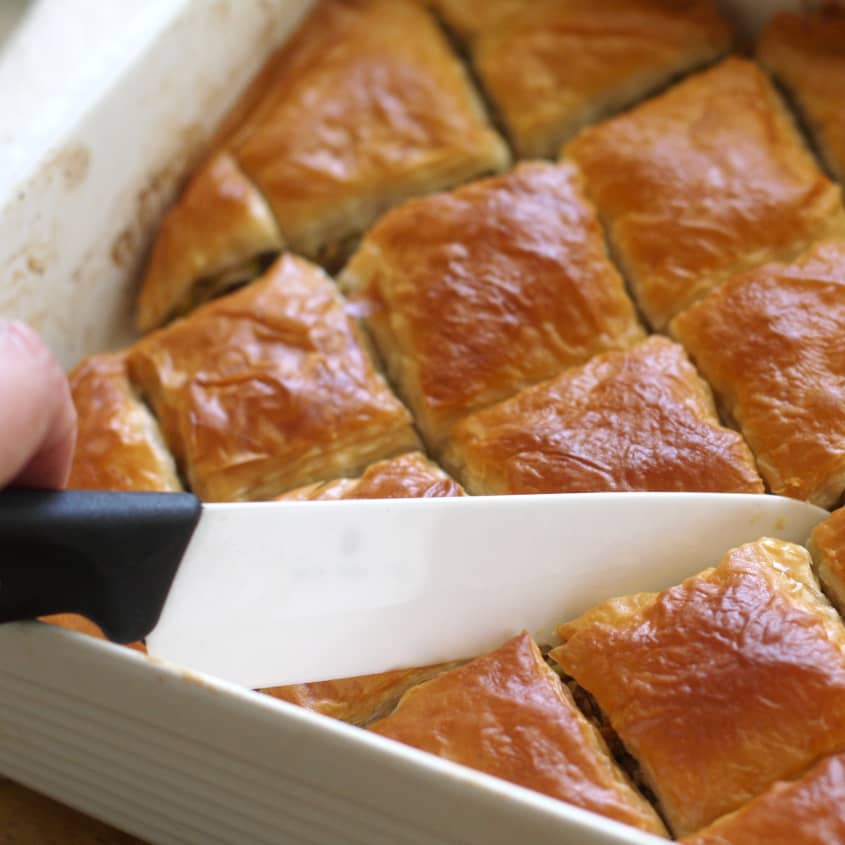
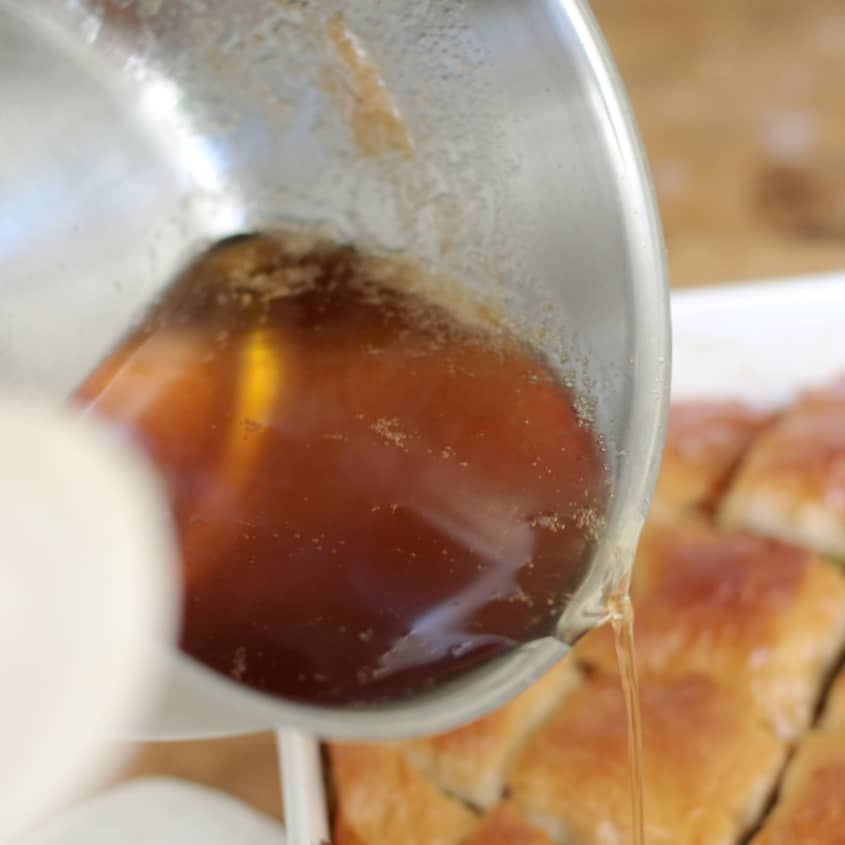
- Re-cut and pour syrup over all. Run your knife through the baklava to ensure the pieces are cut all the way through.
What Is Baklava?
Baklava is a dessert of the Middle East and Mediterranean, and it has numerous variations depending on the country of origin. Turkey, Syria, Lebanon, Greece, Jordan, Israel, Afghanistan, Georgia, Iran, Armenia, and many other countries and regions all have a variation of this pastry. It is typically made with buttered layers of phyllo dough and ground nuts, and covered in a sweet, often honeyed, syrup. Other flavorings include cinnamon, cloves, rose water, cardamon, clove, and orange rind.
For ground nuts, you can choose pistachios, walnuts, or almonds, or a combination. For this recipe, I used a mixture of walnuts and pistachios. I like this flavor combination and the pretty green color that the pistachios bring. For this same reason, I garnish my baklava with chopped pistachios, but you can use walnuts as well.
The thing that most often scares people away from making baklava is handling the tissue paper-like sheets of phyllo. It really isn’t that difficult, if you remember a few simple tips.
Tips for Working with Phyllo
- Defrost your phyllo dough in the refrigerator. The night before you are going to make your baklava, put the package of phyllo dough in the refrigerator to defrost. Do not try to use frozen phyllo — it will crack.
- Unwrap it carefully. The phyllo usually comes rolled up in plastic and should unwrap easily. Leave the larger plastic sheet beneath it and try to unroll it in the place where you will be using it so you won’t have to move it once it’s laid out.
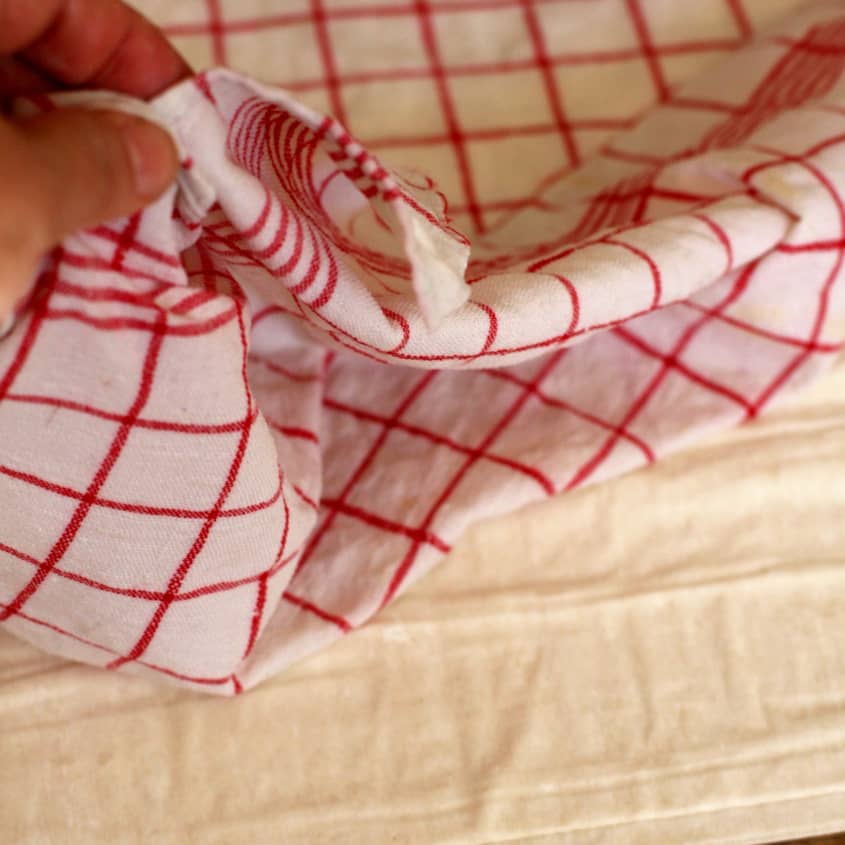
- Cover with a dampened tea towel. Dampen a cotton or linen tea towel and place it over the unrolled sheets. Important: Be sure the towel is wrung out very well. If the towel is too damp, it will gum up the sheets.
- Keep it covered. Always replace the tea towel after you have removed a sheet of phyllo from the stack.
- Handle gently. Be gentle with the sheets of phyllo. Keep the stack near your baking dish so you don’t have to transport it very far once you lift a sheet off of the stack.
- Rips and tears are OK. Phyllo dough rips easily, but that’s OK. You are building up several layers of dough, so a rip or ragged edge here and there will be fine, and likely hidden within the baklava. Even if your last piece tears a little, it will only contribute to the rustic, many-layered look of the dish.
- Trimming the phyllo. Phyllo comes in many sizes and a single sheet might not fit into your baking pan. One option is to trim the phyllo to fit: Simply measure the inside of your pan and, using a scissors, cut the whole stack to fit. I find that scissors are easier than a knife, which can pull and drag on the layers.
- Trimming isn’t always necessary. Even if your sheets aren’t a perfect fit to your pan, you can still use them without trimming. Just fold them over to fit, being sure that you stagger the folds so you aren’t creating extra layers in one place.
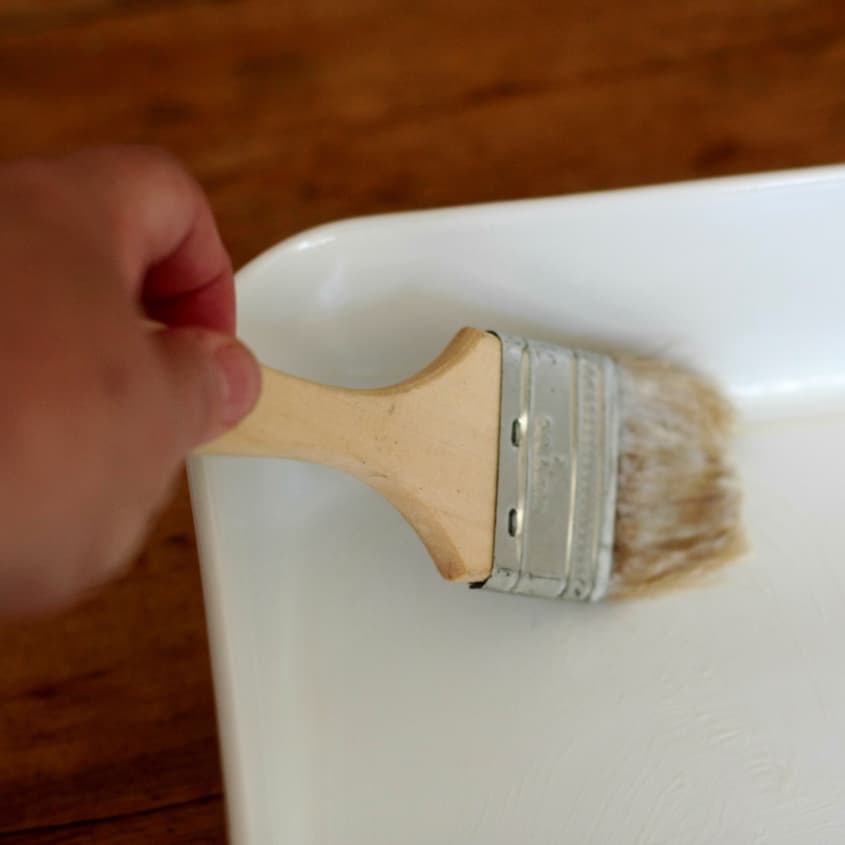
- Don’t use a ton of butter. You don’t have to coat each layer completely with butter. Just gently brush the butter on here and there without covering every inch of the surface. Don’t press really hard or you’ll drag or tear the phyllo sheet.
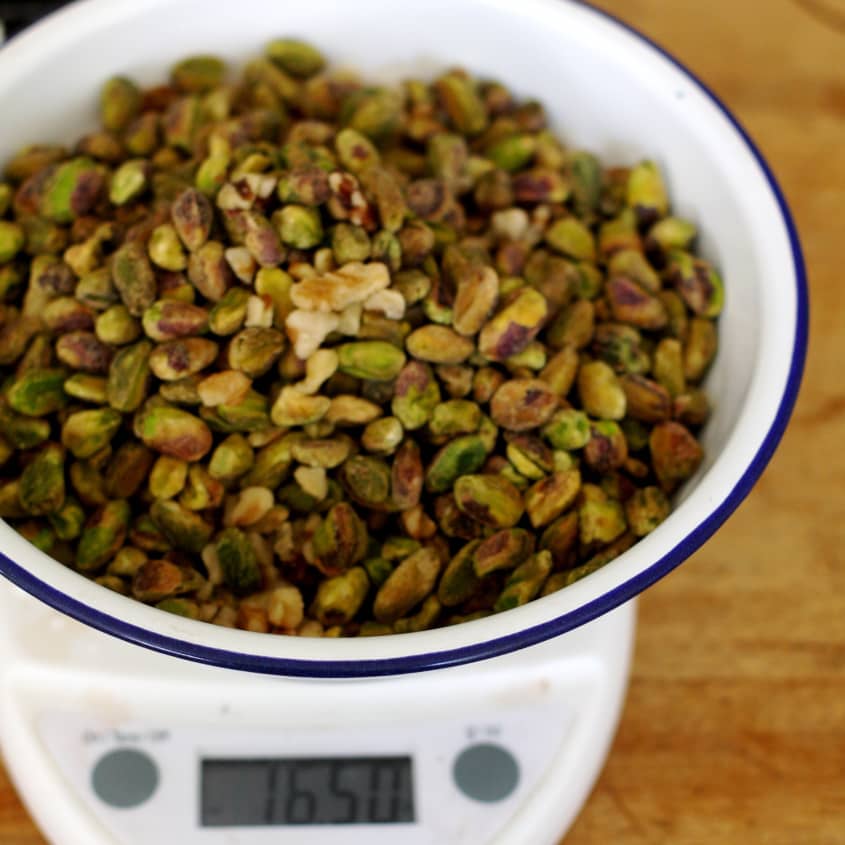
You may notice that the measurements for the nuts in the recipe below are given in weight, not volume. This is because the size of the nuts can vary wildly and therefore can really screw up a volume measurement. For example, a cup of whole walnuts will weigh less than a cup of walnut pieces simply because you can fit more pieces in a cup.
The Importance of Using a Sharp Knife
The other important thing is to be sure that you have a very sharp knife. The baklava should be cut before you bake it and recut again after baking to be sure all the pieces are separated. A sharp knife is crucial.
How Much Butter Should You Use
Many recipes call for as much as one pound of butter to make baklava. I find that somewhat shocking, as I’ve never needed more that half that amount (two sticks) to make my baklava, and it it always comes out flaky and buttery. It’s not necessary to drench each layer of phyllo in butter. Drizzling and dotting the butter will distribute it enough.
Adding Rose Water To Baklava
Rose water is a traditional flavoring for baklava. I did not include it in the recipe below, but it’s easy enough to add if you enjoy its sweet, floral perfume. Alton Brown has a nice trick where you put one teaspoon of rose water and 1/4 cup of water in a spritz bottle and then use it to mist the nut layers before starting with the next phyllo layers.
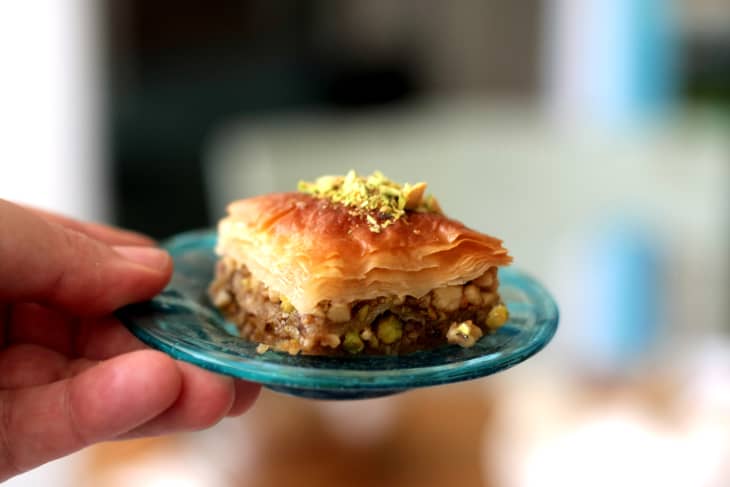
Serving Baklava
Finally, baklava is best after it sits for a while, so it’s perfectly fine to make it a day before you plan to serve it. The recipe below makes about 28 squares, but you can get even more out of it if you cut the squares even smaller. Remember, baklava is a rich pastry and most people only need a bite or two (although it is irresistible!).
I was very grateful that my neighbors were in the middle of a renovation project so I could give away most of the pan of baklava I made for this post to their construction workers. If I hadn’t, there’s no doubt that I would have eaten the entire pan, given a day or two. It’s that good.


How To Make Baklava
Makes about 28 pieces
Serves 28
Nutritional Info
Ingredients
- 8 ounces
walnuts
- 8 ounces
plus 1/4 cup shelled pistachios
- 1/4 cup
granulated sugar
- 1 teaspoon
ground cinnamon
- 2 sticks
unsalted butter
- 1 package
frozen phyllo sheets, thawed
For the syrup:
- 3/4 cup
sugar
- 3/4 cup
water
- 3/4 cup
honey
Equipment
Kitchen scale
Food processor
Measuring cups and spoons
Medium-sized bowl
Clean tea towel
Sharp knife or kitchen scissors
9x12x2-inch baking pan
Pastry brush
2-quart saucepan
Instructions
Prep the filling. Preheat the oven to 350°F. Measure out 8 ounces of walnuts and 8 ounces of pistachios using a kitchen scale and place in the bowl of a food processor (reserve the additional 1/4 cup of pistachios for garnish). Add the sugar and cinnamon. Pulse a few times to break up the nuts, but do not chop them too fine or into a powder. Transfer to a bowl.
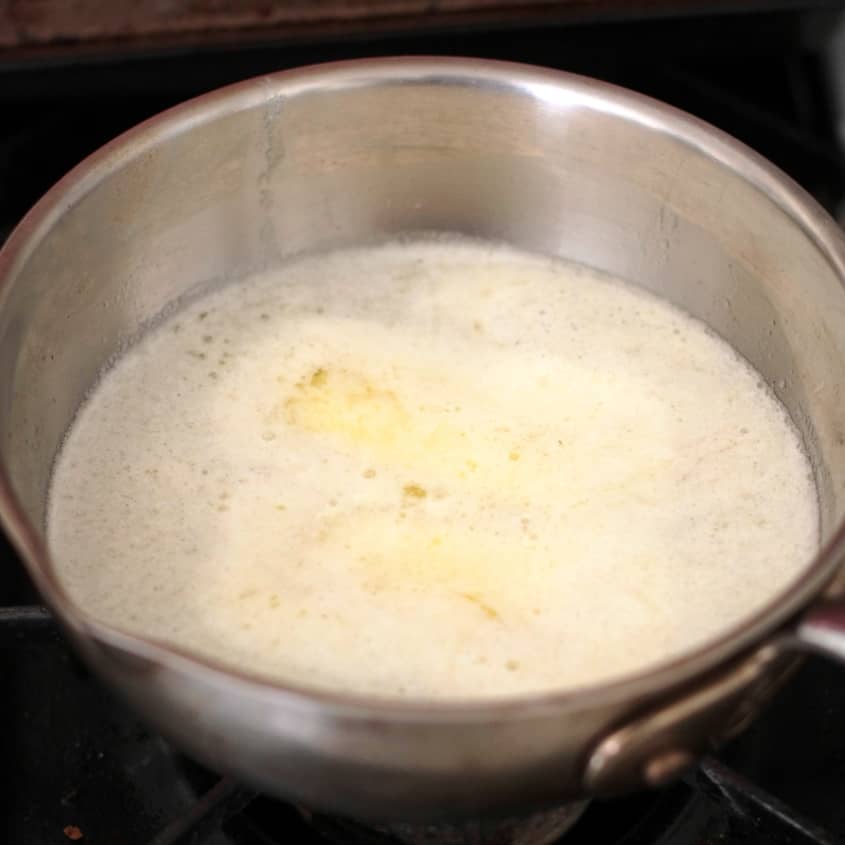
Melt the butter. Place the two sticks of butter into the saucepan and melt under low heat. Keep an eye on things and turn off the burner when the sticks are nearly melted. The rest will melt from the residual heat of the pan.
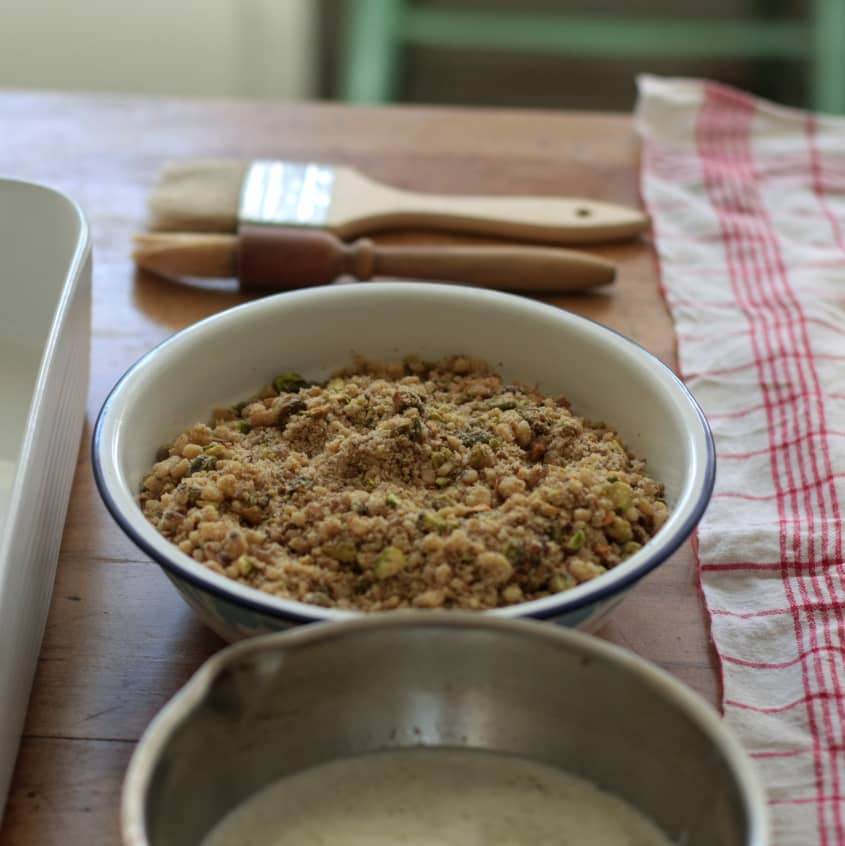
Set up your assembly area. Clear off a large surface, such as your kitchen table or counter. Place the bowl of nut filling, the baking pan, the melted butter, and the pastry brush on the surface, reserving a spot for the phyllo.
Set up the phyllo. Unwrap the phyllo sheets and carefully unroll onto the assembly surface, keeping the large sheet of plastic used to roll the sheets underneath. Dampen the tea towel (not too wet!) and lay it over the phyllo.
Trim the phyllo (optional). If the phyllo dough is too big for your baking pan, trim the phyllo sheets to match the dimensions of your pan. A pair of scissors is the easiest way to do this.
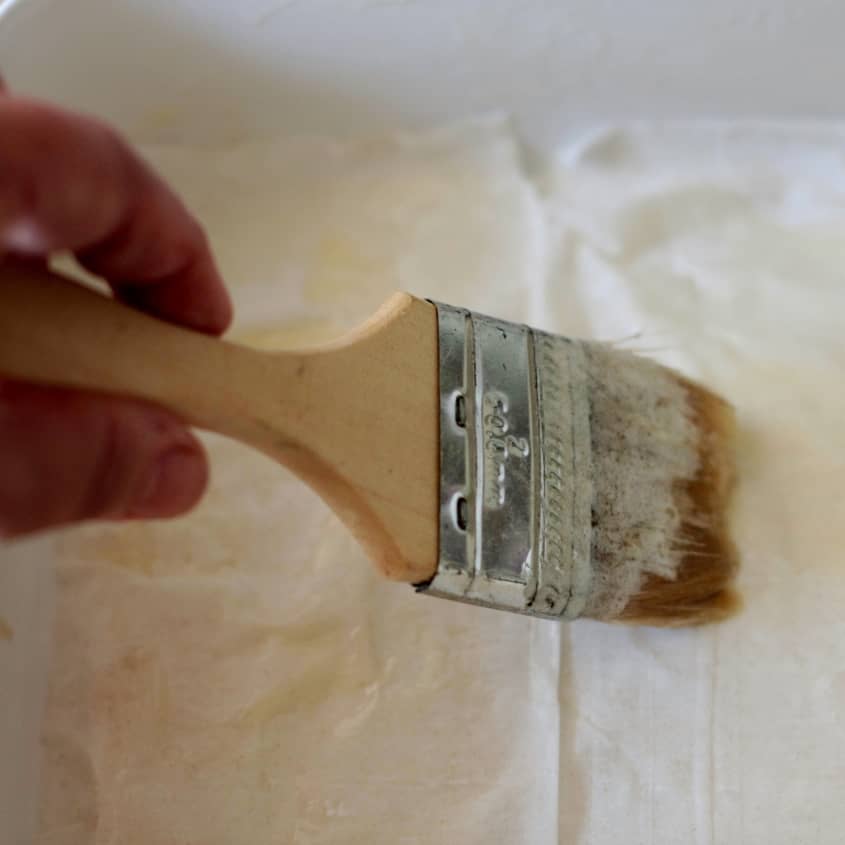
Lay the bottom layer. Using the pastry brush, brush on a thin layer of butter all over the bottom of the baking pan. Fold back the tea towel, carefully remove one sheet of phyllo dough, and place it on the bottom of the pan. Butter the top of the phyllo lightly, making sure you are going out all the way to the edges. Repeat with layering 6 more sheets to total 7 sheets of phyllo, buttering the top of each sheet of phyllo before placing the next. Be sure to re-cover the remaining phyllo with the tea towel each time you remove a sheet.
Add the first layer of nuts. Sprinkle half the nuts over the phyllo and spread them gently with your hand so that you have a fairly even layer. Be sure to spread them all the way to the edges.
Create another phyllo layer. Place a sheet of phyllo on top of the nuts and carefully brush with melted butter. Repeat, layering 4 more sheets in all, with butter between each layer.
Add the second layer of nuts. Sprinkle the remaining layer of nuts over the phyllo. Again, spread them into an even layer and push them all the way to the edges.
Lay the top layer. Place a phyllo sheet on top of the nuts and brush lightly with butter. Repeat, layering 6 more sheets of phyllo, with butter between each layer, to total 7 sheets.
Cut the baklava. Using a very sharp knife, cut the baklava on the diagonal into approximately 28 pieces (can be more if you make smaller pieces).
Bake. Place the pan of baklava in the oven and bake for about 45 minutes. Check half way through and rotate the pan for even browning.
Chop the pistachios. While the baklava is baking, finely chop the remaining 1/4 cup of pistachios and set aside.
Remove the baklava from the oven and cool. When the phyllo is evenly golden-brown all over, remove the pan from the oven and set on a rack to cool.
Make the syrup. While the baklava is cooling, make the syrup. Combine the sugar, water, and honey in a saucepan and bring to a boil. Boil for 10 minutes.
Re-cut the baklava. While the syrup is cooking, run your knife through the baklava to be sure the pieces are cut all the way through.
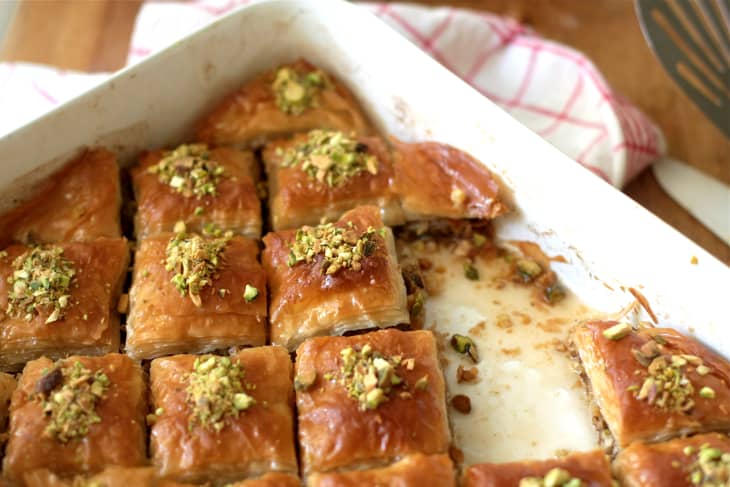
Pour on the syrup. When the syrup has boiled for 10 minutes, remove from the stove and carefully pour over the baklava, being sure to coat each piece.
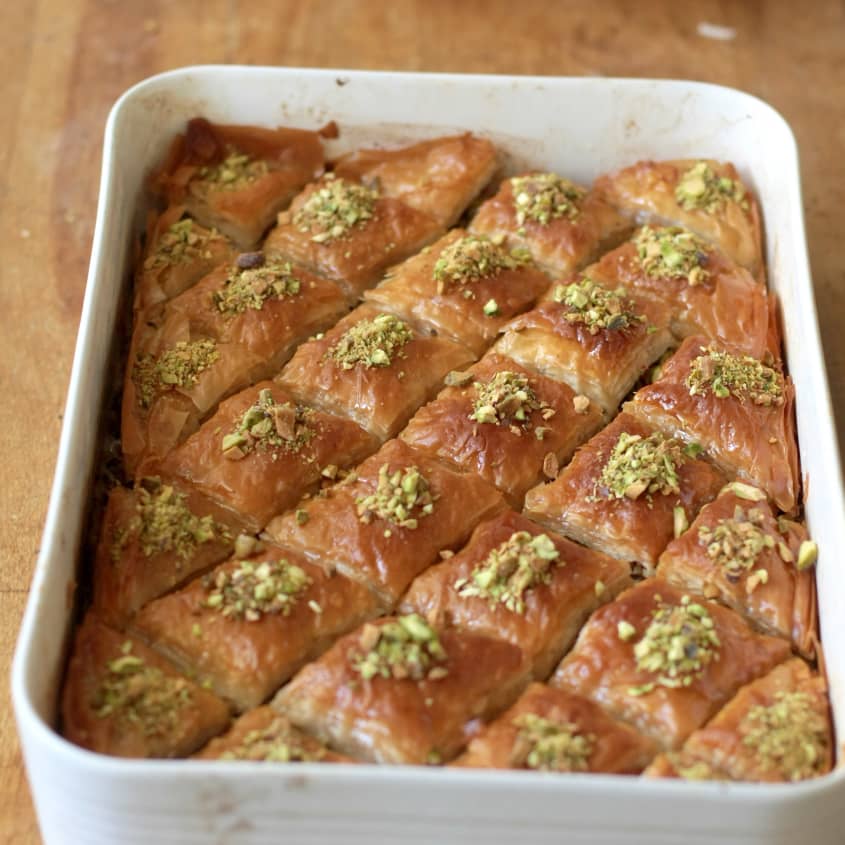
Garnish and serve! Sprinkle some of the chopped pistachios on each of the baklava squares. Cover the baklava and let sit for several hours or overnight before serving. Will keep for up to 5 days, covered.