
The Ultimate Cluster Granola from Melissa of The Traveler’s Lunchbox

What do our fellow bloggers, writers, and online friends eat, first thing in the morning? This is a series Leela Cyd designed for us a couple years ago, and in honor of Breakfast Week we’re bringing back five of our favorites!
Melissa’s breakfast recipe reveals the mystery of how to create clusters in homemade granola, one of the great culinary questions — in this home cook’s mind, anyway! Like all great cooking tips, the cluster effect is all in one tiny detail. Read on to discover Melissa’s best granola hint!


Melissa’s travel and cooking blog, The Traveler’s Lunchbox, is an enchanting resource for creative recipes and glimpses into far off places. It’s the perfect window into a life less ordinary and homespun meals.
Melissa’s recipes are approachable and elegant, and her photos will dazzle you with their casual glamour. I’ve followed her blog as she’s traversed the globe, living in Seattle, and now based in Germany. This gourmande blogger is always finding the center of what foods sustain her and writing heartfelt, food-related stories.
About this breakfast Melissa says:
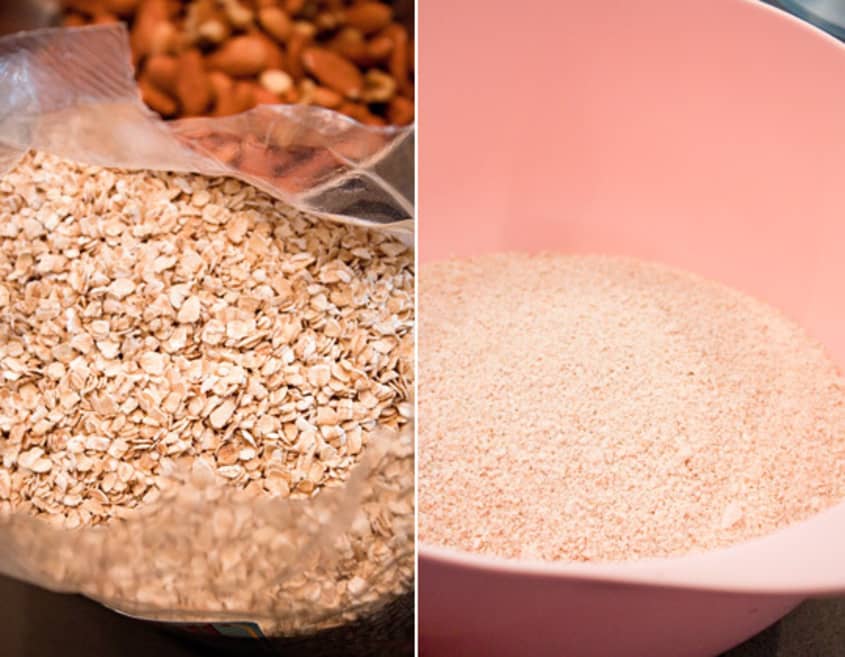
Okay, so what exactly makes this granola different? I’m no kitchen scientist, but I can point out the things that seem to have the biggest impact. One thing is the addition of oat flour, which helps the grains and nuts stick together into those much-coveted clusters.
Another is the use of sugar; as much I like liquid sweeteners like honey and maple syrup, they seem to produce a tougher, chewier granola.
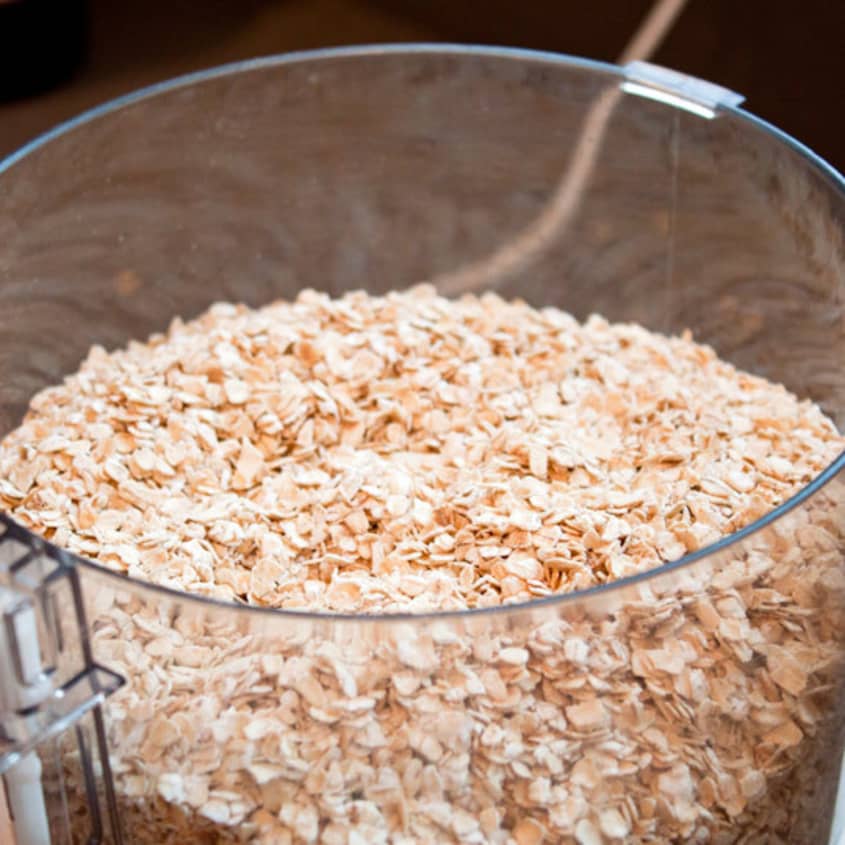
Finally, the right kind of oats are essential. For years I only baked with regular rolled (‘old fashioned’) oats because that’s what recipes called for, but as soon as I switched to the smaller, thinner ‘quick oats’, the changes were remarkable—clusters formed, everything baked faster, and the texture became exquisitely light and crunchy. If you can’t find quick oats where you live—and I have lived in a few places where oats come in one variety only—here’s what I would do: pulse rolled oats in a food processor a few times to break them down to about half their original size. It won’t be exactly the same but it will come close.
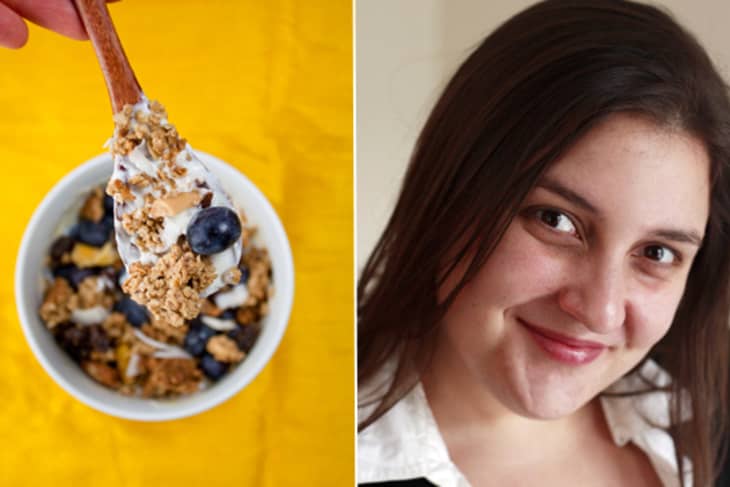
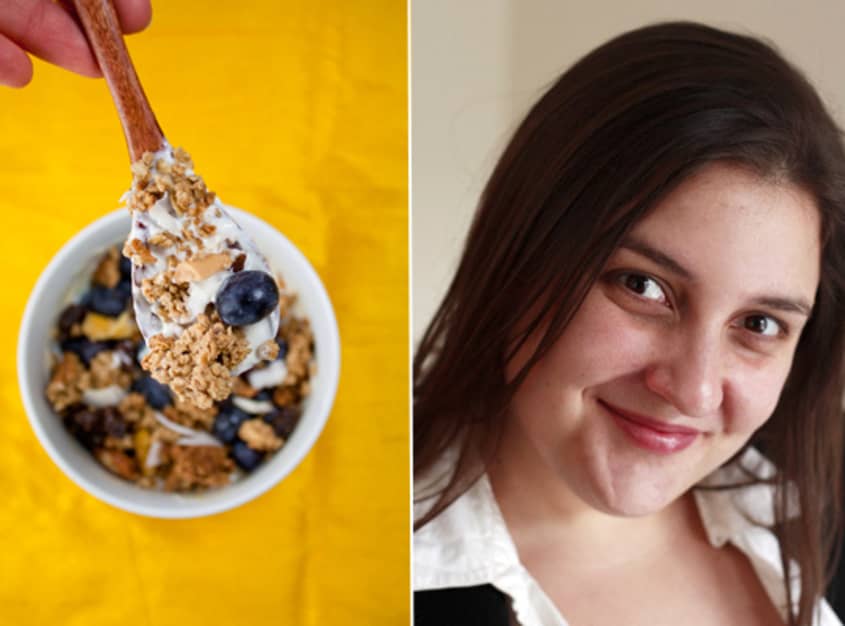
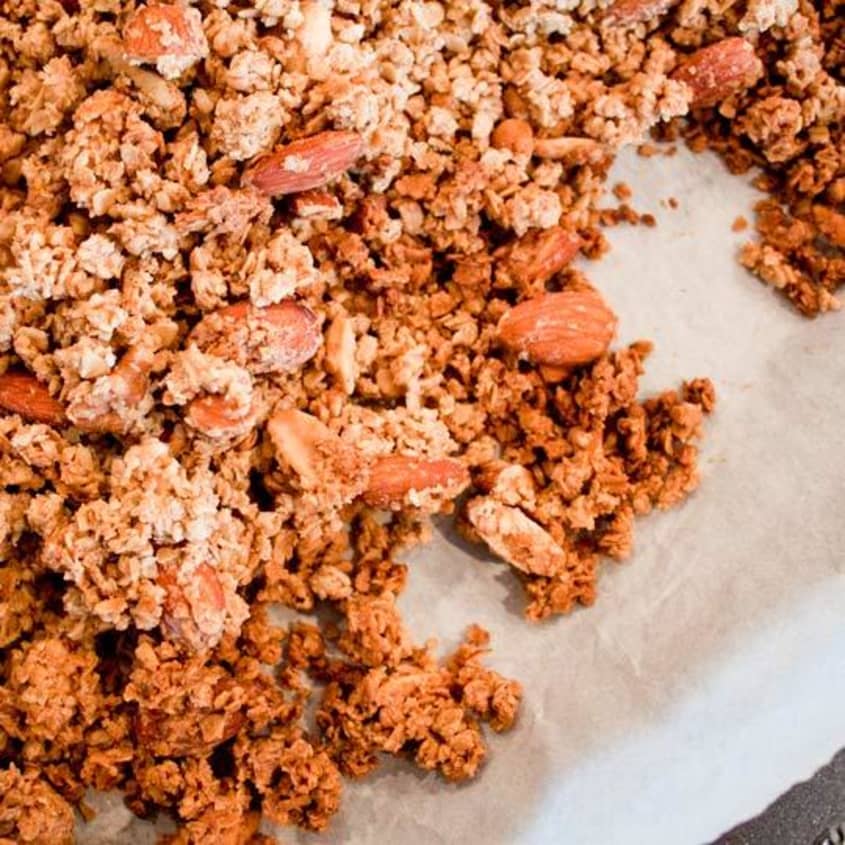
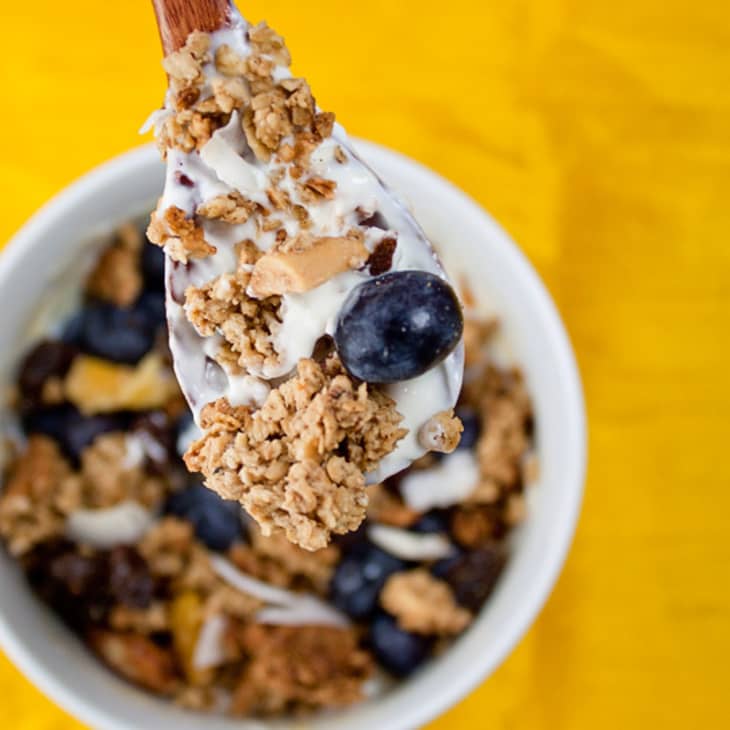
Melissa’s secret ingredient, oat flour, made all the difference in this sweet batch of granola. Really, I’ve always loved the flavor and freshness of homemade granola, but always wished for the clusters I so enjoy from the store-bought versions. Could it be that this oat flour would be the ‘glue’ to bind the beloved groupings of oats and sugar?
Indeed! With a remarkable, toasty flavor and humble oatiness, this was a very successful granola recipe. The only problem? It was impossible not to snack on a handful (or two) for the few days it sat on a jar on my kitchen counter. It’s totally addictive and lovely.
Melissa's Cluster-Filled Granola
Serves 6 to 8
Nutritional Info
Ingredients
- 1 pound
quick oats
- 3 cups
coarsely chopped raw nuts and/or seeds, such as unsweetened coconut, peanuts, almonds and walnuts
- 1 teaspoon
ground cinnamon
- 1/2 teaspoon
ground cardamom
- 1/2 teaspoon
ground nutmeg
- 1 cup
dark brown sugar, packed
- 1/2 cup
(1 stick) unsalted butter
- 1/3 cup
water
- 1/2 teaspoon
sea salt
- 2 teaspoons
vanilla extract
- 2 cups
dried fruit, such as raisins, dried pineapple, dried papaya, or other dried fruit
Instructions
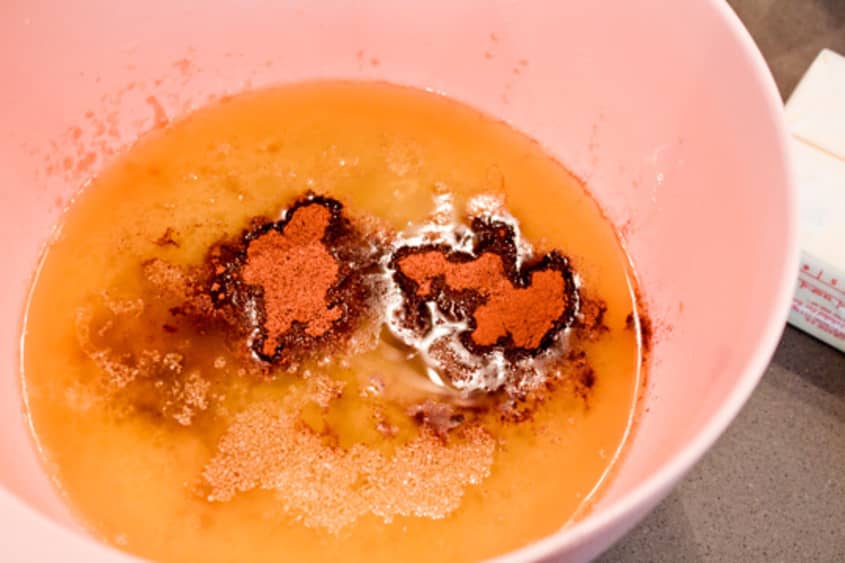
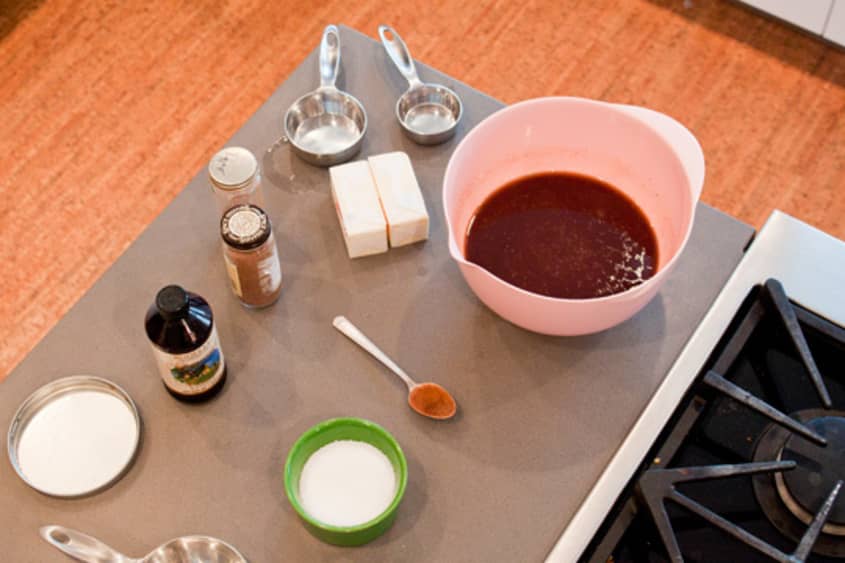
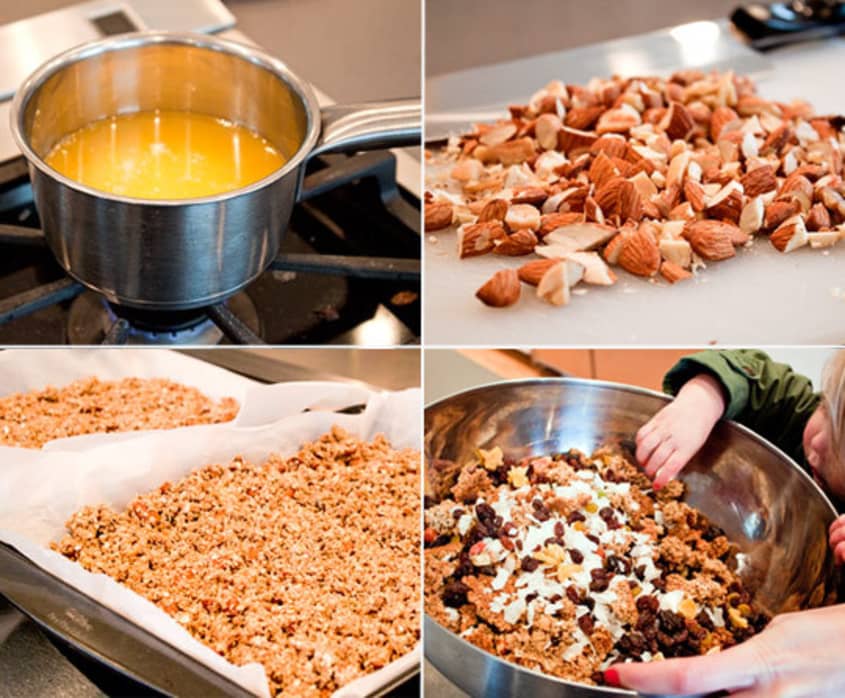
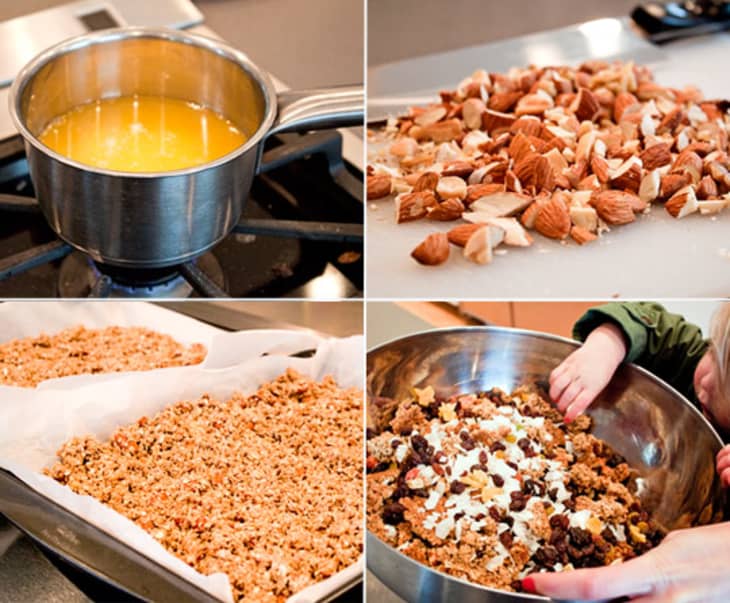
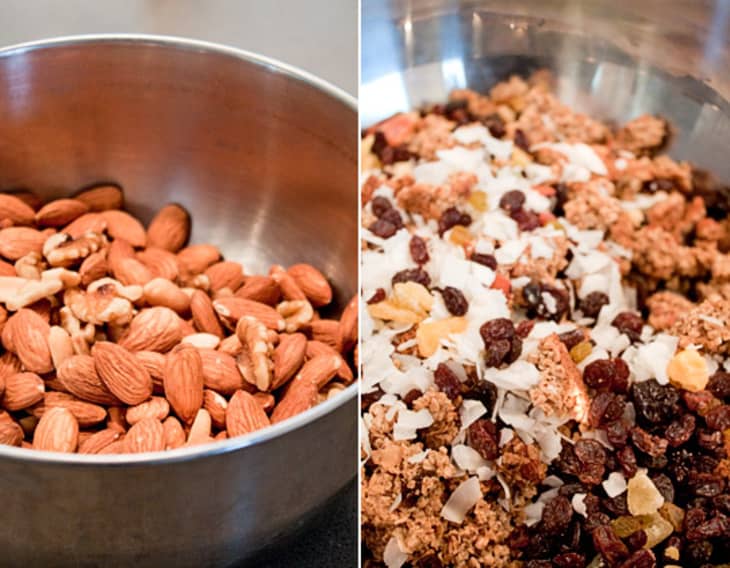
Preheat the oven to 300°F. In a food processor, coffee grinder or blender, grind half the oats to a fine powder (you are making the oat flour called for in the recipe). In a large bowl, combine the whole oats, ground oats, nuts and spices. In a microwave-safe bowl (or in a saucepan over medium heat), combine the brown sugar, butter and water and heat just until the butter has melted and the mixture is bubbly. Stir the mixture together until smooth, then stir in the salt and vanilla. Pour this mixture over the oats and nuts, stirring well to coat. It should be uniformly moist — stir in another tablespoon or two of water if it isn't. Let stand for about ten minutes.
Spread the mixture out on a large baking sheet lined with parchment paper, separating it into irregular clumps with your fingers, and allowing space between the clumps for the hot air to circulate. Slide into the middle of the oven and bake for 25-30 minutes, or until the top is golden brown. Remove from the oven and stir, gently breaking up the mixture into small-to-medium sized clumps. Return to the oven and bake another 15 minutes or so before stirring again. Repeat the bake-and-stir until the mixture is a uniform golden brown and completely dry; this usually takes 1 to 1 1/2 hours. Cool completely, then stir in any dried fruit you want to use.
Store in a covered container at room temperature. Serve with milk or plain yogurt and fresh fruit as desired.
Recipe Notes
Adapted from The Traveler's Lunchbox.
Thanks Melissa for contributing to our Breakfast with a Blogger series!
→ Visit Melissa’s Blog: The Traveler’s Lunchbox
Related: Peanut Butter and Honey Granola
(Images: Leela Cyd Ross, photo of Melissa provided by Melissa)