
5 Gorgeous Ways to Decorate a Pie
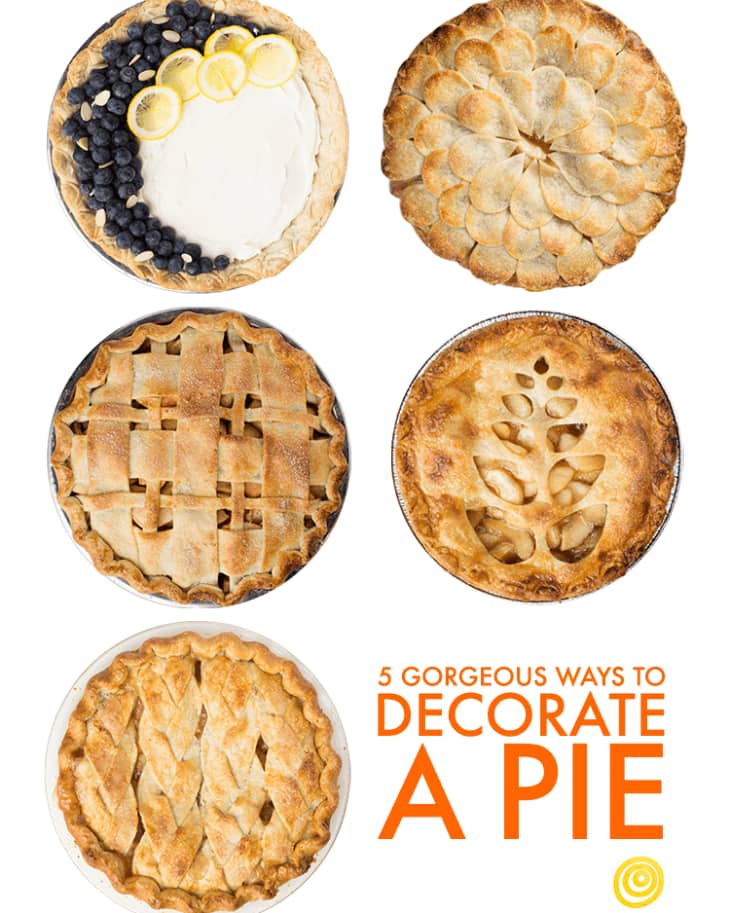
Ah, the humble pie. Whether it’s a free-form galette, a double-crust slab, or a lattice-topped number, pies always maintain an air of rustic charm. But if you’re getting more comfortable with pie dough and are itching to try out something new, we’ve got your covered. Here are five pretty and unique ways to make your pie crust stand out.
A Successful Crust Is in the Details
- On butter: When making decorative pie crust, steer clear of an all-butter crust. They’re very flaky and absolutely delicious, but they just don’t hold their shape as well during baking. Instead opt for a crust that uses shortening in addition to butter for a sturdier structure.
- Chill out: It is critical that you keep these pies very cold before you bake them. Freezing them for an hour prior to baking is generally adequate. If you skip this step, your designs are likely to wilt.
- Make it pop: For color, I like to use a whole egg, beaten well, as a wash. Sprinkling with sanding sugar lends a nice golden color as well.
Get the Recipe: Flaky Pie Crust
But most importantly, your pies do not have to be perfect. Truthfully, there is no such thing as a perfect pie. Once the pastry hits the heat, it tends to takes on a wild life of its own, dancing this way and that. Unfortunately, there’s not much to be done about your little pie baby’s behavior. Just wait it out and remember that you’ll still end up with a pie that everyone will love in the end.
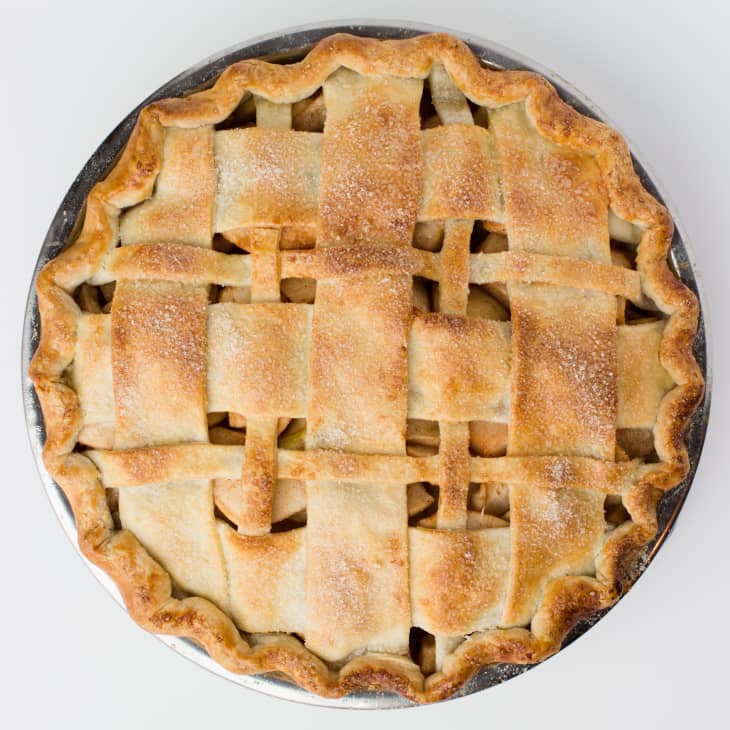
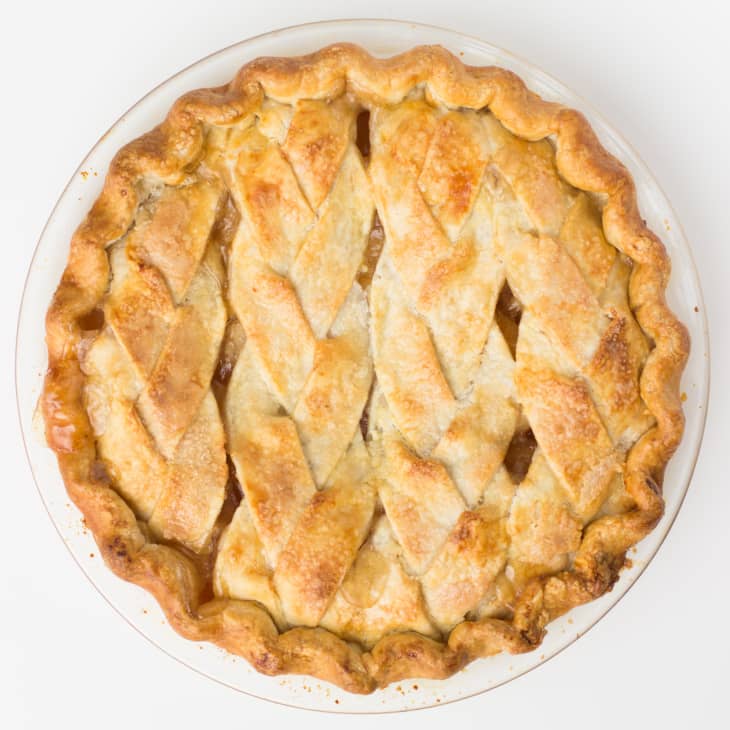
1. Chubby Lattice Pie Crust
Like a normal lattice, just better! For this look, trim the bottom crust so there is about 1/2inch overhang. Roll out the second crust and cut six generous one-inch-wide strips and four 1/4-inch strips of dough. Arrange half of the strips over the filled pie, then begin weaving in the others perpendicularly. I find it easiest to start from the middle and then work out from there. This helps to ensure your design is centered.
After your lattice is complete, trim each piece with scissors to the edge of the pan. Fold over the bottom crust and crimp as desired. Here, I made a “V” with the thumb and pointer finger of one hand and placed it on the outside of the crust. Then I used my pointer finger on my other hand to press into the “V” from the opposite side. Slightly tilt the crimp inward so that it doesn’t wilt over the edge of the pan while baking.
If you like, weave the strips on an angle for a pleasantly off-kilter look. You can also arrange the strips so they sit against one another, forming, essentially, a double-crust pie. Whatever you do, freeze this beauty for an hour before you bake it.
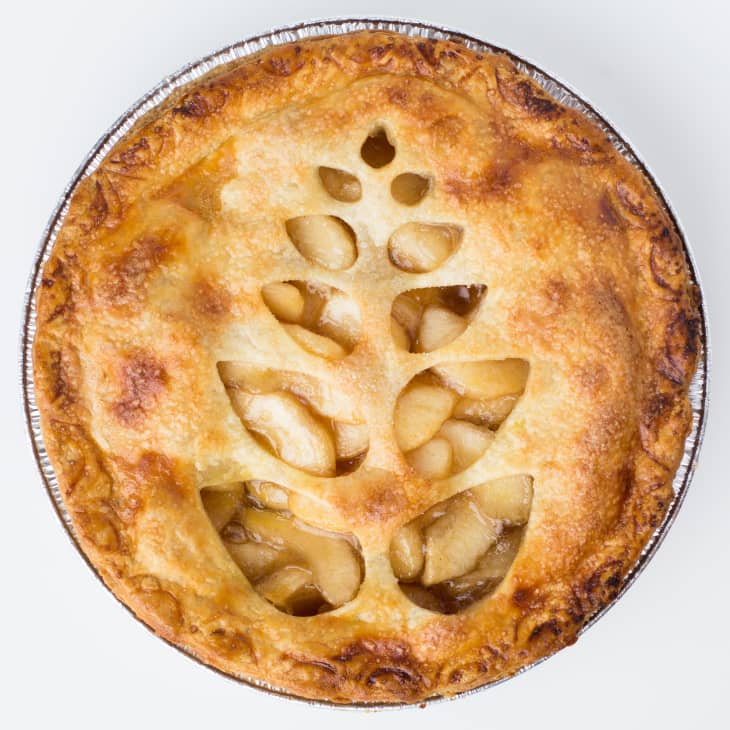
2. Punch-Out Pie Crust
I can’t be the only one with a collection of cookie cutters wasting away in the back of a closet. They deserve some time in the limelight year-round, don’t you think? Maybe your Christmas tree cutter won’t be a good fit for a spring, summer, or fall pie, but heart cutters for Valentine’s Day would be totally at home atop a lovingly made pie.
Roll out the bottom crust and trim it to the edge of the pie pan. Roll out the second crust and punch out whatever design your heart desires — just be careful to leave enough dough between each punch so you don’t risk tearing the pastry when you transfer it to the filled pie. Speaking of which, the easiest way to do so for this method is to roll the crust around your rolling pin, then gently unroll it over the pie filling. Crimp the edges any way you like, and freeze the pie for an hour before baking.
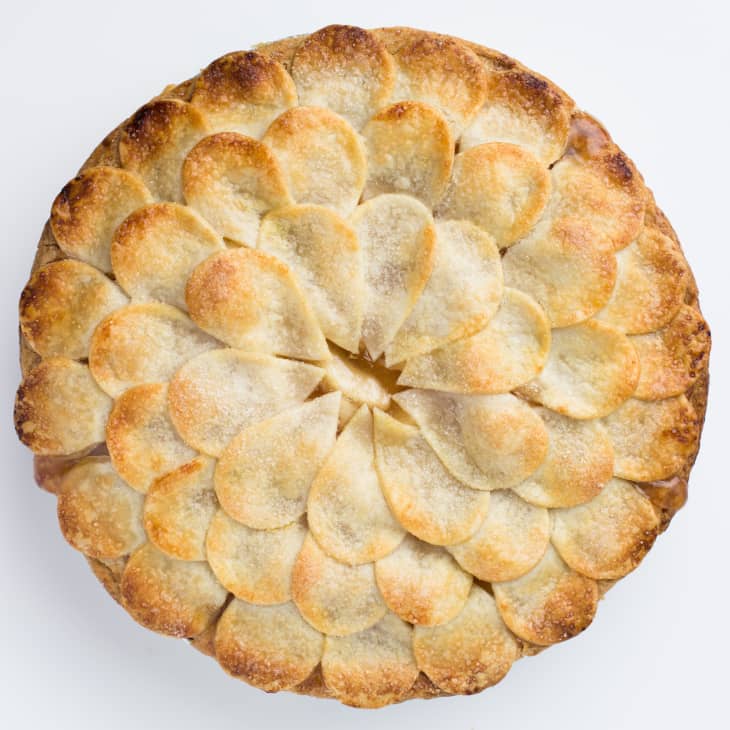
3. Shingled Pie Crust
I find a simple shape is best for this method (triangles, teardrops, circles, squares, diamonds, ovals, etc). To start, roll out the bottom crust and trim it to the edge of the pan. Roll out the second crust and punch out as many shapes as you can — you’ll need quite a few!
When you’re ready to top the pie, put some water in a small bowl and use a pastry brush (or your finger) to gently wet the edge of the crust. Begin arranging the shingles around the edge, dampening the edge of each piece before slightly overlapping it with the next. Tuck the last piece under the first to complete the circle. Work inward until you’ve covered the pie as much as you like, then freeze the pie for an hour before baking.
4. Braided Pie Crust
Confession time: I love the look of a thin, dainty braid around the edge of a pie, but I just cannot do it myself. The thin strips always get too warm or fall apart in my hands. Fat braids, however, I can do — and so can you!
Roll the bottom crust and place it in the pan. Trim so there is about 1/2-inch overhang.
When you’re ready to fill the pie, roll out the second crust into a rectangle about 12 inches on one side. Cut at least twelve 3/4-inch-wide strips (cutting extra doesn’t hurt, though) and arrange them in front of you in four groups of three. Braid the strands, and gently transfer to the pie. Using something flat and wide, like a bench scraper or a wide spatula, is immensely helpful for this. Trim the edges of each braid to the edge of the pie pan and fold the overhang up and over. Crimp as desired. Freeze the pie for at least an hour before baking.
5. Spoon-Crimp Pie Crust
You crimp with a fork, so why not give your other utensils a chance? Using a single crust, roll it out and fit it in the pan. Trim the crust so you have a 1/2-inch overhang, then fold it underneath. Use a spoon and press gently — but firmly — into the dough. Press hard enough to leave a clear impression, but don’t go so deep that you cut through. Repeat this pattern, edge to edge, all the way around the pan. When you’re back to where you started, pull the spoon a little closer to the edge and crimp all the way around again. This will create two neat scalloped rows. Freeze for an hour before baking. If you use an egg wash on this pie, apply it lightly and hold off on the sugar on top afterward — it will hide the design.